Windows does a great job of allocating system resources to the processes and programs that need it most by assigning priorities to them. Most applications you install will run perfectly fine at the default "normal" priority level.
However, sometimes, you may need to run a program, such as a game, at a higher level than the default normal level to improve its performance. But this comes at a cost, and it's a deal worth pondering.
What happens when you set an app to high priority?
Windows has a total of six priority levels for running different processes and programs - low, below normal, normal, above normal, high and real-time.
Windows will rank and queue applications based on their priority. The higher the priority, the more time the application gets. Therefore, services and processes that are very important to Windows will run with high priority. Unless you have a good reason to change application priorities, it's best to let Windows decide which processes to prioritize when allocating resources.
Of course, if you want an application to run particularly slowly, you might consider setting its priority to the "High" category, which is much higher than normal. But be aware that doing so will take away some resources from where they are needed most, and can lead to some jarring results, such as freezing or lagging mouse and keyboard input.
What should you consider before setting an application to high priority?
Whether you should give an application high priority depends heavily on your processor and the task itself.
You can save yourself a lot of trouble if the application doesn't take up a lot of resources. However, if you plan on giving a video editor app or game some boost (which is what most people think of when it comes to meddling priorities), your system will take a noticeable hit. There's no point in having it in the first place if you have a high-priority application that's taking up all your system resources and can't even get your commands through.
Again, this will depend on the resources your system has to offer and the applications you want to run. However, if you want to experiment with what happens when you run a CPU-intensive application at high priority, then go ahead. Doing this won't damage your computer (although you'll have to reach for the power button to reboot) and the priority change will revert to default when the system reboots.
Prerequisites for making an application high priority
There are some things you should avoid before setting an application as high priority.
Disable UAC
User Account Control (UAC) protects your system from potentially harmful applications and settings changes by preventing you from making these changes. However, UAC can be troublesome if you know what you're doing. While it doesn't completely prevent you from making any changes, it does throw out confirmation prompts for every little thing. It's better to disable it and get rid of its annoying presence. That's it:
Press Start, type UAC, and then select Change User Account Control Settings.

Move the notification slider all the way down to "Never notify."

Then click "OK".

That’s it, UAC is no problem.
Grant Admin Rights to Applications
Another, probably more important change you need to make is to grant admin rights to the application you are trying to give high priority. Here's how to do it:
Open your application so that its process is running. Then right-click on the taskbar and select Task Manager.

Alternatively, press Ctrl Shift Esc to bring up the Task Manager. Then find your application's process in Task Manager. Right click on it and select Properties.

Click on the "Security " tab to switch to it.

Then click the Edit box.

Then give "Full Control" to your application by clicking the box under "Allow".

Then click "OK".

Click "OK " again.

What are the different priority IDs?
For some methods, such as using a command terminal like PowerShell and the command prompt given below, you have to enter the priority ID to change the priority of the application process. These priority IDs are as follows:
Low – 64
Below Normal – 16384
Normal – 32
Higher than normal – 32768
High – 128
Real-time- 256
Out of these six methods, you need priority ID number "128" to use the methods given below.
How to Safely Make an App High Priority
Now that you know what to keep in mind when setting an app to high priority, here are a few ways to do it:
Method 1: In PowerShell
Press Start, type powershell, right-click the result, and select "Run as administrator" .

Now type the following command:
Get-WmiObject Win32_process -filter 'name = "ProcessName"' | foreach-object { $_. SetPriority(PriorityLevelID) }
Replace ProcessName with the full name of the application executable (and its extension) and PriorityLevelID with High priority ID number 128.

Then press Enter. That's it, you've used PowerShell to set your app as high priority.
Method 2: Use the wmic command in the command prompt
The command prompt command is slightly easier to handle. Here's how to use it to give an application high priority:
Press Start, type cmd, then right-click on the top matching result and select to manage Run as member".

Now type the following command:
wmic process where name="ProcessName" CALL setpriority ProrityLevelID
Make sure Replace ProcessName with the name of your application and PriorityLevelID with 128 (for high priority), as follows:

Then press Enter. The application's priority will be set to high.
Method 3: Start high-priority applications
So far, we have learned how to set the priority of applications that are already running. But you can also use Command Prompt to launch high-priority applications. That's it:
Open a command prompt with administrative rights and type the following command:
start ""/'Prioritylevel' "ApplicationPath"
Make sure to replace "Prioritylevel" with High (without quotes) and ApplicationPath with the full path to your application (with quotes).

That's it, you launched the application with high priority.
Method Four: Permanently Set App High Priority
By default, all changes you make to application priority will be reset after you restart your PC. To make the changes permanent, we'll add a Command Prompt command to the application's shortcut.
First, navigate to the application’s folder, right-click it and select Show more options.

Then select Send to , then select Desktop (create shortcut).

Now right click on the shortcut and select Properties.

Next to the Target field you should see the location of your application.

Move the cursor to the beginning of the location path and copy the following:
%windir%\system32\cmd.exe /c start "" /high
and paste it before the location of the application in the Target field. It should look like this:

#Then click OK.

Now every time you run this application using the shortcut, it will run with high priority.

Method 5: Use Task Manager to change the processor affinity of a high-priority application
Processor affinity is not the same as the application's priority. Without changing priorities, this option lets you decide how many CPU cores you want your application to be able to use. If you give a relatively heavy application high priority, limiting its CPU core usage can help lighten the load on your PC so that essential services can run smoothly.
This change can be made from Task Manager. Press Ctrl Shift Esc to open it. Then click on the hamburger icon in the upper left corner. 
Then select Details.

Search for your application, right-click on it and select Set affinity.

#Here, limit the number of CPU cores available to the application by unchecking some processors.

Then click "OK" .

Should you run your application with real-time priority?
In almost all cases, the answer is no. Real-time priority is primarily reserved for applications that must "talk" directly to the hardware, such as the keyboard and mouse, or perform tasks that require minimal interruption. If you have an application running with real-time priority, you can almost always expect Windows registration to have issues with even the most basic commands.
The above is the detailed content of How to safely set high priority for apps in Windows 11?. For more information, please follow other related articles on the PHP Chinese website!
 如何在 Windows 11 上安装 CAB 文件Apr 30, 2023 pm 10:10 PM
什么是CAB文件?CAB文件的扩展名为.cab,是WindowsCabinet文件的缩写。这是一种压缩文件,通常用于压缩设备驱动程序或更新文件等软件安装包。CAB文件支持无损压缩,这使得该格式非常适合压缩文件,其中文件可以准确提取至关重要,例如驱动程序和其他更新。如何使用命令提示符在Windows11上安装CAB文件在Windows11上安装CAB文件有多种方法。其中一种方法是使用命令提示符来提取和安装文件。您还可以使用较新的WindowsPowerShell
 如何修复 Valorant 瓦罗兰特出现需要重启系统才能玩的问题?Apr 24, 2023 pm 11:58 PM
在线FPS游戏中作弊一直是个大问题,即使Valorant不存在。它会破坏游戏体验,降低玩家对游戏的兴趣。Valorant从其初期阶段开始就试图通过自己的RiotVanguard保护系统来克服这一不足。安装游戏一次就需要重启系统,完全正常,Vanguard系统会自动启动。但是,如果您重新启动系统后仍然看到“您的游戏需要重新启动系统才能玩。请重新启动您的计算机。”在首页留言?这个问题很多用户都遇到过,不用担心。请遵循这些修复程序以获得快速解决方案。修复1–不要退出先锋重新启动计算机后
 如何在Windows PC上修复应用程序错误0xc0000906Apr 18, 2023 pm 10:55 PM
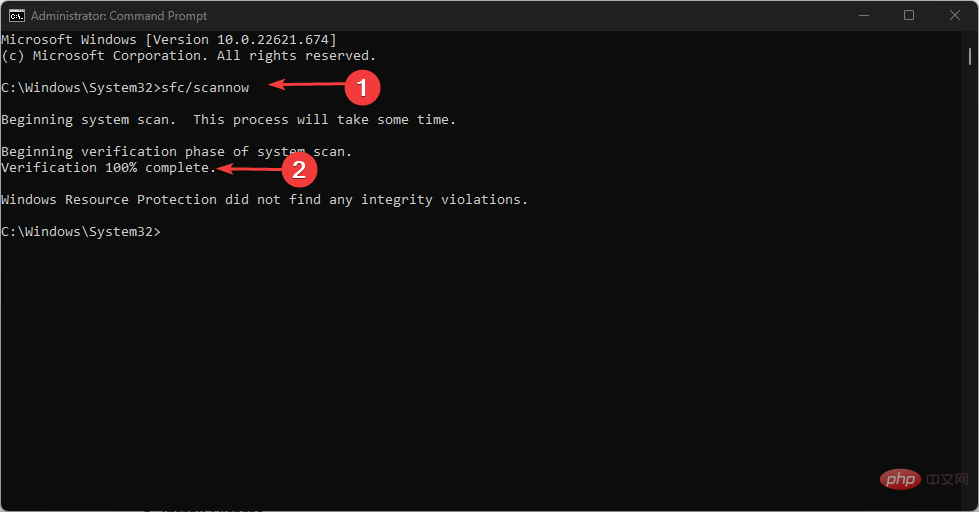
一些用户在尝试在其系统上运行应用程序时遇到错误“应用程序错误0xc0000906”,他们将无法继续。系统上的单个应用程序或多个应用程序可能会遇到此错误。这可能是由于文件损坏、缓存问题、使用可能会阻止软件应用程序的第三方防病毒软件等。在本文中,我们有一些解决方案可以帮助用户消除错误。尝试执行命令来扫描系统文件,并禁用防病毒软件,如下所述。所以让我们开始吧!方法1:运行SFC和DISM扫描步骤1–以管理员身份打开命令提示符。为此,请在窗口搜索栏中键入cmd,然后同时按住ctrl+shift键并按回车
 如何快速解决Windows激活错误代码0xc004c020?Apr 26, 2023 pm 03:19 PM
我们的许多读者在尝试将计算机连接到组织的服务器时0xC004C020报告了错误。此错误会阻止激活其Windows操作系统。虽然错误可能令人沮丧,但我们将在尝试在组织链接的计算机上激活Windows时指导您解决错误0xC004C020。导致错误0xC004C020的原因是什么?如果您尝试在与组织链接的计算机上激活Windows并遇到错误0xC004C020,则可能的原因可能如下所示:非MAK密钥–如果在组织链接的计算机上使用非MAK密钥,则组织的策略将不允许激活它。格式化后密钥访问丢
 如何在 Windows 11 上修复 srttrail.txtApr 18, 2023 am 10:43 AM
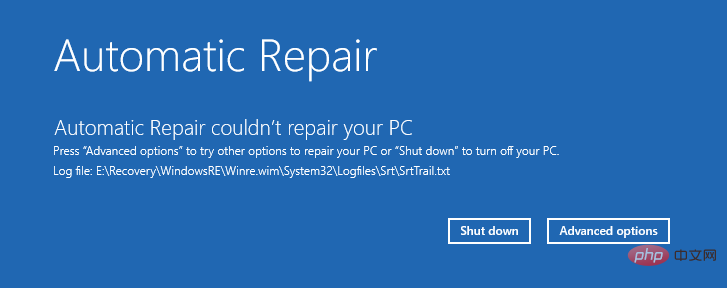
对于Windows用户来说,没有什么比不得不面对蓝屏错误更烦人的了,尤其是伴随着系统崩溃的错误。srttrail.txt错误就是其中之一。虽然从技术上讲不是BSOD,但自动修复环境中的错误仍然是导致Windows脱轨的更深层次问题的症状,需要干预。什么是srttrail.txt错误?消息中提到的srttrail.txt文本文件只是Windows在无法正常启动时维护的所有实例的日志,如果Windows在启动时卡住,它将继续出现。此错误消息主要发生在系统启动时,但也可能在Windo
 如何解决 Windows 11 中 srttrail.txt BSOD 错误?Apr 27, 2023 am 09:22 AM
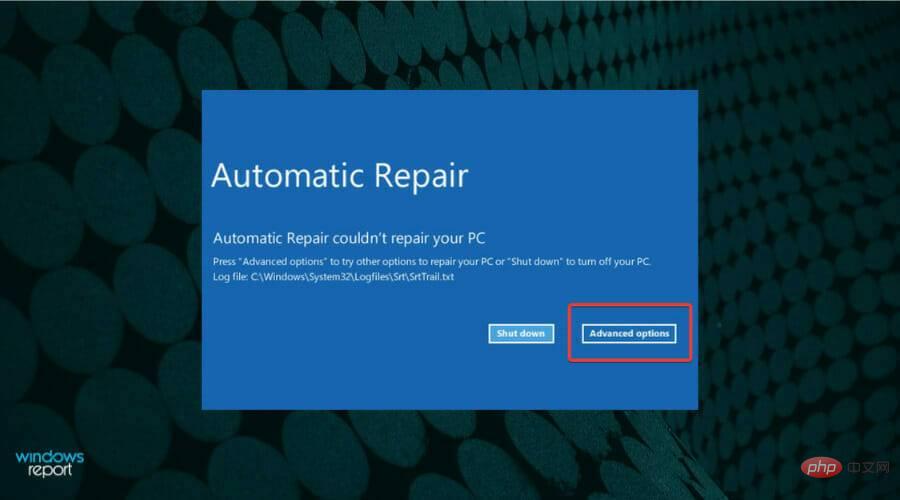
从自动修复窗口中选择高级选项。单击疑难解答。接下来,再次从此处列出的两个选项中选择高级选项。单击命令提示符。现在,粘贴以下命令并点击Enter禁用AutomaticRepair。bcdedit/set{default}recoveryenabledNo命令执行完毕后,重启电脑。禁用自动修复后,检查Windows11中的srttrail.txt错误是否消除。3.修复主引导记录(MBR)您现在知道如何访问高级选项,并且从现在开始的所有修复都将仅从此窗口开始。从高级选项启动命令提示符窗口。粘
 无法删除在系统中打开的 ISO 文件:如何修复Apr 16, 2023 pm 02:25 PM
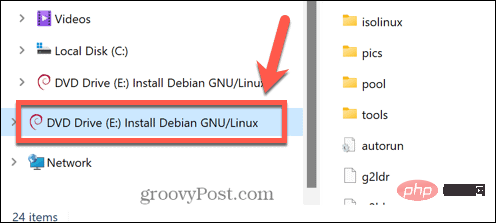
什么是 ISO 文件?ISO 文件是一种包含光盘(例如 DVD 或 CD)的精确副本的文件。这种类型的光盘映像可以安装在您的计算机上,看起来就像您的计算机上连接了一个光驱,光驱中插入了包含数据的 CD 或 DVD。ISO 文件还可用于刻录创建它们的 DVD 或 CD 的新副本,或者只是将大量文件包含在一个易于下载的单个文件中。ISO 文件通常相当大;用完它们后,您很可能会想将它
 WHEA记录器:这意味着什么以及如何修复它Apr 18, 2023 pm 04:46 PM
WindowsPC是先进的,并且具有许多组件,使其适用于各种目的。但是,用户在使用PC时容易遇到几个问题。WHEA记录器是Windows用户中常见的最近错误,通常伴随着许多事件ID。它与硬件问题有关,可以在PC上的任何活动期间生成。此外,您可能对我们有关WHEA内部错误的详细文章以及解决它的一些修复程序感兴趣。什么是WHEA记录器?Windows硬件错误体系结构(WHEA)是WindowsPC中的一个组件,每当发生硬件错误时,它都会引发Windows事件跟踪(ETW)

Hot AI Tools

Undresser.AI Undress
AI-powered app for creating realistic nude photos

AI Clothes Remover
Online AI tool for removing clothes from photos.

Undress AI Tool
Undress images for free

Clothoff.io
AI clothes remover

AI Hentai Generator
Generate AI Hentai for free.

Hot Article

Hot Tools

Dreamweaver Mac version
Visual web development tools

MinGW - Minimalist GNU for Windows
This project is in the process of being migrated to osdn.net/projects/mingw, you can continue to follow us there. MinGW: A native Windows port of the GNU Compiler Collection (GCC), freely distributable import libraries and header files for building native Windows applications; includes extensions to the MSVC runtime to support C99 functionality. All MinGW software can run on 64-bit Windows platforms.

MantisBT
Mantis is an easy-to-deploy web-based defect tracking tool designed to aid in product defect tracking. It requires PHP, MySQL and a web server. Check out our demo and hosting services.

Atom editor mac version download
The most popular open source editor

Notepad++7.3.1
Easy-to-use and free code editor


