MS Teams has become one of the most important tools for businesses, especially in the pandemic remote working scenario. The application has many features designed to make your daily working life easier. Teams allows users to share content through shared desktop screen sharing, allowing for greater collaboration during work. This feature has its own challenges and advantages. One of them is audio content sharing. Sharing your regular desktop screen for visual presentations is a simple task. However, things get tricky when audio content is involved. Whenever there is any audio content to be shared in a meeting, presenters often make mistakes. Proper preparation can help overcome these basic mistakes.
Include sound content when sharing screen on MS Teams for an entire meeting
Step 1: In your MS Teams window, go to Calendar and select any meeting you want to join. Step 2: Click Meet now and start the meeting. Step 3: Click
  to join now.
  Note: In this example, we will start the individual meeting without inviting anyone. Step 4: Now go to the top right corner and click on the Share content icon. Step 5: Select the switch to
  Include computer sounds.
  NOTE: This feature will include all system sounds for everyone in the meeting to hear. This includes any notification sounds, meeting reminders, videos, or any other audio reminders. Step 6: Select the screen you want to share from the options. While this feature is useful if we want to display full audio content, there may be some presentations that have minimal audio content. For this case, you can choose to turn audio on or off at any time while sharing your screen.
  Include audio content from presentation bar
Step 1: Go to
Calendar and click Meet Now. Then select to start the meeting. Step 2: Go to the upper right corner and click on the
  Share Content icon.
  Note: Allow switching off including computer sound. Step 3: While actively sharing your screen, roll your mouse to the top of the screen to see the
  Presentation Control Bar. Step 4: Click the button to
  Include computer sounds in the control bar to share the sound. This will ensure you share the required audio content during your presentation. Step 5: To remove the audio sharing feature, click the same button on the presentation control bar.
  This feature ensures that your presentation is smooth and sounds are played when needed. Hope this article was useful and informative.
The above is the detailed content of How to include system sounds when sharing your screen on Microsoft Teams. For more information, please follow other related articles on the PHP Chinese website!
 如何在 iPhone 屏幕录制中隐藏动态岛和红色指示器Apr 13, 2023 am 09:13 AM
在iPhone上,Apple 的屏幕录制功能会录制您在屏幕上所做的事情的视频,如果您想捕捉游戏玩法、引导他人完成应用程序中的教程、演示错误或其他任何事情,这非常有用。在显示屏顶部有凹口的旧款 iPhone 上,该凹口在屏幕录制中不可见,这是应该的。但在带有 Dynamic Island 切口的较新 iPhone 上,例如 iPhone 14 Pro 和 iPhone 14 Pro Max,Dynamic Island 动画显示红色录制指示器,这导致切口在捕获的视频中可见。这可能会
 如何在 iOS 16 上为主屏幕和锁定屏幕设置不同的壁纸Apr 13, 2023 pm 12:49 PM
如何在 iPhone 上为主屏幕和锁定屏幕设置不同的壁纸以下是您可以为 iPhone 的 iOS 16 及更高版本的主屏幕和锁定屏幕选择不同壁纸的方法:打开“设置”应用转到“壁纸”找到当前的壁纸选择,然后点击主屏幕侧下的“自定义”选择您要使用的自定义壁纸;照片、渐变、颜色、模糊等点击“完成”将主屏幕壁纸设置为与锁定屏幕壁纸不同如果您想自定义锁屏壁纸或其他壁纸细节,请执行此操作,否则点击“完成”以完成并将更改设置为您的 iPhone 壁纸大多数用户可能希望以这种方式自定义他们当前的锁定屏幕和主屏幕
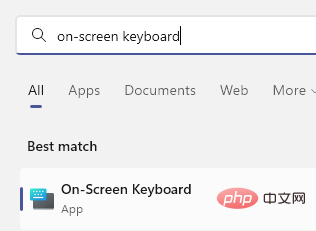 如何在 Windows 11/10 上轻松创建屏幕键盘的桌面快捷方式Apr 13, 2023 pm 05:16 PM
对于喜欢使用屏幕键而不是物理键盘的人来说,虚拟键盘是一个很好的选择。不仅因为它更容易,还因为它带有附加功能。此外,屏幕键盘可助您一臂之力,尤其是在物理键盘停止工作时。当屏幕键盘对您有很大帮助时,硬件故障是另一种情况。虚拟键盘允许您在鼠标的帮助下键入任何内容,同时它还允许您更改键盘语言,这与物理键盘不同。在这种情况下,您需要快速访问屏幕键盘,您可以通过为虚拟键盘创建桌面快捷方式来实现。在这篇文章中,我们将展示如何在 Windows 11 或 Windows 10 上轻松创建屏幕键盘的桌面快捷方式。
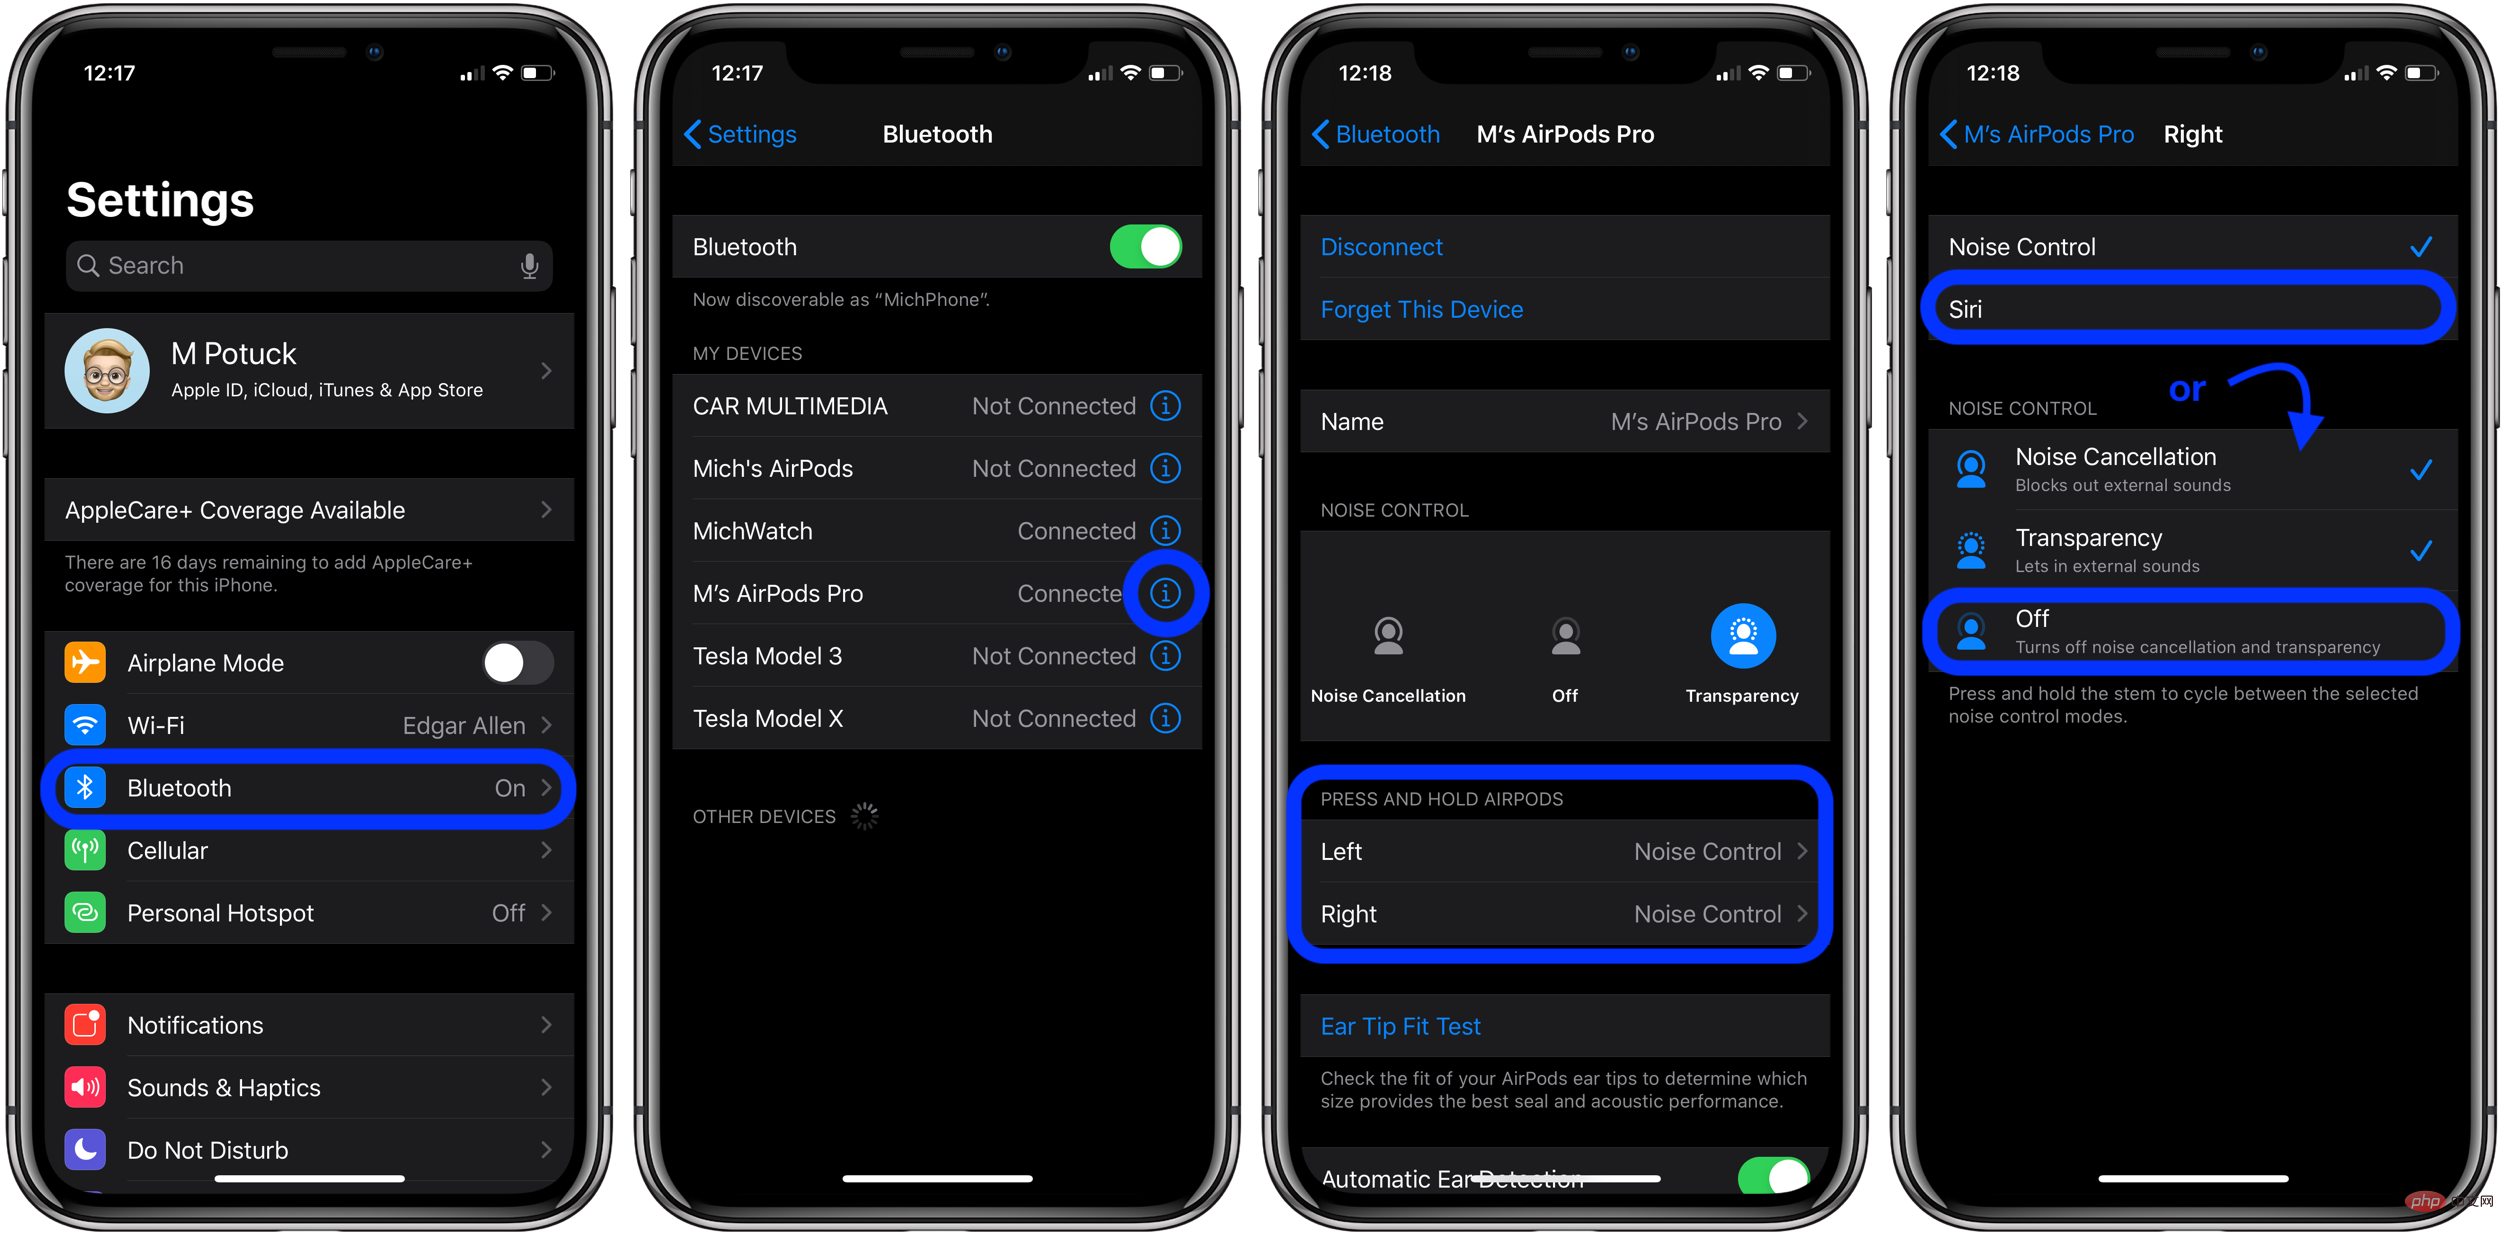 AirPods Pro 和 AirPods 3:如何更改力传感器控件Apr 13, 2023 am 11:43 AM
AirPods Pro具有出色的功能,例如降噪和采用入耳式设计的透明模式。为了在这些功能和其他功能之间切换,AirPods Pro(和 AirPods 3)杆中的力传感器可提供轻松控制。继续阅读以了解如何更改 AirPods 控件,包括按压速度、按压持续时间以及左右力传感器的功能等等。AirPods gen 1 和 2使用耳塞上的双击进行控制。但AirPods Pro 和 AirPods 3使用内置在每个耳塞杆中的压力传感器。我们将介绍三种在降噪、透明度和关闭之间切换的方法,如何自定义力度传感器
 在 Apple Watch 上记录心电图:分步教程Apr 13, 2023 pm 12:16 PM
哪款 Apple Watch 支持心电图 (ECG) 测量?由于记录心电图需要您的 Apple Watch 配备电子心脏传感器,这意味着 ECG 应用程序仅适用于部分 Apple Watch 型号。这些包括:苹果手表系列 4苹果手表系列 5苹果手表系列 6苹果手表系列 7苹果手表系列 8Apple Watch Ultra如果您拥有 Apple Watch Series 3、Watch SE 或更旧的设备,您将无法记录您的心跳和节律来制作心电图。 在 Apple Watch 上使用心电图需要什么?
 如何更改 iPhone 主屏幕和锁定屏幕上的壁纸Apr 13, 2023 pm 01:49 PM
如何更改 iPhone 主屏幕和锁定屏幕上的壁纸为您的 iPhone 或 iPad 设置墙纸会将墙纸设置为与锁定屏幕和主屏幕相同的墙纸。但是,您也可以让您的锁定屏幕显示一张壁纸,而主屏幕显示不同的内容。为 iPhone 主屏幕和锁定屏幕设置不同的墙纸:从 iPad 或 iPhone 主屏幕打开“设置”应用程序。向下滑动并从选项列表中选择墙纸。找到您当前的墙纸,然后点击主屏幕 下的自定义选项。现在,从屏幕底部的选项栏中选择您要使用的自定义墙纸。请注意,您可以选择Color、Gradient以及可能
 如何强制重启 iPhone 13、iPhone 13 Pro、iPhone 13 MiniApr 13, 2023 pm 02:16 PM
如何强制重启 iPhone 13 Pro、iPhone 13 Mini 和 iPhone 13以下是重启 iPhone 13 系列的方法:首先,按下并释放音量调高按钮接下来,按下并释放降低音量按钮最后长按电源键,电源键位于iPhone 13系列的右侧继续按住电源按钮,直到您看到屏幕上出现 Apple 标志看到 Apple 标志后,表示重启已启动,您可以松开按钮。iPhone 将重新启动,由于强制重启的性质,重新启动可能需要比平时稍长的时间。至此,您已成功强制重启 iPhone 13 Pro
 概念:Apple 如何将 HomePod mini 变成令人愉悦和可爱的智能显示器Apr 13, 2023 pm 04:25 PM
Apple 的家庭战略已经无处不在,但他们似乎终于对 HomePod mini 产生了影响。关于苹果制造带显示屏的 HomePod 的谣言四起,但街上的消息是,正在测试的产品看起来很像安装在扬声器上的 iPad。他们不应制造与谷歌和亚马逊产品非常相似的科学怪人产品,而应采用他们为 HomePod mini 制定的蓝图,并将其用作独特的环境智能显示器的基础。有角度的圆形显示器HomePod mini 的顶部表面会亮起五颜六色的 Siri 动画,但它实际上无法显示任何类型的内容或控件。事实上,Hom

Hot AI Tools

Undresser.AI Undress
AI-powered app for creating realistic nude photos

AI Clothes Remover
Online AI tool for removing clothes from photos.

Undress AI Tool
Undress images for free

Clothoff.io
AI clothes remover

AI Hentai Generator
Generate AI Hentai for free.

Hot Article

Hot Tools

EditPlus Chinese cracked version
Small size, syntax highlighting, does not support code prompt function

MantisBT
Mantis is an easy-to-deploy web-based defect tracking tool designed to aid in product defect tracking. It requires PHP, MySQL and a web server. Check out our demo and hosting services.

Safe Exam Browser
Safe Exam Browser is a secure browser environment for taking online exams securely. This software turns any computer into a secure workstation. It controls access to any utility and prevents students from using unauthorized resources.

Dreamweaver CS6
Visual web development tools

PhpStorm Mac version
The latest (2018.2.1) professional PHP integrated development tool


