


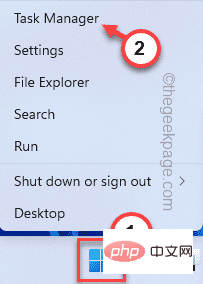
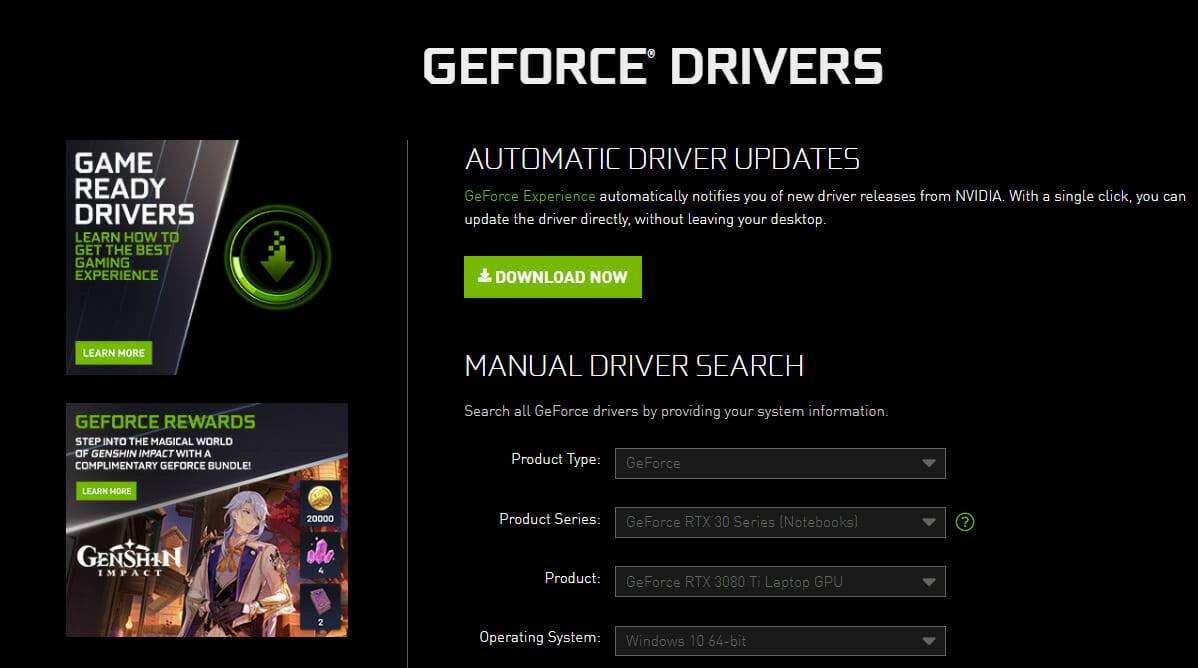
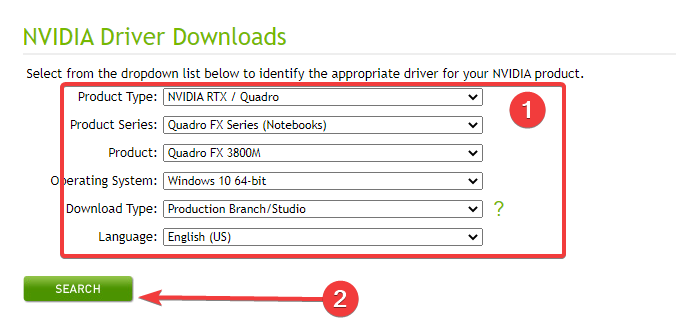
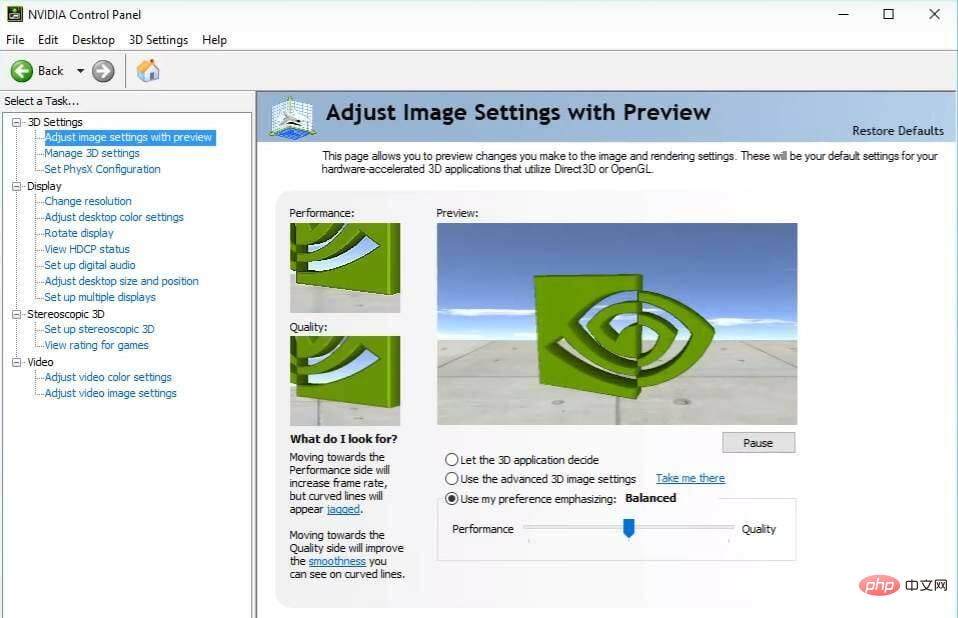
Nvidia graphics cards are probably one of the best graphics cards out there and a lot of users are using them for this system due to their excellent performance. However, some users have reported that Nvidia drivers keep crashing in Windows 11. Drivers play a key role in the efficient operation of every piece of hardware connected to your PC. They relay commands between the operating system and the device and are specific to both. If these stop functioning or crash, you may be experiencing issues with that specific device. For example, if the printer driver isn't working, you won't be able to use the printer, but other components will work fine. However, this is not the case with display drivers as they are critical and their crash can lead to black screen in Windows 11. Therefore, you must determine what is causing Nvidia driver to keep crashing in Windows 11 and the most effective solution to the problem. Read on to find out the answers to both questions. Why do Nvidia drivers keep crashing in Windows 11? If your Nvidia driver keeps crashing in Windows 11, it's most likely that it's corrupted or out of date. The former is fairly easy to identify and fix, while the latter will take some time on your part. Apart from that, it could also be a bug in the current version of the driver itself. This should be obvious if you start having issues after updating. Nvidia drivers can also crash if your GPU is low on memory. Misconfigured settings and corrupted system files can also cause Nvidia driver crashes. Additionally, some applications (usually third-party antivirus software) conflict with the functionality of the driver and operating system and cause them to fail in Windows 11. No matter what the root cause is, there is always a solution. In the following section, we have listed the best ways to fix the issues that cause Nvidia drivers to keep crashing in Windows 11. What should I do if Nvidia drivers keep crashing in Windows 11? 1. Reinstall the NVIDIA driver Press Windows S to launch the search menu, enter Device Manager in the text field at the top, and click on the relevant search results. Next, double-click the Display Adapters entry to expand and view the graphics card beneath it. Right-click on the Nvidia adapter and select Uninstall Device from the context menu. Check the Attempt to remove the driver for this device checkbox and click Uninstall at the bottom. Now, restart your computer and once turned on, Windows will automatically install a new copy of the driver. Nvidia drivers will keep crashing in Windows 11 if the currently installed driver is corrupted. Corrupted drivers have a warning sign near the lower left corner of their icon in Device Manager, which helps identify these easily. 2. Update NVIDIA Driver Press Windows X or right-click the Start icon to launch the quick access menu and select Device Manager from the list of options. Double-click the Display Adapter entry. Select the Automatically search for drivers option in the Update Driver window. Windows will now scan your system for the best available driver and install it for the graphics card. If you can't find the latest version using Device Manager, don't forget to check the Windows Update section for driver updates. 3. Download the Nvidia driver from the official website and install it. Press the Windows R startup and run command, enter dxdiag in the text field, and then click OK or Enter to start the DirectX diagnostic tool. Navigate to the Display tab and check all the information about the installed Nvidia graphics card. Open any web browser, visit Nvidia's official website, select the relevant option from each drop-down menu based on the Nvidia graphics card installed on your system, and click Search. Now, click on Download to get the driver settings. Click the "Download" button again on the next page. Once the download is complete, double-click the file to launch the installer and follow the on-screen instructions to complete the installation process. Once done, restart your computer for the changes to take effect and check if the Nvidia driver still keeps crashing in Windows 11. 4. Reconfigure settings in Nvidia Control Panel Launch Nvidia Control Panel from the search menu. Next, select the Manage 3D Settings option under 3D Settings from the left navigation pane. Click the Vertical Sync drop-down menu and select Off from the list of options. Also, make sure the power management mode is set to Prefer maximum performance. Save the changes, restart your computer, and check if the error is fixed. 5. Run DISM Tool and SFC Scan Press Windows S to launch the search menu, enter Windows Terminal in the text field, right-click on the relevant search result and select Run as administrator from the context menu. Click Yes on the UAC (User Account Control) prompt that pops up. Click the down arrow at the top and select Command Prompt from the list of options. Alternatively, you can press Ctrl Shift to launch Command Prompt in a new tab 2. Now, paste the following commands one at a time and click Enter after each command to run the DISM tool: Dism /Online /Cleanup-Image /ScanHealthDism /Online /Cleanup-Image /CheckHealthDism /Online /Cleanup-image /RestoreHealth Once completed, Run the SFC scan by executing the following command: sfc /scannow The DISM (Deployment Image Servicing and Management) tool checks for operating system issues and resolves them.Additionally, it can modify Windows images or Windows installation files if problems need to be fixed. SFC (System File Checker) scan is used to identify corrupted system files and then replaces them with cached copies stored on the system. Corrupted system files are known to cause a range of problems, making it necessary to run an SFC scan to resolve the issue. After executing these two commands, check if the Nvidia driver still keeps crashing in Windows 11. If this is the case, move on to the next method. 6. Uninstall conflicting applications Press Windows I Launch Settings and select Applications from the tabs listed in the left navigation pane. Next, click Apps & Features on the right. Find the conflicting app, click the ellipsis next to it, and select Uninstall from the menu. Again, click Uninstall in the pop-up confirmation prompt. If you start experiencing errors after installing an application, it is possible that the application is conflicting with the functionality of the driver and we recommend that you uninstall it immediately. Some third-party antivirus software is known to cause Nvidia drivers to continually crash in Windows 11 errors. If you have any installed, delete them. Additionally, some of them come with dedicated tools to uninstall them efficiently. Make sure to use it if available. 7. Run Windows Memory Diagnostic Tool Press Windows S to launch the search menu, enter Windows Memory Diagnostic in the text field, and click on the relevant search results that appear. Next, select the Restart now and check for problems option. Make sure to save all open files before proceeding with this method to avoid data loss as your computer will restart during the process. 8. Reset Windows 11 If none of the fixes listed above work, you have no choice but to reset Windows 11 to its factory settings. Resetting the system eliminates various software-related issues. However, this process will delete all data on your computer and reconfigure settings to their default state. Therefore, always use this method as a last resort. How to disable automatic Nvidia driver updates in Windows 11? Press Windows S to launch the search menu, enter change device installation settings in the text field at the top and click on the relevant search result. Now, select the No checkbox (your device may not work as expected) and click Save Changes at the bottom. If you don't want automatic driver downloads or other features in Windows 11, making these changes may help. Keep in mind that this may affect your experience when connecting new peripherals to your computer. With the Nvidia driver crashing issue resolved in Windows 11, you can continue working on your PC without experiencing frequent crashes.
The above is the detailed content of Nvidia driver keeps crashing in Windows 11? Fix now. For more information, please follow other related articles on the PHP Chinese website!

 NVIDIA 控制面板无法在 Windows 11 中打开/工作问题修复Apr 13, 2023 pm 11:10 PM
NVIDIA 控制面板包含您可以调整的所有内容和设置,以提取显卡的全部功能。因此,当 NVIDIA 控制面板停止工作时,您无法更改许多想要更改的设置,除非您找到修复程序以再次制作 NVIDIA 控制面板。修复 1 – 杀死所有 NVIDIA 进程您必须终止所有 NVIDIA 进程并重新启动文件资源管理器进程。1. 尝试打开 NVIDIA 控制面板。Windows 将尝试启动 NVIDIA 控制面板。它不会打开。不用担心。2. 现在,只需右键单击 Windows 图标,然后点击“任务管理器”。4.
 NVIDIA 安装程序无法继续?4个简单的方法来解决它Jun 03, 2023 am 09:52 AM
NVIDIA安装程序无法继续是一条错误消息,会阻止您为显卡安装驱动程序。无论您尝试在计算机上安装多少次,您几乎肯定会一遍又一遍地收到相同的消息。此外,此错误发生在各种驱动程序和Windows迭代中,表明存在多种潜在原因。也就是说,它不排除任何人,对于许多用户来说,解决问题可能是一种令人沮丧的体验。幸运的是,以下方法中的一种(如果不是更多)很有可能对您有效,因此请继续阅读以找出哪种方法最有效。即使驱动安装失败,在您下载并安装驱动后,安装操作系统的分区中也会创建一个NVIDIA文件夹。这是因为它会在
 NVIDIA控制面板打不开问题修复May 19, 2023 pm 03:22 PM
在Windows中,NVIDIA控制面板基本上是一种用于管理显卡中的图形驱动程序设置和NVIDIA实用程序的工具。显卡对于游戏、3D动画和渲染视频非常重要。所以,我们需要一个控制面板来管理显卡的设置。它将帮助用户更改显示质量、大小、方向等。有时由于使用了错误的图形驱动程序,控制面板无法打开或工作。每个图形适配器都有一个特定的图形驱动程序,因此选择正确的驱动程序将为您提供最佳的游戏优化。在某些情况下,系统中使用的防病毒软件可能会产生一些干扰。让我们看看解决此问题的一些方法NVIDIA无法
 在 Windows 11 上使用的最佳 Nvidia 驱动程序是什么?May 22, 2023 pm 04:12 PM
NVIDIA生产了许多业内最佳的显卡。多年来,它不断为PC游戏玩家、动画师、平面设计师、视频编辑和其他GPU密集型职业提供GPU。但是,您必须确保在您的操作系统上使用兼容的NVIDIA驱动程序。虽然Windows11具有适应性,但并非您在其他操作系统上使用过的所有驱动程序都可以正常工作。在这里,我们将分享与Windows11PC兼容的最佳NVIDIA显卡驱动程序。最后,您可以按照几个简单的步骤来纠正NVIDIA控制面板的问题,而不是打开.Windows11是否有N
 修复 Windows 11 中缺少的 NVIDIA 控制面板的 5 个技巧Apr 19, 2023 pm 05:10 PM
几位NVIDIA显卡用户报告说,Windows11中缺少NVIDIA控制面板。造成这种情况的可能原因有多种,包括显卡驱动程序错误、软件过时、注册表子项和值丢失,或随机错误。除了提供对NVIDIA图形驱动程序设置的控制之外,该面板还允许您访问和使用您可能已安装在系统上的其他NVIDIA实用程序。建议您在获得运行显卡所需的驱动程序后立即下载并在您的设备上安装NVIDIA控制面板。该软件的使用对于那些使用3D应用程序或狂热的Windows游戏玩家特别有益。您可以详细了解您的系统在使
 修复:没有 Dc 水印 NVIDIA / 游戏 - 屏幕左上角的 Adobe 没有 DcApr 30, 2023 am 08:22 AM
一些NVIDIAStudio驱动程序用户最近报告了在AdobePremierePro应用程序上看到“NODC”水印的问题。一些用户还报告说也看到了“YESDC”水印。但是,别担心。这都是由于NVIDIA核心文件中的bin文件损坏所致。因此,只需在文件资源管理器中找到该文件并删除损坏的文件,然后重新启动即可解决问题。或者,您可以只恢复默认的NVIDIA3d设置。按照这些修复程序快速解决问题。修复1–删除NVIDIAbin文件按照以下步骤从系统中删除n
 和TensorFlow一样,英伟达CUDA的垄断格局将被打破?Apr 13, 2023 pm 01:04 PM
十年来,机器学习软件开发的格局发生了重大变化。许多框架如雨后春笋般涌现,但大多数都严重依赖于英伟达的 CUDA,并在英伟达的 GPU 上才能获得最佳的性能。然而,随着 PyTorch 2.0 和 OpenAI Triton 的到来,英伟达在这一领域的主导地位正在被打破。谷歌早期在机器学习模型架构、训练、模型优化方面都具有很大优势,但现在却难以充分发挥这些优势。而在硬件方面,其他 AI 硬件公司很难削弱英伟达的统治地位。直到 PyTorch 2.0 和 OpenAI Triton 出现,机器学习
 英伟达发布ChatGPT专用GPU,推理速度提升了10倍May 13, 2023 pm 11:04 PM
曾何几时,人工智能因为算力不足进入了长达数十年的瓶颈,GPU点燃了深度学习。在ChatGPT时代,AI因为大模型再次面临算力不足的问题,这一次英伟达还有办法吗?3月22日,GTC大会正式召开,在刚刚进行的Keynote上,英伟达CEO黄仁勋搬出了为ChatGPT准备的芯片。「加速计算并非易事,2012年,计算机视觉模型AlexNet动用了GeForceGTX580,每秒可处理262PetaFLOPS。该模型引发了AI技术的爆炸,」黄仁勋说道。「十年之后,Tr

Hot AI Tools

Undresser.AI Undress
AI-powered app for creating realistic nude photos

AI Clothes Remover
Online AI tool for removing clothes from photos.

Undress AI Tool
Undress images for free

Clothoff.io
AI clothes remover

AI Hentai Generator
Generate AI Hentai for free.

Hot Article
Hot Tools

Atom editor mac version download
The most popular open source editor

Dreamweaver CS6
Visual web development tools

Safe Exam Browser
Safe Exam Browser is a secure browser environment for taking online exams securely. This software turns any computer into a secure workstation. It controls access to any utility and prevents students from using unauthorized resources.

MantisBT
Mantis is an easy-to-deploy web-based defect tracking tool designed to aid in product defect tracking. It requires PHP, MySQL and a web server. Check out our demo and hosting services.

Zend Studio 13.0.1
Powerful PHP integrated development environment

