Several Windows users have recently reported that their brightness adjustment slider is suddenly stuck/grayed out or missing on their windows 11,10 systems and they are unable to change the brightness level on their systems. Some other Windows users reported that after they updated their bios or made some changes to the bios settings.
There may be several reasons for this problem in the system, it may be because the Windows system and graphics card driver are not updated. This may also be due to disabling the monitor driver and because some users may have unknowingly removed the brightness settings option from the action center on the taskbar.
If you are facing a similar issue like the brightness slider option is frozen or missing on your system, then all the solutions given in this article can prove to be of great help in resolving the issue. We came up with these solutions after extensive investigation into the cause of this issue, so read on...
Fix 1 – Make sure the monitor driver is enabled and updated
Disabled The monitor driver can be the cause of such issues on any Windows device, so we recommend users to try enabling the monitor driver through Device Manager using the following steps.
Step 1: Press the Windows and R keys simultaneously to open the Run command box in the lower left corner of the screen, as shown in the figure below.
Step 2: Then, type devmgmt.msc ,thenpress the Enter key## in the run text box #Open Device Manager.

Monitor from the device list and double-clickit to expand it.
Step 4: Next,right-click on the DisplayDriver and click Enable from the context menu if it was disabled previously. Otherwise, it will show the disabled option in the context menu.

right-click DisplayDriver again and select## from the context menu #Update Driver as shown below.
 Step 6: Next, select the
option from the window that appears on the screen as shown below .
 Step 7: Then, click
from a list of available drivers on my computer to continue.
 Step 8: Select the monitor driver (
) from the compatible hardware list as shown in the image below and click Next step.
 Step 9: It will start updating the monitor driver you selected from the list and once it is completed, it will throw a success message window.
 Step 10: Once completed, close the Device Manager window and see if the issue is resolved.
Fix 2 – Update Windows System
If you don’t have an updated Windows system, it may create the issue mentioned above in this article as Microsoft releases updates that are essential to keep your system updated to update It is very necessary to run well and have a good user experience. So let us see how to update windows system.
Step 1: Press the
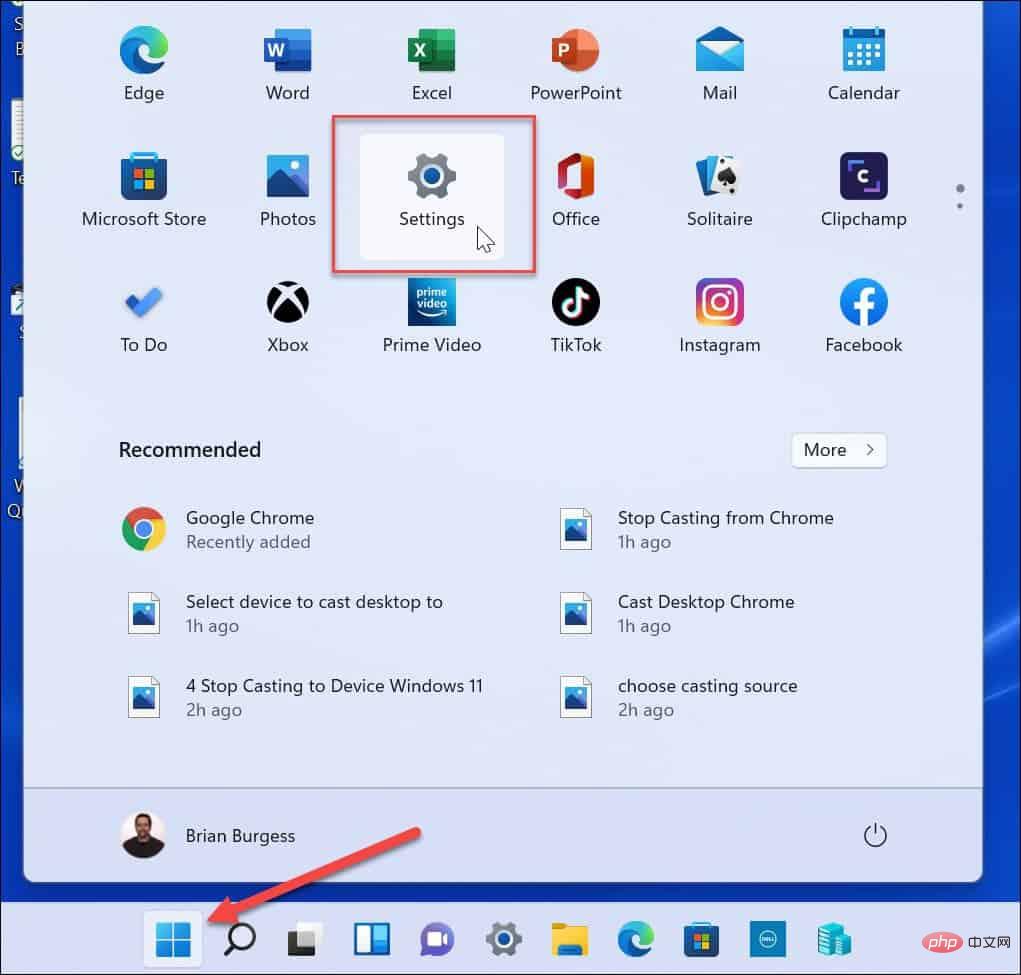
Windowskey on your keyboard and type settings. Step 2: Then, select
Settingsfrom the search results as shown below.
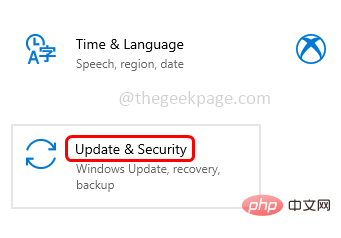
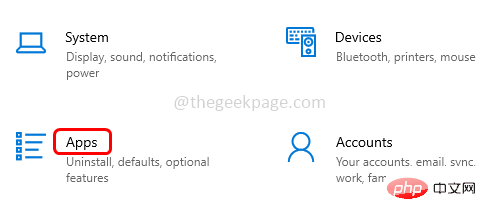
 Step 3: Once the Settings page opens, go to the
 Step 4: Later, click on the
Step 5: Now it will start checking for any updates and if it finds any, download and install them. Step 6: Restart the system after completion to take effect. The display adapter is also important and needs to be updated regularly for brightness or any other display related issues on your system. Here are a few steps to follow to update your display adapter using Device Manager. Step 1: Press and hold the Windows and X keys on your keyboard simultaneously. Step 2: This will display the context menu of the Start button on the taskbar. Step 3: Select Device Manager from the list by clicking as shown below. Step 4: In the Device Manager window that just opened, double-click Display Adapters in the device list to expand it. Step 5: Now right click on Intel(R) UHD Graphicsetc display adapter and click on Update Driver. Step 6: Click on the Automatically search for drivers option in the update window that appears on the screen as shown below. Step 7: It will start updating the display adapter and once completed, it will display a success message as shown below. Then, click Close to close the window. Step 8: After that, close the Device Manager window. If none of the above fixes helped you, then this is probably the last thing you need to install this awesome app called Twinkle Tray The best solution, this app is for adjusting the brightness level of your monitor using keyboard shortcuts. Let us start with how to install and use Twinkle Tray application on windows system. Step 1: Press the Windows key and type microsoft store. Step 2: Press the Enter key to open the Microsoft Store app on your system. Step 3: In the Microsoft Store app, type blink tray in the search bar at the top of the app. Step 4: Select the Twinkle Tray:Brightness Slider app from the search results drop-down list as shown below. Step 5: Click Get to start downloading and installing the application on your system. Step 6: Now it will start downloading and installing the application. Step 7: Once completed, open the twinkle tray application on your system by pressing the Windows key and typing twinkle tray. Step 8: Then, select the Twinkle Tray app from the search results as shown below. Step 9: Open the system tray on the right side of the taskbar, right-click on the flashing tray icon and select Settings from the context menu as shown below. Step 10: This will open the Flash Tray settings window where you need to go to Hotkeys & Shortcuts on the left menu options. Step 11: Then, click on the “Increase brightness” field and press any key to set a shortcut for increasing system brightness. Similarly, configure hotkeys for the "Reduce brightness" and "Turn off display" options. Step 11: Once completed, you can close the settings window. You can now adjust your monitor's brightness level using these shortcuts set using the Blink Tray app. 
Fix 3 – Update Display Adapter


Fix 4 – Install Twinkle Tray: Brightness Slider App


The above is the detailed content of How to fix missing brightness slider issue in Windows 11/10?. For more information, please follow other related articles on the PHP Chinese website!
 Windows 10/11 上的病毒和威胁防护引擎不可用问题Apr 13, 2023 pm 02:01 PM
Windows Defender是一种保护系统免受病毒攻击的功能。尝试安装最新的安全更新时,一些用户收到一条错误消息,指出“病毒和威胁防护引擎不可用”。此错误主要是由于系统文件损坏,系统上的更新过时或Windows更新中的某些问题等。可以通过安装最新更新、重置 Windows 安全中心应用程序、调整注册表编辑器项等来解决。在本文中,我们提供了一些解决方案,可帮助您在Windows计算机上解决此问题。方法 1 – 运行 Windows 更新疑难解答步骤 1 –一起使用Windows + I键打开窗
 修复:Windows 11、10 中的错误 CLOCK WATCHDOG TIMEOUTApr 13, 2023 pm 03:07 PM
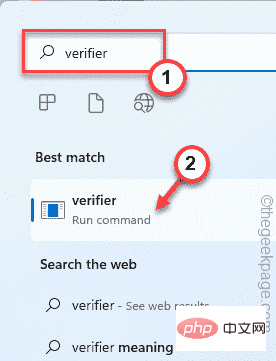
蓝屏死机问题在 Windows 中并不是什么新鲜事。其中一个问题是“ CLOCK_WATCHDOG_TIMEOUT ”错误代码,它可能会突然使系统崩溃并重新启动系统。尽管此问题背后的实际原因可能因用户而异,但通常这是处理器的问题。核心线程之间响应的不规则性是这个问题的根本原因。但别担心。只需按照这些简单的修复即可快速找到解决方案。修复 1 – 使用驱动程序验证程序如果您的系统上安装了未知驱动程序,则必须使用验证程序。第1步1. 按Windows 键并在搜索框中输入“ verifier ”。2.
 如何修复您尝试安装的应用不是 Windows 上经过 Microsoft 验证的应用Apr 13, 2023 pm 05:52 PM
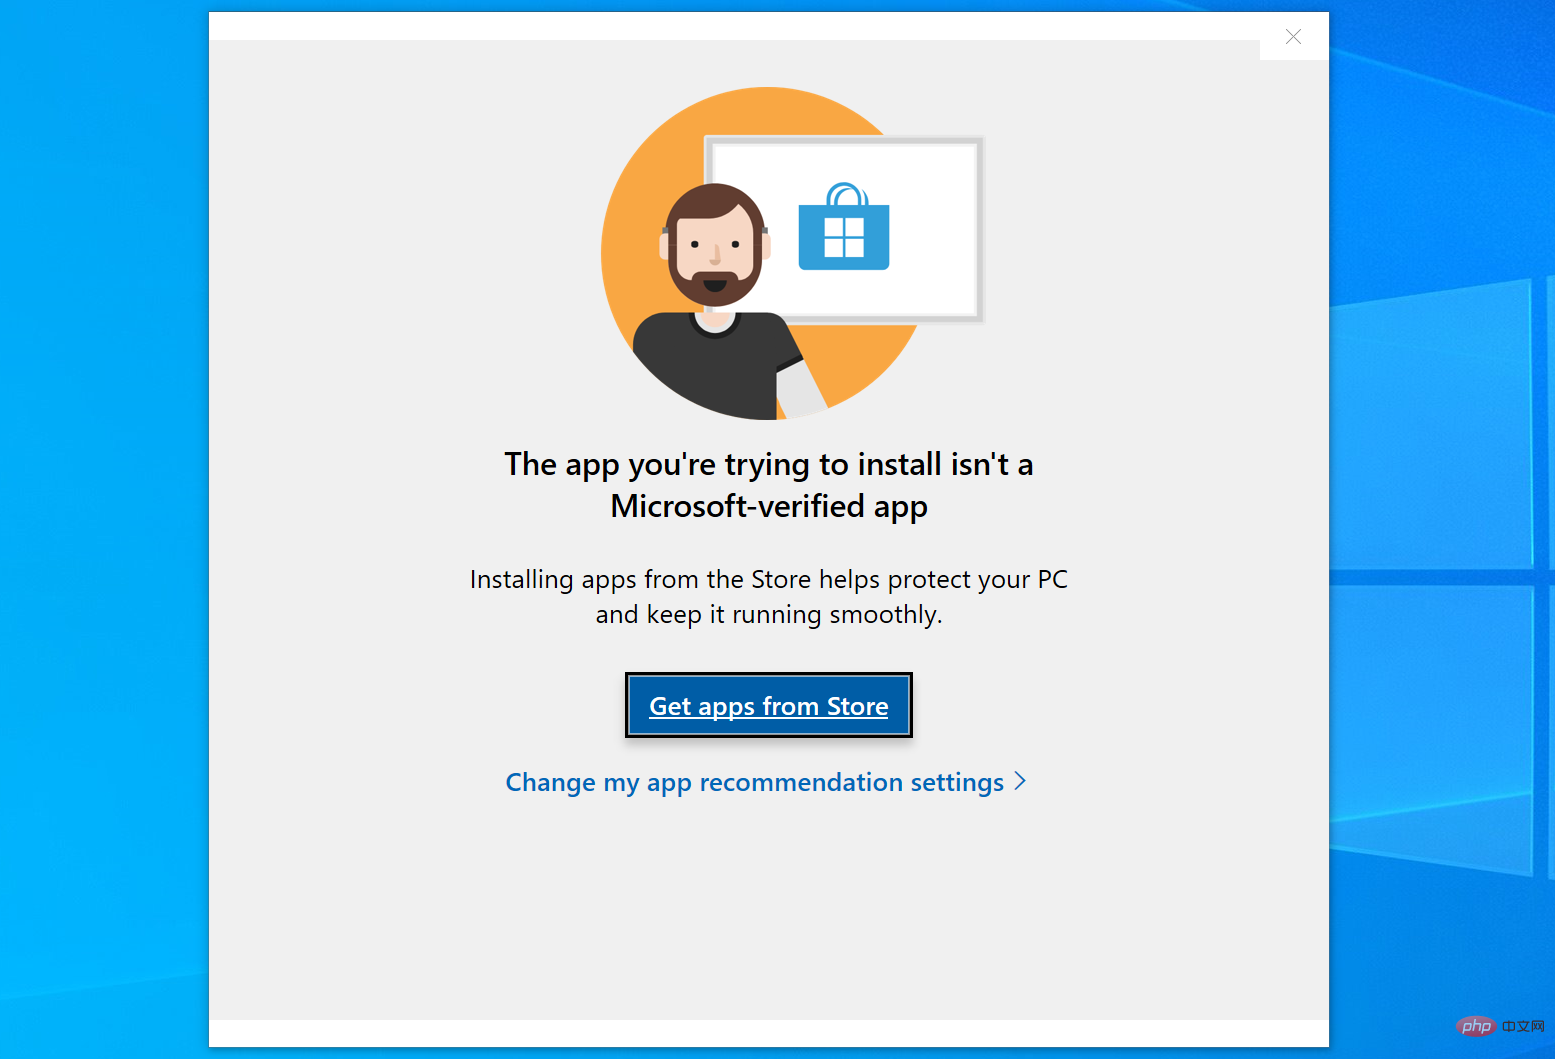
Microsoft Windows 10 和 11 可能配置为仅允许在设备上安装某些类型的应用程序。该限制可能是有意的,例如,当限制可以安装在设备上的内容的策略到位时,但有时也是无意的。以下指南提供了易于遵循的分步说明,以解决意外出现的错误消息。尝试安装某些类型的应用程序的 Windows 用户可能会收到错误消息“您尝试安装的应用程序不是 Microsoft 验证的应用程序”。该对话框几乎没有提供有关安装被阻止原因的信息。它指出“从商店安装应用程序有助于保护您的 PC 并使其平稳运行”,并链接到
 DS4Windows 11 不工作?立即应用这些修复Apr 13, 2023 pm 06:04 PM
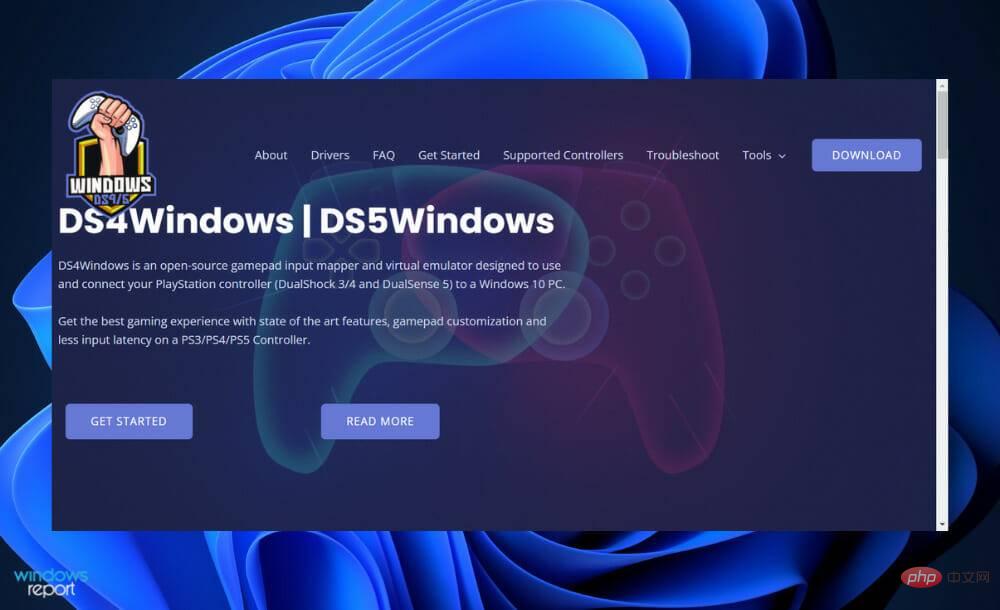
<p>在某些情况下,将 DualShock 4 或 DualSense 5 控制器与 Windows PC 一起使用似乎会出现问题,控制器连接不正确或可能根本无法连接。</p><p>另一方面,PS4 和 PS5 都是针对各自的游戏机专门开发和优化的。现在,如果您是在 Windows 11 上遇到 DS4Windows 无法正常工作问题的不幸人士之一,您可以使用本教程来修复错误。</p>
 在 Windows 11 上停止自动更新的三种方法Apr 13, 2023 pm 05:40 PM
<h2>如何在 Windows 11 上停止自动更新</h2><p>在 Windows 11 上停止自动更新的一种方法是调整更新设置。使用此方法时,您可以在 Windows 11 家庭版或专业版上暂停更新长达五周。</p><p>要在 Windows 11 上暂停更新,请使用以下步骤:</p><ol>&a
 修复: Windows 无法初始化此硬件的设备驱动程序Apr 13, 2023 pm 01:19 PM
错误代码 37 表示 Windows 检测到设备驱动程序存在问题,无法启动硬件设备。这意味着您的系统上未正确安装软件设备驱动程序,或者您尝试使用的硬件与 Windows 不兼容。您已经知道驱动程序对于设备的平稳运行至关重要,因此如果您要使用硬件设备,则需要立即解决此错误。在本文中,我们将向您展示绕过此错误的各种方法。是什么原因导致 Windows 错误代码 37?当您得到 Windows 无法初始化此硬件的设备驱动程序时。(代码 37) 消息,它可能由几个问题引起,包括:兼容性问题 – 当您将硬
 如何修复 Roblox 无法在 Windows 10 中安装或下载Apr 13, 2023 am 11:46 AM
Roblox 是一个帮助创建游戏的在线游戏平台;用户可以在世界任何地方玩它们。但是一些用户在安装 Roblox 时会遇到问题。无法成功安装游戏,它只是在安装过程中崩溃。原因可能是缓存损坏、DNS 设置、防火墙问题、系统可能需要安装最新更新等。在本文中,我们将讨论可以用来解决问题的不同方案和方法。让我们开始吧!方法 1:使用设置重置 Microsoft Store第 1 步:同时使用Windows + I键打开 Windows 设置。第 2 步:点击应用程序第 3 步:在右侧,找到应用和功能下的M
 Microsoft 确认 Windows 11 驱动程序更新失败并显示 0x80070103Apr 13, 2023 pm 12:01 PM
图片提供:微软根据 Microsoft 论坛和反馈中心的多份报告,新的 Windows 11 更新混乱导致驱动程序失败并显示 0x80070103。Microsoft 已经确认它知道报告,但没有什么可担心的,因为 0x80070103 错误实际上是无害的,您可以安全地忽略它。Windows 11 驱动程序是必不可少的,因为它们是某些应用程序或硬件所必需的软件,有些人急于安装它们

Hot AI Tools

Undresser.AI Undress
AI-powered app for creating realistic nude photos

AI Clothes Remover
Online AI tool for removing clothes from photos.

Undress AI Tool
Undress images for free

Clothoff.io
AI clothes remover

AI Hentai Generator
Generate AI Hentai for free.

Hot Article

Hot Tools

Dreamweaver Mac version
Visual web development tools

MantisBT
Mantis is an easy-to-deploy web-based defect tracking tool designed to aid in product defect tracking. It requires PHP, MySQL and a web server. Check out our demo and hosting services.

Notepad++7.3.1
Easy-to-use and free code editor

SAP NetWeaver Server Adapter for Eclipse
Integrate Eclipse with SAP NetWeaver application server.

SublimeText3 Mac version
God-level code editing software (SublimeText3)


