Many Window users have reported that the wi-fi icon on their system is suddenly disabled or grayed out, preventing users from changing wi-fi settings or wi-fi options from the available list. This can be very frustrating for those who are completely dependent on Wi-Fi and don’t have any other internet options (e.g. USB tethering, LAN connection (Ethernet)).
There could be many factors for this issue, some of which we have mentioned below:
- Outdated Wi-Fi driver
- Manually disabled Wi-Fi by mistake -Fi Adapter
- Network issues within the system
- Windows is not updated.
So, keeping all the above points in mind, we have compiled some fixes mentioned below in this article that will definitely resolve your issue.
NOTE: We strongly recommend users to create a restore point on their system before proceeding with the solution. If no points are available, it's a good idea to create restore points periodically.
Source 1:- https://www.youtube.com/watch?v=meiX286nT-U
Source 2: https://techcult.com/fix-wifi-icon- is-greyed-out-in-windows-10/
Source 3: https://answers.microsoft.com/en-us/windows/forum/all/missing-wifi-icon-and-greyed -out/78fc8090-e2ed-47ff-b90d-e5423b58218e
Fix 1: Make sure the WLAN Auto-Configuration Service is enabled
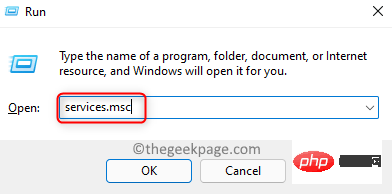
Step 1: Simultaneously press Windows R on your keyboard key to open the Run dialog box.
Step 2: Then, type services.msc in the Run box and press Enter to open the Services window ,As follows.

Step 3: In the Services window, scroll down the list of services and find the WLAN Auto-Configuration Service at the bottom.
Step 4: Double-click it to open its Properties window.

Step 5: Then, make sure that Startup type is selected as Automatic.
Step 6: If the service is stopped, click on the Start button as shown in the screenshot below.
Step 7: Click OK to reflect the changes and close the Properties window.

Step 8: When finished, close the Services window.
Step 9: Restart the system once.
Now check if the Wi-Fi icon is activated so that it can be accessed on your system.
If this fix doesn’t work for you, check out the other solutions given below.
Fix 2: Run the Network Adapter Troubleshooter on your system
Step 1: Press simultaneously on the keyboard that opens the Run box Windows R key.
Step 2: Next, typecontrol.exe /name Microsoft.Troubleshooting in the Run box and click OK directly in the Settings application Open the Troubleshooting page as shown below.

Additional Troubleshooting option on the page as shown below.

Run button of the network adapter, as shown in the figure below.

Wi-Fi radio button and click Next to continue troubleshooting the network adapter as shown in the image below.

Run command box by pressing the Windows R keys simultaneously on your keyboard.
Step 2: Typencpa.cpl in the run box, and then click OKOpen the Network Connection page, as shown below shown.

Step 3: In the Network Connections page, check the Wi-Fi network adapter listed there.
Step 4: See if it is disabled or enabled.
Step 5: If it was disabled by an error or other reason, right-click on the Wi -Fi adapter.
Step 6: Then, select the Enable option from the context menu as shown in the screenshot below.

Step 7: Once enabled, check if you can access the Wi-Fi icon.
Hope this solves the problem. If not, check the other fixes given below.
Fix 4: Disable Airplane Mode
Sometimes, for some apparent reason, we don't realize that Airplane Mode is activated, which does not give the user access to all network connections on their system. Therefore, it is better to check if airplane mode is activated. If it is enabled, disable it and see if the Wi-Fi icon appears again on your system. Please follow the steps given below.
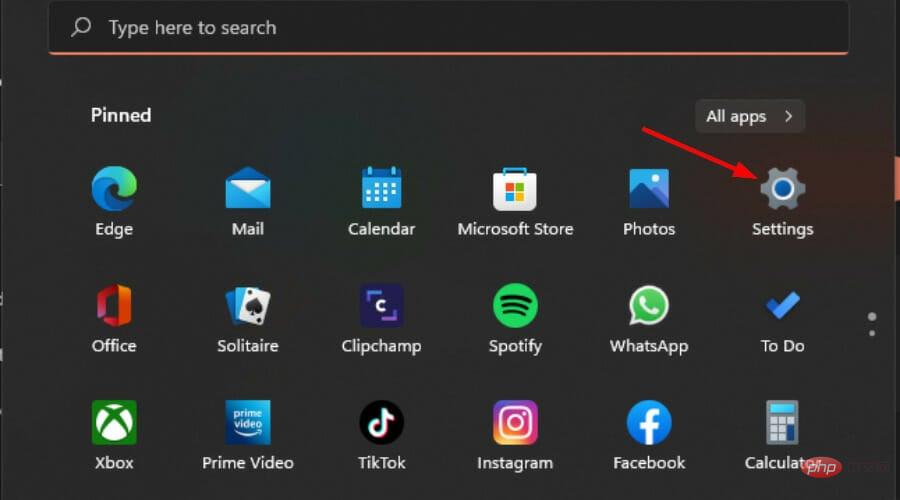
Step 1: Press the Windows I keys simultaneously to open the Settings application on your system.
Step 2: Then, click on the Network & Internet option from the left menu of the Settings app.
Step 3: After selecting Network and Internet, check the Airplane Mode option on the right.
Step 4: If it is enabled, click the Airplane Mode toggle buttonto turn it off as shown in the screenshot below.

Step 5: Once disabled, close the Settings app and check if the Wi-Fi icon appears on your system.
Hope this resolves the issue.
Fix 5: Restart Windows Explorer
Step 1: Open Task Manager by pressing the CTRL SHIFT ESC keys simultaneously on your keyboard.
Step 2: If it opens in compact view, click the More Details button at the bottom of Task Manager.

Step 3: In Task Manager, make sure the Processes tab is selected.
Step 4: Then, right-click on Windows Explorer and select the Restart option from the context menu as shown in the screenshot below.

Step 5: This will restart Windows Explorer.
Now check if the Wi-Fi option appears again on your system.
Fix 6: Use Device Manager to reinstall the Wi-Fi network adapter
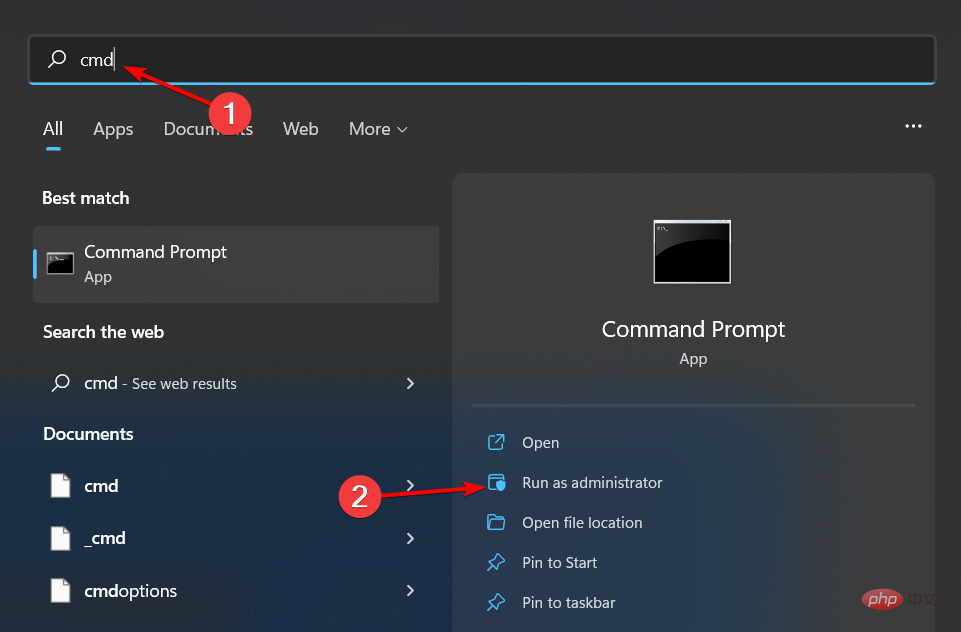
Step 1: Press the Windows key on your keyboard and type Device Manager, then select Device Manager from the search results ,As follows.

Step 2: This will open the Device Manager window on your system.
Step 3: Double-click on the Network Adapters option to expand it from the list of devices given in Device Manager.
Step 4: Now, right-click on the Wi-Fi adapter and click on Uninstall Device option from the menu as shown in the screenshot below.

#Step 5: Once completed, close the Device Manager window and restart the system.
Step 6: When the system boots, it will reinstall the wifi driver on your system again.
Step 7: After turning on the system, check if the problem has been resolved.
Hope this solves the problem.
Fix 7: Use Registry Editor to delete the Iconstreams and PastIconStream registry keys
Step 1: Press the Windows R key simultaneously to open Run the command frame.
Step 2: Then, type regedit in Run and press the Enter key to open Registry Editor on your system .
NOTE: Please click "Yes" to continue accepting the UAC prompt.

Step 3: Copy and paste the following path in the address bar and press the Enter key to reach the TrayNotify registry items, as shown in the screenshot below.
HKEY_CURRENT_USER\Software\Classes\Local Settings\Software\Microsoft\Windows\CurrentVersion\TrayNotify
Step 4: Make sure TrayNotify is selected on the left side of the Registry Editor window.
Step 5: Then, on the right side of the window, hold down the CTRL key while selecting the IconStreams and PastIconStreams binary values.
Step 6: Now, right click on them and select Remove option from the context menu as shown below.

Step 7: Click Yes in the Confirm Value Deletion window, as shown below.

Step 8: Close Registry Editor and restart the system.
Step 9: After the system is turned on, check whether the problem is solved.
The above is the detailed content of How to solve the problem of grayed out Wi-Fi icon in Windows 11 and 10?. For more information, please follow other related articles on the PHP Chinese website!
 如何在 iPhone 上截取滚动屏幕截图Apr 15, 2023 pm 06:55 PM
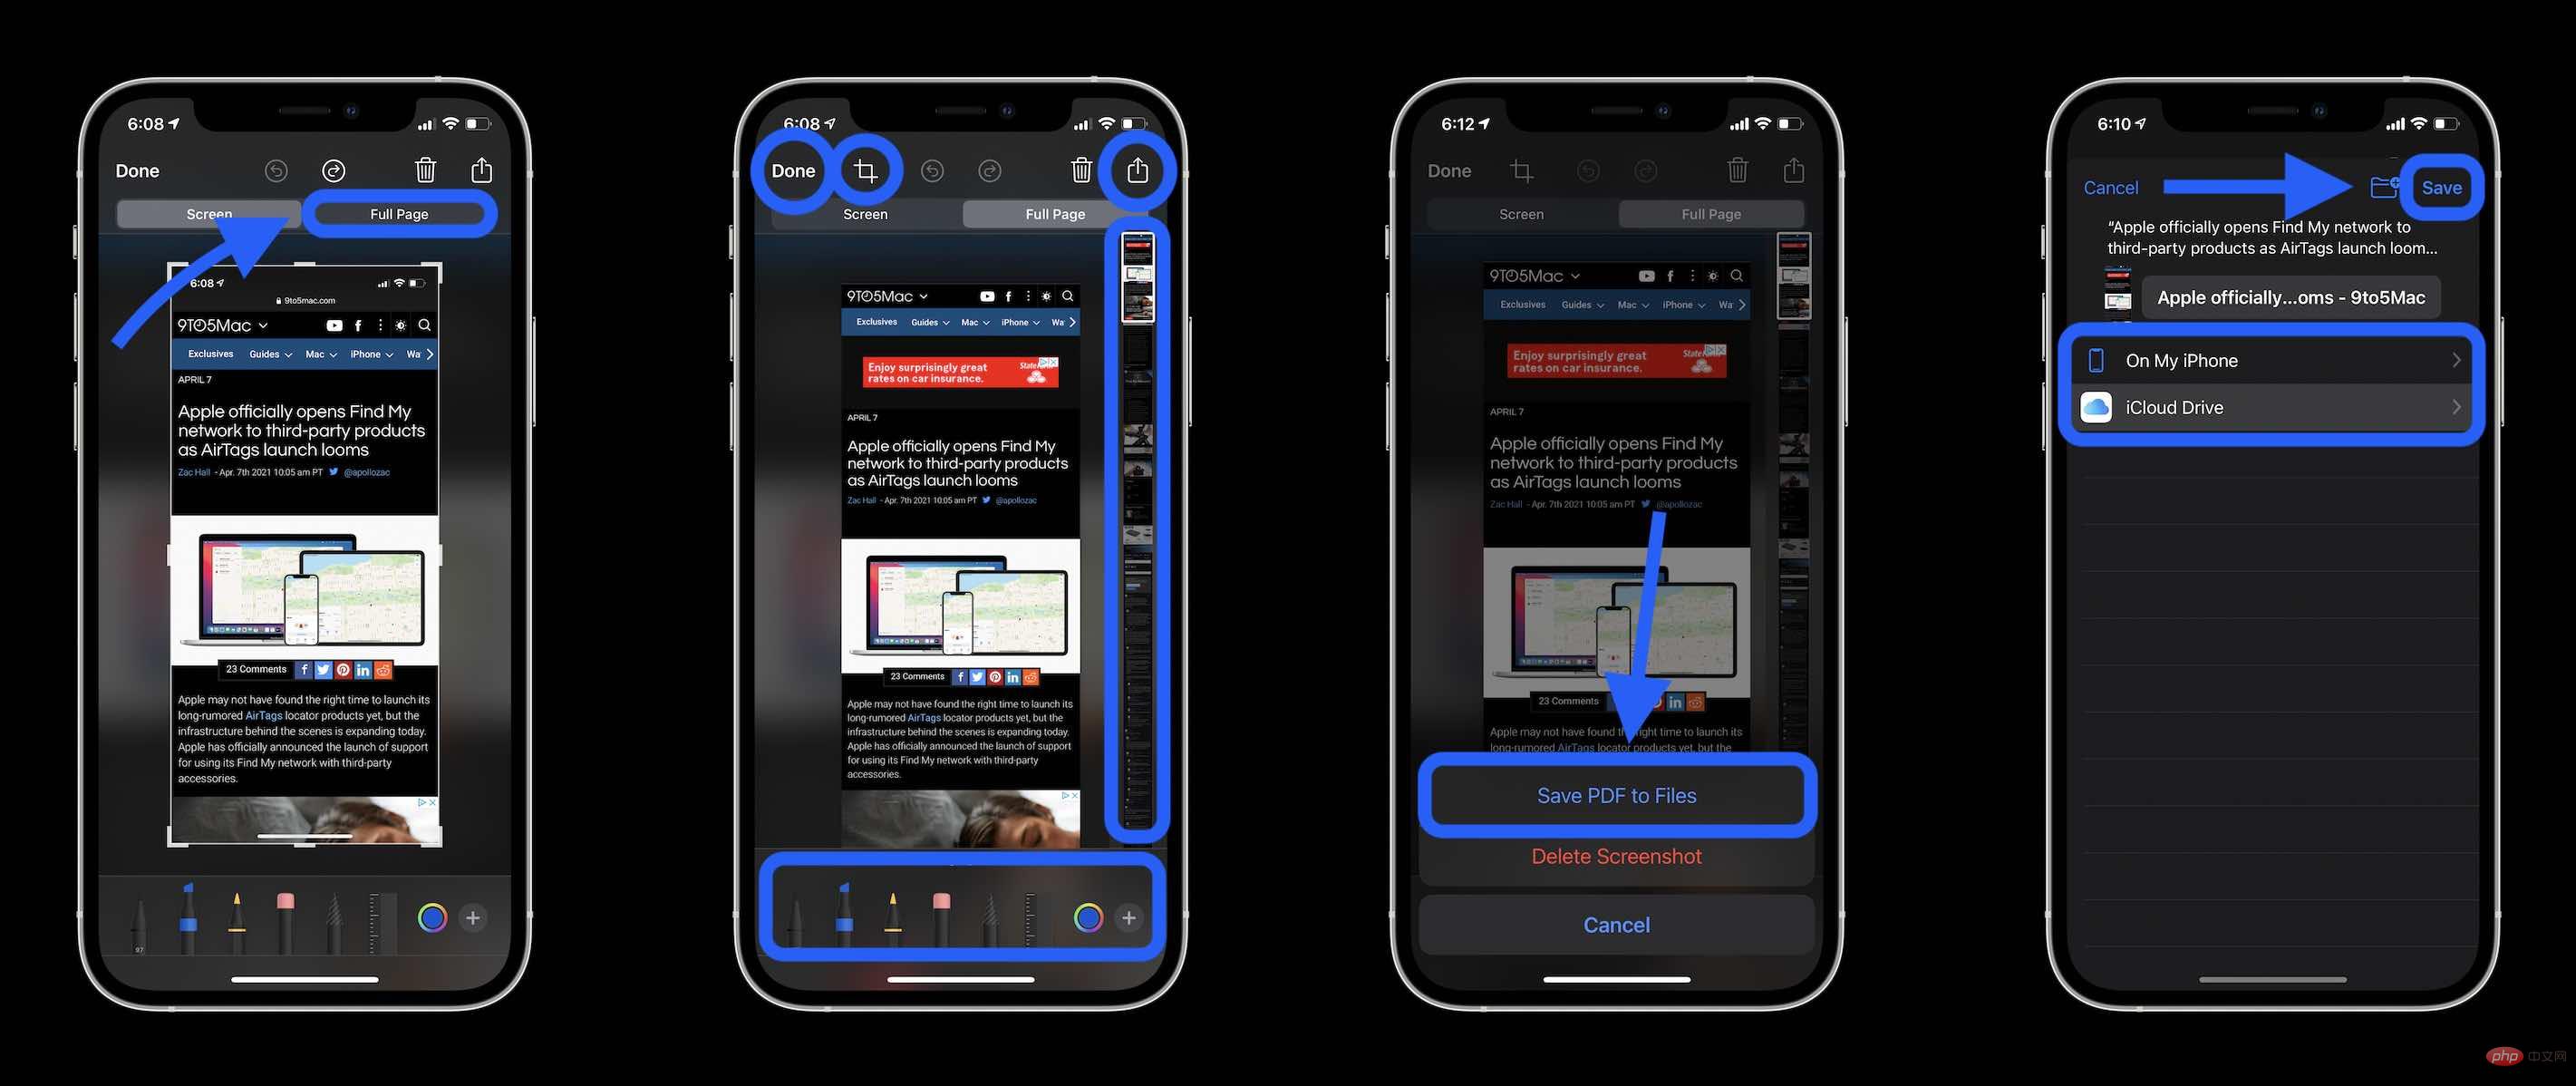
如何在iPhone上截取滚动屏幕截图使用此原生iOS选项,滚动屏幕截图或“整页”屏幕截图可为您提供Apple应用程序中文档、网页、便笺或电子邮件中所有内容的PDF。截图(同时按下侧边或顶部按钮和音量增大按钮)在它消失之前点击左下角的预览选择右上角的整页选项整页选项只会出现在屏幕上的内容超过页面价值的情况下您可以在保存之前预览所有页面、使用标记等您还可以点击裁剪图标(“完成”旁边的方形图标)来编辑您要保存的整页部分点击左上角的完成保存或点击右上角的分享按钮用于在iPhone上滚动屏幕截图
 如何通过AirDrop在iPhone上共享最后一张屏幕截图Feb 23, 2024 am 08:16 AM
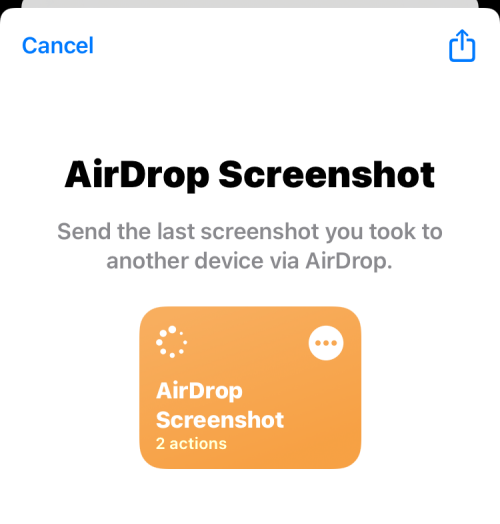
为了简化重复性任务,Apple推出了快捷方式应用程序,可以帮助您自动完成日常常见操作,比如离开手机时自动关闭互联网连接,或者在上车时自动播放您最喜爱的音乐列表等等。您可能希望更便捷地完成的一项任务是在不打开“照片”应用的情况下分享您刚刚截取的最后一张屏幕截图。本文将介绍如何利用Airdrop功能,快速将iPhone最新的屏幕截图发送给他人或其他苹果设备。如何在iPhone上快速共享最后一张屏幕截图在共享内容之前,请确保目标设备(如另一部iPhone、iPad或Mac)已启用“隔空投送”,以便实现
 如何在 Windows 11 中为截图工具捕获添加边框May 13, 2023 pm 08:46 PM
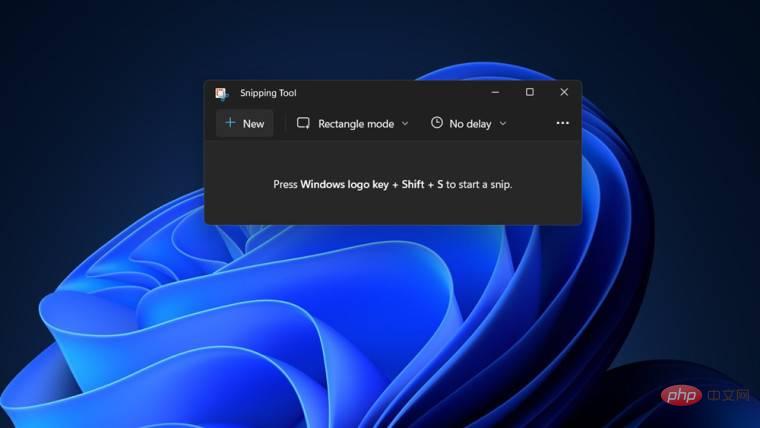
如果您想抓取全部或部分计算机屏幕,Windows11中的截图工具可让您轻松捕获它。此外,您甚至可以为捕获的区域添加彩色边框,但您首先需要启用与该功能相关的设置。让我们看看它是如何完成的!在Windows11中为截图工具捕获添加彩色边框在Windows11中捕获屏幕截图的方法不止一种。但是,所有这些图像都不会显示它们周围的边框,除非它们被配置为这样做。以下是如何更改Windows11截图工具中的设置以添加自定义颜色和更改图像边框粗细的方法。单击开始,然后在搜索框中,键入截图工具并从显示的
 修复: Windows 无法初始化此硬件的设备驱动程序Apr 13, 2023 pm 01:19 PM
错误代码 37 表示 Windows 检测到设备驱动程序存在问题,无法启动硬件设备。这意味着您的系统上未正确安装软件设备驱动程序,或者您尝试使用的硬件与 Windows 不兼容。您已经知道驱动程序对于设备的平稳运行至关重要,因此如果您要使用硬件设备,则需要立即解决此错误。在本文中,我们将向您展示绕过此错误的各种方法。是什么原因导致 Windows 错误代码 37?当您得到 Windows 无法初始化此硬件的设备驱动程序时。(代码 37) 消息,它可能由几个问题引起,包括:兼容性问题 – 当您将硬
 如何修复 Roblox 无法在 Windows 10 中安装或下载Apr 13, 2023 am 11:46 AM
Roblox 是一个帮助创建游戏的在线游戏平台;用户可以在世界任何地方玩它们。但是一些用户在安装 Roblox 时会遇到问题。无法成功安装游戏,它只是在安装过程中崩溃。原因可能是缓存损坏、DNS 设置、防火墙问题、系统可能需要安装最新更新等。在本文中,我们将讨论可以用来解决问题的不同方案和方法。让我们开始吧!方法 1:使用设置重置 Microsoft Store第 1 步:同时使用Windows + I键打开 Windows 设置。第 2 步:点击应用程序第 3 步:在右侧,找到应用和功能下的M
 Microsoft 确认 Windows 11 驱动程序更新失败并显示 0x80070103Apr 13, 2023 pm 12:01 PM
图片提供:微软根据 Microsoft 论坛和反馈中心的多份报告,新的 Windows 11 更新混乱导致驱动程序失败并显示 0x80070103。Microsoft 已经确认它知道报告,但没有什么可担心的,因为 0x80070103 错误实际上是无害的,您可以安全地忽略它。Windows 11 驱动程序是必不可少的,因为它们是某些应用程序或硬件所必需的软件,有些人急于安装它们
 如何解决Windows 11、10中Wi-Fi图标灰显问题?Apr 23, 2023 am 08:34 AM
许多Window用户报告说,他们系统上的wi-fi图标突然被禁用或变灰,导致用户无法从可用列表中更改wi-fi设置或wi-fi选项。对于那些完全依赖Wi-Fi并且没有任何其他互联网选项(例如USB网络共享、LAN连接(以太网))的用户来说,这可能会非常令人沮丧。这个问题可能有很多因素,我们在下面提到了其中的一些:过时的Wi-Fi驱动程序错误地手动禁用了Wi-Fi适配器系统内网络问题Windows未更新。因此,请牢记以上所有要点,我们已经编译了本文下面提到的一些修复程序,
 修复:您尝试安装的应用程序未通过微软验证Apr 13, 2023 pm 01:58 PM
在 Windows 11 上安装应用程序最常见的问题之一是您可能会收到一条错误消息,指出您尝试安装的应用程序不是 Microsoft 验证的应用程序。如果应用是从您的设备不信任的来源下载的,则可能会发生这种情况。从任何其他来源下载意味着这些应用程序可能与您的 Windows 版本不兼容。尽管如此,Microsoft Store 并没有您可能需要的所有应用程序,因此您需要绕过此错误,我们将在本文中向您展示如何操作。为什么我无法安装未经微软验证的应用?Microsoft 对可以在设备上安装哪些应用以

Hot AI Tools

Undresser.AI Undress
AI-powered app for creating realistic nude photos

AI Clothes Remover
Online AI tool for removing clothes from photos.

Undress AI Tool
Undress images for free

Clothoff.io
AI clothes remover

AI Hentai Generator
Generate AI Hentai for free.

Hot Article

Hot Tools

MinGW - Minimalist GNU for Windows
This project is in the process of being migrated to osdn.net/projects/mingw, you can continue to follow us there. MinGW: A native Windows port of the GNU Compiler Collection (GCC), freely distributable import libraries and header files for building native Windows applications; includes extensions to the MSVC runtime to support C99 functionality. All MinGW software can run on 64-bit Windows platforms.

mPDF
mPDF is a PHP library that can generate PDF files from UTF-8 encoded HTML. The original author, Ian Back, wrote mPDF to output PDF files "on the fly" from his website and handle different languages. It is slower than original scripts like HTML2FPDF and produces larger files when using Unicode fonts, but supports CSS styles etc. and has a lot of enhancements. Supports almost all languages, including RTL (Arabic and Hebrew) and CJK (Chinese, Japanese and Korean). Supports nested block-level elements (such as P, DIV),

WebStorm Mac version
Useful JavaScript development tools

Atom editor mac version download
The most popular open source editor

ZendStudio 13.5.1 Mac
Powerful PHP integrated development environment


