How to disable the lock screen on Windows 11 via Group Policy
First, we will look at disabling the lock screen via Group Policy via the following steps:
- Click to get started button or press the Windows key and type gpedit, then click on the first result at the top.

- When Local Group Policy Editor opens, navigate to the following path:
计算机配置 > 管理模板 > 控制面板 > 个性化
- Next, double-click Don’t show lock screen.

- When the policy screen appears, click the Enable option, then click Apply## at the bottom of the screen # and OK.
 Exit the local
 - Group Policy Editor when finished and restart your PC.
- Click the
- Start button or press the Windows key, Type regedit and click on the top result.

- Registry Editor Once it opens, browse to the following path - note that you can copy and paste it into In the Registry Editor bar at the top:
HKEY_LOCAL_MACHINE\SOFTWARE\Policies\Microsoft\Windows
- Now, right-click on the Windows key on the left and select
- New > Key.

- Name the new key
- Personalization and press Enter. Next, right-click the
- Personalization key you just created and select New > DWORD (32-bit) Value.

- Name the
- DWORD value as Nolockscreen and press Enter on your keyboard. Double-click the
- Nolockscreen key you created and give it a value# of 1 before clicking OK ##data.
 #When you are ready, exit Registry Editor and restart your PC. If you follow these steps correctly when your computer starts up again, the lock screen will be skipped and you will only see the login screen.
Customize Windows 11 Further
The above steps should help you disable the lock screen on Windows 11, but there are other ways to customize your new PC.
For example, another way to quickly bypass the lock screen is to set up Windows Hello. The screen will still appear, but when facial recognition detects your face, it will bypass the lock screen and log you in within seconds.
To further customize Windows 11, you can also change your desktop wallpaper or move the Start button to the left.
The above is the detailed content of How to disable lock screen in Windows 11?. For more information, please follow other related articles on the PHP Chinese website!
 Windows 10/11 上的病毒和威胁防护引擎不可用问题Apr 13, 2023 pm 02:01 PM
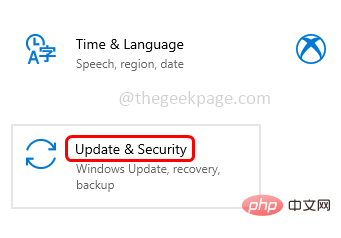
Windows Defender是一种保护系统免受病毒攻击的功能。尝试安装最新的安全更新时,一些用户收到一条错误消息,指出“病毒和威胁防护引擎不可用”。此错误主要是由于系统文件损坏,系统上的更新过时或Windows更新中的某些问题等。可以通过安装最新更新、重置 Windows 安全中心应用程序、调整注册表编辑器项等来解决。在本文中,我们提供了一些解决方案,可帮助您在Windows计算机上解决此问题。方法 1 – 运行 Windows 更新疑难解答步骤 1 –一起使用Windows + I键打开窗
 修复:Windows 11、10 中的错误 CLOCK WATCHDOG TIMEOUTApr 13, 2023 pm 03:07 PM
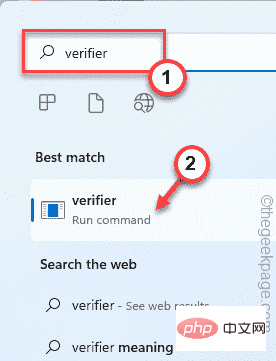
蓝屏死机问题在 Windows 中并不是什么新鲜事。其中一个问题是“ CLOCK_WATCHDOG_TIMEOUT ”错误代码,它可能会突然使系统崩溃并重新启动系统。尽管此问题背后的实际原因可能因用户而异,但通常这是处理器的问题。核心线程之间响应的不规则性是这个问题的根本原因。但别担心。只需按照这些简单的修复即可快速找到解决方案。修复 1 – 使用驱动程序验证程序如果您的系统上安装了未知驱动程序,则必须使用验证程序。第1步1. 按Windows 键并在搜索框中输入“ verifier ”。2.
 如何修复您尝试安装的应用不是 Windows 上经过 Microsoft 验证的应用Apr 13, 2023 pm 05:52 PM
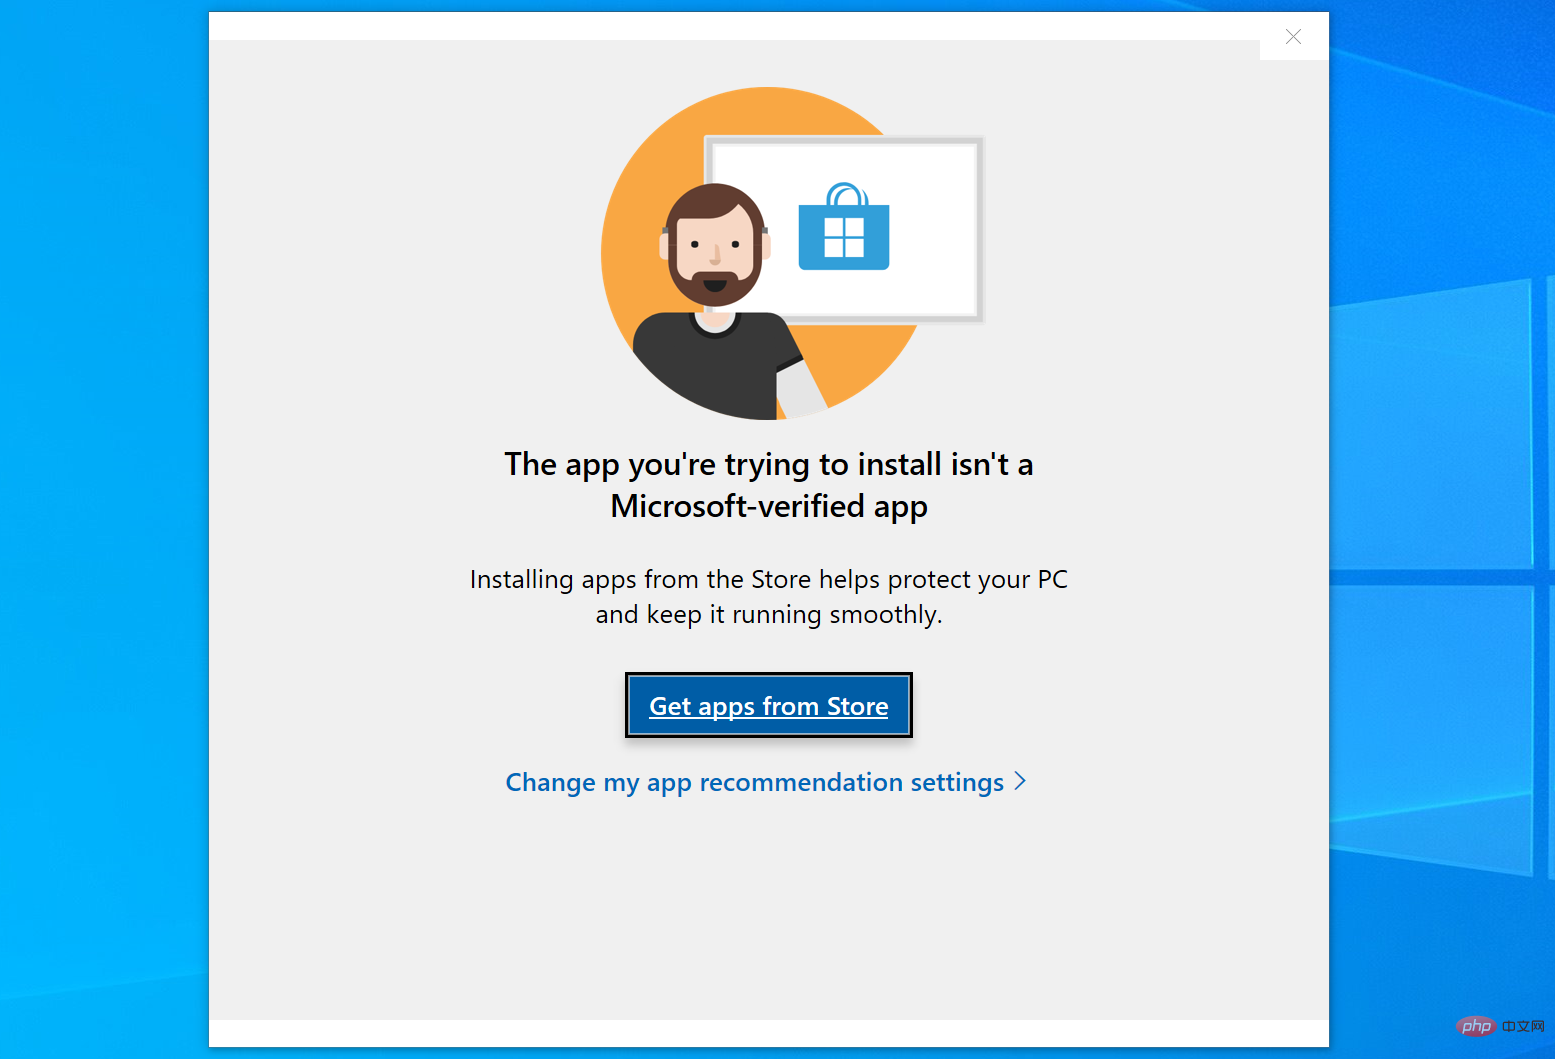
Microsoft Windows 10 和 11 可能配置为仅允许在设备上安装某些类型的应用程序。该限制可能是有意的,例如,当限制可以安装在设备上的内容的策略到位时,但有时也是无意的。以下指南提供了易于遵循的分步说明,以解决意外出现的错误消息。尝试安装某些类型的应用程序的 Windows 用户可能会收到错误消息“您尝试安装的应用程序不是 Microsoft 验证的应用程序”。该对话框几乎没有提供有关安装被阻止原因的信息。它指出“从商店安装应用程序有助于保护您的 PC 并使其平稳运行”,并链接到
 DS4Windows 11 不工作?立即应用这些修复Apr 13, 2023 pm 06:04 PM
<p>在某些情况下,将 DualShock 4 或 DualSense 5 控制器与 Windows PC 一起使用似乎会出现问题,控制器连接不正确或可能根本无法连接。</p><p>另一方面,PS4 和 PS5 都是针对各自的游戏机专门开发和优化的。现在,如果您是在 Windows 11 上遇到 DS4Windows 无法正常工作问题的不幸人士之一,您可以使用本教程来修复错误。</p>
 在 Windows 11 上停止自动更新的三种方法Apr 13, 2023 pm 05:40 PM
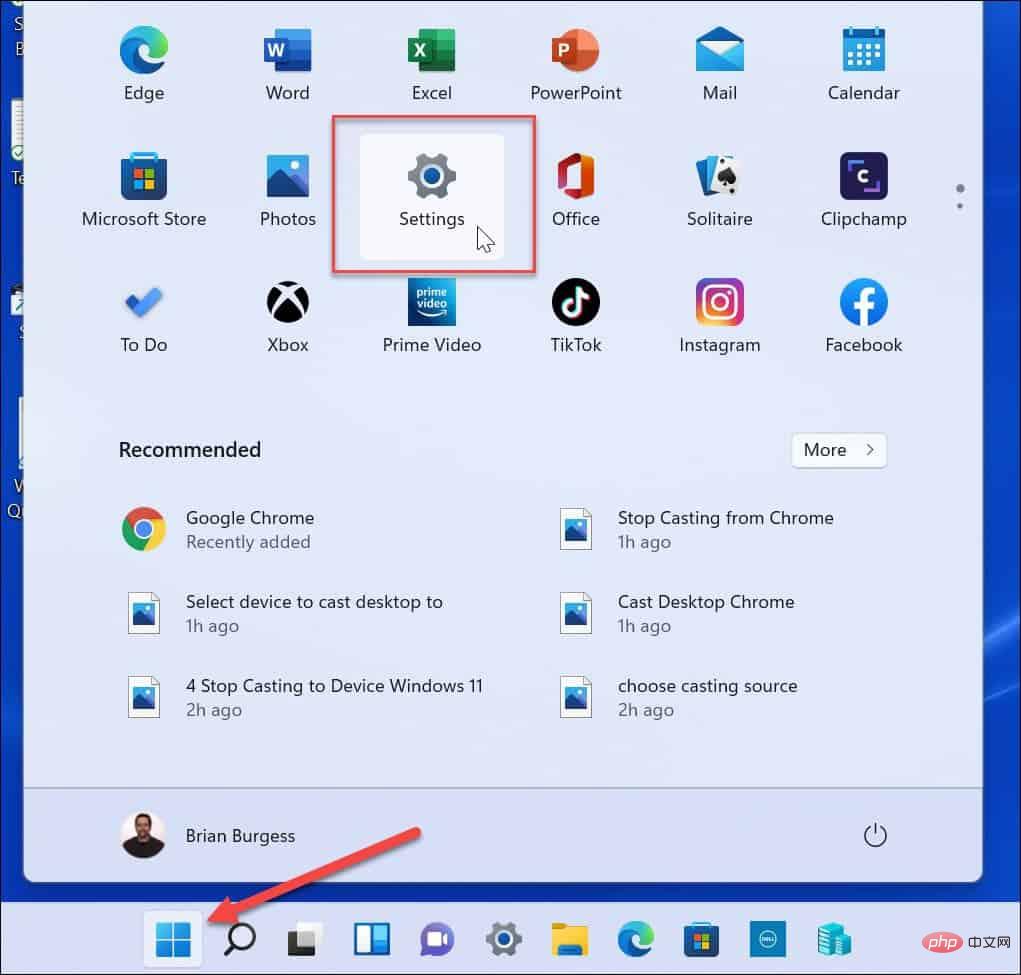
<h2>如何在 Windows 11 上停止自动更新</h2><p>在 Windows 11 上停止自动更新的一种方法是调整更新设置。使用此方法时,您可以在 Windows 11 家庭版或专业版上暂停更新长达五周。</p><p>要在 Windows 11 上暂停更新,请使用以下步骤:</p><ol>&a
 修复: Windows 无法初始化此硬件的设备驱动程序Apr 13, 2023 pm 01:19 PM
错误代码 37 表示 Windows 检测到设备驱动程序存在问题,无法启动硬件设备。这意味着您的系统上未正确安装软件设备驱动程序,或者您尝试使用的硬件与 Windows 不兼容。您已经知道驱动程序对于设备的平稳运行至关重要,因此如果您要使用硬件设备,则需要立即解决此错误。在本文中,我们将向您展示绕过此错误的各种方法。是什么原因导致 Windows 错误代码 37?当您得到 Windows 无法初始化此硬件的设备驱动程序时。(代码 37) 消息,它可能由几个问题引起,包括:兼容性问题 – 当您将硬
 如何修复 Roblox 无法在 Windows 10 中安装或下载Apr 13, 2023 am 11:46 AM
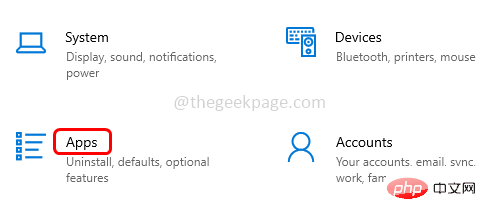
Roblox 是一个帮助创建游戏的在线游戏平台;用户可以在世界任何地方玩它们。但是一些用户在安装 Roblox 时会遇到问题。无法成功安装游戏,它只是在安装过程中崩溃。原因可能是缓存损坏、DNS 设置、防火墙问题、系统可能需要安装最新更新等。在本文中,我们将讨论可以用来解决问题的不同方案和方法。让我们开始吧!方法 1:使用设置重置 Microsoft Store第 1 步:同时使用Windows + I键打开 Windows 设置。第 2 步:点击应用程序第 3 步:在右侧,找到应用和功能下的M
 在 Windows 11/10 中修复 0xC1900101 驱动程序错误的 10 个简单技巧Apr 13, 2023 pm 07:55 PM
当用户尝试升级其操作系统时,驱动程序错误经常发生。我们今天要解决的 0xc1900101 驱动程序错误也是如此。完整的错误消息显示安装更新时出现一些问题,但我们稍后再试。如果您一直看到此内容并想搜索 Web 或联系支持人员以获取信息,这可能会有所帮助:(0xc1900101)。这些错误是由各种与驱动程序相关的 因素触发的:用户尚未在其计算机上安装最新的驱动程序更新,某些驱动程序与最新的 Windows 11 版本不兼容等等。许多尝试升级到 Windows 11的用户报告由于一系列 0xC1900

Hot AI Tools

Undresser.AI Undress
AI-powered app for creating realistic nude photos

AI Clothes Remover
Online AI tool for removing clothes from photos.

Undress AI Tool
Undress images for free

Clothoff.io
AI clothes remover

AI Hentai Generator
Generate AI Hentai for free.

Hot Article

Hot Tools

mPDF
mPDF is a PHP library that can generate PDF files from UTF-8 encoded HTML. The original author, Ian Back, wrote mPDF to output PDF files "on the fly" from his website and handle different languages. It is slower than original scripts like HTML2FPDF and produces larger files when using Unicode fonts, but supports CSS styles etc. and has a lot of enhancements. Supports almost all languages, including RTL (Arabic and Hebrew) and CJK (Chinese, Japanese and Korean). Supports nested block-level elements (such as P, DIV),

Notepad++7.3.1
Easy-to-use and free code editor

MinGW - Minimalist GNU for Windows
This project is in the process of being migrated to osdn.net/projects/mingw, you can continue to follow us there. MinGW: A native Windows port of the GNU Compiler Collection (GCC), freely distributable import libraries and header files for building native Windows applications; includes extensions to the MSVC runtime to support C99 functionality. All MinGW software can run on 64-bit Windows platforms.

Atom editor mac version download
The most popular open source editor

SublimeText3 Linux new version
SublimeText3 Linux latest version


