When an issue or crash occurs in an earlier version of Windows, you will receive a prompt asking if you want to send a bug report. This way, you can decide at any time whether you want to log the details of your system errors in the massive Microsoft database.
A lot has changed with newer Windows versions. You will no longer see a pop-up asking for your permission to report bugs, but they will still be reported.
You can learn how to enable or disable error reporting in Windows 10 to make sure you're ready to handle the task no matter what operating system you use.
This article explains what error reporting is and how to disable it in Windows 11.
What is the Microsoft Windows Error Reporting Service?
Error reporting is critical to finding software bugs and is required to fix them. Microsoft developers need to know what processes were running on the PC when the problem occurred in order to find a solution.
They also need to know which other computers have experienced the same crash and whether the problem is specific to the manufacturer.
The Windows Error Reporting (WERP) service is so powerful that even virtual machines hosted on your PC can emit errors.
The report created is very detailed and may include:
- The severity of the problem.
- Which part of the software or hardware does the problem occur?
- Logs that are important for explaining the problem.
- Information about your hardware or software.
- Possible compatibility issues.
The WERP service generates a GUID, or globally unique identifier, on your computer. This GUID is stored on your computer and sent with error reports to uniquely represent your PC.
Microsoft's WERP service provides installation repair. This tool may be triggered to run if a problem occurs during Windows installation. If you choose the recommended settings when setting up Windows 11, your PC errors will be handled automatically.
How do I check the error logs on my Windows 11 PC?
When you encounter an error or Windows glitch, you might start panicking without knowing what's causing the problem. Error logs can give a good indication of the cause and help you understand what fixes can be applied.
On Windows 11, you can use Event Viewer to view the error log. This utility displays application logs and system messages, including warning, error, and information messages.
Our tutorial on checking error logs on Windows 11 explains how to view error logs on Event Viewer.
Even if your PC seems to be running fine, Event Viewer may still show errors and warnings in the logs. Therefore, it is a good maintenance practice to pay attention to and resolve warnings before they escalate into real PC problems.
How to disable the error reporting service?
1. Through the services window
-
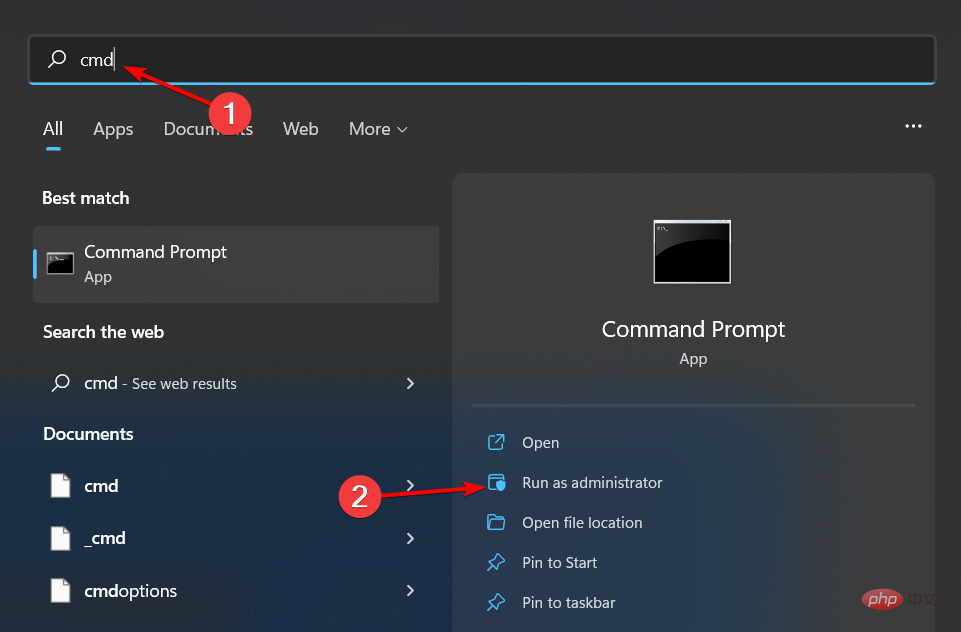
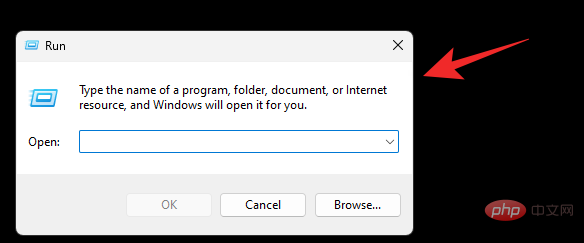
use the hotkey Windows R to open the Run dialog box, then type services.msc and Press the Enter or OK button.

- In the Services window, right-click Windows Error Reporting Service in the right pane and select Properties.

- Click on the General tab. From the drop-down menu in the Startup Type section, select Disable, click Stop under the Service Status section, and then click Click Apply to confirm.

- Restart your computer.
2. Use the Registry Editor
- to launch the Run dialog box again (Windows R).
- Enter regedit and click the OK button or click enter.

- Paste this path into the navigation bar:
HKEY_LOCAL_MACHINE\SOFTWARE\Microsoft\Windows\Windows Error Report
- Right click Windows Error Reporting folder, select New from the context menu, then select DWORD (32-bit).

- Name the newly created file Disabled.
-
Change the value of Disabled to 1 and click OK.

- Restart the computer.
3. Use the Group Policy Editor
- to open the "Run" dialog box again.
- Enter gpedit.msc and click the OK button or click enter.

- Navigate to Computer Configuration/Administrative Templates/Windows Components/Windows Error Reporting.

- In the right pane, double-click Disable Windows Error Reporting.

- In the Disable Windows Error Reporting window, select the Enable radio button and click Apply and Sure.

- Restart the computer.
Does disabling the Windows Error Reporting Service pose a security risk?
There are no risks associated with disabling this service, but you should exercise some restraint. This service benefits both you and Microsoft. For example, Microsoft can develop service packs and updates to handle system glitches and improve the Windows 11 user experience.
We recommend not disabling this service, but if you are low on memory, this may be a reason to disable some services.
The above is the detailed content of How to disable the Windows Error Reporting Service on Windows 11. For more information, please follow other related articles on the PHP Chinese website!
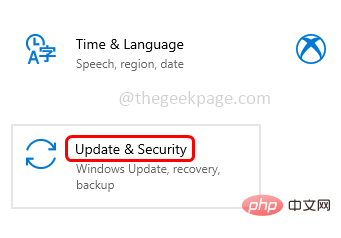 Windows 10/11 上的病毒和威胁防护引擎不可用问题Apr 13, 2023 pm 02:01 PM
Windows Defender是一种保护系统免受病毒攻击的功能。尝试安装最新的安全更新时,一些用户收到一条错误消息,指出“病毒和威胁防护引擎不可用”。此错误主要是由于系统文件损坏,系统上的更新过时或Windows更新中的某些问题等。可以通过安装最新更新、重置 Windows 安全中心应用程序、调整注册表编辑器项等来解决。在本文中,我们提供了一些解决方案,可帮助您在Windows计算机上解决此问题。方法 1 – 运行 Windows 更新疑难解答步骤 1 –一起使用Windows + I键打开窗
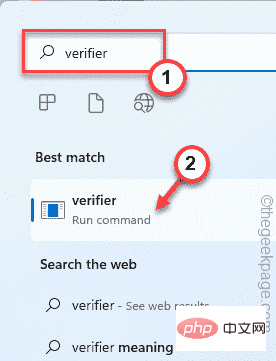 修复:Windows 11、10 中的错误 CLOCK WATCHDOG TIMEOUTApr 13, 2023 pm 03:07 PM
蓝屏死机问题在 Windows 中并不是什么新鲜事。其中一个问题是“ CLOCK_WATCHDOG_TIMEOUT ”错误代码,它可能会突然使系统崩溃并重新启动系统。尽管此问题背后的实际原因可能因用户而异,但通常这是处理器的问题。核心线程之间响应的不规则性是这个问题的根本原因。但别担心。只需按照这些简单的修复即可快速找到解决方案。修复 1 – 使用驱动程序验证程序如果您的系统上安装了未知驱动程序,则必须使用验证程序。第1步1. 按Windows 键并在搜索框中输入“ verifier ”。2.
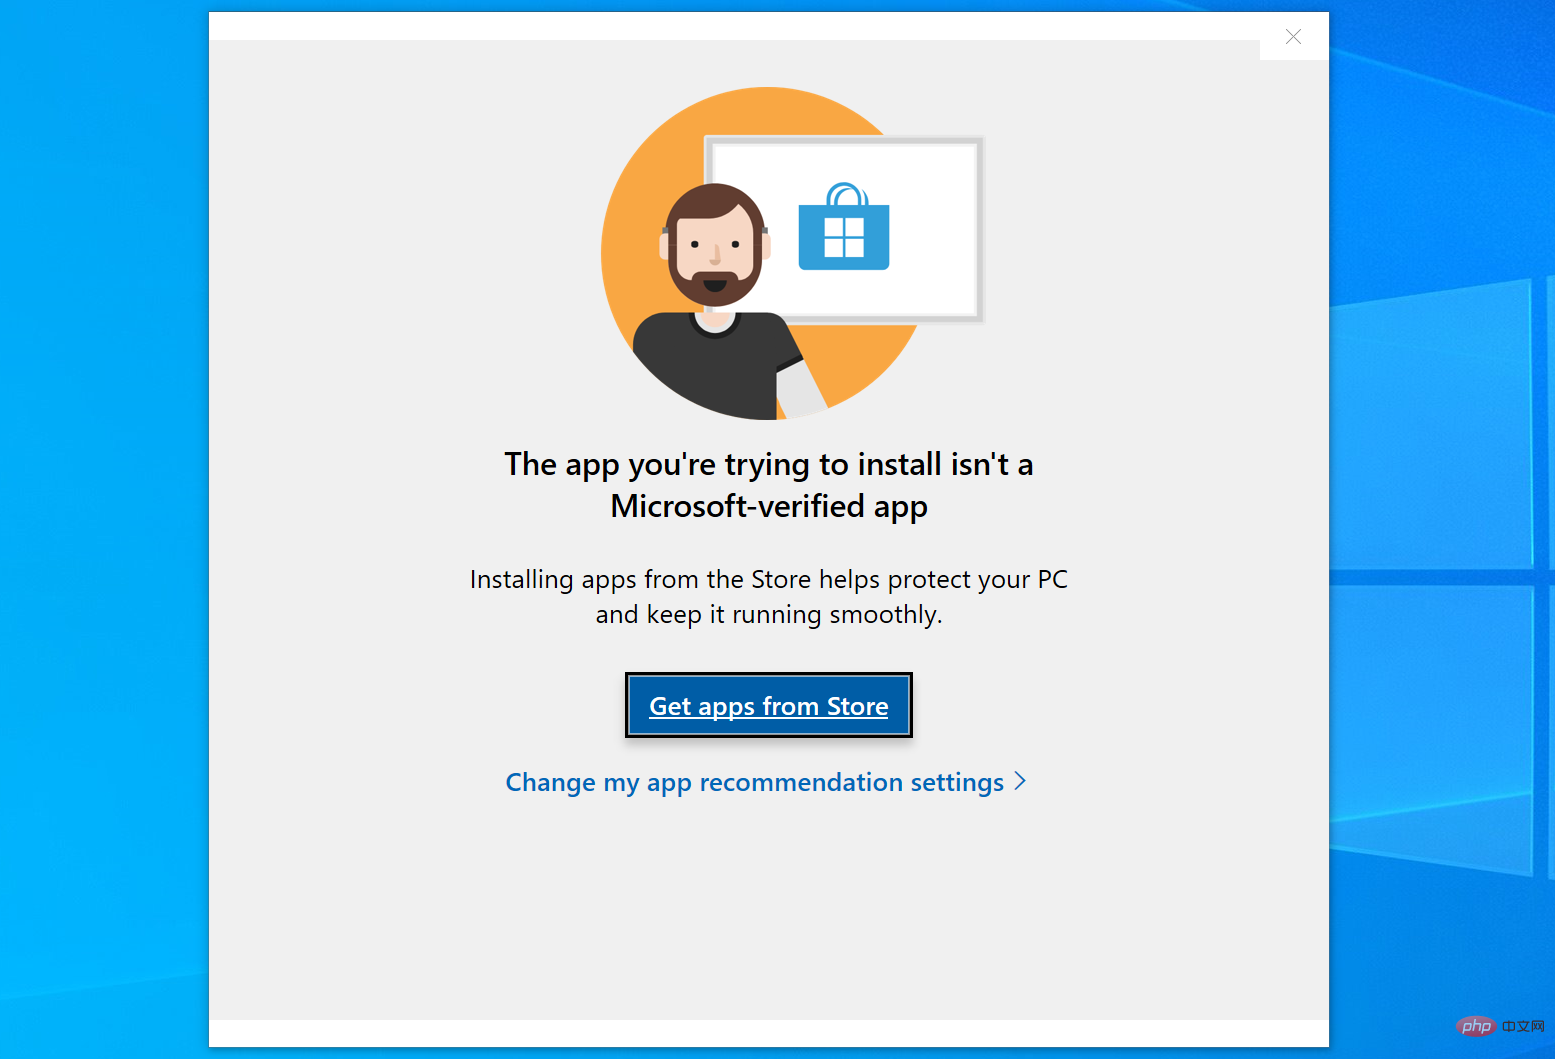 如何修复您尝试安装的应用不是 Windows 上经过 Microsoft 验证的应用Apr 13, 2023 pm 05:52 PM
Microsoft Windows 10 和 11 可能配置为仅允许在设备上安装某些类型的应用程序。该限制可能是有意的,例如,当限制可以安装在设备上的内容的策略到位时,但有时也是无意的。以下指南提供了易于遵循的分步说明,以解决意外出现的错误消息。尝试安装某些类型的应用程序的 Windows 用户可能会收到错误消息“您尝试安装的应用程序不是 Microsoft 验证的应用程序”。该对话框几乎没有提供有关安装被阻止原因的信息。它指出“从商店安装应用程序有助于保护您的 PC 并使其平稳运行”,并链接到
 DS4Windows 11 不工作?立即应用这些修复Apr 13, 2023 pm 06:04 PM
<p>在某些情况下,将 DualShock 4 或 DualSense 5 控制器与 Windows PC 一起使用似乎会出现问题,控制器连接不正确或可能根本无法连接。</p><p>另一方面,PS4 和 PS5 都是针对各自的游戏机专门开发和优化的。现在,如果您是在 Windows 11 上遇到 DS4Windows 无法正常工作问题的不幸人士之一,您可以使用本教程来修复错误。</p>
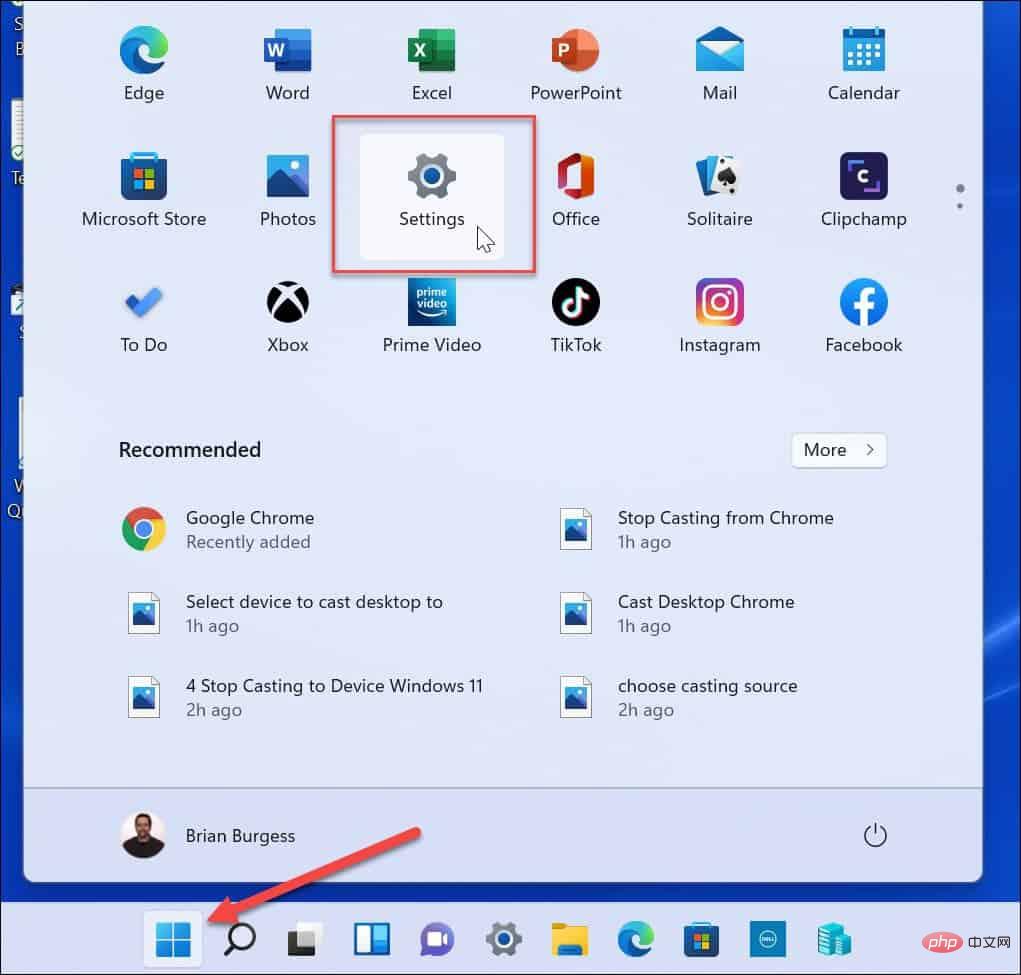 在 Windows 11 上停止自动更新的三种方法Apr 13, 2023 pm 05:40 PM
<h2>如何在 Windows 11 上停止自动更新</h2><p>在 Windows 11 上停止自动更新的一种方法是调整更新设置。使用此方法时,您可以在 Windows 11 家庭版或专业版上暂停更新长达五周。</p><p>要在 Windows 11 上暂停更新,请使用以下步骤:</p><ol>&a
 修复: Windows 无法初始化此硬件的设备驱动程序Apr 13, 2023 pm 01:19 PM
错误代码 37 表示 Windows 检测到设备驱动程序存在问题,无法启动硬件设备。这意味着您的系统上未正确安装软件设备驱动程序,或者您尝试使用的硬件与 Windows 不兼容。您已经知道驱动程序对于设备的平稳运行至关重要,因此如果您要使用硬件设备,则需要立即解决此错误。在本文中,我们将向您展示绕过此错误的各种方法。是什么原因导致 Windows 错误代码 37?当您得到 Windows 无法初始化此硬件的设备驱动程序时。(代码 37) 消息,它可能由几个问题引起,包括:兼容性问题 – 当您将硬
 如何修复 Roblox 无法在 Windows 10 中安装或下载Apr 13, 2023 am 11:46 AM
Roblox 是一个帮助创建游戏的在线游戏平台;用户可以在世界任何地方玩它们。但是一些用户在安装 Roblox 时会遇到问题。无法成功安装游戏,它只是在安装过程中崩溃。原因可能是缓存损坏、DNS 设置、防火墙问题、系统可能需要安装最新更新等。在本文中,我们将讨论可以用来解决问题的不同方案和方法。让我们开始吧!方法 1:使用设置重置 Microsoft Store第 1 步:同时使用Windows + I键打开 Windows 设置。第 2 步:点击应用程序第 3 步:在右侧,找到应用和功能下的M
 在 Windows 11 上禁用锁定屏幕的 3 种方法Apr 13, 2023 pm 02:19 PM
移动设备上的锁屏是一项基本功能,可帮助您随时了解设备上的最新动态,同时无需解锁设备即可访问最常用的重要功能。但是桌面系统上的锁屏并没有多大意义,主要是因为它们没有那么有用。您可以在锁定屏幕上收到通知并切换用户,仅此而已。而且,如果您像我一样,那么您很可能已经在移动设备上收到了通知,这使得桌面锁定屏幕上的通知变得多余。此外,您可能不会与任何不需要切换用户的人共享您的设备。在所有此类情况下,您可以使用以下方法禁用 Windows 11 上的锁定屏幕。 为什么要禁用锁定屏幕?根据您的工作流程,禁用锁定

Hot AI Tools

Undresser.AI Undress
AI-powered app for creating realistic nude photos

AI Clothes Remover
Online AI tool for removing clothes from photos.

Undress AI Tool
Undress images for free

Clothoff.io
AI clothes remover

AI Hentai Generator
Generate AI Hentai for free.

Hot Article

Hot Tools

mPDF
mPDF is a PHP library that can generate PDF files from UTF-8 encoded HTML. The original author, Ian Back, wrote mPDF to output PDF files "on the fly" from his website and handle different languages. It is slower than original scripts like HTML2FPDF and produces larger files when using Unicode fonts, but supports CSS styles etc. and has a lot of enhancements. Supports almost all languages, including RTL (Arabic and Hebrew) and CJK (Chinese, Japanese and Korean). Supports nested block-level elements (such as P, DIV),

MinGW - Minimalist GNU for Windows
This project is in the process of being migrated to osdn.net/projects/mingw, you can continue to follow us there. MinGW: A native Windows port of the GNU Compiler Collection (GCC), freely distributable import libraries and header files for building native Windows applications; includes extensions to the MSVC runtime to support C99 functionality. All MinGW software can run on 64-bit Windows platforms.

SublimeText3 English version
Recommended: Win version, supports code prompts!

SecLists
SecLists is the ultimate security tester's companion. It is a collection of various types of lists that are frequently used during security assessments, all in one place. SecLists helps make security testing more efficient and productive by conveniently providing all the lists a security tester might need. List types include usernames, passwords, URLs, fuzzing payloads, sensitive data patterns, web shells, and more. The tester can simply pull this repository onto a new test machine and he will have access to every type of list he needs.

SublimeText3 Chinese version
Chinese version, very easy to use


