Home >Common Problem >How to upgrade to Windows 11 using Setup Assistant
How to upgrade to Windows 11 using Setup Assistant
- 王林forward
- 2023-04-19 12:22:032339browse
Windows 11 is here, it’s time to make a change! But how do you do it? This time, however, it's very simple to implement.
Whether you installed Windows 11 via download, update, or other means, integrating it into your existing Windows 10 installation is fairly simple, with minimal downtime in between.
The reason for choosing the Windows 11 Installation Assistant instead of using the Windows 10 Update Assistant is that Microsoft has a branding issue with this version of the operating system.
After discovering that the update assistant was completely useless, we just wanted to visit their official Windows 11 upgrade page and download the installation assistant.
Now that we've seen the advantages of the new operating system over Windows 10, move on to learn how to upgrade to Windows 11 using the Setup Assistant.
Should I upgrade from Windows 10 to Windows 11?
Windows 11 is a major visual change from Windows 10, but in terms of functionality and features the two operating systems are very similar. With the new operating system now available on some devices, comparing Windows 11 to Windows 10 has never been more important. 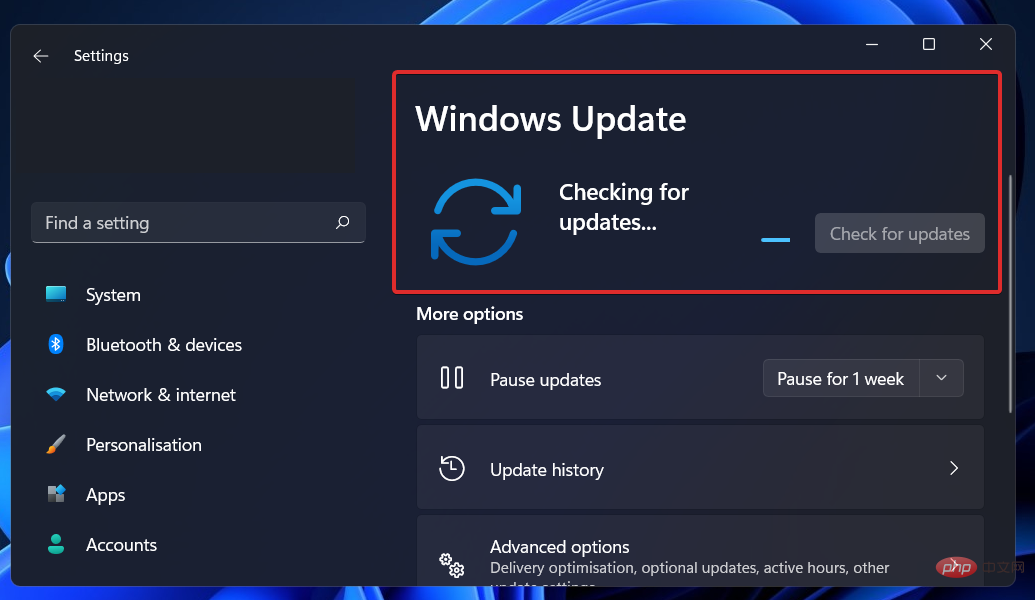
Visually, these two operating systems seem completely different from each other. However, there are several major changes under the hood that will differentiate the next generation of Windows from the current generation.
Just like Windows 10 is a free upgrade to Windows 7, Windows 11 is a free upgrade to Windows 10. You can download and upgrade it in minutes with a few simple steps. However, there is a problem.
You are eligible for an upgrade only if your computer meets Microsoft's minimum requirements. This has caused a lot of debate, especially regarding the requirements for TPM 2.0. This requirement can be difficult to understand.
Microsoft's Surface devices, as well as new devices from Microsoft partners, are likely to receive Windows 11 on the same day that general release is announced. Devices still running Windows 10 can now upgrade by using Windows Update.
Microsoft has said it will take a progressive approach to address this issue. It also said in November 2021 that it would accelerate the pace of Windows 11 distribution by a greater margin than previously planned. As a result, the operating system should now be more widely available on other PCs.
How to upgrade to Windows 11 using Setup Assistant?
1. Use Microsoft’s official website
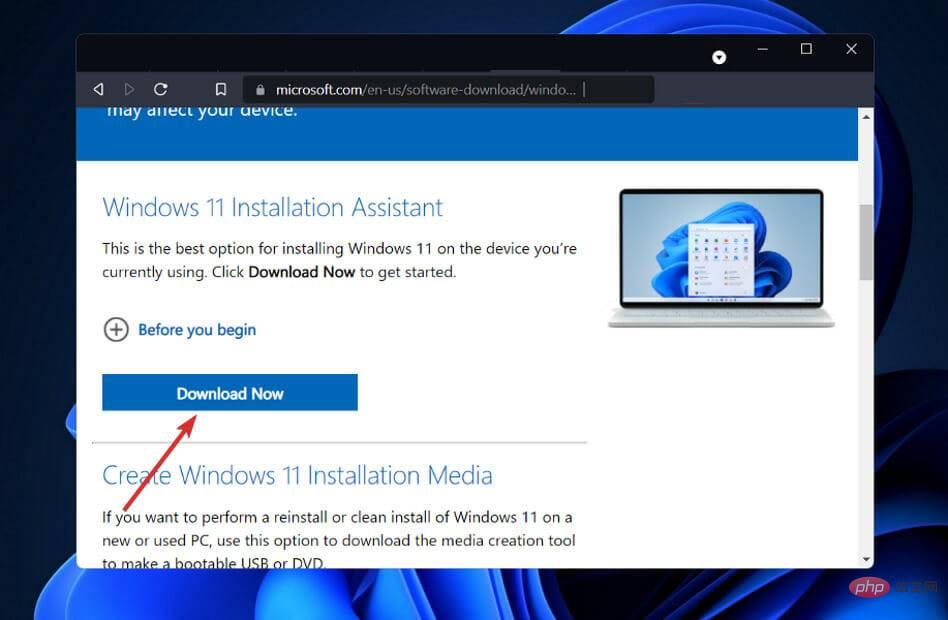
- to go to the Windows 11 download page, and then click Download Now under the Windows 11 Installation Assistant.

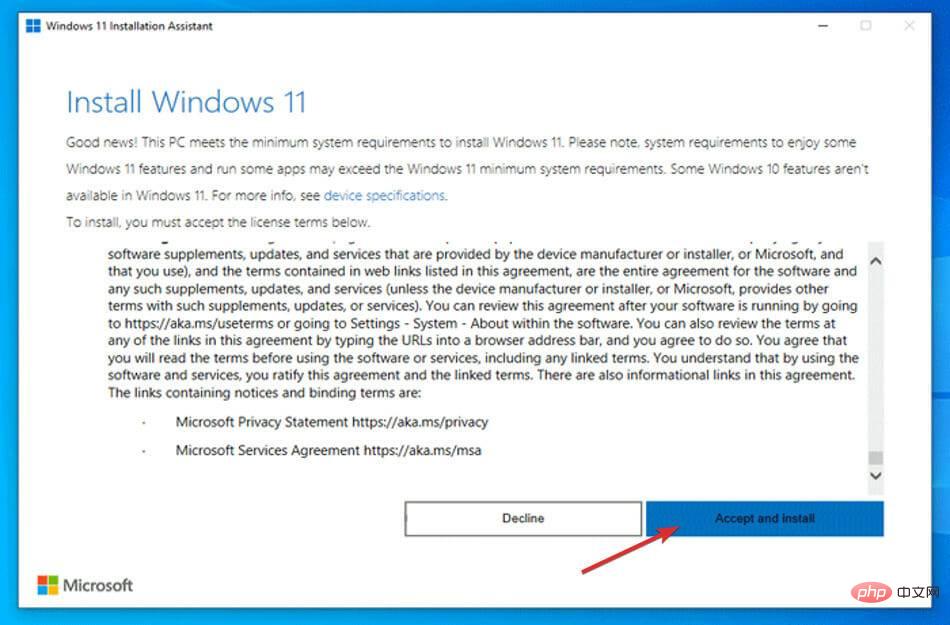
- You will get the executable file of Windows 11 Setup Assistant. The installation process will begin as soon as you run it. After reading the terms of the agreement, click to accept and install .

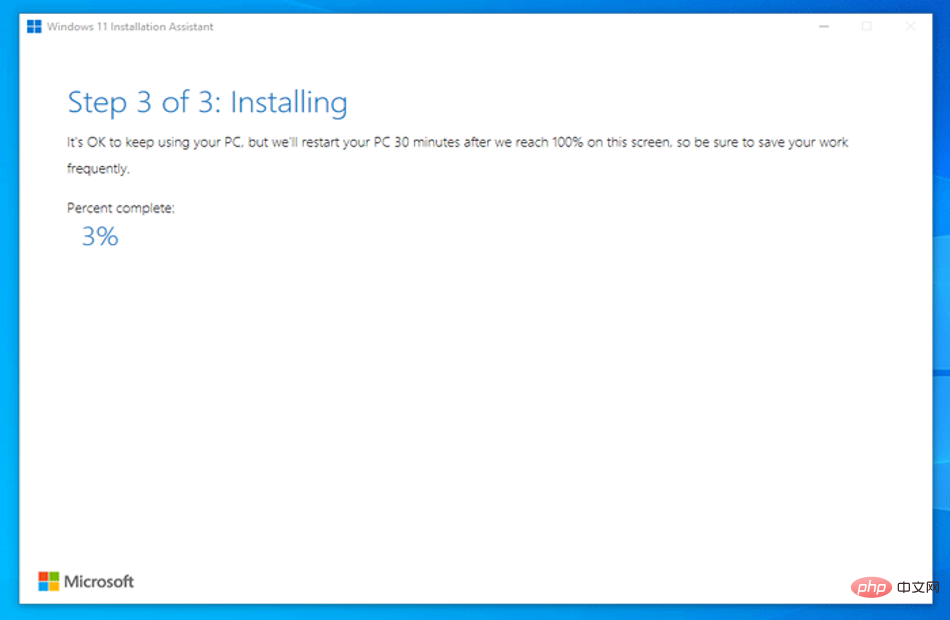
- Windows 11 will begin downloading and installing, so wait patiently for the process to end and then read the on-screen instructions carefully.

If your PC meets all the requirements, this is the fastest and most convenient way to install Windows 11. Rest assured, the installation assistant will do all the work for you.
How to improve the performance of Windows 11?
Despite the major upgrades to Windows 11, there could be a number of factors causing your Windows 11 computer or laptop to slow down. 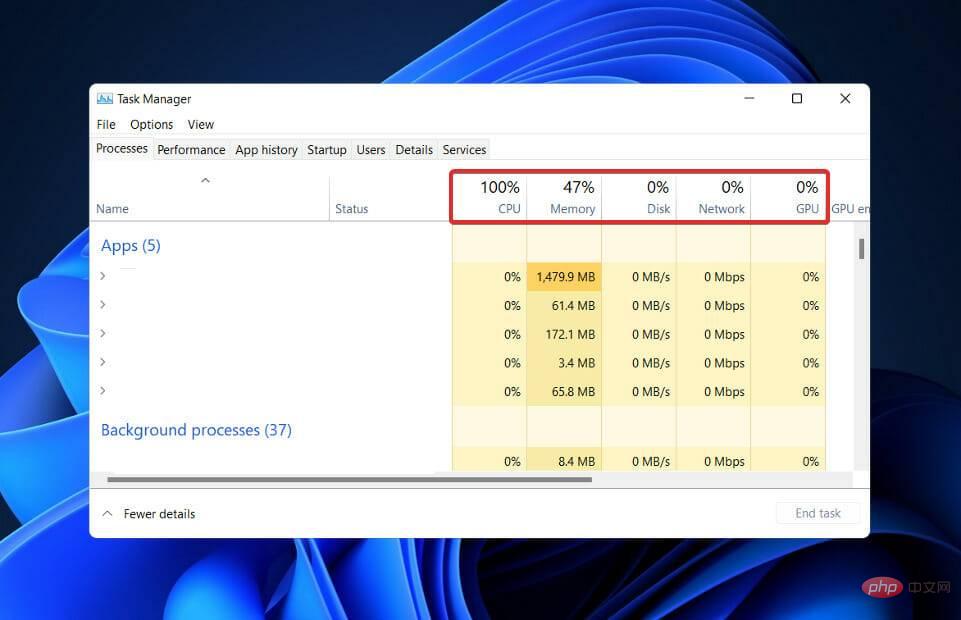
There are things you can do to improve Windows performance on your computer, whether it's an old PC/laptop or it's having issues with your hard drive. So, let’s take a look at how to make Windows 11 run faster.
You can first disable startup programs to reduce the time it takes for Windows 11 to boot. These programs usually start as soon as you turn on your computer.
This list will continue to grow as you download more apps. So keep in mind that you should perform this process regularly to ensure that no unwanted applications start up at startup and cause Windows 11 to run slower.
Another option you might try is to debloat Windows 11 to improve its overall performance. From disabling Cortana to uninstalling unused packages and apps like OneDrive to eliminating services, it can all be done in one click using this tool.
If you want the highest possible performance but don't mind sacrificing battery life, you can change the power plan on Windows 11. It will optimize Windows 11 with the appropriate settings so you can get the most performance from your computer hardware.
The above is the detailed content of How to upgrade to Windows 11 using Setup Assistant. For more information, please follow other related articles on the PHP Chinese website!


