Home >Common Problem >How to use local accounts on Windows 11 version 22H2 devices
How to use local accounts on Windows 11 version 22H2 devices
- PHPzforward
- 2023-04-17 13:28:032670browse
Microsoft has announced that it will extend the Windows 11 Home requirements for a Microsoft account and an Internet connection during setup to Windows 11 Pro in early 2022.
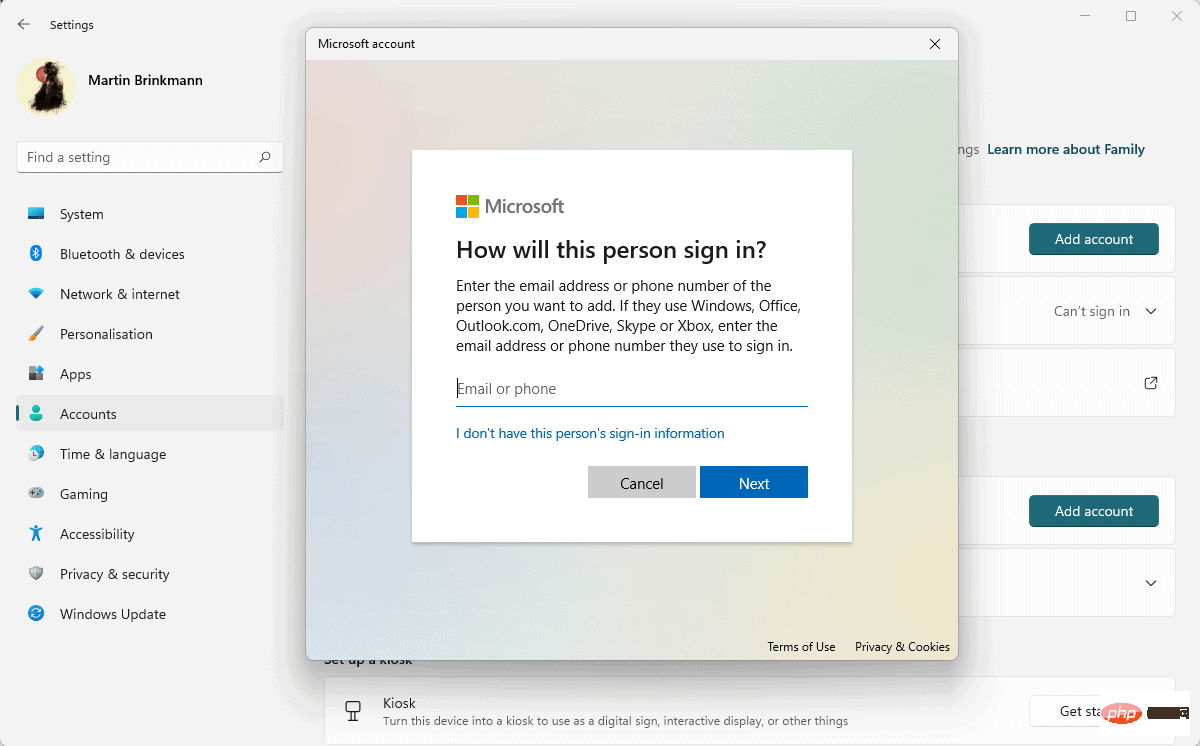
The upcoming Windows 11 version 22H2 will enforce the requirement for all devices with Pro installed. This change will not affect existing devices upgraded to the new version. When using local accounts, these will work as before even if a Microsoft account does not exist.
Windows customers installing Windows 11 Pro from scratch on a device and customers purchasing a device with Windows 11 installed will need a Microsoft account to complete the initial setup.
There have been workarounds in the past to get around this requirement. One involves disconnecting from the Internet during setup, and the other involves running a command or terminating a specific task. It's unclear whether these will continue to work, as Microsoft has suppressed these bypasses in recent builds.
Most Windows customers probably have no problem with this requirement. There are advantages to using a Microsoft account, including attaching licenses to the account, being able to use data synchronization between devices, and being able to restore account access even if one of the user's devices is lost.
Microsoft was criticized for the move. Installation cannot be completed without an internet connection, which means it can become a frustrating experience in some environments. Others are opposed to the change because they want to use local accounts, for example, for privacy reasons.
Microsoft made it harder to create local accounts in its Windows 10 operating system in 2019. At that point, you can disconnect from the Internet to get local account setup options.
Create local accounts after Windows 11 installation
While Microsoft has tightened the screws during setup, the company has yet to restrict the use of local accounts after setup. One of the better options for Windows users who want to use a local account is to complete setup with a Microsoft account, create a local account with administrative rights on first run, and then delete the Microsoft account.
Tip: You can use the "net" command to achieve the same thing using two commands from an elevated command prompt.
- Network User/Add Martin Password
- Network Local Group Administrator Martin/Add
The first command creates user martin with password secretpassword. The second command adds user martin to the Administrators group.
This is done on Windows 11 devices by:
Step 1: Select Start, then Settings, or use the Windows-I shortcut to open Settings.
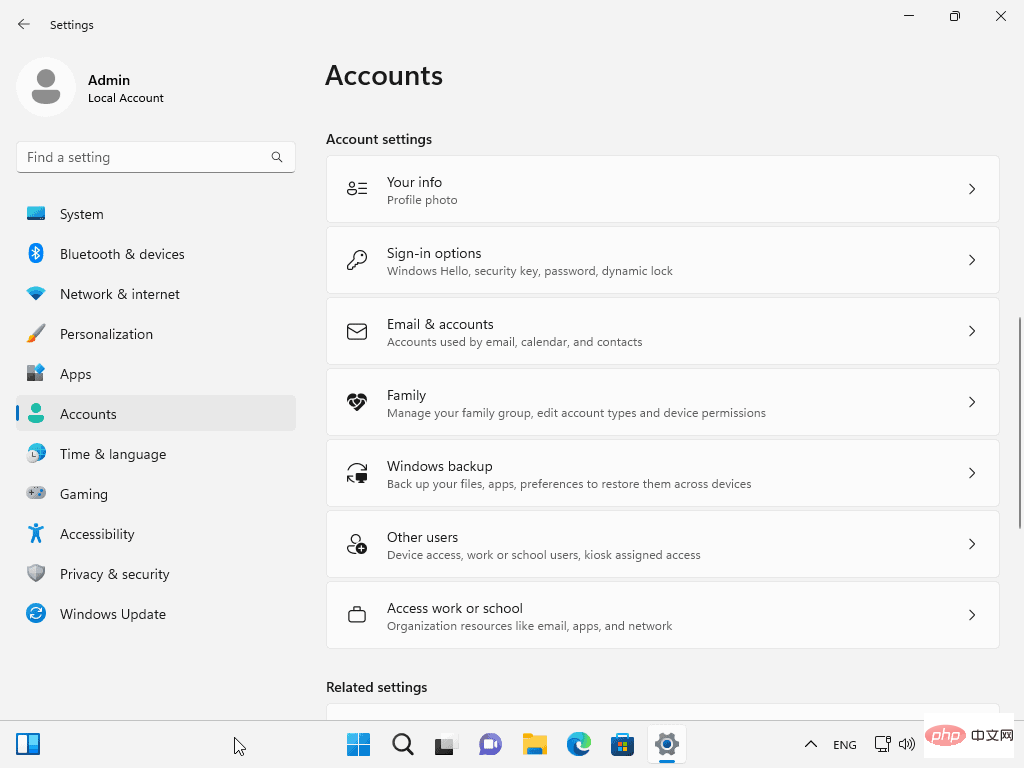
Step 2: Go to account. Select another user on the page that opens.
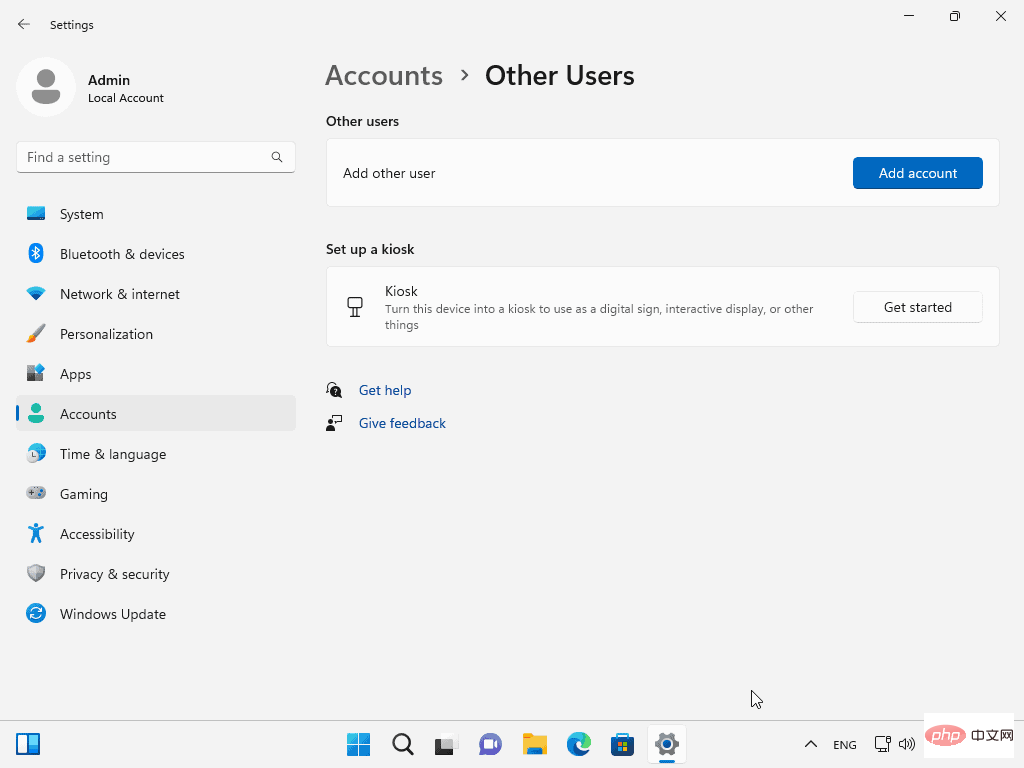
Step 3:Activate the "Add Account" button next to "Add another user".
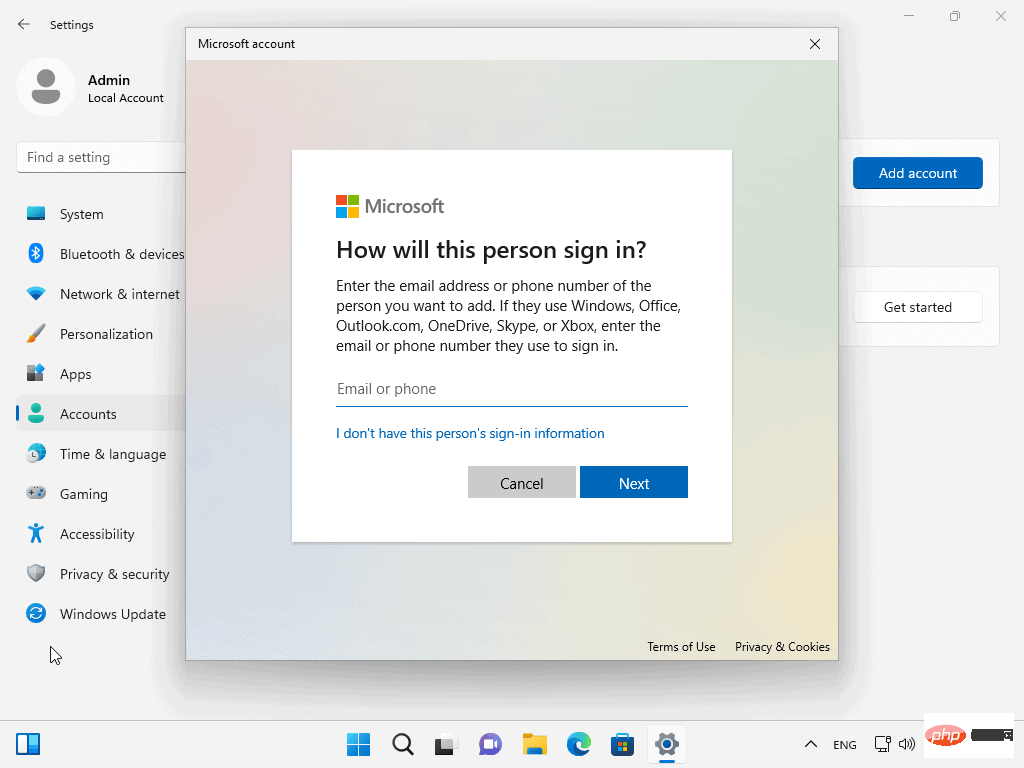
Step 4: Select "I don't have this person's login information".
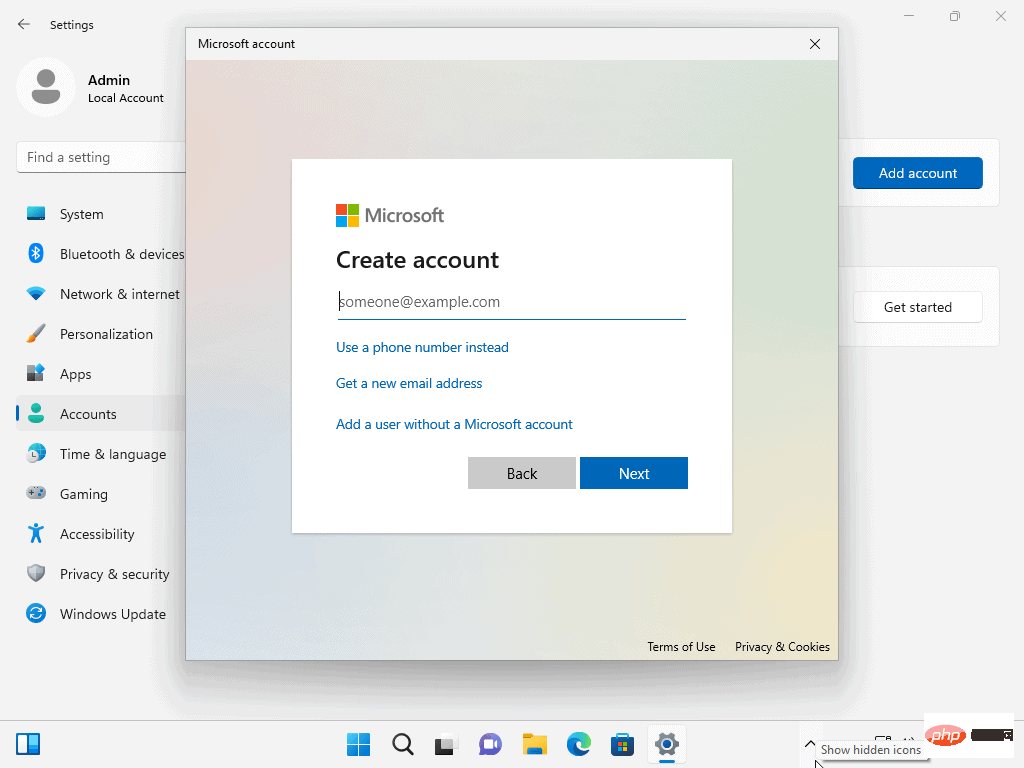
Step 5: Select "Add users without Microsoft accounts."
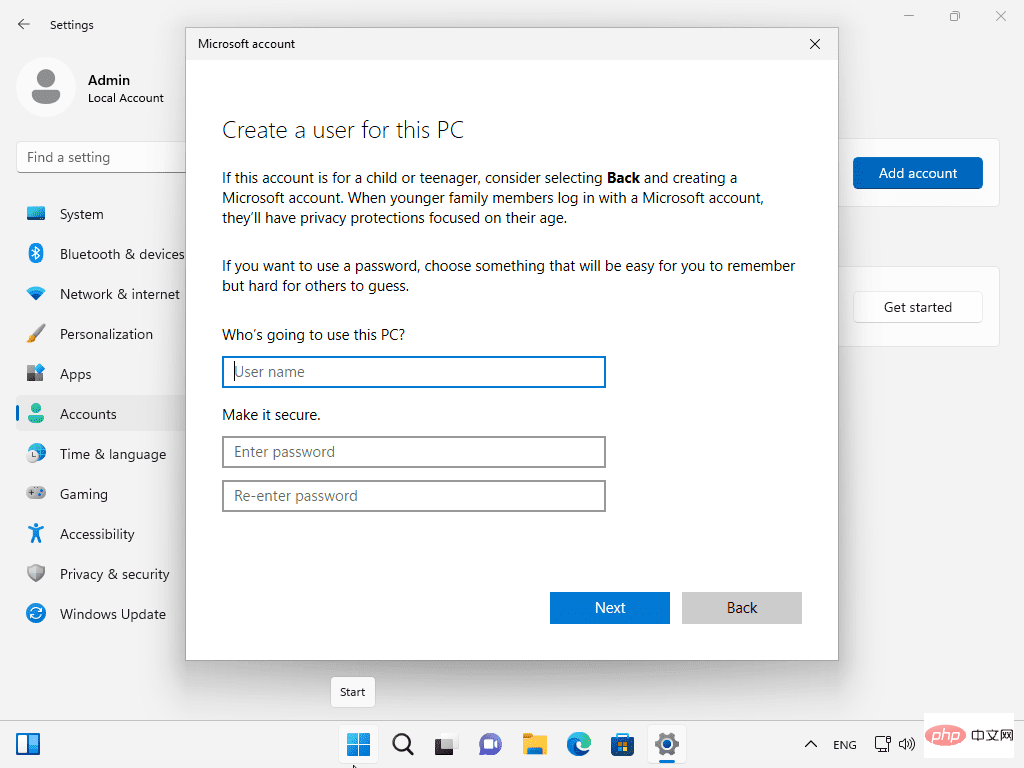
Step 6: Enter your username and choose a password. The use of passwords is optional. Select Next to complete the process.
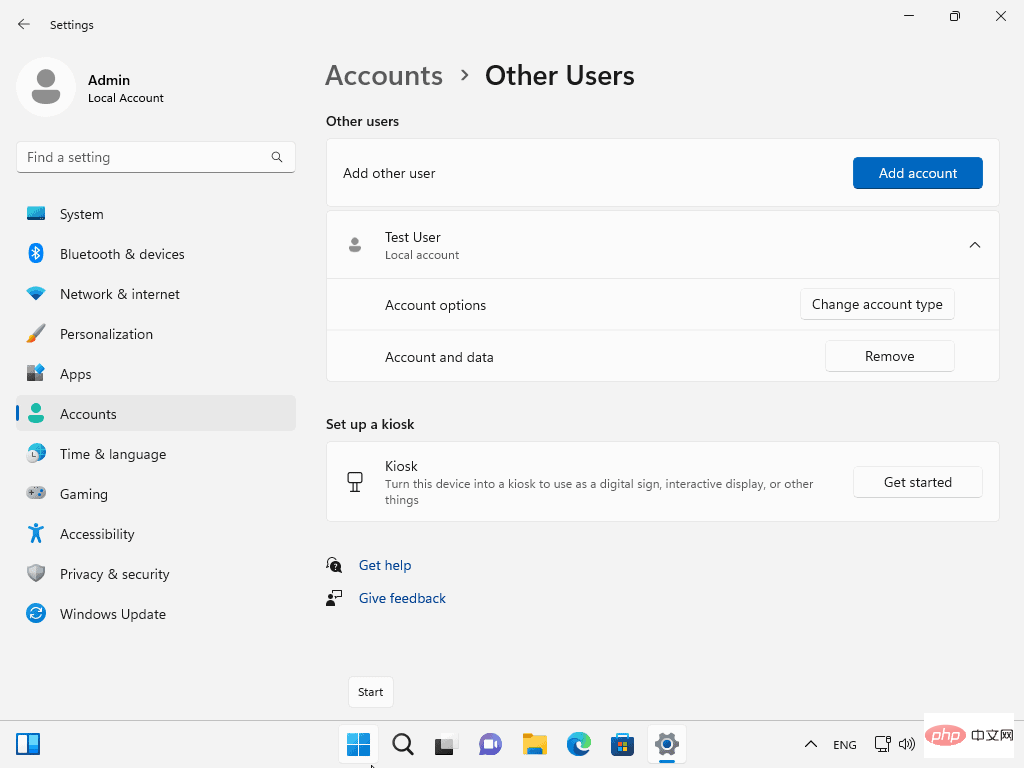
Step 7:Expand the new user on the "Other Users" page and activate "Change Account Type".
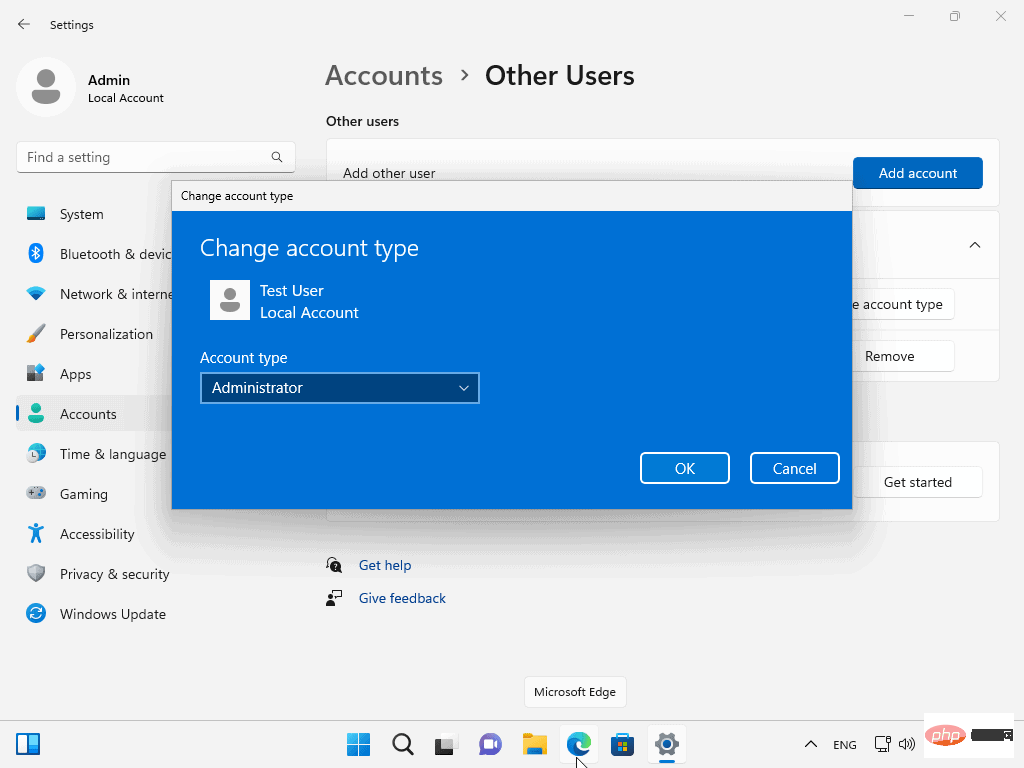
Step 8 : Switch it from the "Standard User" account type to "Administrator" and select OK.
You can now log in with your new user account using your selected username and password. Once done, you can delete your Microsoft account or ignore it.
The above is the detailed content of How to use local accounts on Windows 11 version 22H2 devices. For more information, please follow other related articles on the PHP Chinese website!

