How to edit a slide master in PowerPoint
Editing a slide master in PowerPoint allows you to create a consistent style for all the slides you create.
You need to edit the slide master before creating the slides because any slides created before you edit the slide master will retain their original formatting.
To edit the slide master in PowerPoint:
- Open your PowerPoint document.
- Click to view , then click Slide Master.

- Click on the topmost thumbnail in the slideshowThis is the slide master, and the thumbnails below show the various layout options.

- Make changes to the slide master. The easiest way to update the appearance of your slide master is to click Theme.

- If you have some themes saved from elsewhere, select one of the preset themes or click "Browse Themes".

- The layout options thumbnails below the slide master will update to show your new theme.
- If you want to change the text style, click on the slide master thumbnail and highlight some text.

- Under the main menu, you can change the font, font size, font color, etc. These changes will apply to all layout options in the Slideshow pane.

- You can also edit an individual layout by clicking its thumbnail if you want a specific layout to have a different format than the slide master.
- Once you are satisfied with your changes, in Slide Master view, click Close Master.

- Your slide master is now updated.
How to use slide master in PowerPoint
Now that you have edited the slide master, it’s time to use it to create some slides for your presentation.
To use a slide master in PowerPoint:
- In the main menu, click New Slide .

- Choose from one of the layout options.

- Your slides will have the formatting and theme you set for the slide master.

You can edit the slide master as many times as you need. However, any slides you add to the presentation before making changes will retain their original formatting. You will need to create these slides again if you want them to have an updated slide master format.
Using PowerPoint with Styles
Learning how to use slide masters in PowerPoint can help your presentations stand out.
After you create a PowerPoint you are proud of, you can import and reuse your PowerPoint slides in other presentations. If you regret your decision to use Comic Sans, you can quickly change the font for all your slides in PowerPoint.
The above is the detailed content of How to use slide masters in PowerPoint. For more information, please follow other related articles on the PHP Chinese website!
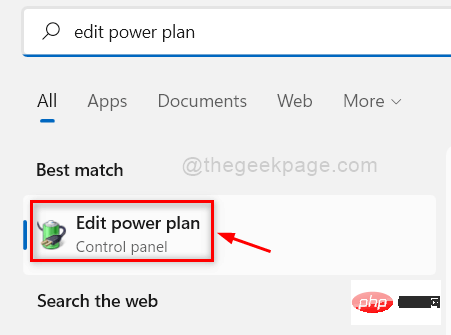 如何修复背景幻灯片在 Windows 11、10 中不起作用May 05, 2023 pm 07:16 PM
在Windows11/10系统上,一些用户声称桌面背景上的幻灯片已经停止工作。用户对为什么笔记本电脑背景屏幕上的照片不再滑动感到困惑。幻灯片无法正常工作的此问题的原因如下所述。已安装第三方桌面定制应用程序。在电源选项中,桌面背景幻灯片设置已暂停。包含背景图像的文件夹被删除。幻灯片播放完成后屏幕可能会关闭。在对上述原因进行调查之后,我们创建了一个修复列表,无疑将帮助用户解决问题。解决方法——停用的窗口可能是导致此问题的原因之一。因此,请尝试激活Windows并检查问题是否已解决。尝试通过“设置”应
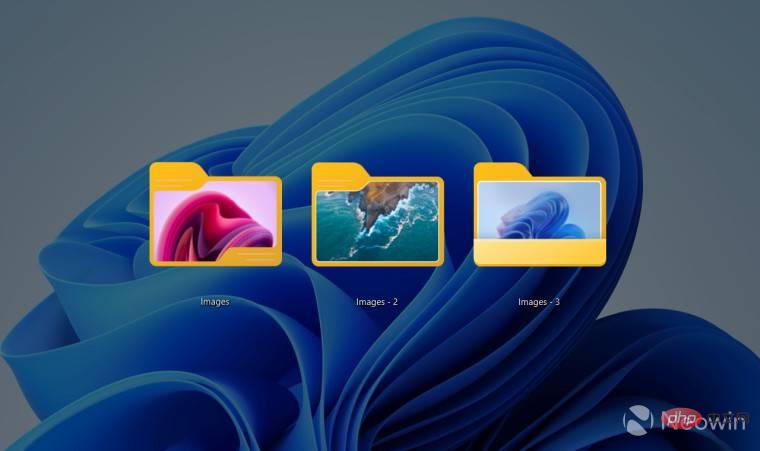 如何在 Windows 11 22H2 中自定义文件夹缩略图Apr 30, 2023 pm 04:52 PM
Windows1122H2是Windows11的第一个功能更新,应该会带来大量新功能和急需的改进。其中一项改进是允许预览文件夹内文件的文件夹缩略图。如果您不喜欢Windows11中文件夹缩略图的外观,可以通过以下方式更改它。Windows11中文件夹缩略图的一组自定义图标(由Reddit的LEXX911提供)可让您放大预览并更改文件夹图标样式。您仍然需要处理单个文件预览(例如,在Windows7中,文件夹缩略图可以同时显示多个图像),但您可以将其做得更大更方便。重要提示:
 幻灯片全屏播放为什么有黑边Oct 20, 2023 pm 03:25 PM
幻灯片全屏播放有黑边可能是因为屏幕分辨率不匹配、图片尺寸不匹配、缩放模式设置不正确、显示器设置问题和幻灯片设计问题等。详细介绍:1、屏幕分辨率不匹配,黑边的一个常见原因是屏幕分辨率与幻灯片尺寸不匹配,当幻灯片的尺寸小于屏幕分辨率时,播放时会出现黑边,解决方法是调整幻灯片的尺寸,使其与屏幕分辨率匹配,在 PowerPoint中,可以选择“设计”选项卡,然后点击“幻灯片大小”等等。
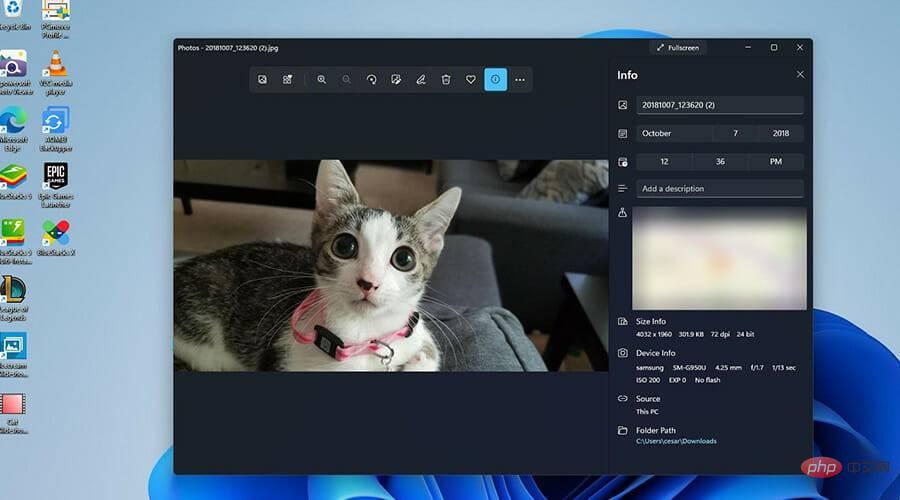 如何在Windows 11上创建带有背景音乐的幻灯片?Apr 21, 2023 am 10:07 AM
幻灯片是在Windows11计算机上组织图片的好方法。有时,Windows用户可能会面临某种硬件限制或系统更新,他们需要一种方法来存储他们的文件,以免被意外删除或丢失。此外,与必须通过一张一张地滚动照片来手动向人们展示相比,它使对照片进行分类和展示要容易得多。幻灯片也是将来自不同来源(相机、手机、USB驱动器)的照片汇集为一种易于欣赏的格式的好方法。幸运的是,您可以使用一些有用的第三方应用程序来创建这些幻灯片,而不必被迫使用PowerPoint之类的工具。该应用程序适用于商业演示,但Pow
 如何将 PowerPoint 转换为 Google Slides?Apr 22, 2023 pm 03:19 PM
如何将PowerPoint转换为Google幻灯片将完整的PowerPoint演示文稿转换为Google幻灯片的最简单方法之一是上传它。通过将PowerPoint(PPT或PPTX)文件上传到Google幻灯片,该文件将自动转换为适用于Google幻灯片的格式。要将PowerPoint直接转换为Google幻灯片,请执行以下步骤:登录您的Google帐户,前往Google幻灯片页面,然后单击“开始新的演示文稿”部分下的空白。在新的演示文稿页面中,单击文件&g
 如何隐藏文本直到在 Powerpoint 中单击Apr 14, 2023 pm 04:40 PM
如何在 PowerPoint 中的任何点击之前隐藏文本如果您希望在单击 PowerPoint 幻灯片上的任意位置时显示文本,那么设置起来既快速又容易。要在 PowerPoint 中单击任何按钮之前隐藏文本:打开您的 PowerPoint 文档,然后单击“插入 ”菜单。单击新幻灯片。选择空白或其他预设之一。仍然在插入菜单中,单击文本框。在幻灯片上拖出一个文本框。单击文本框并输入您
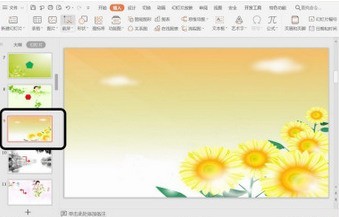 PPT幻灯片插入七边形方法介绍Mar 26, 2024 pm 07:46 PM
1、打开PPT幻灯片文档,在PPT左侧【大纲、幻灯片】栏中,点击选择需要插入基本【形状】的幻灯片。2、选择好之后,在PPT上方功能菜单栏中选择【插入】菜单并点击。3、点击【插入】菜单后,在功能菜单栏下方弹出【插入】子菜单栏。在【插入】子菜单栏中选择【形状】菜单。4、点击【形状】菜单,弹出预设的形状种类选择页面。5、在形状种类选择页面中,选择【七边形】形状并点击。6、点击后,鼠标移动至幻灯片编辑界面,按下鼠标绘制,绘制完成后松开鼠标。完成【七边形】形状的插入。
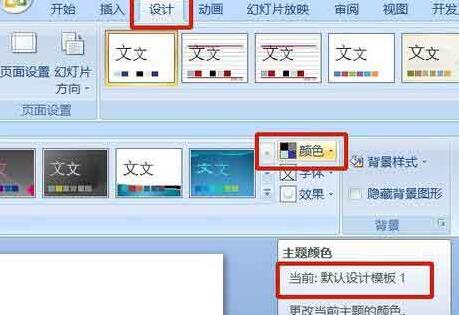 PPT幻灯片统一主题颜色的操作步骤Mar 26, 2024 pm 08:51 PM
1、配色方案自然是与设计有关,所以,我们点击设计工具栏,在其右侧,可以看到颜色选项。鼠标指上去,可以看到当前主题颜色是:默认设计模板1。2、点开该选项,排在第一的就是当前的颜色设计。更改它,我们要在面板下方进入:新建主题颜色。3、点进去,在出现的一列颜色种可以看到有三种强调文字颜色都偏淡,在浅色背景下几乎无法显示,其中就有本例中的文字颜色。4、点击颜色右侧的下拉箭头,出现颜色选择面板。为不破坏整体配色,在原色系中选择一种深色替代原色。同样方法将另外两种颜色替换。5、更改后的颜色与原色对比。左边为

Hot AI Tools

Undresser.AI Undress
AI-powered app for creating realistic nude photos

AI Clothes Remover
Online AI tool for removing clothes from photos.

Undress AI Tool
Undress images for free

Clothoff.io
AI clothes remover

AI Hentai Generator
Generate AI Hentai for free.

Hot Article

Hot Tools

mPDF
mPDF is a PHP library that can generate PDF files from UTF-8 encoded HTML. The original author, Ian Back, wrote mPDF to output PDF files "on the fly" from his website and handle different languages. It is slower than original scripts like HTML2FPDF and produces larger files when using Unicode fonts, but supports CSS styles etc. and has a lot of enhancements. Supports almost all languages, including RTL (Arabic and Hebrew) and CJK (Chinese, Japanese and Korean). Supports nested block-level elements (such as P, DIV),

MantisBT
Mantis is an easy-to-deploy web-based defect tracking tool designed to aid in product defect tracking. It requires PHP, MySQL and a web server. Check out our demo and hosting services.

SAP NetWeaver Server Adapter for Eclipse
Integrate Eclipse with SAP NetWeaver application server.

Atom editor mac version download
The most popular open source editor

MinGW - Minimalist GNU for Windows
This project is in the process of being migrated to osdn.net/projects/mingw, you can continue to follow us there. MinGW: A native Windows port of the GNU Compiler Collection (GCC), freely distributable import libraries and header files for building native Windows applications; includes extensions to the MSVC runtime to support C99 functionality. All MinGW software can run on 64-bit Windows platforms.


