


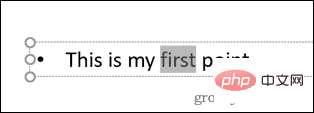
When giving a presentation using the best PowerPoint app ever, adding images relevant to your presentation makes it easier for your audience to understand the topic and content, not just the text or paragraphs. Sometimes there is something very sensitive in the image that is not considered safe to show to viewers.
Therefore, it is standard practice to blur specific parts of an image. However, blurring a part of an image in PowerPoint application is not easily done by any straightforward method. In this article, we have shown a simple method through which you can blur any specific part of an image in PowerPoint application using a few steps given below.
How to blur part of an image in the PowerPoint application
Blur the entire image
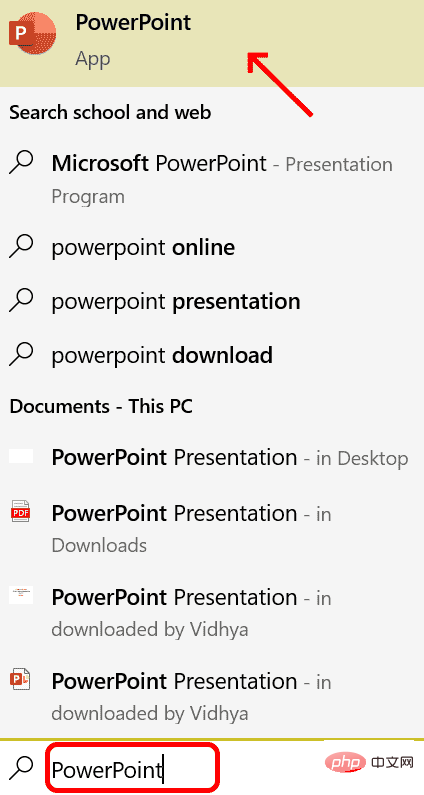
Step 1: You need to open the PowerPoint application first. To do this, press the Windows key on your keyboard and type powerpoint.
Step 2: Then, click on the PowerPoint application from the results as shown in the screenshot below.

Step 3: Now you can click on Blank Presentation or open any saved file from your computer.

Step 4: If you selected a blank presentation, draft your slides by adding images.
Step 5: Now, if you want to blur the entire image using PowerPoint application, then first select the image that you want to blur.
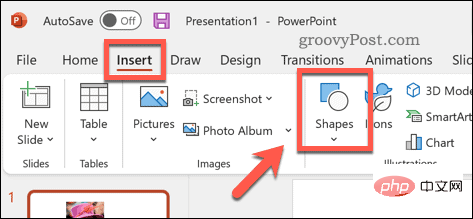
Step 6: Then go to the "Picture Format" tab on the top bar and click on the "Artistic Effects" drop-down option once.
Step 7: Select one of the various types of blur options in the drop-down menu as shown below.

Step 8: Right-click your blurred image again and select the "Format Picture" option from the context menu.

Step 9: Under Format Picture on the right, click Artistic Picture once and change Radius Move the slider to the right to further blur the image.
Step 10: Once completed, turn off the “Format Image” option on the right as shown below.

Blur part of the image
Step 1: After selecting the image, press the CTRL C keyCopyThe image to be blurred.
Step 2: Then, just press the CTRL V key to paste it to the image you want to blur middle.
Step 3: Now you will have two images, one on top of the other.
Step 4: Compress the file by clicking on its edges, dragging the file inward and placing it over the part of the image you want to blur, as shown below.

Step 5: Now to blur the dragged image, select the top image (the pasted image) and click on Click on Artistic Effects and select the Blur option from the drop-down menu to blur it as shown below.
Step 6: Once finished,right-click on the small blurred image and select "Format
Step 7: Next, click on
Artistic Effect and slide the radius option to
and turn it off Format picture part, as shown below.
Step 8: Now you can see that part of the image has been blurred.
The above is the detailed content of How to blur part of an image in PowerPoint application. For more information, please follow other related articles on the PHP Chinese website!

 如何在 PowerPoint 中突出显示文本Apr 19, 2023 pm 12:04 PM
如何在PowerPoint2019或365中突出显示文本如果您使用的是PowerPoint2019或订阅了Microsoft365,则突出显示文本既快捷又简单。在PowerPoint中突出显示文本有两种主要方法。如何在PowerPoint中突出显示选定的文本第一种方法是在应用效果之前选择要突出显示的文本。要在PowerPoint中突出显示选定的文本:单击并拖动要突出显示的文本。在 主页 选项卡中,单击文本突出显示颜色 工具旁边的向下箭头 。单击您选择的突出显示颜色
 如何在 PowerPoint 中模糊图像Apr 14, 2023 pm 12:13 PM
如何在 PowerPoint 中模糊图像的一部分没有官方工具可以让您在 PowerPoint 演示文稿中模糊图像的一部分。相反,您需要结合使用形状和其他功能来完成此操作。要在 PowerPoint 中模糊图像的一部分:打开您的 PowerPoint 演示文稿。按插入>形状并选择一个合适的形状来覆盖您的图像。将图像绘制到幻灯片上并将其放置在要模糊的图像区域上。如果要设计自定义形状
 如何在 Powerpoint 中逐步创建宏May 13, 2023 pm 02:13 PM
宏只是一组由用户编写并保存在宏名称下的指令。在演示文稿中调用宏名称时,它会自动执行宏名称下定义的指令集。宏会在需要时嵌入到PowerPoint演示文稿中。可以使用VBA在PowerPoint中编写宏代码。它可以帮助我们创建自己的设计并且可以重复使用。宏也可以在其他MicrosoftOffice应用程序中创建。让我们看看如何在PowerPoint中创建一个简单的宏宏创建涉及的步骤步骤1。打开PowerPoint。在左下角的搜索空间中键入PowerPoint。您只需单击即可打开Po
 如何在 PowerPoint 应用程序中模糊图像的一部分Apr 14, 2023 pm 07:19 PM
在使用迄今为止最好的PowerPoint应用程序进行演示时,添加与演示文稿相关的图像使观众更容易理解主题和内容,而不仅仅是文本或段落。有时,图像中会有一些非常敏感的东西,不被认为可以安全地展示给观众。因此,模糊图像的特定部分是标准做法。然而,在PowerPoint应用程序中模糊图像的一部分并不容易通过任何直接的方法来完成。在这篇文章中,我们展示了一种简单的方法,您可以使用下面给出的几个步骤来模糊PowerPoint应用程序中图像的任何特定部分。如何在PowerPoint应用程序中模糊图像的
 powerpoint的主要功能是什么Sep 14, 2022 pm 03:54 PM
powerpoint的主要功能是创建演示文稿;用户还可以在投影仪或者计算机上进行演示,也可以将演示文稿打印出来,PPT适用于工作汇报、企业宣传、产品推介、婚礼庆典、项目竞标、管理咨询、教育培训等领域,并具有相册制作、文稿合并、运用母板、图片运动、动画控制等功能。
 在powerpoint中设置幻灯片背景的填充效果选项中包含什么Jul 27, 2021 pm 02:04 PM
在powerpoint中设置幻灯片背景的填充效果选项中包含渐变、纹理、图案和图片,其设置幻灯片背景的方法是选择“设置背景格式”或者单击“设计”选项卡来设置背景。
 如何在 PowerPoint 中将图像插入形状Apr 17, 2023 pm 02:28 PM
如何在PowerPoint中将图像插入形状将图像插入形状对于创建在演示文稿中脱颖而出的视觉元素非常有用。它可以是箭头、心形或十字形,但这些形状中的每一种都提供了一种目的或情感,可以帮助您的图像充满冲击力。如果您不确定如何将图像插入PowerPoint中的形状,请按照以下步骤操作:打开您的PowerPoint演示文稿。单击功能区中的插入选项卡。单击形状。选择所需的形状并将其绘制在幻灯片上。接下来,选择您绘制的形状,然后选择功能区栏上的“形状格式”选项卡。单击形状填充。从形状填充下拉菜单
 powerpoint的应用特点是什么Feb 03, 2023 pm 01:51 PM
powerpoint的应用特点是制作屏幕演示文稿。powerpoint是微软公司发布的一款演示文稿软件,PowerPoint做出来的东西叫演示文稿,其格式后缀名为ppt、pptx;或者也可以保存为pdf、图片格式等。利用PowerPoint不仅可以创建演示文稿,还可以在互联网上召开面对面会议、远程会议或在网上给观众展示演示文稿。

Hot AI Tools

Undresser.AI Undress
AI-powered app for creating realistic nude photos

AI Clothes Remover
Online AI tool for removing clothes from photos.

Undress AI Tool
Undress images for free

Clothoff.io
AI clothes remover

AI Hentai Generator
Generate AI Hentai for free.

Hot Article
Hot Tools

Notepad++7.3.1
Easy-to-use and free code editor

SAP NetWeaver Server Adapter for Eclipse
Integrate Eclipse with SAP NetWeaver application server.

EditPlus Chinese cracked version
Small size, syntax highlighting, does not support code prompt function

PhpStorm Mac version
The latest (2018.2.1) professional PHP integrated development tool

SublimeText3 Chinese version
Chinese version, very easy to use

