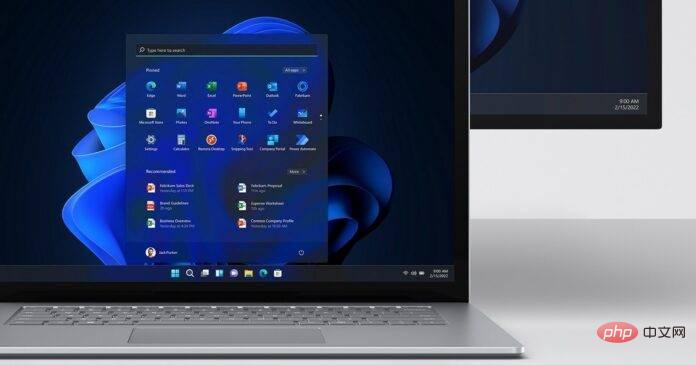
While Windows 10 introduced some additional features, Windows 11 also offers some great features, especially changes to display settings. This is more beneficial for those with more than one monitor. However, feature updates also come with technical issues. Although it is an advanced operating system version of Windows and works well with all applications, sometimes you may encounter display issues such as blurry fonts and icons. One of the possible reasons behind this could be the new high-resolution display.
While there may be other reasons behind the problem, luckily, there are some possible solutions that can help you fix the blurry fonts issue on your Windows 11 PC. Let’s see how:
Method One: Using cleartype
This method involves using the built-inCleartype tool that allows you to adjust the clarity of your text. Let's see how to use it:
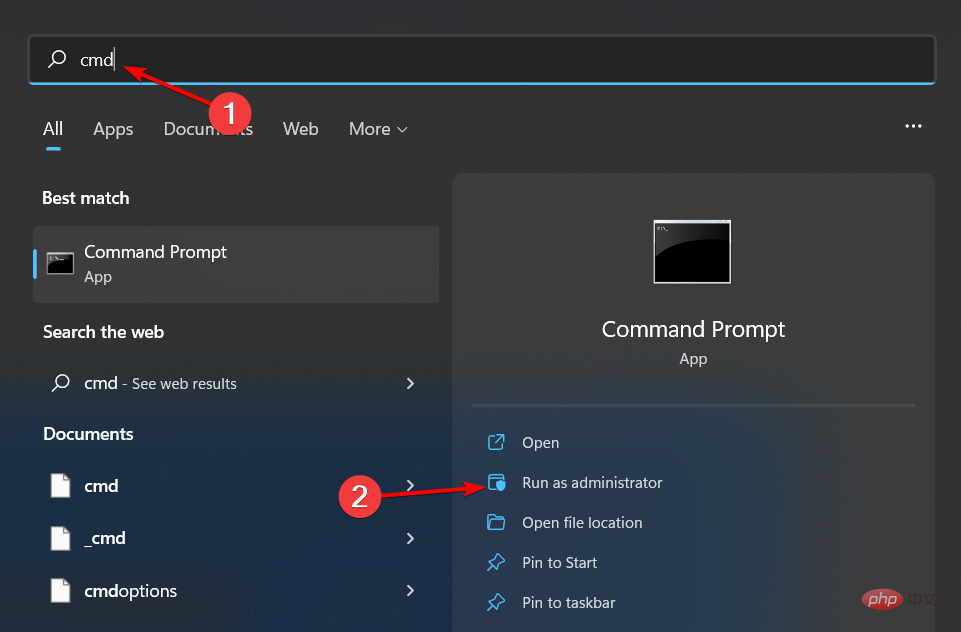
Step 1: Go to Get Started and type ClearType in the Windows search bar.
Step 2: Next, under the "Best Match" section, click Results-Adjust ClearType Text .

Step 3: In the ClearType Text Tuner window, check Open if ClearType is not already enabled The box next to ClearType.
Press Next.

Step 4:In the next window you will see a message "Windows is making sure your monitor is set to Original resolution ".
Click Next to continue.

Step 5: Now, from the two text examples, select the one that is clearer to you and press Next .
Step 6: Now, continue selecting the text that looks clearer to you and keep pressing Next until Windows completes the optimal text settings for you .
Step 7: Continue to follow the on-screen instructions to identify and set the best font settings for you.

# Once completed, you will now get rid of the blurred fonts issue on your Windows 11 PC.
Method 2: Via Registry Editor
When none of the above methods work, you can try editing the Registry Editor to fix the blurry font problem. However, before proceeding to make any changes to the registry, make sure to create a backup of your registry settings so that you can easily restore it if you lose any data. Please follow the instructions below to make changes:
Step 1: Press the Win R keys on your keyboard simultaneously to open the Run command window.
Step 2: In the Run command search bar, type regedit and press Enter to open the Registry Editor window.
Step 3: In the Registry Editor window, navigate to the following path:
HKEY_CURRENT_USER\控制面板\桌面
Now, go to the right side of the window and find the DWORD value - Win8DpiScaling and double click on it.
Note: - If it
Step 4: In the Edit DWORD (32-bit) Value dialog box, go to the Value data field and set it to 1.

Press OK to save changes and return to the Registry Editor window.
Step 5: Now, on the right side, look for a blank space, right-click on , select New, and then select DWORD (32-bit ) Value.

Rename this new value to LogPixels.
*NOTE -Make sure the letters L and P are capitalized.
Step 6: Now, double-click on the new value - LogPixels, and in the opened Edit DWORD (32-bit) Value dialog box, navigate to Value data field and set it to 78.
Also changes the base to hexadecimal.
Press OK to save changes and exit.

#Now, close the Registry Editor window and check if the blurred font issue on your Windows 11 PC is resolved.
Method 3: Change the display settings of a specific app
If you are having font blur issues with a specific app, you can try changing the display settings for the same, which should resolve the issue. Follow these instructions to change the display settings for a specific app:
Step 1: Go to the desktop, right-click the app that is having the font blur issue, and select Open file location.

Step 2: In the folder location opened in the File Explorer window, find the application executable file and right-click it Click on the application.
Step 3: Next, select Properties from the sub-context menu.

Step 4: Now, in the "Properties" dialog box, click " Compatibility" tab.
Here, go to the bottom and click Change high DPI settings.

Step 5: In the "High DPI Settings" window, go to "Program DPI" and Check the box next to "Use this setting to fix scaling problems with this program".
Step 6: Next, navigate to the High DPI scaling override section and check the box next to Override High Dpi scaling behavior.
Press OK to save changes and exit.

The font blur issue on your Windows 11 system should now be fixed.
Method 4: Manually change the zoom settings
You can try changing the zoom settings to the recommended levels yourself and check if this helps resolve the issue. Let's see how:
Step 1: Simultaneously press the Win I keys on your keyboard to launch the Settings application.
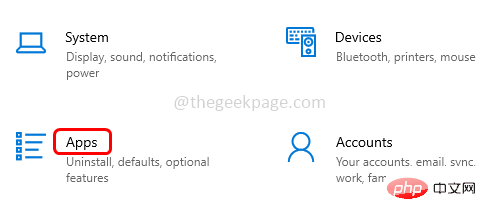
Step 2: In the "Settings" window, click the "System" option on the left side of the pane.
Step 3: Now, go to the right side and click on "Show" .

Step 4: On the right side of the next window, go to Scale & layout and click on Scale .

Now, in the next window - Custom Scaling, go to the Custom Scaling field and adjust the Content input current scaling factor.
For example, if you have used 100%, enter 100. However, if you are using 125%, enter 125.
Press the check mark next to it.

#Now that you have successfully changed the scaling settings, the fonts should now appear blurry.
Method 5: Adjust graphics settings for individual applications
Graphics settings were recently introduced in Windows 10, while it was set by default in Windows 11. This is helpful in situations where you want to fix blurry fonts or blurry icon issues for a specific app. Let’s see how:
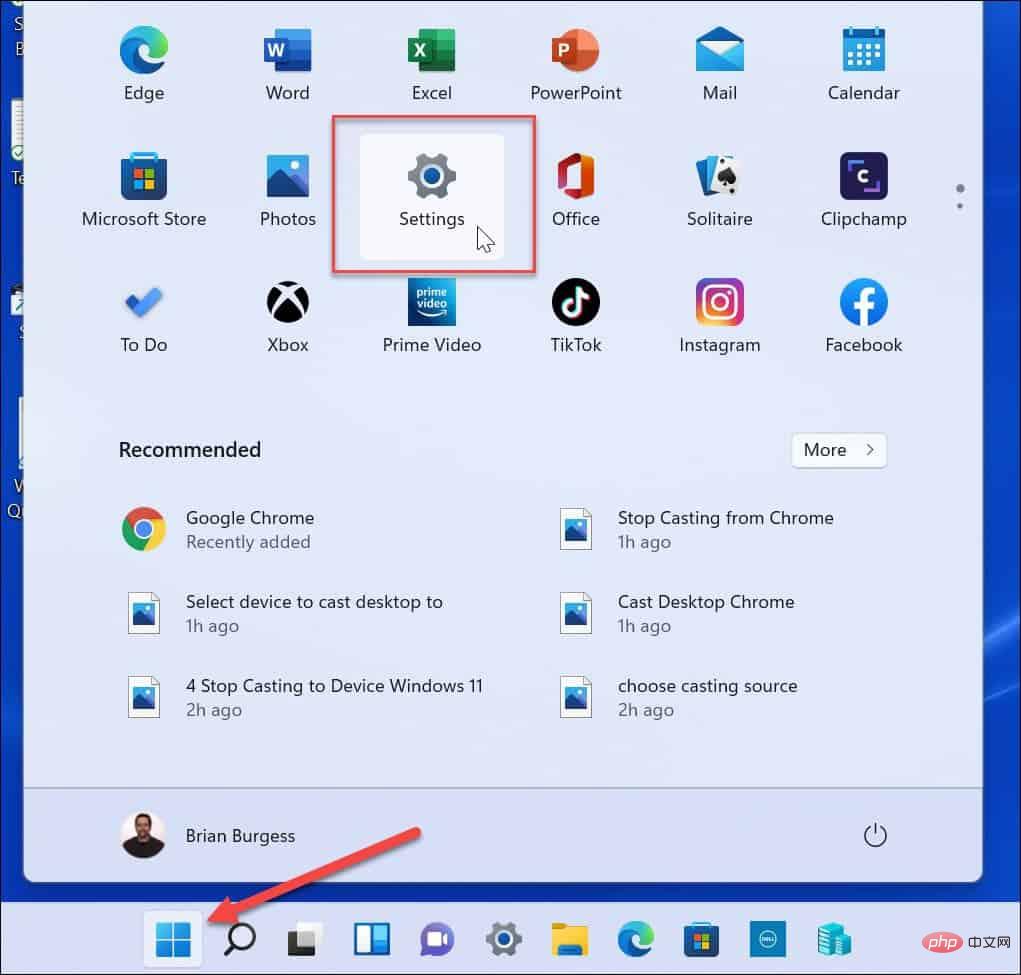
Step 1: Go to Start, right-click on it and select Settings.
Step 2: In the "Settings" window that opens, click "System" on the left side of the pane.
Step 3: Next, navigate to the right side of the window and click Display.

Step 4: On the right side of the Display Settings window, scroll down and under the Related Settings section, click Graphics".

Step 5: Now, in the graphics settings window on the right, go to the application list.
Here, Click on the app in which you are experiencing font blurring issues and select the option from the expanded section that appears.

#Step 6: This will open the Graphics Preferences prompt.
Here, try selecting each option one by one - Let Windows Decide (Battery Saving), Power Saving, or High Performance to see which option improves the font blur issue.
After determining the best settings, click Save to save the changes.

#Close the Settings app and now your blurry font or icon issues should be resolved.
Method 6: Use Control Panel to adjust performance settings
You can also try changing performance settings and see if this helps resolve the issue. Here's how to adjust your performance settings:
Step 1: Press the Win R hotkey on your keyboard to launch the Run command window.
Step 2: In the Run command search bar, type sysdm.cpl and press Enter to open the System Properties window.

Step 3: In the System Properties dialog box, select the Advanced tab.
Now, go to the "Performance" field and click on the "Settings" button.

Step 4: Now, in the performance options window that opens, under the Visual Effects tab, select Adjustments for the best Best appearance.
Press Apply and then OK to save the changes.

Now, exit the System Properties window and the blurred fonts issue on your Windows 11 PC should now be resolved.
Method 7: Update the graphics card driver
It may be that the display driver is out of date, causing the font blur problem. In this case, try updating the driver to the latest version and see if that helps resolve the issue:
Step 1: Press the Win Rshortcut key to openRun command.
Step 2: In the Run Command search window, type devmgmt.msc and press OK to open the Device Manager window.

Step 3: In the Device Manager window, go to the Display Adapters section and expand it .
Here, look for the graphics card. Right-click on it and select Update Driver.

Step 4: In the Update Driver window, click Automatically search for drivers.

#Now, wait until Windows looks for any latest driver and if available, it will automatically install the latest version of the driver.
Once completed, close the Device Manager window and restart your computer. The blurry font issue should now be fixed.
Method 8: Check for Windows Updates
It goes without saying how important it is to update your Windows operating system or check for updates regularly. Installing updates regularly not only helps keep your PC safe and secure with security patches, but it also helps your PC run smoothly overall. Therefore, make sure to install the latest Windows update as soon as it is released. That's it:
Step 1: Press the Win I keys simultaneously on your PC to launch the Settings application.
Step 2: In the Settings window, click the Windows Update option on the left side of the pane.
Step 3: Now, navigate to the right side and click on Check for updates.

If there are any updates available, it will show the results below and download them automatically.
Step 4: Once downloaded, it will prompt you to install the update.
Step 5: Click the "Install" button to complete installing the update.
Once completed, you will be asked to restart your PC immediately or you can choose to restart it at a later time and date.
The above is the detailed content of How to fix blurred fonts in Windows 11. For more information, please follow other related articles on the PHP Chinese website!
 Windows 10/11 上的病毒和威胁防护引擎不可用问题Apr 13, 2023 pm 02:01 PM
Windows Defender是一种保护系统免受病毒攻击的功能。尝试安装最新的安全更新时,一些用户收到一条错误消息,指出“病毒和威胁防护引擎不可用”。此错误主要是由于系统文件损坏,系统上的更新过时或Windows更新中的某些问题等。可以通过安装最新更新、重置 Windows 安全中心应用程序、调整注册表编辑器项等来解决。在本文中,我们提供了一些解决方案,可帮助您在Windows计算机上解决此问题。方法 1 – 运行 Windows 更新疑难解答步骤 1 –一起使用Windows + I键打开窗
 修复:Windows 11、10 中的错误 CLOCK WATCHDOG TIMEOUTApr 13, 2023 pm 03:07 PM
蓝屏死机问题在 Windows 中并不是什么新鲜事。其中一个问题是“ CLOCK_WATCHDOG_TIMEOUT ”错误代码,它可能会突然使系统崩溃并重新启动系统。尽管此问题背后的实际原因可能因用户而异,但通常这是处理器的问题。核心线程之间响应的不规则性是这个问题的根本原因。但别担心。只需按照这些简单的修复即可快速找到解决方案。修复 1 – 使用驱动程序验证程序如果您的系统上安装了未知驱动程序,则必须使用验证程序。第1步1. 按Windows 键并在搜索框中输入“ verifier ”。2.
 如何修复您尝试安装的应用不是 Windows 上经过 Microsoft 验证的应用Apr 13, 2023 pm 05:52 PM
Microsoft Windows 10 和 11 可能配置为仅允许在设备上安装某些类型的应用程序。该限制可能是有意的,例如,当限制可以安装在设备上的内容的策略到位时,但有时也是无意的。以下指南提供了易于遵循的分步说明,以解决意外出现的错误消息。尝试安装某些类型的应用程序的 Windows 用户可能会收到错误消息“您尝试安装的应用程序不是 Microsoft 验证的应用程序”。该对话框几乎没有提供有关安装被阻止原因的信息。它指出“从商店安装应用程序有助于保护您的 PC 并使其平稳运行”,并链接到
 DS4Windows 11 不工作?立即应用这些修复Apr 13, 2023 pm 06:04 PM
<p>在某些情况下,将 DualShock 4 或 DualSense 5 控制器与 Windows PC 一起使用似乎会出现问题,控制器连接不正确或可能根本无法连接。</p><p>另一方面,PS4 和 PS5 都是针对各自的游戏机专门开发和优化的。现在,如果您是在 Windows 11 上遇到 DS4Windows 无法正常工作问题的不幸人士之一,您可以使用本教程来修复错误。</p>
 在 Windows 11 上停止自动更新的三种方法Apr 13, 2023 pm 05:40 PM
<h2>如何在 Windows 11 上停止自动更新</h2><p>在 Windows 11 上停止自动更新的一种方法是调整更新设置。使用此方法时,您可以在 Windows 11 家庭版或专业版上暂停更新长达五周。</p><p>要在 Windows 11 上暂停更新,请使用以下步骤:</p><ol>&a
 修复: Windows 无法初始化此硬件的设备驱动程序Apr 13, 2023 pm 01:19 PM
错误代码 37 表示 Windows 检测到设备驱动程序存在问题,无法启动硬件设备。这意味着您的系统上未正确安装软件设备驱动程序,或者您尝试使用的硬件与 Windows 不兼容。您已经知道驱动程序对于设备的平稳运行至关重要,因此如果您要使用硬件设备,则需要立即解决此错误。在本文中,我们将向您展示绕过此错误的各种方法。是什么原因导致 Windows 错误代码 37?当您得到 Windows 无法初始化此硬件的设备驱动程序时。(代码 37) 消息,它可能由几个问题引起,包括:兼容性问题 – 当您将硬
 如何修复 Roblox 无法在 Windows 10 中安装或下载Apr 13, 2023 am 11:46 AM
Roblox 是一个帮助创建游戏的在线游戏平台;用户可以在世界任何地方玩它们。但是一些用户在安装 Roblox 时会遇到问题。无法成功安装游戏,它只是在安装过程中崩溃。原因可能是缓存损坏、DNS 设置、防火墙问题、系统可能需要安装最新更新等。在本文中,我们将讨论可以用来解决问题的不同方案和方法。让我们开始吧!方法 1:使用设置重置 Microsoft Store第 1 步:同时使用Windows + I键打开 Windows 设置。第 2 步:点击应用程序第 3 步:在右侧,找到应用和功能下的M
 Microsoft 确认 Windows 11 驱动程序更新失败并显示 0x80070103Apr 13, 2023 pm 12:01 PM
图片提供:微软根据 Microsoft 论坛和反馈中心的多份报告,新的 Windows 11 更新混乱导致驱动程序失败并显示 0x80070103。Microsoft 已经确认它知道报告,但没有什么可担心的,因为 0x80070103 错误实际上是无害的,您可以安全地忽略它。Windows 11 驱动程序是必不可少的,因为它们是某些应用程序或硬件所必需的软件,有些人急于安装它们

Hot AI Tools

Undresser.AI Undress
AI-powered app for creating realistic nude photos

AI Clothes Remover
Online AI tool for removing clothes from photos.

Undress AI Tool
Undress images for free

Clothoff.io
AI clothes remover

AI Hentai Generator
Generate AI Hentai for free.

Hot Article

Hot Tools

SublimeText3 Linux new version
SublimeText3 Linux latest version

MinGW - Minimalist GNU for Windows
This project is in the process of being migrated to osdn.net/projects/mingw, you can continue to follow us there. MinGW: A native Windows port of the GNU Compiler Collection (GCC), freely distributable import libraries and header files for building native Windows applications; includes extensions to the MSVC runtime to support C99 functionality. All MinGW software can run on 64-bit Windows platforms.

SAP NetWeaver Server Adapter for Eclipse
Integrate Eclipse with SAP NetWeaver application server.

VSCode Windows 64-bit Download
A free and powerful IDE editor launched by Microsoft

Notepad++7.3.1
Easy-to-use and free code editor


