PowerPoint presentations can be boring. But what if you could add some custom music to your slideshows to make them more interesting? You can add specific music to specific slides, or you can play a music collection on all slides, your choice. Whatever your requirement may be, if it involves adding music to your PowerPoint slides, this article is the best to meet all your needs and answer all your queries.
Keep reading to learn everything you need to know about adding music to PowerPoint slides, editing added music, and more. Hope you enjoy reading!
Solution
Step 1: First Launch the PowerPoint presentation to which you want to add music.
Next,click the slideshow where you want to add music. Then click the Insert tab on the top ribbon and then click the Audio drop-down button and select the option of your choice to insert music.
If you want to search for music online, click on theOnline Audio option. Otherwise, if you want to record your own audio using the microphone, click the "Record Audio" option, or if you already have music on your machine and want to use it, click "My Audio on PC" option. I already had audio in my machine, so I clicked on the Audio on my computer option.

Step 2: When the "Insert Audio" window opens, navigate to your Where the audio file is located, click it to select it, then click the "Insert" button at the bottom of the window.

Note: If you want to add different music to different slides, you can do it by repeating the same steps above. First, select your slideshow and then insert music. Also, keep Step 6 - Point 2 in mind when you add multiple music files to your PowerPoint presentation.
Step 3: You can now see that an audio icon has been added to your slide. If you click on it, you will be able to see the contextual tab for audio at the top of the window, i.e. AUDIO TOOLS, marked green in the screenshot below. AUDIO TOOLS The contextual tab will have 2 sub-tabs named FORMAT and PLAYBACK.
Now let's explore some quick audio controls. These are numbered in red in the screenshot below. Each numbered section is detailed in the following points.- Play button is the button used to play music. Using the
- Rewind button you can rewind your music. Apparently, you can fast forward the music using the
- Forward button.
- Volume icon can be used to increase or decrease the volume of the music.

Step 4: You just click and drag the audio icon to move it anywhere within the slide. In the screenshot below, I've moved the icon to the upper right corner of the slide.

Step 5: Now, let’s explore some advanced audio control options. To do this, click on the Audioicon again. This time, from the top ribbon, click on the contextual tab named PLAYBACK.

Step 6: Under the PLAYBACK tab, there will be an option called Audio Options group. Let's look at what each feature in the Audio Options group does.
- Start drop-down menu: If you click this drop-down menu, you can choose between the click and auto options. The click option will play your music on a click event when you run the slideshow. However, the Automatic option will play the song automatically without any trigger.
- Play across slides Checkbox: If you need to play music for all slides, you need to tick this checkbox. If you want the music to play only on the slide where the audio is inserted, you need to uncheck the "Play across slides" checkbox.
- Loop until stopped Checkbox: If this checkbox is checked, when your music finishes playing, it will automatically restart and loop until the slideshow stops.
- Hide during show checkbox: If you do not want the audio icon to appear on the slide while the presentation is in progress, then you need Check this checkbox.
- Rewind after playback Checkbox: If you want the audio to rewind after playback is complete, you need to make sure this checkbox is selected.

Step 7: Now, let’s see how to easily trim the inserted audio.
To do this, under the PLAYBACK tab, look for the group named Editing. Next click the "Trim Audio" button.
When the Trim Audio window pops up, you can drag the Start Slider (green) and End Slider(red) to adjust The beginning and end of music.
After completion, click the OK button to continue.

Step 8: You can also set this under the Editing group under the Fade Duration section The fade duration of the music. If you need a fade effect, you can use the FadeIn and FadeOut fields to set the fade-in and fade-out duration of the music. If the Fade In and Fade Out fields are both set to 00.00, there will be no fade effect.

Step 9: Now let’s try running the slideshow. To enter presentation mode, click on the Slide Show tab in the top ribbon, then click on Start Slide Show" under the section called "Start from the beginningStart" button.

Step 10: You can now see that the music is playing, but the audio icon is nicely hidden. enjoy!

The above is the detailed content of How to add music to a Microsoft PowerPoint presentation. For more information, please follow other related articles on the PHP Chinese website!
 属性中没有位置选项卡:如何启用它Apr 13, 2023 pm 11:16 PM
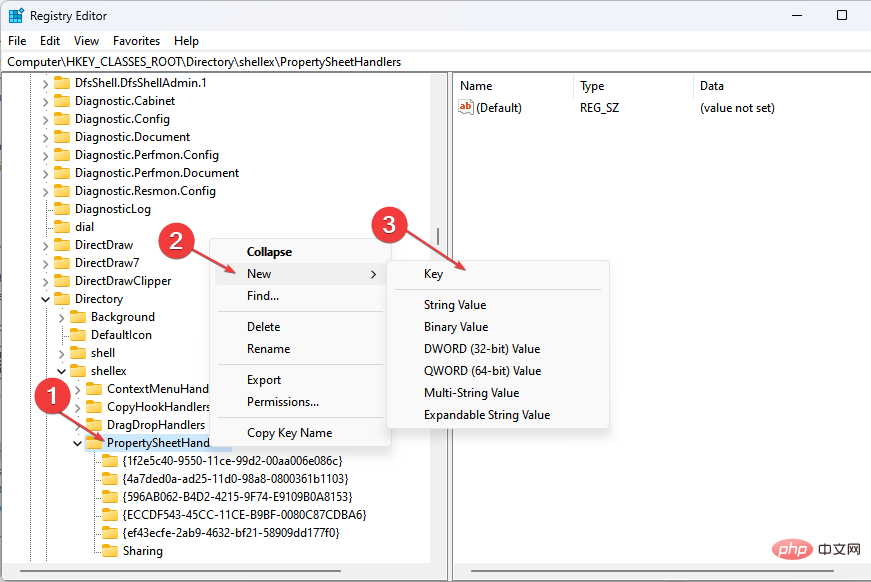
文件夹属性为用户提供详细信息,例如创建日期、文件夹名称、大小等。但是,有时您可能会在Windows文件夹的属性中遇到“位置”选项卡。因此,我们将引导您完成故障排除和重新启用它的步骤。或者,您可以查看我们关于修复 Windows 11 上的文件夹访问被拒绝问题的详细指南。为什么在文件夹属性中找不到位置选项卡?有几个因素可能导致 Windows 11 上文件夹属性中缺少位置选项卡。最值得注意的是:文件夹不支持移动 – 有些文件夹支持移动到另一个位置,而有些则不支持。默认情况下,支持从一个位置移动到另
 如何在 Microsoft Excel 中显示开发人员选项卡Apr 14, 2023 pm 02:10 PM
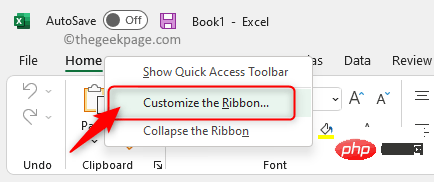
如果您需要录制或运行宏、插入 Visual Basic 表单或 ActiveX 控件或在 MS Excel 中导入/导出 XML 文件,则需要 Excel 中的“开发人员”选项卡以便轻松访问。但是,默认情况下,此开发人员选项卡不会显示,但您可以通过在 Excel 选项中启用它来将其添加到功能区。如果您正在使用宏和 VBA 并希望从功能区轻松访问它们,请继续阅读这篇文章。在 Excel 中启用开发人员选项卡的步骤1. 启动MS Excel应用程序。右键单击顶部功能区选项卡之一的任意位置,然后在出现
 如何修复背景幻灯片在 Windows 11、10 中不起作用May 05, 2023 pm 07:16 PM
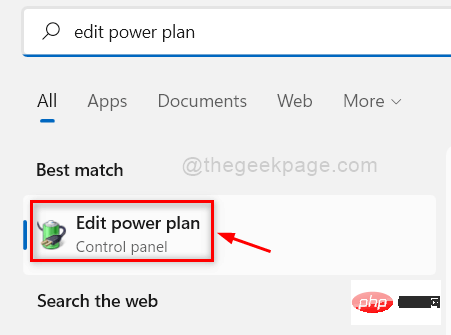
在Windows11/10系统上,一些用户声称桌面背景上的幻灯片已经停止工作。用户对为什么笔记本电脑背景屏幕上的照片不再滑动感到困惑。幻灯片无法正常工作的此问题的原因如下所述。已安装第三方桌面定制应用程序。在电源选项中,桌面背景幻灯片设置已暂停。包含背景图像的文件夹被删除。幻灯片播放完成后屏幕可能会关闭。在对上述原因进行调查之后,我们创建了一个修复列表,无疑将帮助用户解决问题。解决方法——停用的窗口可能是导致此问题的原因之一。因此,请尝试激活Windows并检查问题是否已解决。尝试通过“设置”应
 如何在 Microsoft Word 中写分数Apr 13, 2023 pm 02:04 PM
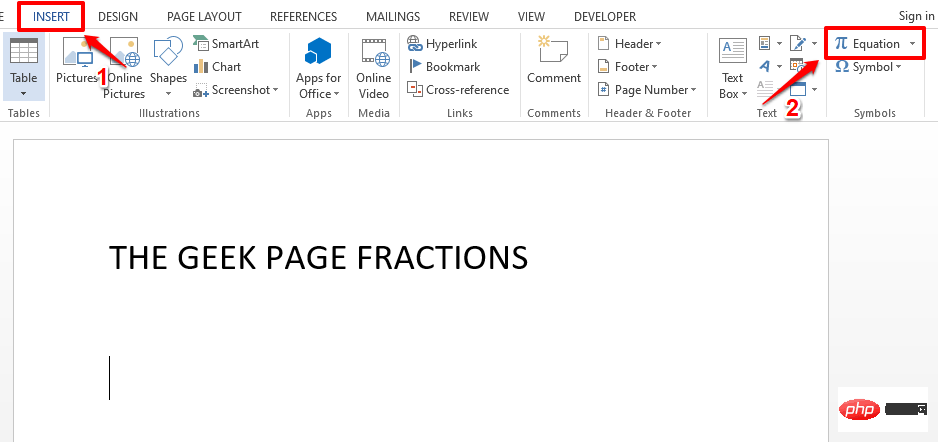
我们都知道 Microsoft Word 非常灵活,并且具有许多功能。最重要的是我们知道如何充分利用 Microsoft Word 提供的功能。其中一个令人惊奇的功能是在您的 Word 文档中插入一个分数值。许多地方都使用分数。但是当我们在 Word 文档中插入分数时,它的格式并不总是像分数一样。在本文中,我们通过一些非常简单的步骤解释了如何轻松地将格式良好的分数数字插入到 Microsoft Word 文档中。继续阅读,了解如何轻松掌握这个超级方便的 Word 技巧。在 Microsoft W
 幻灯片全屏播放为什么有黑边Oct 20, 2023 pm 03:25 PM
幻灯片全屏播放有黑边可能是因为屏幕分辨率不匹配、图片尺寸不匹配、缩放模式设置不正确、显示器设置问题和幻灯片设计问题等。详细介绍:1、屏幕分辨率不匹配,黑边的一个常见原因是屏幕分辨率与幻灯片尺寸不匹配,当幻灯片的尺寸小于屏幕分辨率时,播放时会出现黑边,解决方法是调整幻灯片的尺寸,使其与屏幕分辨率匹配,在 PowerPoint中,可以选择“设计”选项卡,然后点击“幻灯片大小”等等。
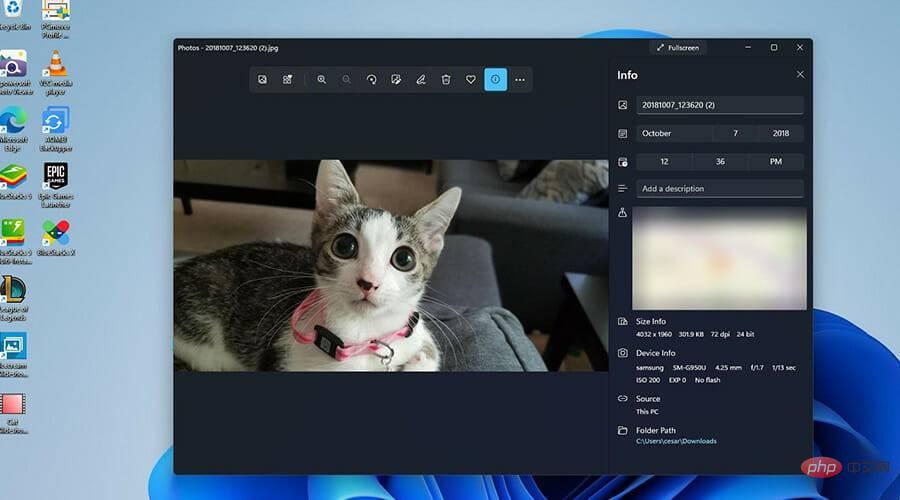 如何在Windows 11上创建带有背景音乐的幻灯片?Apr 21, 2023 am 10:07 AM
幻灯片是在Windows11计算机上组织图片的好方法。有时,Windows用户可能会面临某种硬件限制或系统更新,他们需要一种方法来存储他们的文件,以免被意外删除或丢失。此外,与必须通过一张一张地滚动照片来手动向人们展示相比,它使对照片进行分类和展示要容易得多。幻灯片也是将来自不同来源(相机、手机、USB驱动器)的照片汇集为一种易于欣赏的格式的好方法。幸运的是,您可以使用一些有用的第三方应用程序来创建这些幻灯片,而不必被迫使用PowerPoint之类的工具。该应用程序适用于商业演示,但Pow
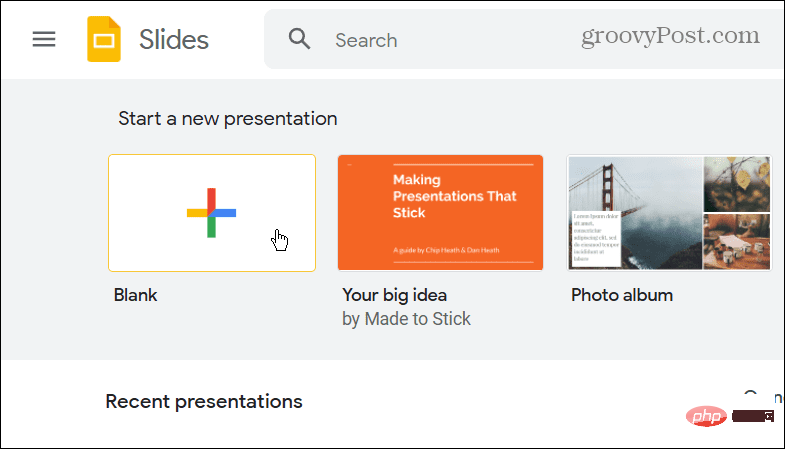 如何将 PowerPoint 转换为 Google Slides?Apr 22, 2023 pm 03:19 PM
如何将PowerPoint转换为Google幻灯片将完整的PowerPoint演示文稿转换为Google幻灯片的最简单方法之一是上传它。通过将PowerPoint(PPT或PPTX)文件上传到Google幻灯片,该文件将自动转换为适用于Google幻灯片的格式。要将PowerPoint直接转换为Google幻灯片,请执行以下步骤:登录您的Google帐户,前往Google幻灯片页面,然后单击“开始新的演示文稿”部分下的空白。在新的演示文稿页面中,单击文件&g
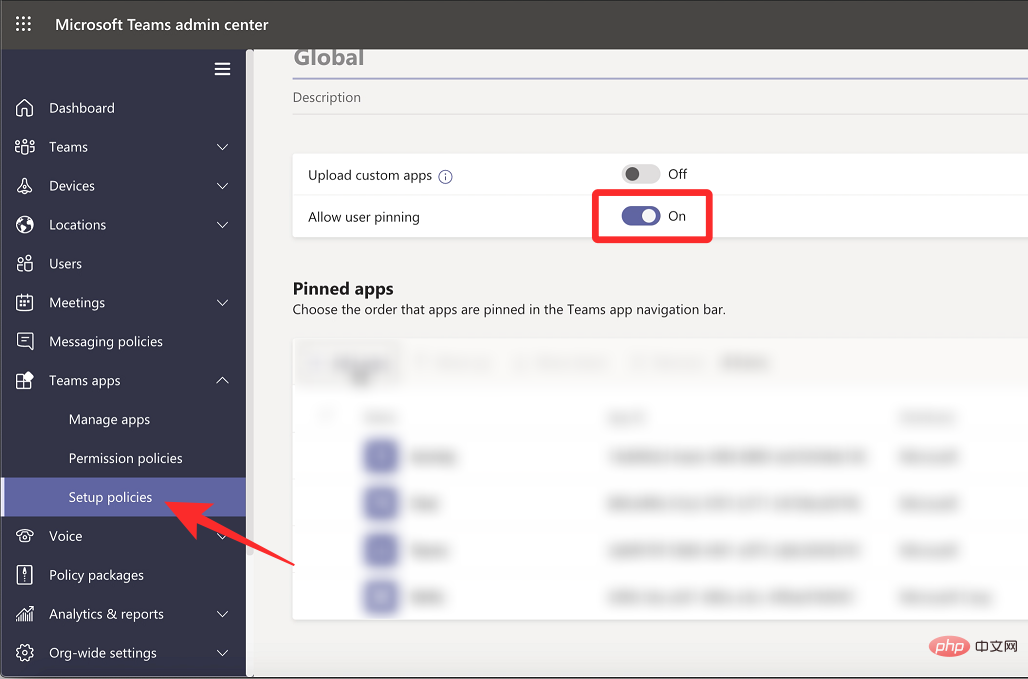 什么是 Microsoft Teams 中的对讲机及其工作原理?Apr 14, 2023 pm 12:31 PM
Microsoft Teams 上的对讲机是什么?顾名思义,新的 Walkie Talkie 功能让 Microsoft Teams 上的用户可以通过使用他们的声音与他们的团队成员进行实时交流,从而与他们联系。在频道中连接到 Walkie Talkie 的用户可以一次听一个即按即说格式的对方讲话。这样一来,只有一个人在说话的时候才能引起注意,而不会被其他人打断。微软将这一功能定

Hot AI Tools

Undresser.AI Undress
AI-powered app for creating realistic nude photos

AI Clothes Remover
Online AI tool for removing clothes from photos.

Undress AI Tool
Undress images for free

Clothoff.io
AI clothes remover

AI Hentai Generator
Generate AI Hentai for free.

Hot Article

Hot Tools

Safe Exam Browser
Safe Exam Browser is a secure browser environment for taking online exams securely. This software turns any computer into a secure workstation. It controls access to any utility and prevents students from using unauthorized resources.

Notepad++7.3.1
Easy-to-use and free code editor

MantisBT
Mantis is an easy-to-deploy web-based defect tracking tool designed to aid in product defect tracking. It requires PHP, MySQL and a web server. Check out our demo and hosting services.

Dreamweaver CS6
Visual web development tools

ZendStudio 13.5.1 Mac
Powerful PHP integrated development environment


