Microsoft Excel is used for a variety of things such as calculations, creating models, etc. There are few operations that may require adding rows and columns. But some users face issues like not being able to create new rows or columns in excel. Stop here and read this article which explains different ways to solve this problem. let's start!
Method 1: Remove Cell Protection
Step 1: Open the Excel worksheet you are having problems with. Use the Ctrl A keys to select all cells from the spreadsheet.
Step 2: Click the Format option in the Home tab and select Format Cells. Select Format Cells

from the drop-down list. Step 3: Under the Protect tab, Cancel Check the box next to the Lock option.

Step 4: Click "OK" to save changes.
Step 5: Click the Review tab, then click Protect Sheet.

Step 6: Enter your password to remove protection from the workbook and save it together using the Ctrl S keys.

Step 7: Close Excel and open it again. Now you can add/insert new rows or columns.
Method 2: Unmerge cells
Step 1: Open the troublesome excel worksheet and check whether there are merged cells.
Step 2: If you have merged columns, select the column header and click the Merge and Center option on the Home tab.

Step 3: Repeat step 2 for each merged column.
Step 4: If there are merged rows, select that row and click Merge and Center## in the Home tab #options.

Step 5: Use the Ctrl S keys together to save the file.
Step 6:Close Excel and open it again and check if the error is resolved.
Method 3: Unfreeze PanesStep 1: Open the troublesome spreadsheet and click the "View" tab and select "Freeze Window Panes"
Step 2: SelectUnfreeze panes from the drop-down list and use the Ctrl S key to save the file

File tab in the upper left corner.

Options and select Trust Center from the window that appears.
Step 3: Click theTrusted Center Settings option in the right pane.

Trusted Locations from the left. Click the Add New Location option.


Border" drop-down menu and a list will appear. Select Borderless from the list

Step 4: Click the Theme colors drop-down menu and select No fill.

Step 5: Press the Delete key on your keyboard to delete the incorrectly entered data on the unused columns.
Step 6: You can go to the Edit section in the Home tab.

Step 7: Click the Clear option and select Clear Format

Step 8: Click Clear again and select Clear All.

Step 9: Use the Ctrl S key to save changes. Close the Excel sheet and open it again and check if the problem is resolved.
Method 6: Using How to fix unable to add new rows/columns in Microsoft Excel (Visual Basic for Applications)
Step 1: Open the Excel sheet where you are facing the problem, right click on the worksheet.
Step 2: Click to view Code options.

Step 3: Click Ctrl G to display the Instant window.
Step 4: Enter ActiveSheet.UsedRange and press the Enter key.

Step 5: Select the File tab from the top and click Close and Return to Microsoft Excel

Step 6: Save the file. Close the excel file and reopen it. Now check if you can add rows/columns.
The above is the detailed content of How to fix unable to add new rows/columns in Microsoft Excel. For more information, please follow other related articles on the PHP Chinese website!
 Microsoft Teams 不显示图像?怎么修Apr 16, 2023 am 10:28 AM
解决 Microsoft Teams 无法加载或显示图像的问题的 10 种方法如果您收到的图像无法在 Microsoft Teams 中加载,并且您看到的只是一个图像图标,而不是实际图像应加载到的位置,那么以下修复程序应该可以帮助您解决此问题。修复 #1:检查您的互联网连接当您遇到无法在 Microsoft Teams 上加载图像时要检查的第一件事是查看您的计算机是否已连接到有
 属性中没有位置选项卡:如何启用它Apr 13, 2023 pm 11:16 PM
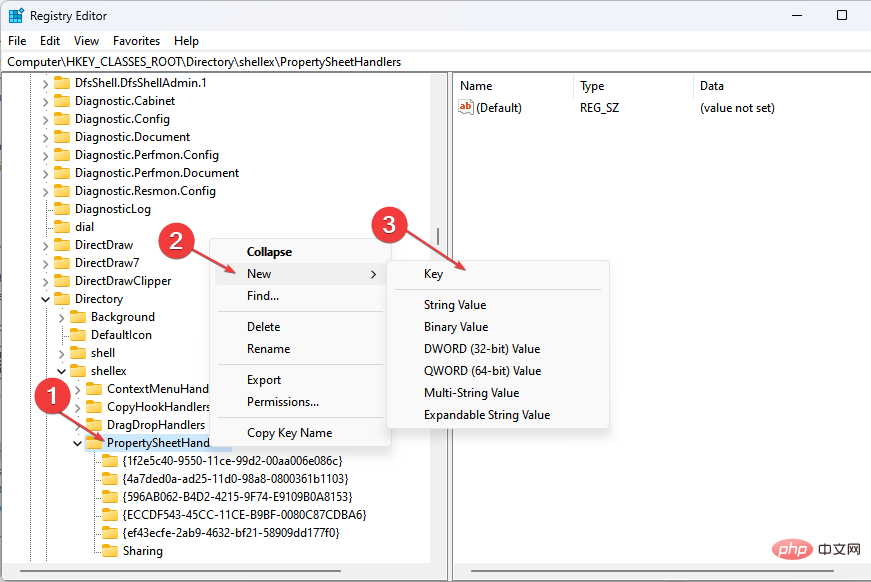
文件夹属性为用户提供详细信息,例如创建日期、文件夹名称、大小等。但是,有时您可能会在Windows文件夹的属性中遇到“位置”选项卡。因此,我们将引导您完成故障排除和重新启用它的步骤。或者,您可以查看我们关于修复 Windows 11 上的文件夹访问被拒绝问题的详细指南。为什么在文件夹属性中找不到位置选项卡?有几个因素可能导致 Windows 11 上文件夹属性中缺少位置选项卡。最值得注意的是:文件夹不支持移动 – 有些文件夹支持移动到另一个位置,而有些则不支持。默认情况下,支持从一个位置移动到另
 如果设备管理器中缺少电源管理选项卡,则进行 7 个修复Apr 14, 2023 pm 07:04 PM
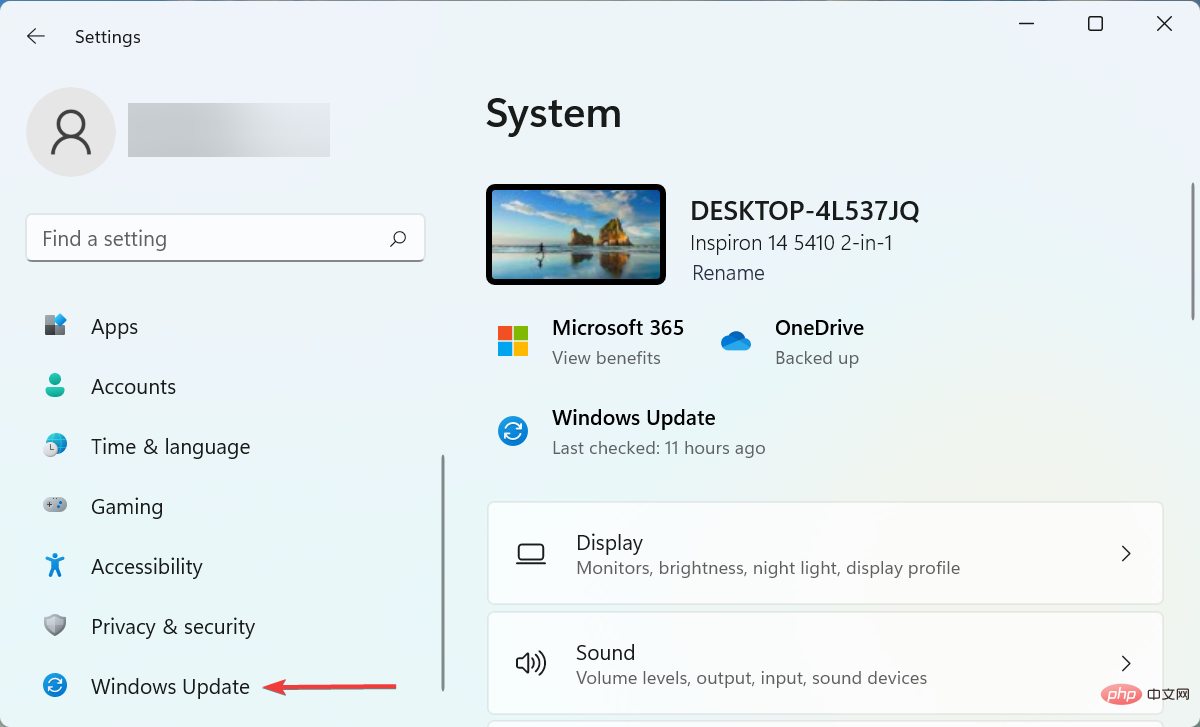
设备管理器是Windows中列出所有连接设备的实用程序。此外,您可以在此处识别有问题的硬件并对其进行故障排除,甚至可以更改电源设置。但是,对于某些用户,设备管理器中缺少电源管理选项卡。这可能由于多种原因而发生,并且由于无法进行更改而可能会影响您的体验。在这种情况下,您将无法配置系统如何控制设备的电源以及设备是否可以唤醒PC。因此,请阅读以下部分以了解如果Windows11的设备管理器中缺少电源管理选项卡该怎么办。如果设备管理器中缺少电源管理选项卡,我该怎么办?1.更新Windows按Wind
 如何解决 Windows 10 中的 Rundll32.exe 错误Apr 14, 2023 pm 04:25 PM
Rundll32.exe文件是一个系统进程文件,与Windows10的功能相关。它使用DLL(动态链接库)库,该库包含在Windows系统上一次运行的多个程序重复使用的代码。代码的重复使用有时可能会导致错误。此问题的主要原因是删除了rundll32.exe文件、损坏的DLL文件、Windows注册表中不正确的DLL条目等。在本文中,我们将了解发生了哪些不同类型的rundll32.exe错误以及如何处理解决这些问题。用户面临的不同Rundll32.exe错误发生run
 Android 上的 Chrome 现在可让您一次恢复所有关闭的标签页Apr 15, 2023 pm 03:25 PM
Android上的Chrome用户现在可以通过转到“最近的标签和最近关闭的”部分轻松地批量恢复最近关闭的 标签和标签 组。该功能现在可用。以下是如何轻松启用和恢复所有关闭的选项卡的方法。桌面上的 Chrome 可以更轻松地恢复旧选项卡,因为它会在主菜单的历史记录子菜单中的最近关闭下显示它们。您不仅可以检索包含选项卡的窗口,还可以检索选项卡组。这是从以前的 session 中调用
 如何在 Microsoft Excel 中显示开发人员选项卡Apr 14, 2023 pm 02:10 PM
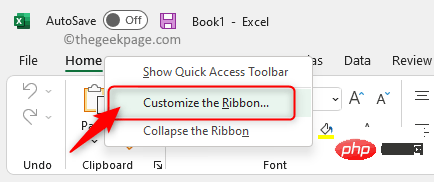
如果您需要录制或运行宏、插入 Visual Basic 表单或 ActiveX 控件或在 MS Excel 中导入/导出 XML 文件,则需要 Excel 中的“开发人员”选项卡以便轻松访问。但是,默认情况下,此开发人员选项卡不会显示,但您可以通过在 Excel 选项中启用它来将其添加到功能区。如果您正在使用宏和 VBA 并希望从功能区轻松访问它们,请继续阅读这篇文章。在 Excel 中启用开发人员选项卡的步骤1. 启动MS Excel应用程序。右键单击顶部功能区选项卡之一的任意位置,然后在出现
 杜比全景声在 Windows 11 中不起作用?立即修复Apr 16, 2023 pm 09:31 PM
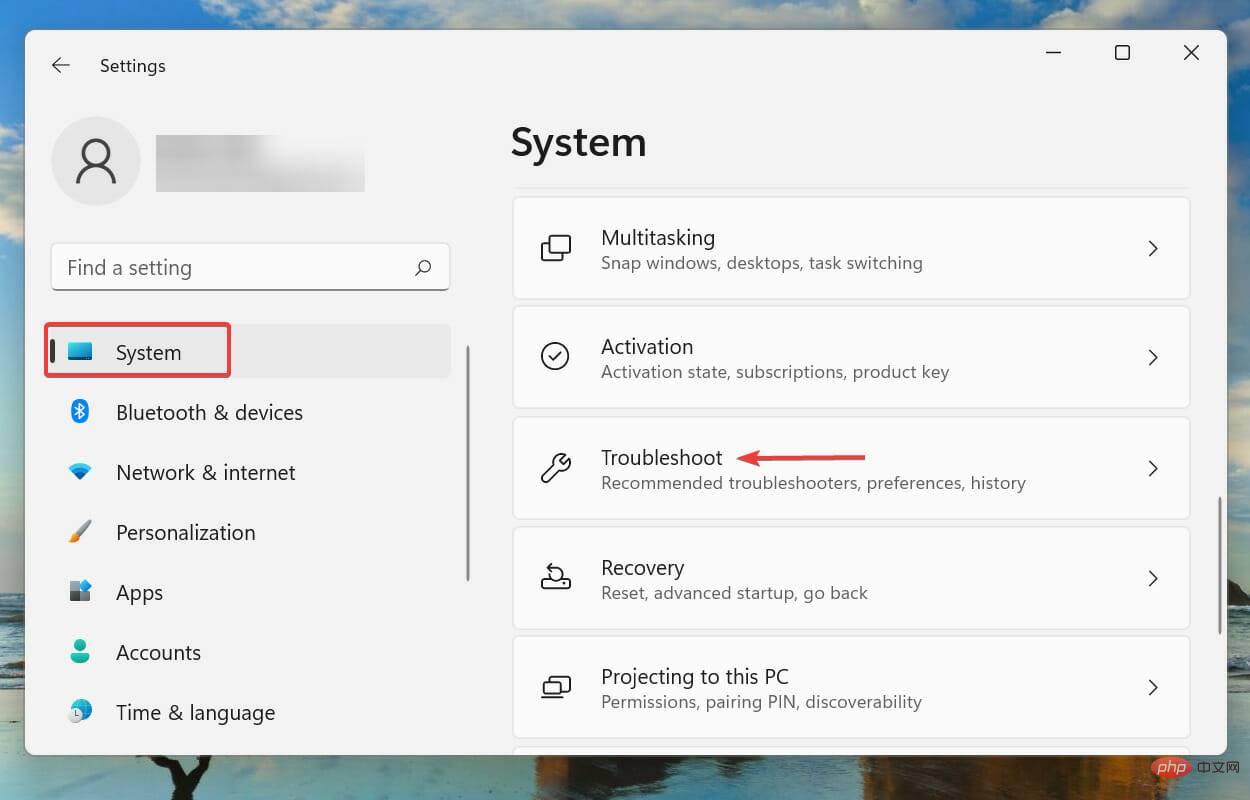
如果杜比全景声在Windows11中无法运行,我该怎么办?1.运行内置音频疑难解答按Windows+I启动“设置”应用程序,然后单击“系统”选项卡右侧的“疑难解答”。接下来,单击“其他疑难解答”。找到并单击播放音频疑难解答旁边的运行按钮。等待疑难解答程序检测到问题,然后按照屏幕上的说明修复错误。每当处理Windows中的错误时,建议您首先为其运行相关的内置疑难解答程序(如果存在)。众所周知,这些可以以最少的努力解决大量问题。2.更新Windows11按Windows+I启动“设置”应用,然后
 如何在 Microsoft Word 中写分数Apr 13, 2023 pm 02:04 PM
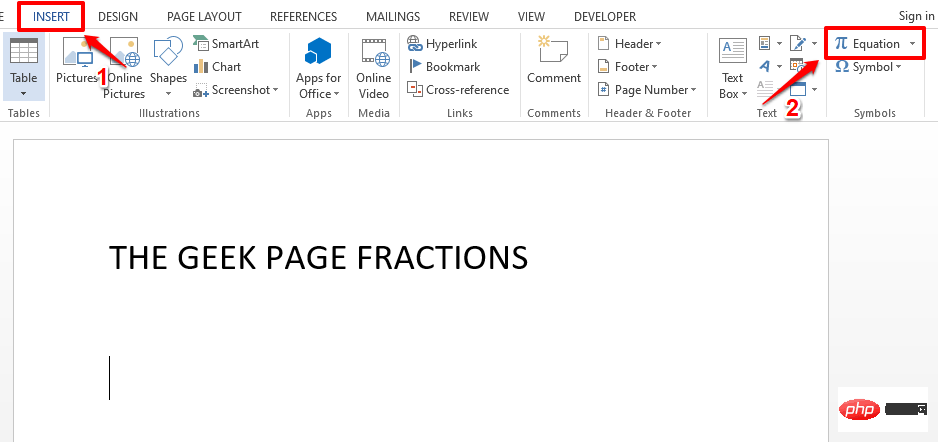
我们都知道 Microsoft Word 非常灵活,并且具有许多功能。最重要的是我们知道如何充分利用 Microsoft Word 提供的功能。其中一个令人惊奇的功能是在您的 Word 文档中插入一个分数值。许多地方都使用分数。但是当我们在 Word 文档中插入分数时,它的格式并不总是像分数一样。在本文中,我们通过一些非常简单的步骤解释了如何轻松地将格式良好的分数数字插入到 Microsoft Word 文档中。继续阅读,了解如何轻松掌握这个超级方便的 Word 技巧。在 Microsoft W

Hot AI Tools

Undresser.AI Undress
AI-powered app for creating realistic nude photos

AI Clothes Remover
Online AI tool for removing clothes from photos.

Undress AI Tool
Undress images for free

Clothoff.io
AI clothes remover

AI Hentai Generator
Generate AI Hentai for free.

Hot Article

Hot Tools

EditPlus Chinese cracked version
Small size, syntax highlighting, does not support code prompt function

Safe Exam Browser
Safe Exam Browser is a secure browser environment for taking online exams securely. This software turns any computer into a secure workstation. It controls access to any utility and prevents students from using unauthorized resources.

Dreamweaver CS6
Visual web development tools

SublimeText3 Linux new version
SublimeText3 Linux latest version

mPDF
mPDF is a PHP library that can generate PDF files from UTF-8 encoded HTML. The original author, Ian Back, wrote mPDF to output PDF files "on the fly" from his website and handle different languages. It is slower than original scripts like HTML2FPDF and produces larger files when using Unicode fonts, but supports CSS styles etc. and has a lot of enhancements. Supports almost all languages, including RTL (Arabic and Hebrew) and CJK (Chinese, Japanese and Korean). Supports nested block-level elements (such as P, DIV),


