Home >Common Problem >How to check your graphics card on Windows 11
How to check your graphics card on Windows 11
- WBOYWBOYWBOYWBOYWBOYWBOYWBOYWBOYWBOYWBOYWBOYWBOYWBforward
- 2023-04-13 13:34:087207browse
How to check your graphics card on Windows 11
Checking your graphics card on Windows 11 is simple as long as you know where to look.
To check your graphics card using Task Manager:
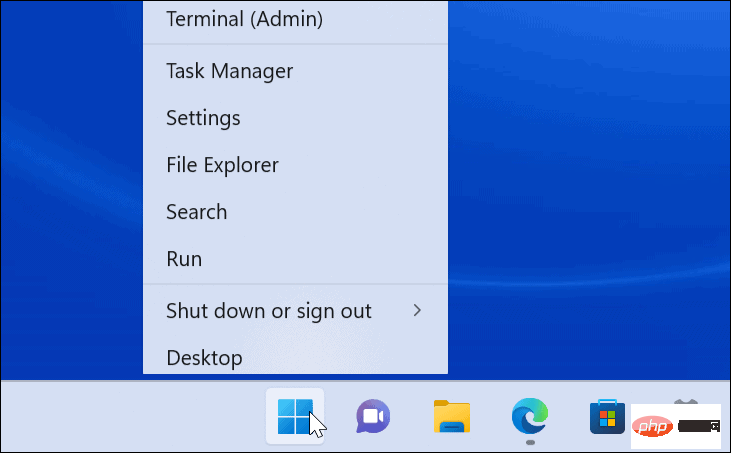
- Start by right-clicking and select from the menu Task Manager toOpen the Task Manager.

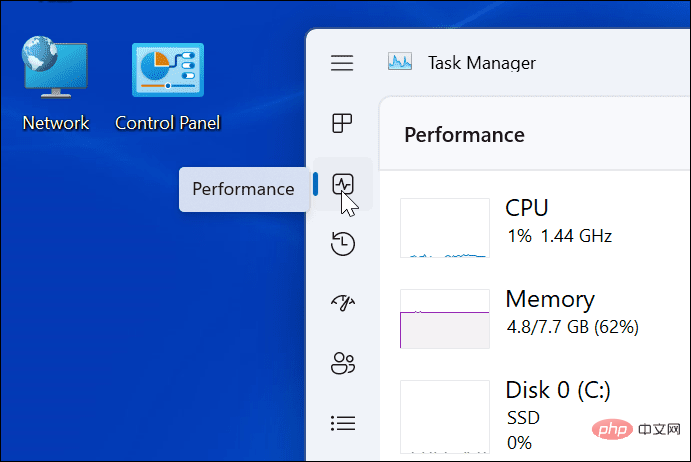
- When Task Manager starts, click the Performance tab.

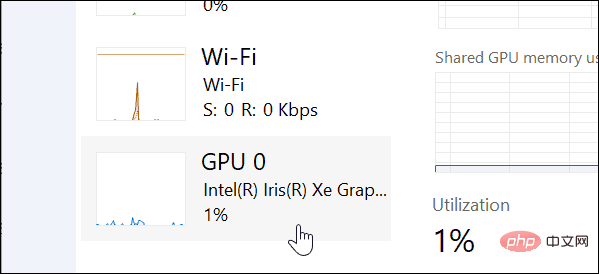
- Click on your GPU from the list — if you have more than one, they will be labeled GPU 0 and GPU 1.

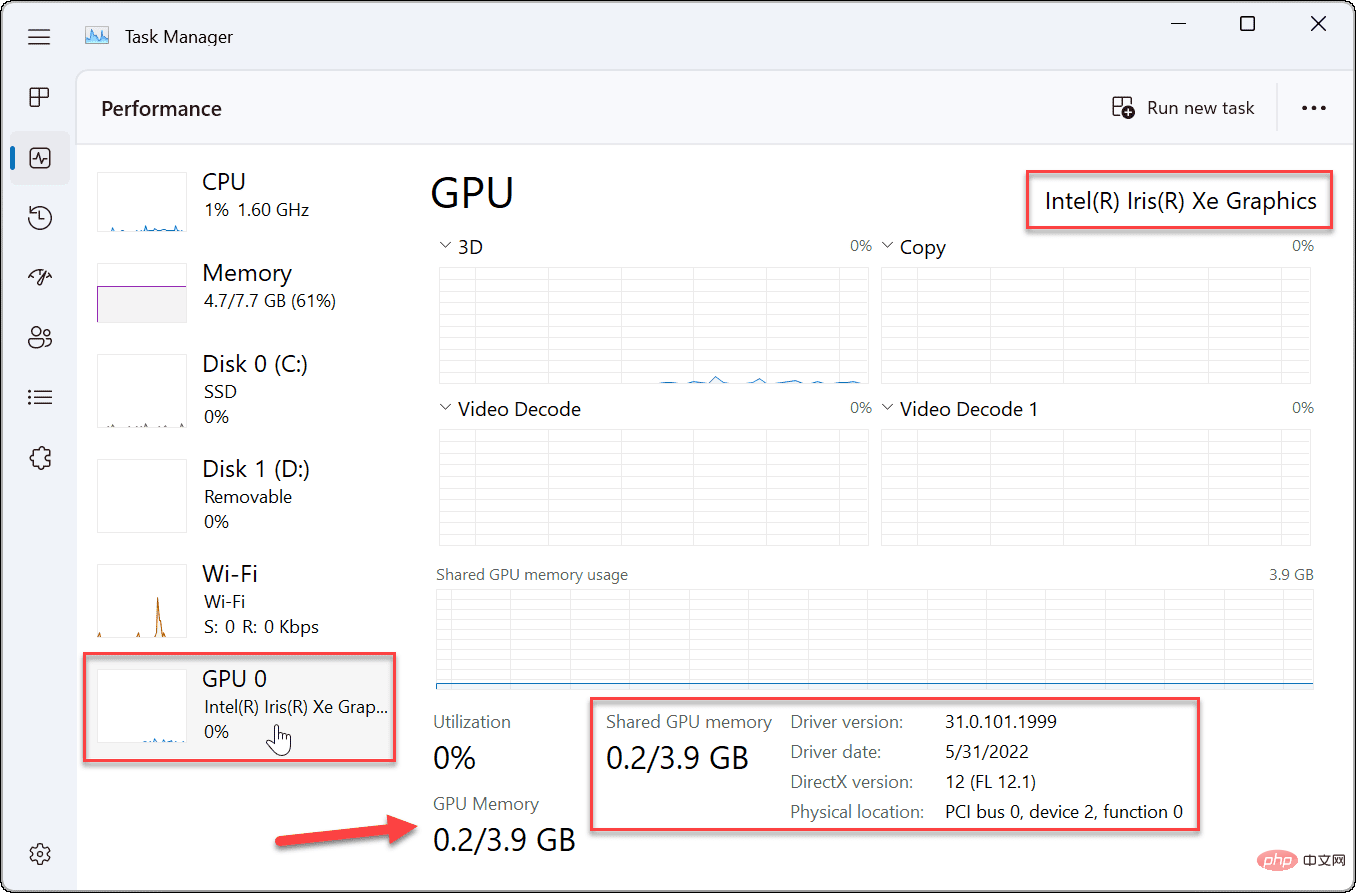
- You can find your graphics card name in the upper right corner of the information panel.
- In the GPU Task ManagerPanel section you will find additional data at the bottom such as the card's memory, driver version, driver data, DirectX version and physical location.

How to check your graphics card through Settings on Windows 11
Windows 11 also allows you to check your graphics card information through the Settings menu.
To check your graphics card through Settings on Windows 11:
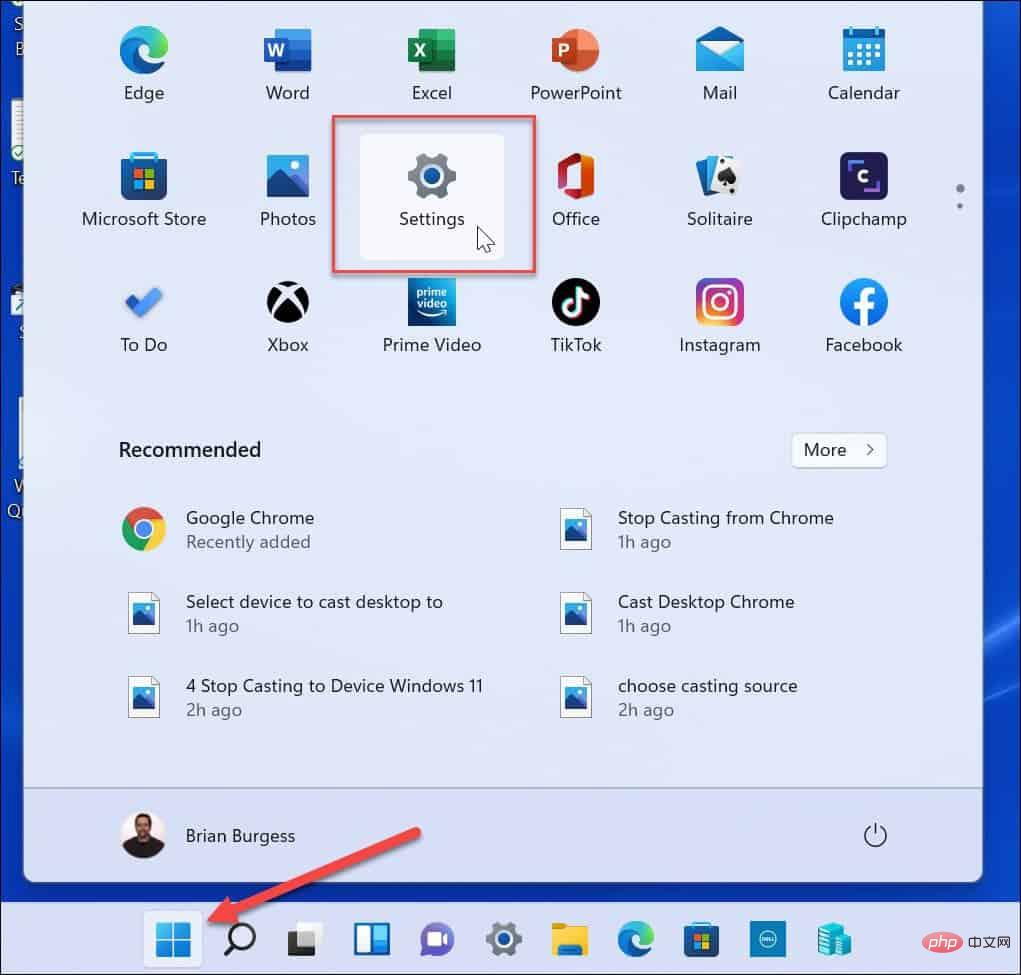
- Open Settings through the Start menu.

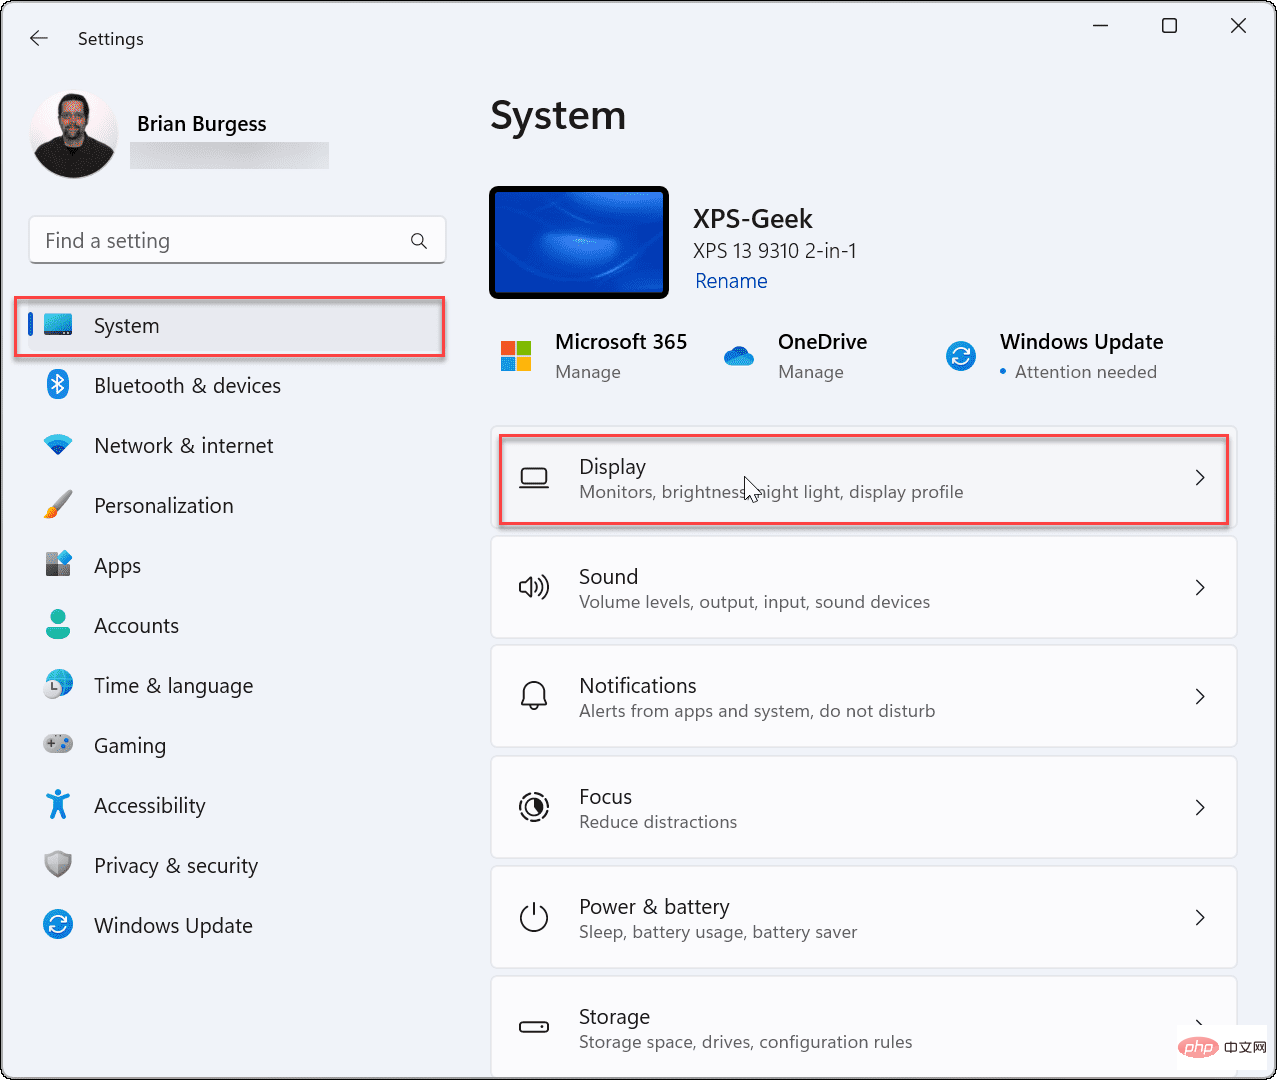
- When Settings starts, click System in the list on the left and on the right to display options.

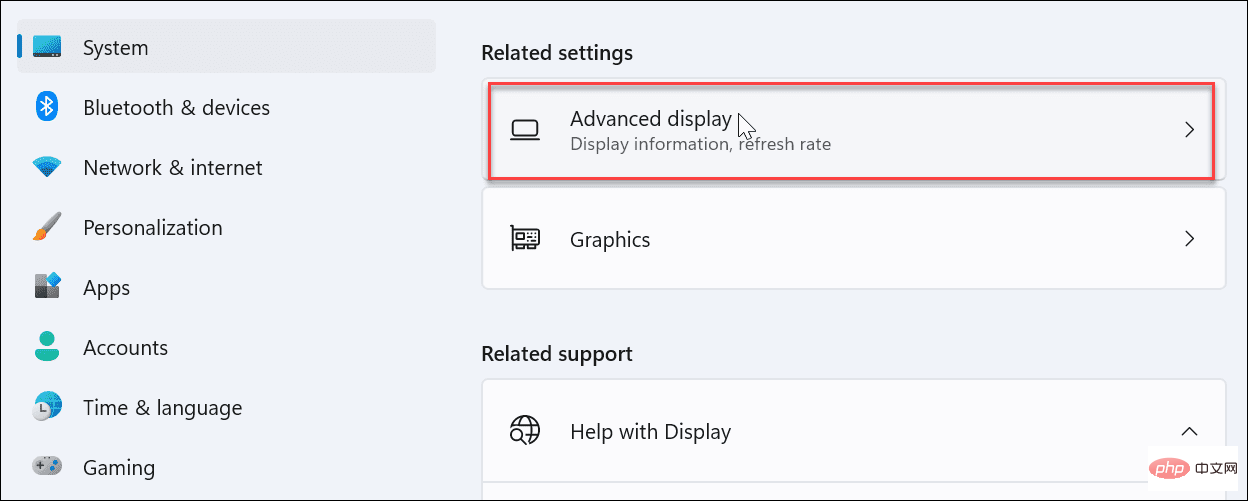
- Click Advanced to display options.

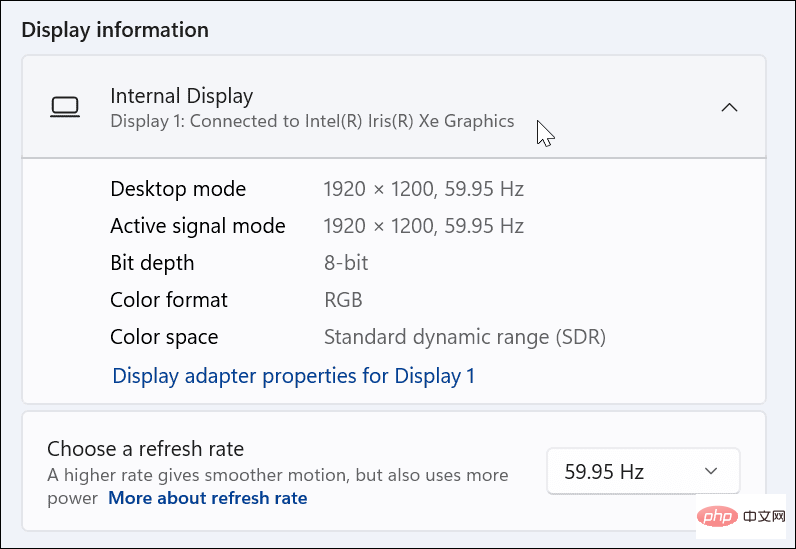
- Expand the "Internal Display" menu - here you will find the name of the connected graphics card.

How to use Device Manager to check your graphics card
Another way to check your graphics card is to use Device Manager.
Check the graphics card using Device Manager on Windows 11:
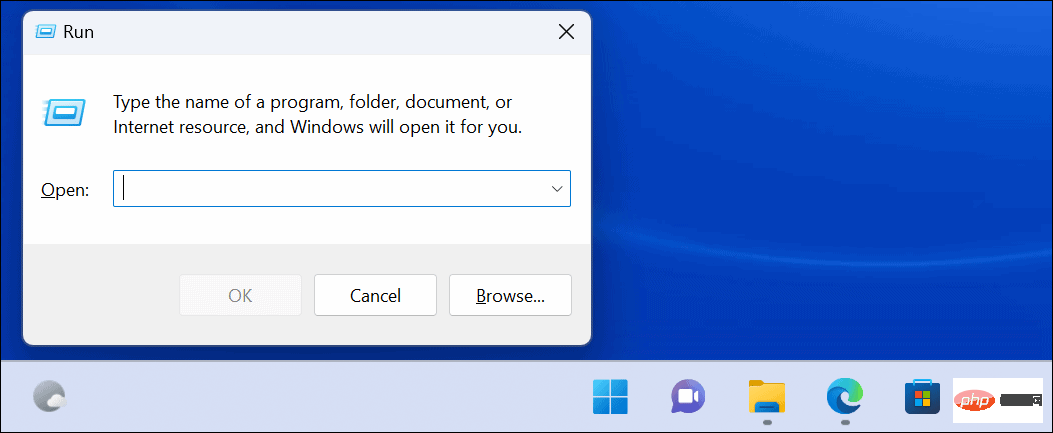
- Press the Windows key R on your keyboard to start "Run” Dialog box.

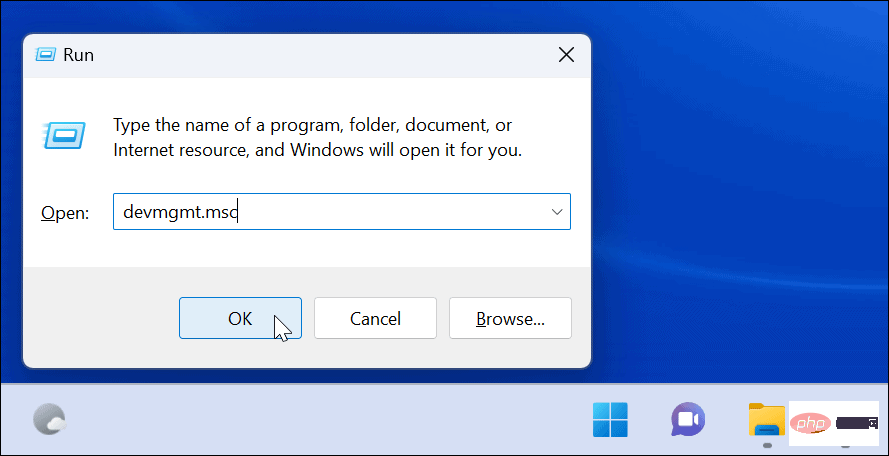
- Type devmgmt.msc and click OK.

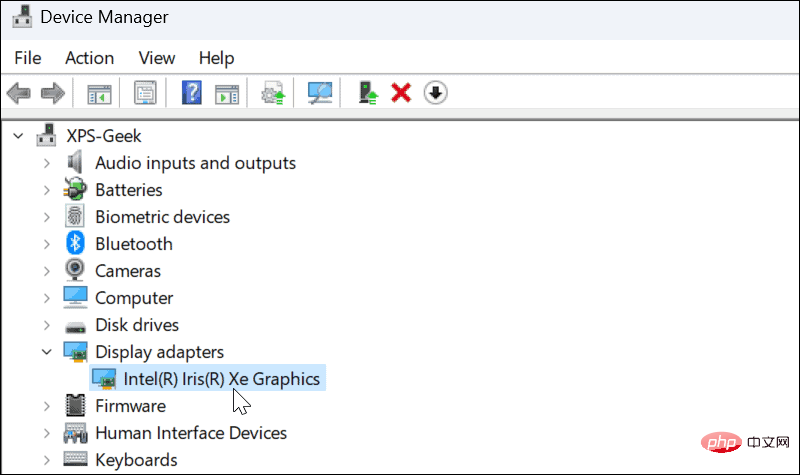
- When Device Manager opens, scroll down and expand the Display Adapters section to find your graphics card.

Use the System Information Tool
Another way to check your graphics card is to use the built-in System Information Tool on Windows 11.
How to check your graphics card using System Information:
- Click Start or press the Windows key.
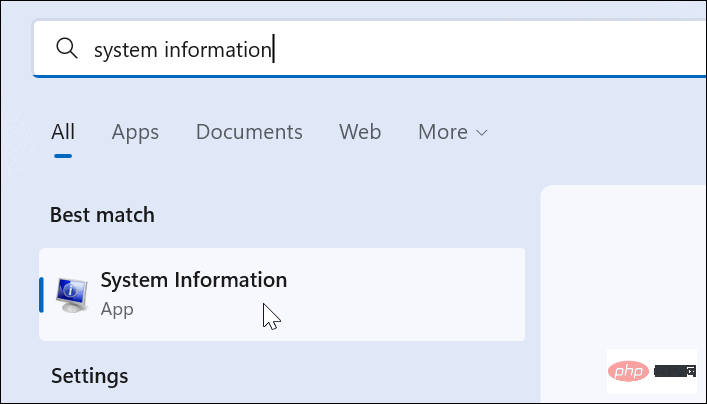
- Type System Information and select the best matching option at the top.

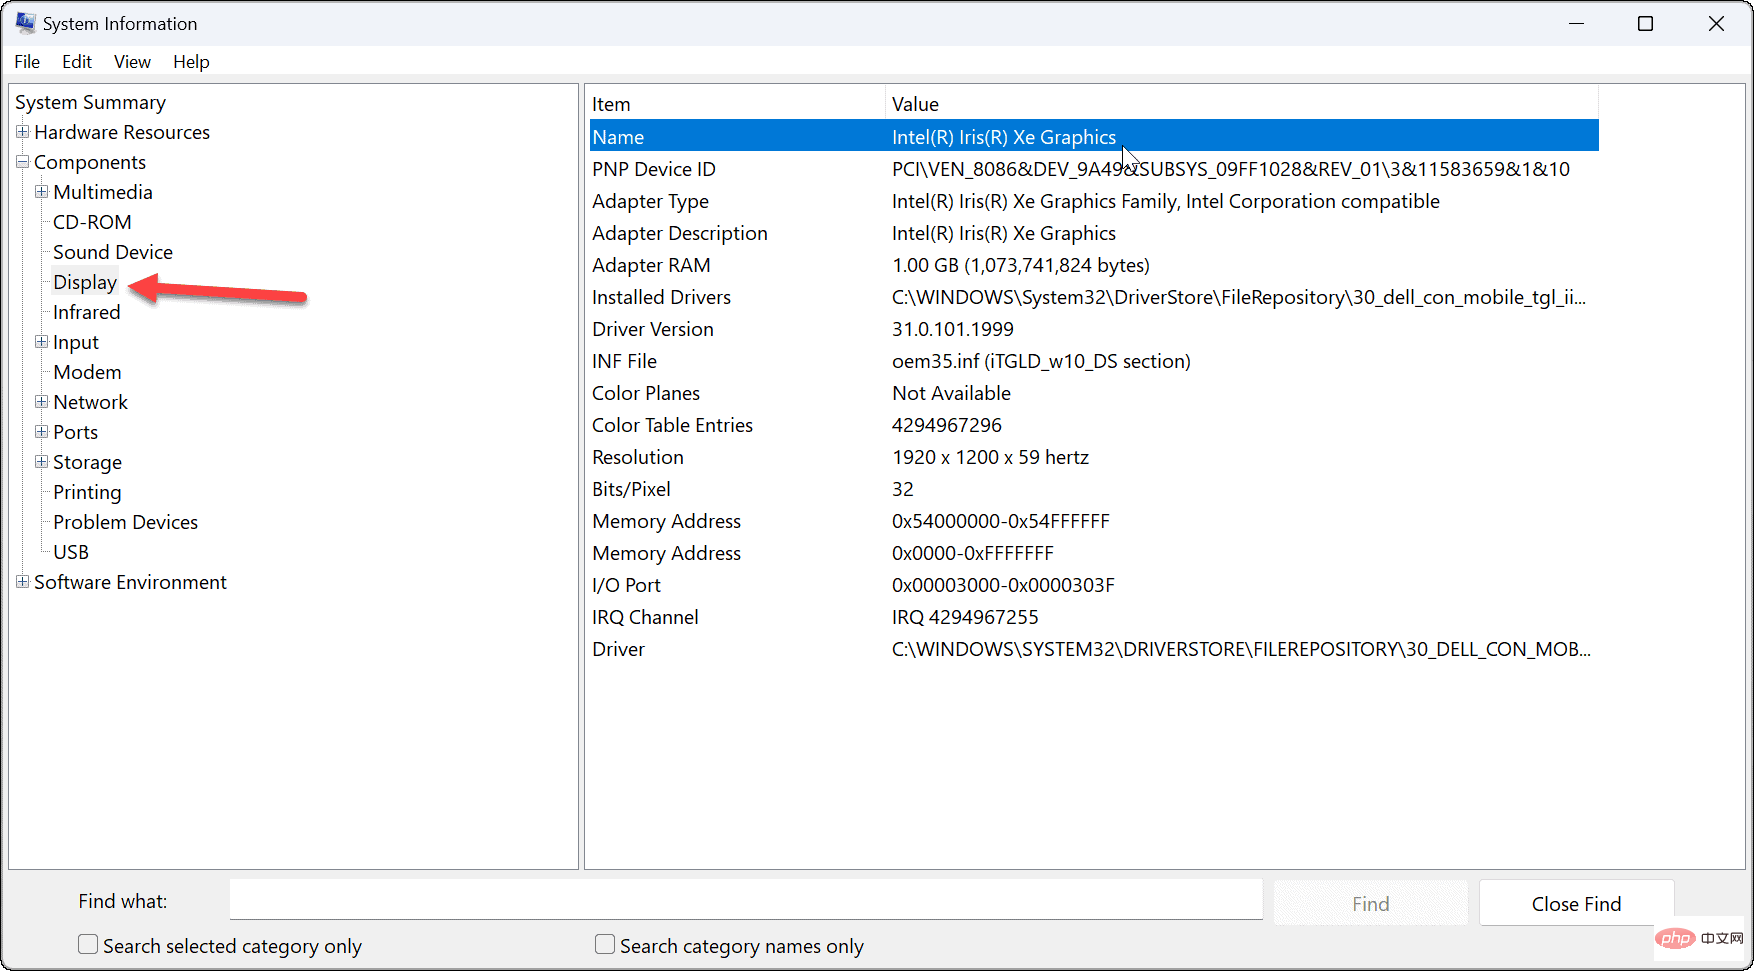
- Expand the component tree on the right and select to display . In the right pane you will see the name of your graphics card.

It’s worth noting that there are a ton of other component details you can use in the System Information utility. Remember the System Information utility if you need to find names and other component details later.
Use GPU Manufacturer Software
If you have an integrated card, it is most likely an Intel graphics card. However, if you have a dedicated card, it may install its own software on your PC. For example, AMD has Radeon software and Nvidia has GeForce Experience software.
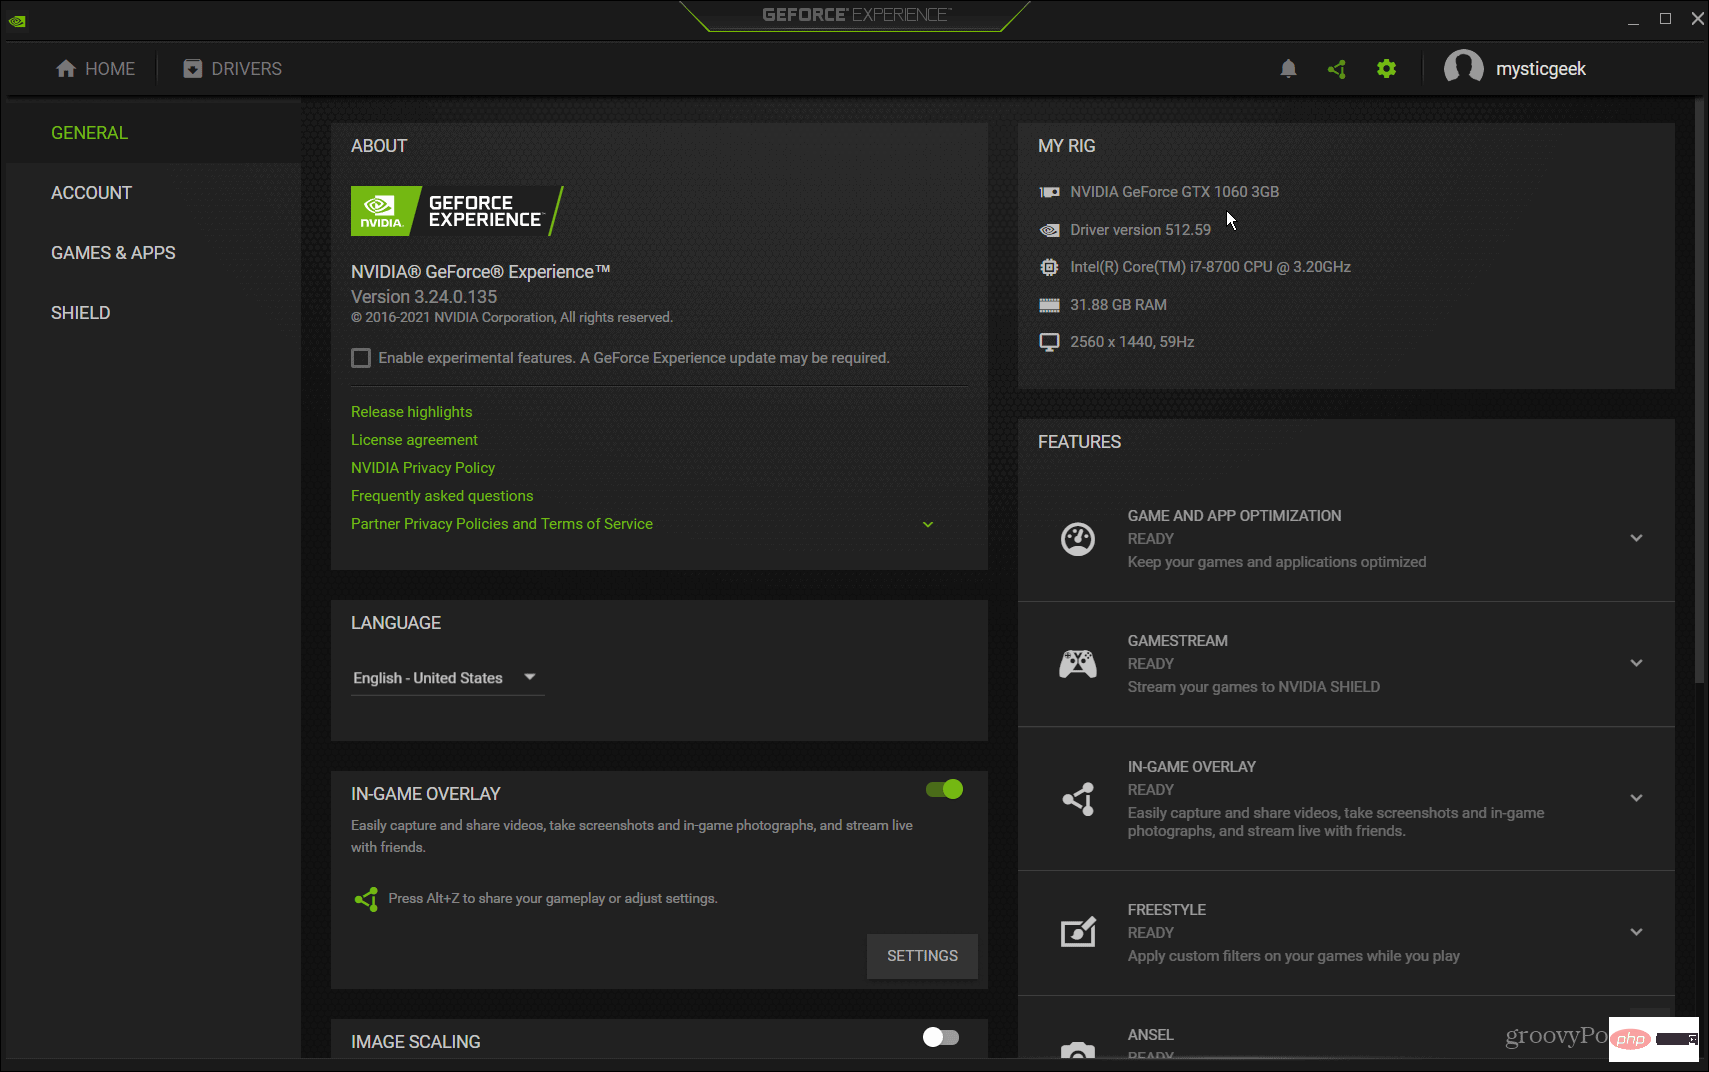
Search your PC for the manufacturer's name and launch its corresponding software. It gives you the name of your graphics card and provides an easy way to update the driver. It also allows you to tune your graphics card for features like Game Ready Drivers, Studio Drivers, FreeSync or G-Sync.
Check your graphics card on Windows 11
Whether you're fixing a problem or replacing your graphics card, it's a good idea to check your graphics card on Windows 11. There are many different ways to do this, as shown above. Use the method that works best for you
The above is the detailed content of How to check your graphics card on Windows 11. For more information, please follow other related articles on the PHP Chinese website!


