Home >Common Problem >How to see dx version information in Windows 11? Introduction to the steps to open the dx diagnostic tool in Windows 11
How to see dx version information in Windows 11? Introduction to the steps to open the dx diagnostic tool in Windows 11
- 王林forward
- 2023-04-06 18:15:053174browse
How to read the dx version information in Windows 11? Many friends are not sure. The editor below will introduce the steps to open the dx diagnostic tool in Windows 11. Let’s take a look!
How to check the dx version information in Windows 11? Introduction to the steps to open the dx diagnostic tool in Windows 11

1. Open the settings menu on the desktop and find the application option

2. Click the optional function button

3. Find the view function option on the right

4. Check the graphics tool and click the Next button

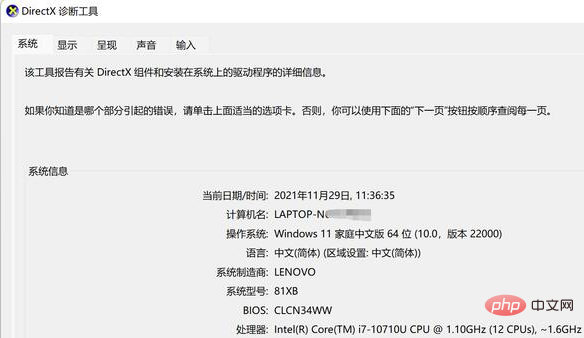
5. Press the win R key on the keyboard to open the run window, enter the word dxdiag and click OK

The above article is an introduction to the steps to open the dx diagnostic tool in Windows 11
The above is the detailed content of How to see dx version information in Windows 11? Introduction to the steps to open the dx diagnostic tool in Windows 11. For more information, please follow other related articles on the PHP Chinese website!
Related articles
See more- What will happen if the IP addresses of the two hosts are ANDed with their subnet masks?
- Apple's 'Business Essentials' service expanded to all small businesses
- How to turn on Win7 slider hardware acceleration?
- Reasons and solutions for the blue screen without text when booting from the U disk in Win10 system
- How to hide the recycle bin icon in Win7 system

