
Home >Operation and Maintenance >Nginx >Let's talk about how to use Nginx to deploy the TienChin project
Let's talk about how to use Nginx to deploy the TienChin project

- 青灯夜游forward
- 2023-04-04 19:46:021136browse
This article will teach friends step by step how to deploy the TienChin project. Let’s run this project together to see what kind of project it is.

Friends know that for this kind of project with front-end and back-end separation, when we actually deploy it, we can deploy it in the way of separation of front-end and back-end, or we can deploy it in the way of separation of front-end and back-end. Deployed in an end-to-end manner. Next, I will share two different deployment methods with my friends.
1. Separate deployment of front-end and back-end
1.1 Deployment architecture diagram
If the front-end and front-end are deployed separately, we usually need For an Nginx server, I will first draw a simple deployment diagram for your reference:
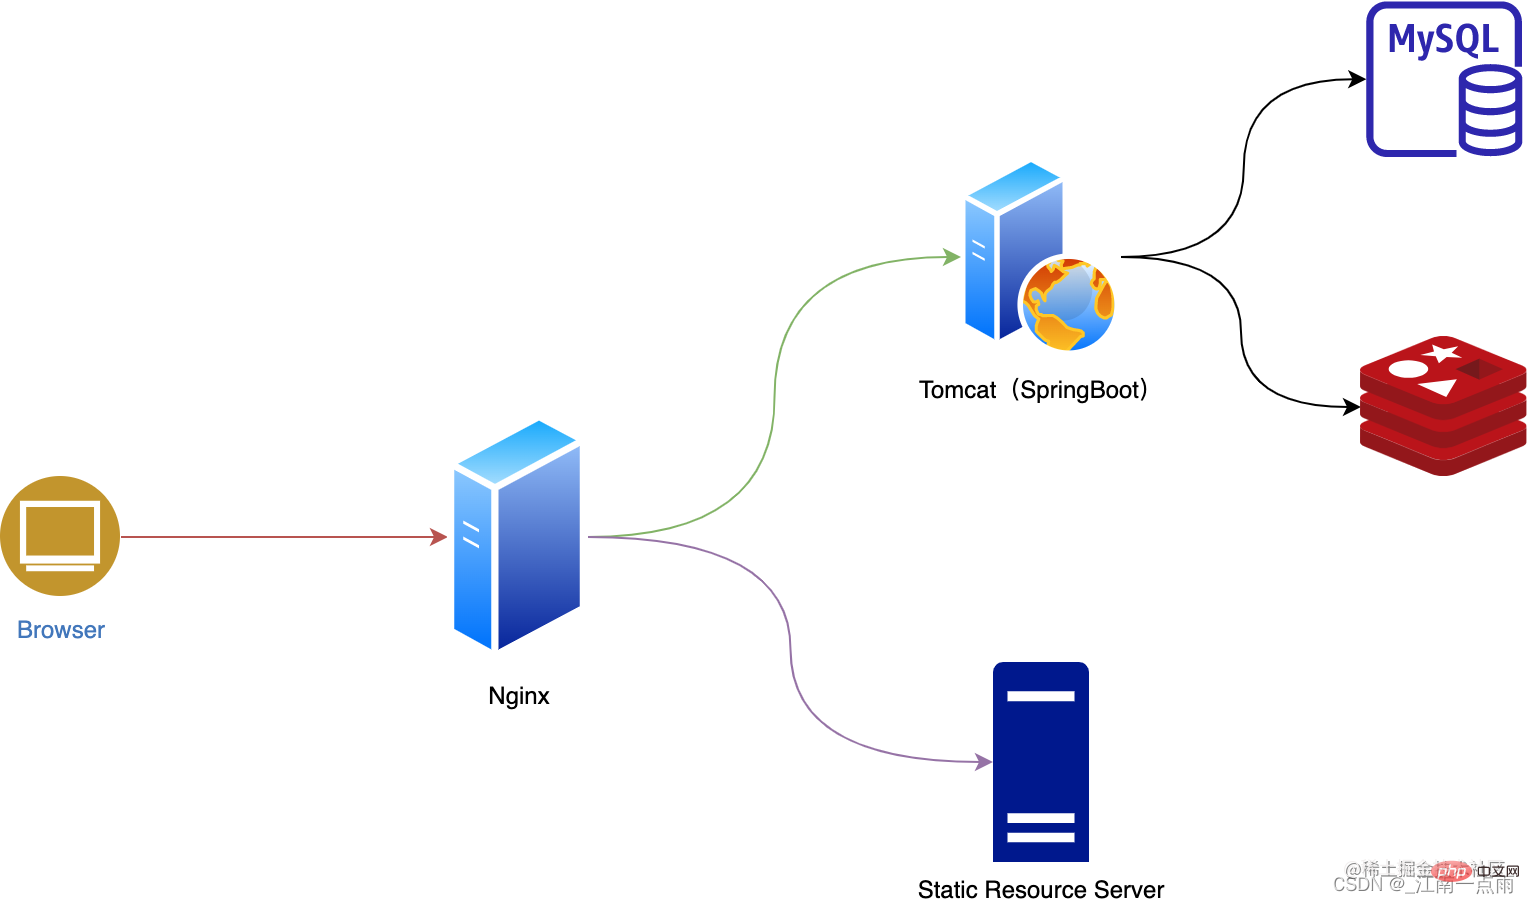
A brief explanation is this:
- The browser sends ask.
- The request first reaches the Nginx server, and the Nginx server distributes the request.
- If it is a static resource request, Nginx will forward it to the static resource server. Generally, Nginx itself may serve as the static resource server, that is, the data will be read directly from Nginx's own hard disk.
- If it is a dynamic resource, Nginx will forward it to Tomcat. For us, it is our Spring Boot service. Of course, if you do not have so many servers, we can deploy Nginx and Spring Boot. to the same server.
Okay, this is our rough deployment architecture diagram, it is very simple.
1.2 Preparation
There are several things that we need to prepare in advance.
First of all, let's install MySQL and Redis on the server. I won't go into details about how to install this, it's just a basic operation.
MySQL is recommended to be installed using Docker to save trouble. If you don’t understand Docker, you can reply to Docker in the background of the official account and there is an introductory tutorial written by Brother Song; Redis can be installed directly. Brother Song included a Redis tutorial in the previous series of vhr tutorials. You can reply to vhr in the background of the official account to view the details.
This completes our preparations.
1.3 Start deployment
1.3.1 Pull the project
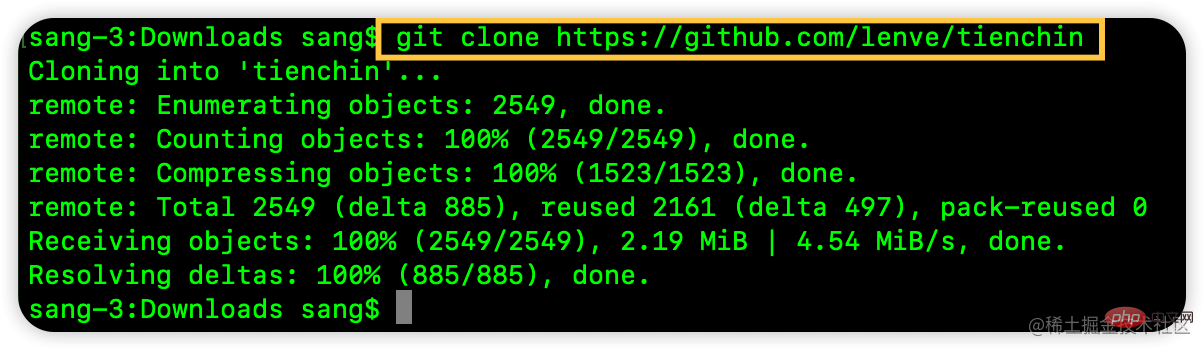
First we need to pull our project from GitHub , the source code of the TienChin project is open source, you can clone it directly:
Directly execute git Just clone.
After pulling it down, there are two folders:
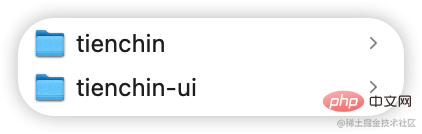
- tienchin is the server-side code.
- tienchin-ui is the front-end code.
1.3.2 Modify the configuration
First we create a database named tienchin, which is easy to say.
Next, we find the tienchin/sql/tienchin-video_2023-03-13.sql file and execute the script in the tienchin database.
Next, we find the tienchin/tienchin-admin/src/main/resources/application-druid.yml file. In this file, modify the database connection according to your actual situation. Address, database name, username and password.
Continue to open the tienchin/tienchin-admin/src/main/resources/application.yml file, and configure the Redis address, password and other information in the file.
There is also a very important configuration that also needs to be modified, which is to change server. The value of servlet.context-path is changed to /prod-api.
Next we carry out server-side packaging. Friends, you need to install Maven on your computer and configure the environment variables. This is also a basic operation, so I won’t go into details.
If Maven is not configured on your computer, it is recommended to use the Maven plug-in that comes with IDEA, so there is no need to download it additionally. The Maven plug-in that comes with IDEA is in theplugins/mavendirectory in the installation directory. You can directly configure the bin directory here to the environment variable.
For server-side packaging, we enter the tienchin directory and execute the following code:
mvn package -Dmaven.test.skip=true
When you see the following code, it means the compilation is successful:
编译成功之后,在 tienchin/tienchin-admin/target 目录下,可以看到一个名为 tienchin-admin.jar 的 jar 文件,这就是我们所需要的服务端代码。
1.3.4 前端打包
接下来进入到 tienchin-ui 目录下,执行如下命令安装依赖(注意,前端需要 NodeJS 至少 14 往上的版本):
npm install
然后再执行如下命令进行编译打包:
npm run build:prod
打包完成后,会生成 dist 目录,里边的文件就是我们所需要的静态资源文件:
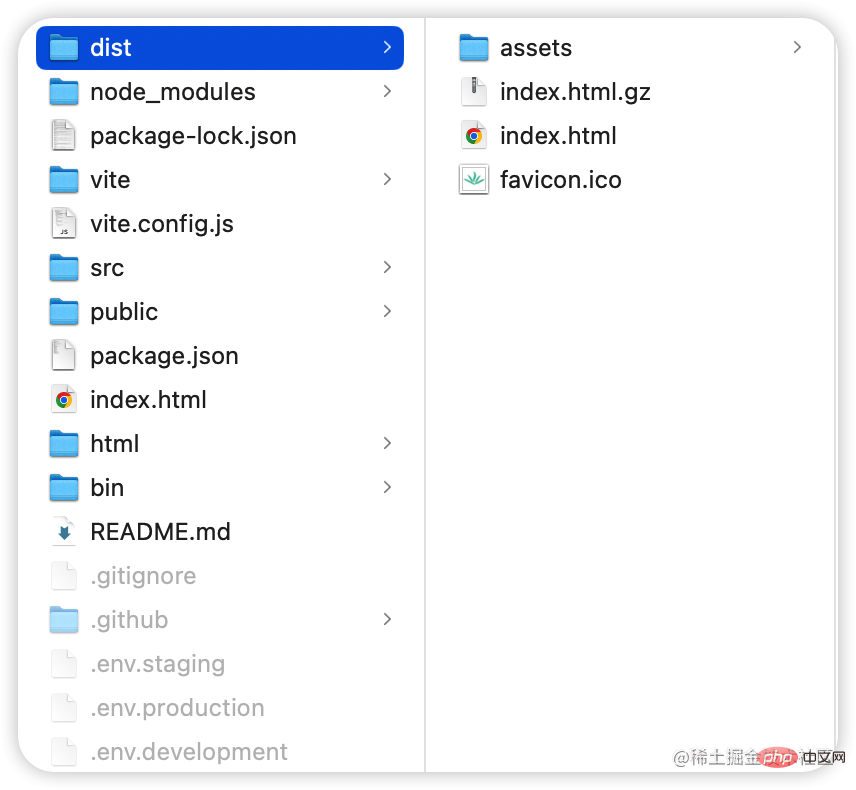
这样,前端代码就打包完成了。
1.3.5 安装 Nginx
接下来我们来安装 Nginx,我这里直接下载 Nginx 源码进行编译安装,步骤如下:
- 首先安装如下两个编译工具
yum install -y zlib-devel
yum -y install pcre pcre-devel
- 下载 Nginx 源码并解压。
wget https://nginx.org/download/nginx-1.22.1.tar.gztar -zxvf nginx-1.22.1.tar.gz
- 编译安装
进入到 nginx 解压目录中,分别执行如下命令进行编译安装:
./configuremakemake install
如此之后,我们的 Nginx 就安装好了。
1.3.6 配置 Nginx
接下来我们首先通过命令或者文件上传工具,先把刚刚打包的后端的 tienchin-admin.jar 和前端的 dist 目录上传到服务器上面来。
接下来,我们首先启动服务端这个 tienchin-admin.jar:
nohup java -jar tienchin-admin.jar > tienchin.log &
有的小伙伴在服务端部署的时候,会抛出如下异常:
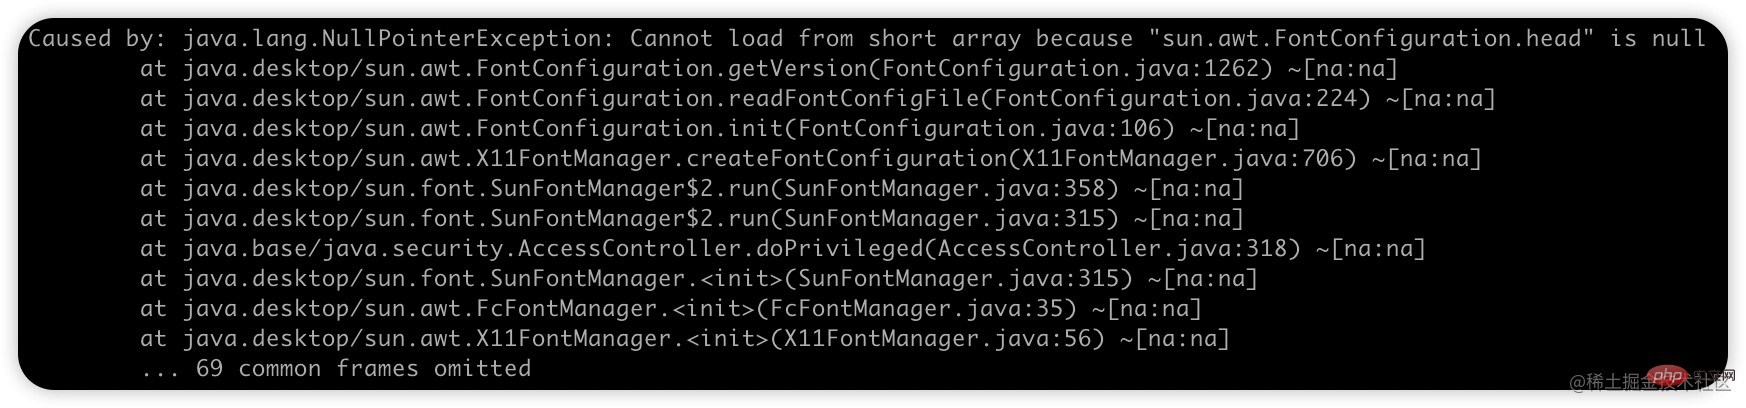
这个是因为服务端缺乏相应的字体,而 Flowable 在自动生成部署图片的时候,需要用到这些字体,所以我们安装需要的字体即可:
yum install fontconfig
fc-cache --force
服务端启动成功之后,我们先用 postman 测试一下登录接口,确保能运行,就说明服务端部署成功:
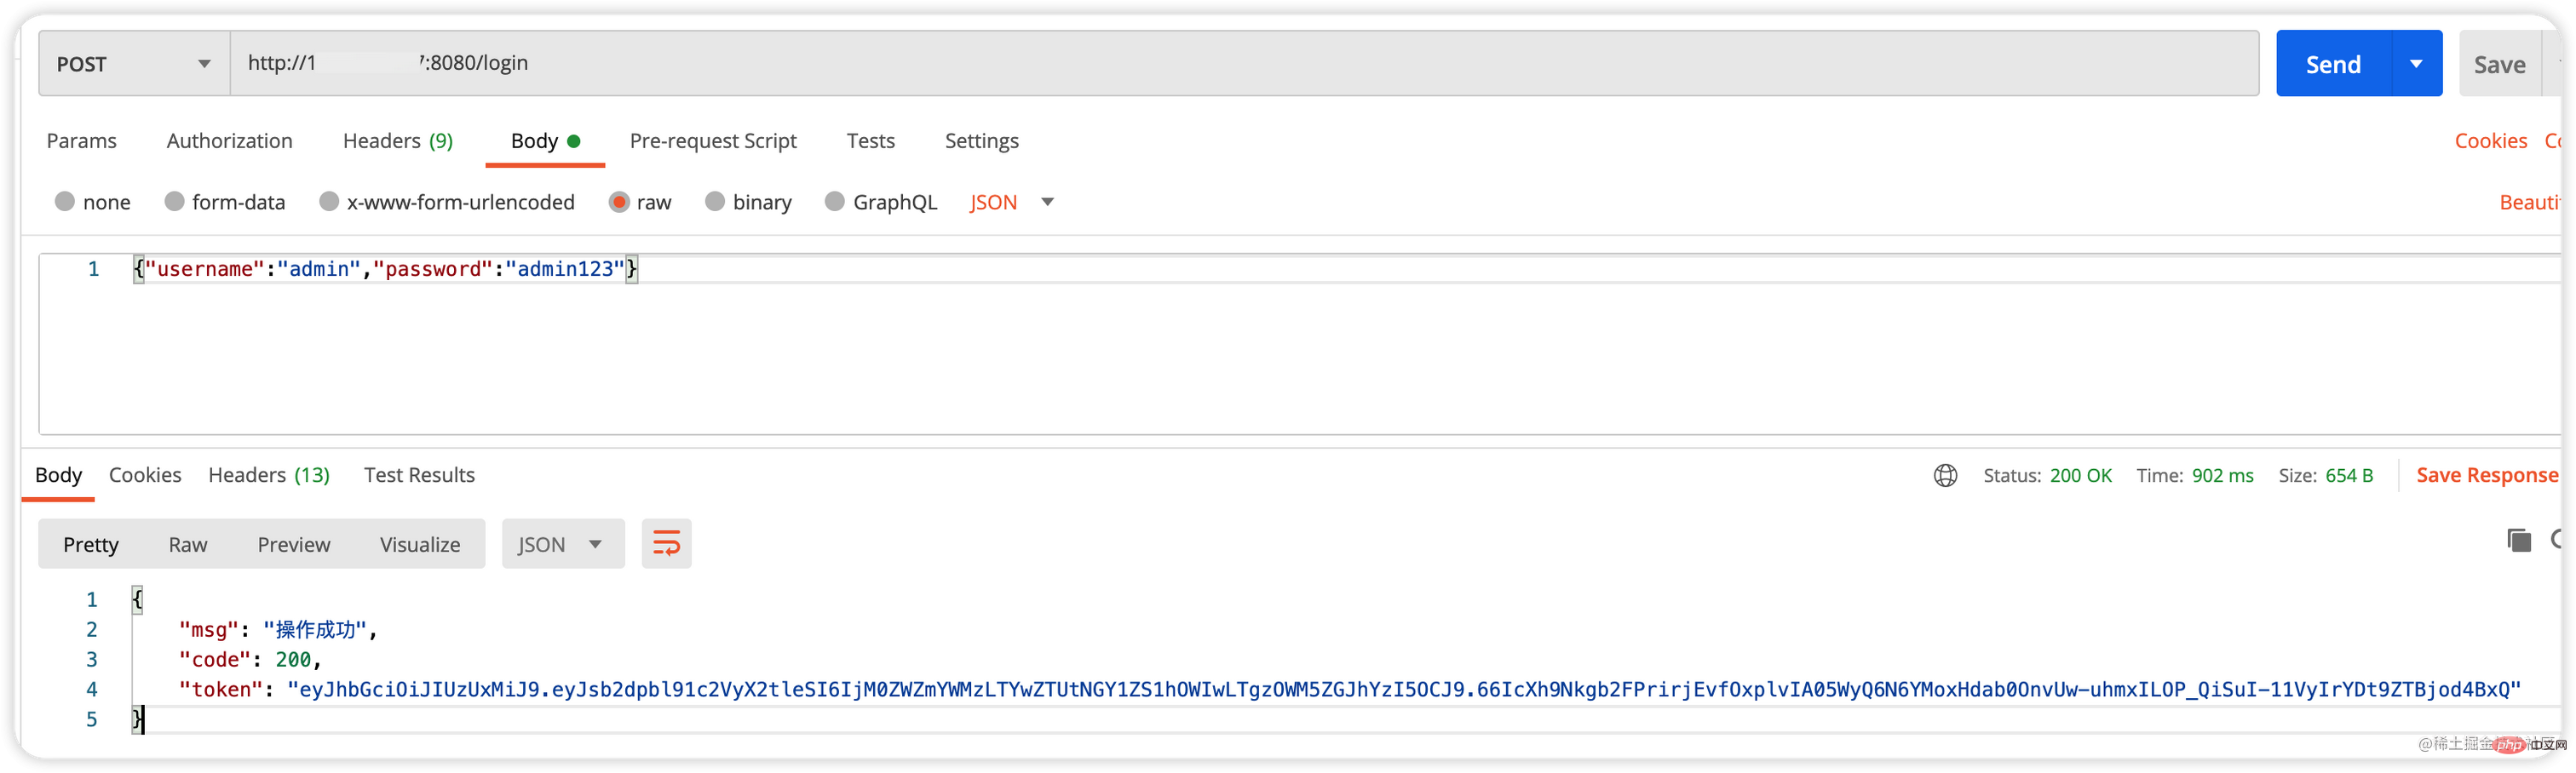
能成功登录,就说明服务端部署成功。
接下来部署前端。
前端部署很简单,我们只需要将 dist 中的内容拷贝到 nginx 的 html 目录下即可,命令如下:
cp dist/* /usr/local/nginx/html/
接下来执行如下命令启动 nginx:
/usr/local/nginx/sbin/nginx
nginx 启动成功之后,就可以浏览器中访问页面了:
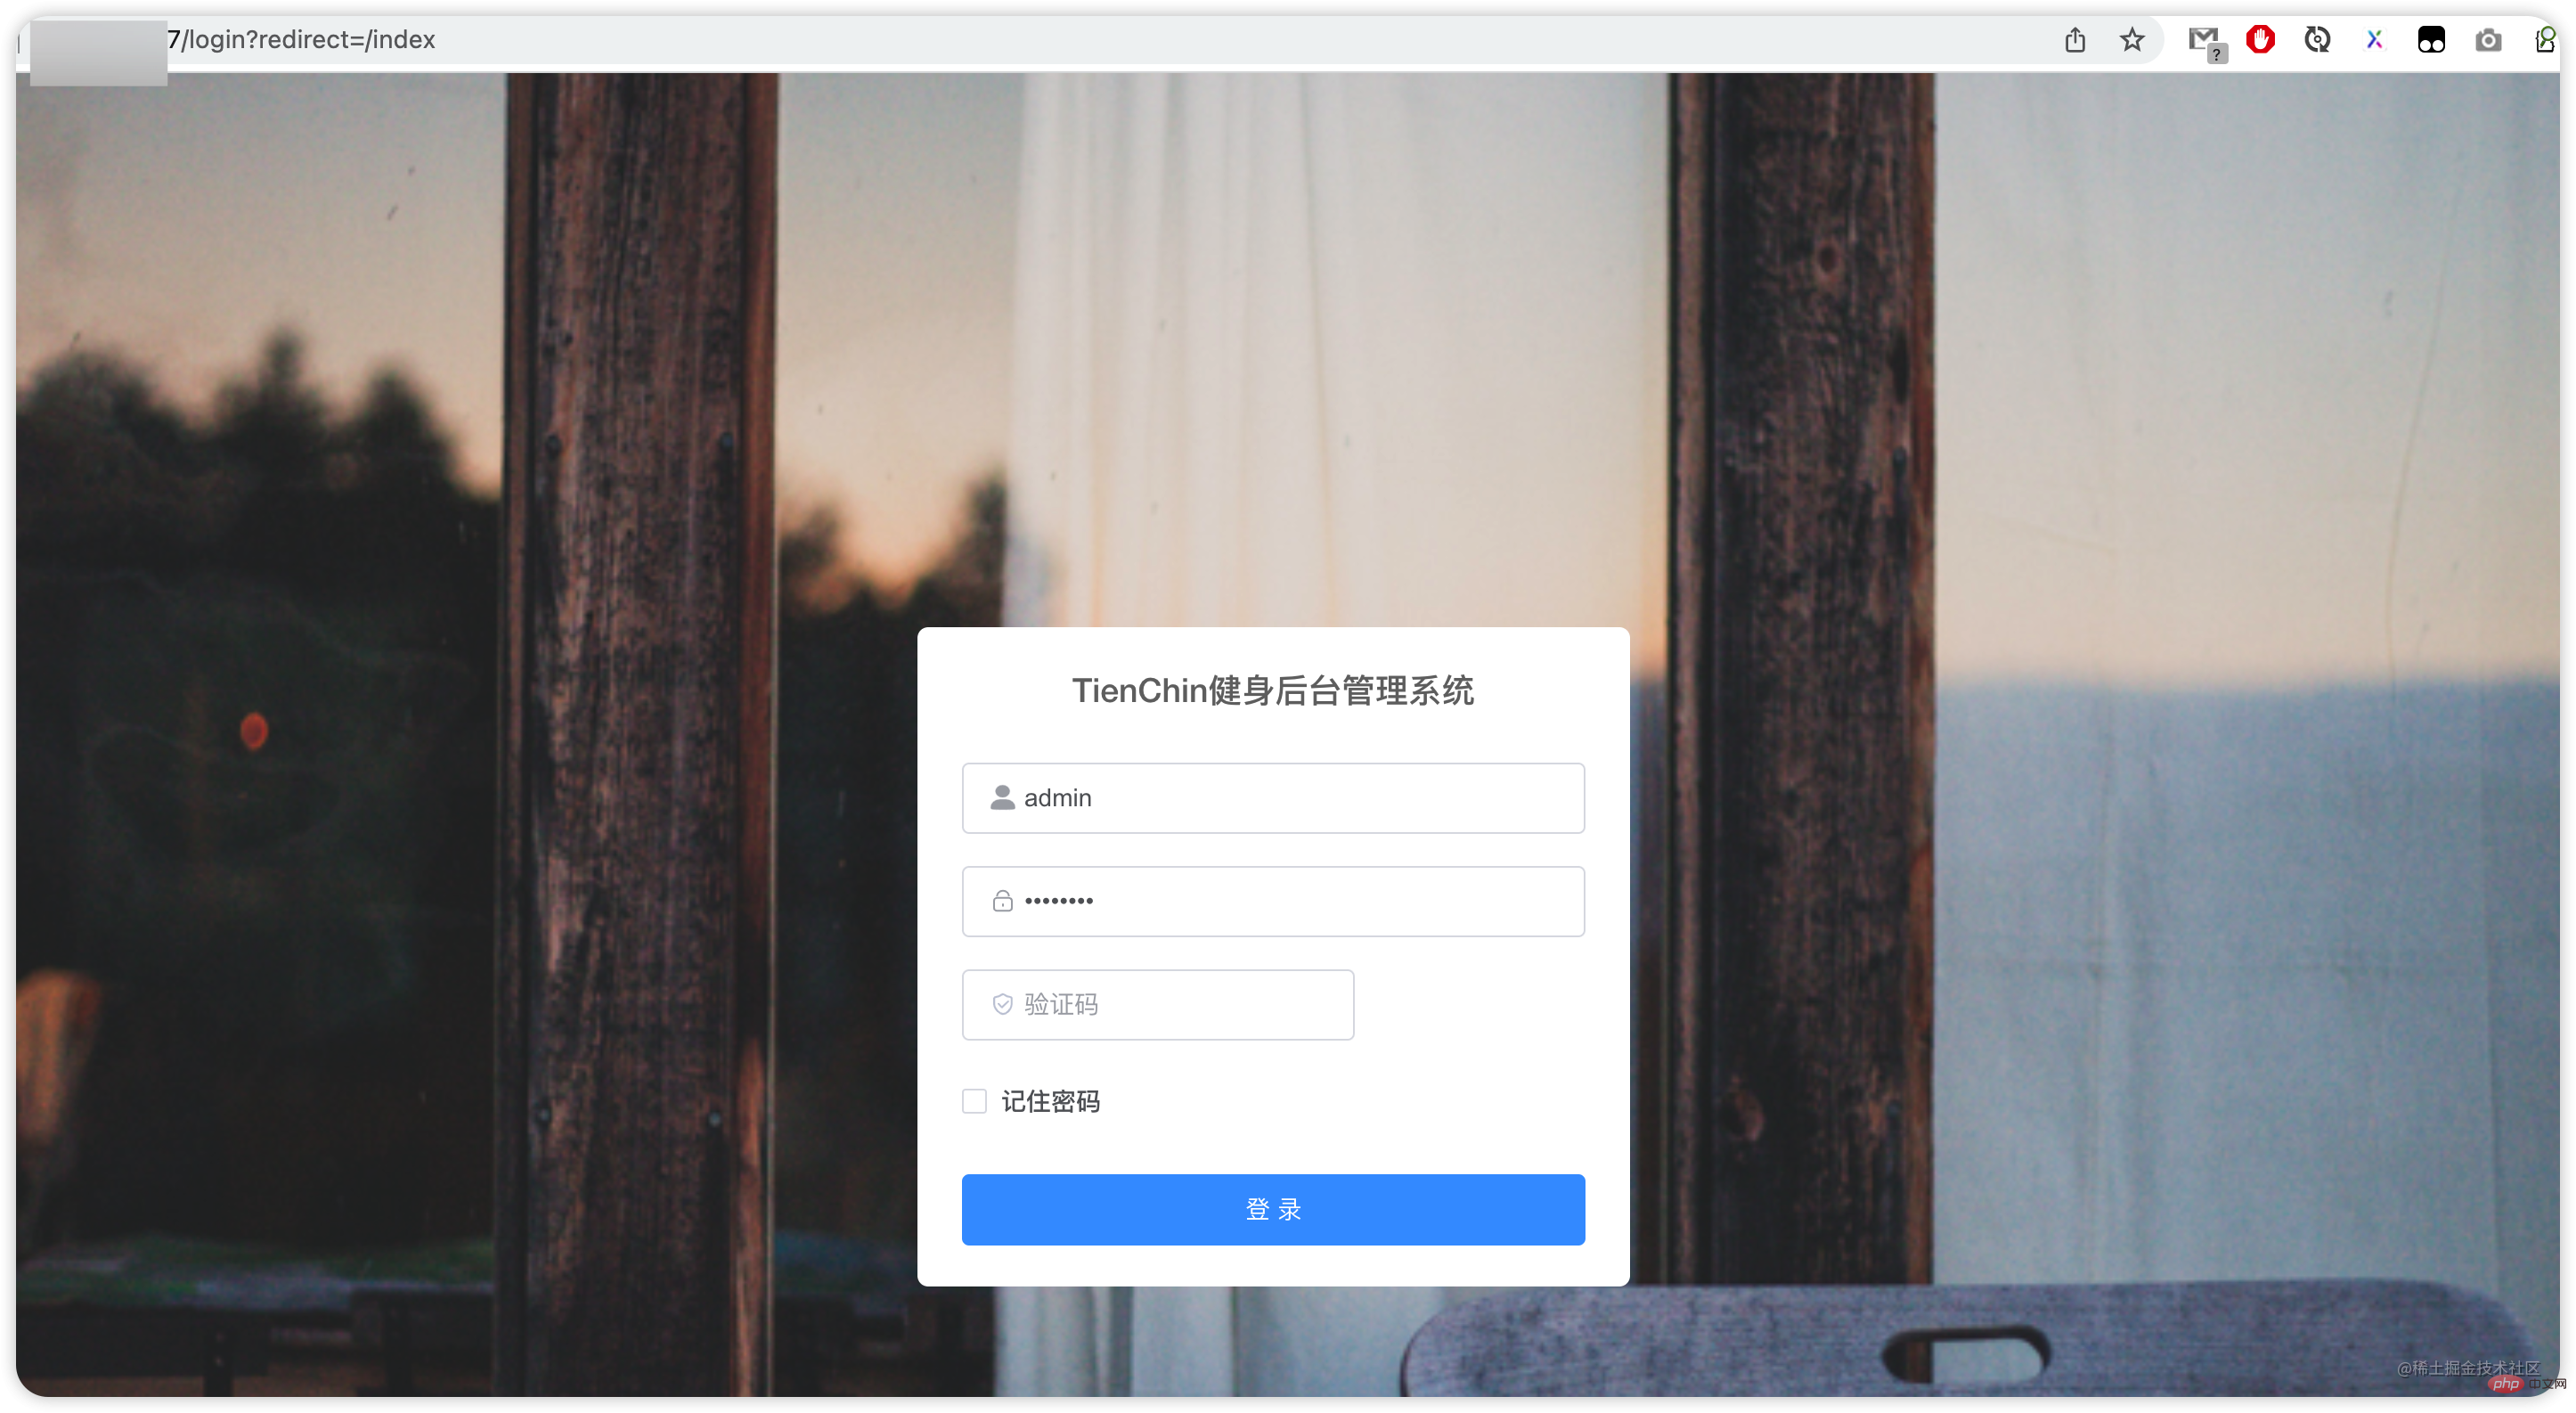
当然,现在还登录不了,因为还缺少 Nginx 的请求转发,现在当我们请求 Nginx 的时候可以看到前端页面,但是服务端的数据请求,Nginx 并不会自动转发到 Spring Boot 上面去,所以还需要我们继续配置 Nginx,Nginx 配置文件的位置在 /usr/local/nginx/conf/nginx.conf,我们增加如下配置:
location /prod-api {
       proxy_pass http://127.0.0.1:8080;
       tcp_nodelay     on;
       proxy_set_header Host            $host;
       proxy_set_header X-Real-IP       $remote_addr;
       proxy_set_header X-Forwarded-For $proxy_add_x_forwarded_for;
}
location / {
       root /usr/local/nginx/html/;
       expires 30d;
       try_files $uri $uri/ /index.html;
}
这里有几个配置参数的含义,我给大家稍微解释下:
- try_files:由于我们的前端 Vue 导航是 history 模式,这个不同于 vhr 的 hash 模式,history 模式会把请求路径发到 Nginx 上去找,很明显 Ngnix 找不到这样的路径,所以 try_files 就是说如果 404 了,就默认展示 index.html 页面即可,然后具体的路由导航由 vue-router 去完成。
- tcp_nodelay:启动 TCP_NODELAY,其实就是禁用 Nagle 算法,允许小包的发送。对于延时敏感型,同时数据传输量比较小的应用,开启 TCP_NODELAY 选项无疑是一个正确的选择。Nagle 算法是先把数据缓存起来,攒到一块发送。
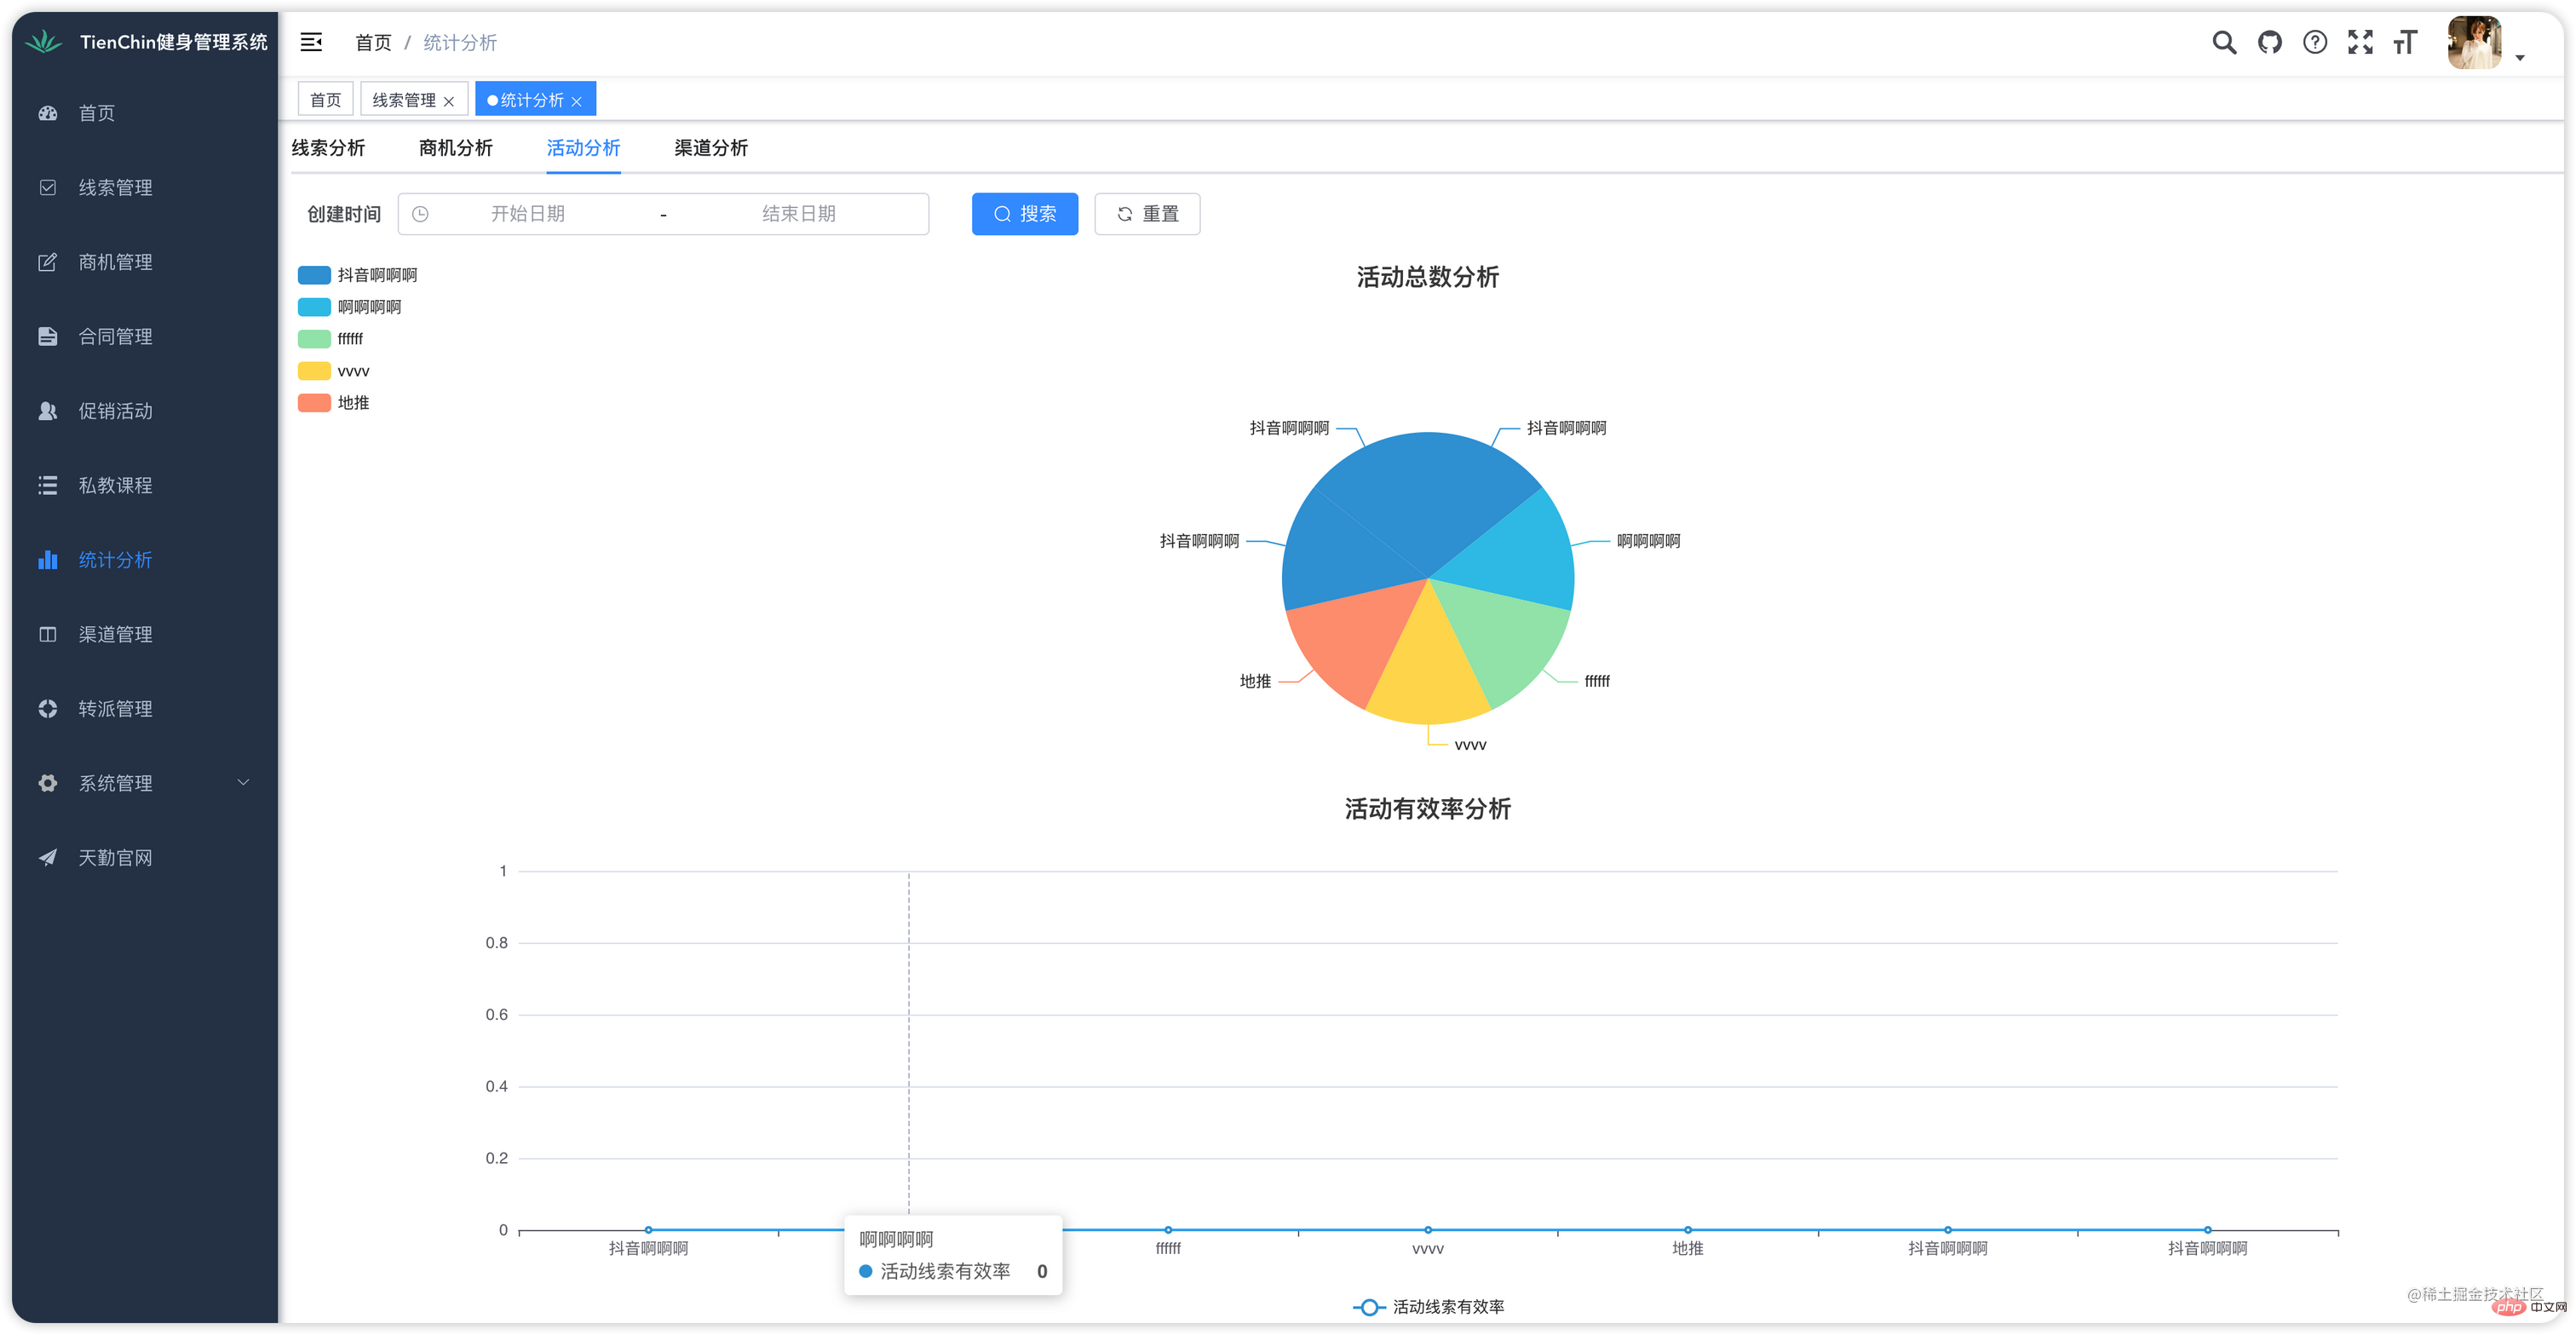
配置完成后,重启 Nginx:
/usr/local/nginx/sbin/nginx -s reload
好啦,这次重启之后,就可以顺利玩耍啦~
2. 前后端不分部署
前后端不分部署相对就简单一些,不需要 Nginx 了,不过前面 1.3.1-1.3.4 也是需要的。
1.3.4 小节中,我们拿到前端编译打包后的内容后,直接放到 tienchin-admin 模块的 static 静态资源目录下,然后继续将服务端打成 jar 包,将 jar 包上传到服务器并启动即可,启动命令和 1.3.6 小节介绍的 jar 包启动命令一致,这个过程比较简单,涉及到的相关命令前面都有介绍,我就不重复展示了。
最后,对 TienChin 项目感兴趣的小伙伴戳这里:TienChin 项目配套视频来啦。
Recommended tutorial: nginx tutorial
The above is the detailed content of Let's talk about how to use Nginx to deploy the TienChin project. For more information, please follow other related articles on the PHP Chinese website!
Related articles
See more- How does nginx add watermark to images through PHP proxy (detailed code)
- How to shut down nginx in linux
- Solutions to 2 common problems with Laravel and Vue Nginx configuration
- An in-depth analysis of how to implement worker process isolation through Nginx source code
- How to solve nginx php403 error
- Describe in detail how to optimize nginx logs by day
- Reasons and solutions for nginx not loading php files [Summary]