Home >Web Front-end >CSS Tutorial >8 CSS tips for implementing loading loading effects (share)
8 CSS tips for implementing loading loading effects (share)
- 青灯夜游forward
- 2021-10-15 10:56:324643browse
This article will share with you 8 CSS tips for implementing loading loading effects. I hope it will be helpful to you!
Why do you write this kind of article? During normal development, when we encounter loading, it is either built-in in the UI framework or Baidu, and then CV is added to the project? However, when you implement it yourself, you will have no idea. Over time, I became a CV engineer. This article explains the ideas for different loading methods. I hope everyone can not only use them, but also write them. Practice brings true knowledge. (Learning video sharing: css video tutorial, web front-end)
This article only introduces circular loading. Others will be introduced in other articles.
loader-1

This should be the simplest CSS loading. There is a red arc on the circle. If you look closely, you will find that this arc is exactly 1/4.
Implementation logic:
A container with equal width and height, set the border to white. Then set the red color to the bottom.

When the border-radius is set to 50%, it can become a circle.
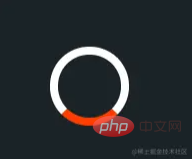
Add a rotation animation to this circle. The animation of rotation angle in CSS is rotate(). We only need to set it to rotate from 0 to 360. (This animation will be used many times below, so I won’t go into details below)
 @-webkit-keyframes rotation {
    0% {
      transform: rotate(0deg);
    }
    100% {
      transform: rotate(360deg);
    }
  }
Full code
.loader-1 {
    width: 48px;
    height: 48px;
    border: 5px solid #FFF;
    border-bottom-color: #FF3D00;
    border-radius: 50%;
    display: inline-block;
    -webkit-animation: rotation 1s linear infinite;
    animation: rotation 1s linear infinite;
}
loader-2
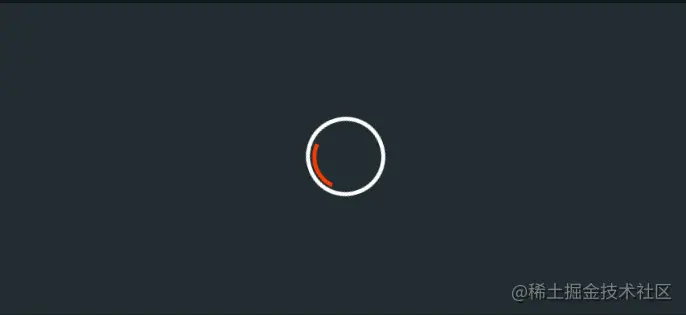
Observation: There is a circle on the outside and a red element is rotating inside.
Implement logic
A container with equal width and height, plus white sides and 50% rounded corners. This is the outer circle.
How to achieve the red inside? There are two ideas here. 1; Add a small div, put it inside, and set a red bottom border like loader-1. 2: Use ::after, the idea is the same as method 1.
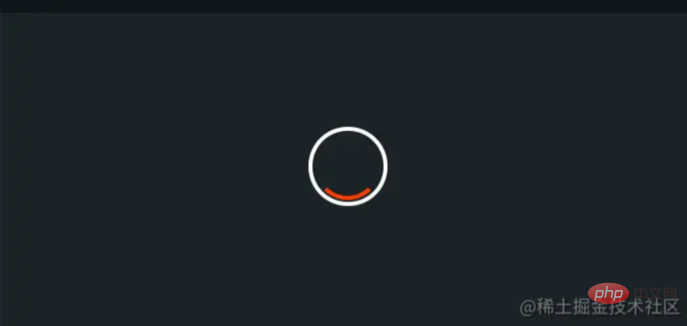
Add rotation animation.
Full code
.loader-2 {
    width: 48px;
    height: 48px;
    border: 3px solid #FFF;
    border-radius: 50%;
    display: inline-block;
    position: relative;
    -webkit-animation: rotation 1s linear infinite;
    animation: rotation 1s linear infinite;
}
.loader-2:after {
content: "";
position: absolute;
left: 50%;
top: 50%;
transform: translate(-50%, -50%);
width: 40px;
height: 40px;
border-radius: 50%;
border: 3px solid transparent;
border-bottom-color: #FF3D00;
}loader-3
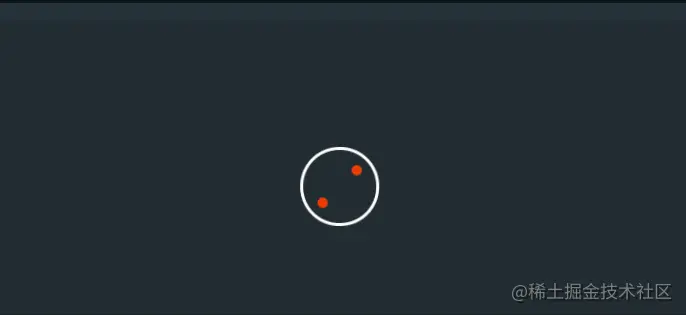
Observation: The inside is a circle and the outside is a red arc.
Implementation logic
This loading effect is consistent with loader-2, the difference is that the red arc is inside and outside.
Full code
.loader-3 {
    width: 48px;
    height: 48px;
    border: 3px solid #FFF;
    border-radius: 50%;
    display: inline-block;
    position: relative;
    -webkit-animation: rotation 1s linear infinite;
    animation: rotation 1s linear infinite;
}
.loader-3:after {
content: "";
position: absolute;
left: 50%;
top: 50%;
transform: translate(-50%, -50%);
width: 56px;
height: 56px;
border-radius: 50%;
border: 3px solid transparent;
border-bottom-color: #FF3D00;
}loader-4

Observation: There is a circle on the outside and two circles on the inside. These two circles are exactly symmetrical.
Implement logic
A container with equal width and height, plus white sides and 50% rounded corners. This is the outer circle.
How to achieve the red inside? There are two ideas here. 1; Add two small divs, set the background color to red, and then set the corners to 50%, so that they look like two small dots. 2: Use ::after and ::before, the idea is the same as method 1.
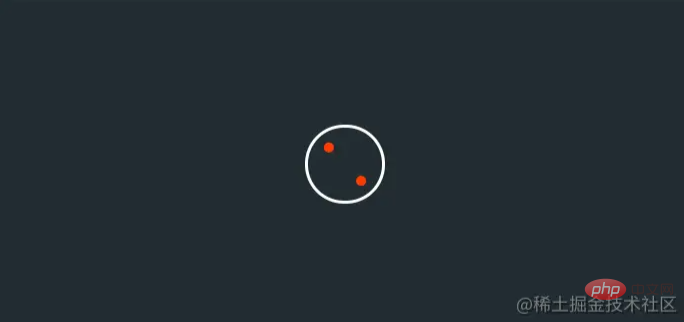
Add rotation animation.
Full code
.loader-4 {
    width: 48px;
    height: 48px;
    border: 2px solid #FFF;
    border-radius: 50%;
    display: inline-block;
    position: relative;
    -webkit-animation: rotation 1s linear infinite;
    animation: rotation 1s linear infinite;
}
.loader-4:before {
left: auto;
top: auto;
right: 0;
bottom: 0;
content: "";
position: absolute;
background: #FF3D00;
width: 6px;
height: 6px;
transform: translate(-150%, -150%);
border-radius: 50%;
}.loader-4:after {
content: "";
position: absolute;
left: 0;
top: 0;
background: #FF3D00;
width: 6px;
height: 6px;
transform: translate(150%, 150%);
border-radius: 50%;
}loader-5
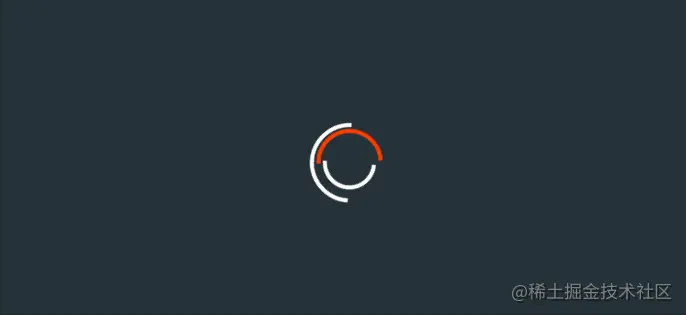
Observation: There are three layers in total, the outermost white circle, the middle red circle, and the inner white circle. Each circle has a half-arc gap, and the outer circle and the innermost circle rotate in the same direction.
Implementation logic
一个宽高相等的容器,加上白色的边,50%的圆角。这样就是外围的圈。
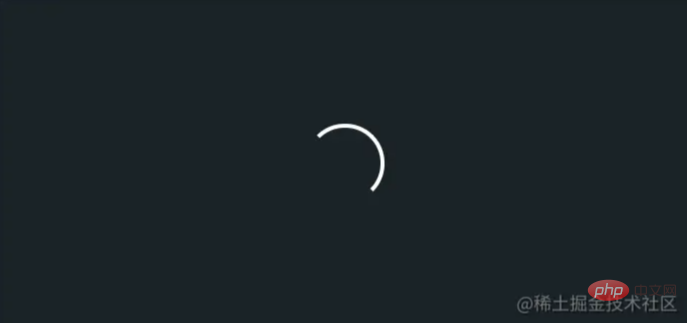
这里的问题是,圈的缺口如何实现,其实很简单,在css中有一个属性值:transparent,利用这个值给边框设置透明,即可实现缺口。

对于内部的红色和白色圆弧,继续使用::after和::before即可。
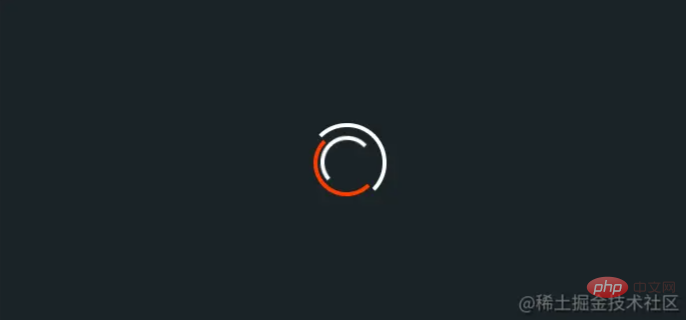
加上动画,这里有一个反方向旋转的动画(rotationBack)。 这里设置旋转是往负角度,旋转即可反方向旋转。
  @keyframes rotationBack {
    0% {
      transform: rotate(0deg);
    }
    100% {
      transform: rotate(-360deg);
    }
  }
完整代码
.loader-5 {
    width: 48px;
    height: 48px;
    border-radius: 50%;
    display: inline-block;
    position: relative;
    border: 3px solid;
    border-color: #FFF #FFF transparent transparent;
    -webkit-animation: rotation 1s linear infinite;
    animation: rotation 1s linear infinite;
}
.loader-5:before {
width: 32px;
height: 32px;
border-color: #FFF #FFF transparent transparent;
-webkit-animation: rotation 1.5s linear infinite;
animation: rotation 1.5s linear infinite;
}.loader-5:after, .loader-5:before {
content: "";
position: absolute;
left: 0;
right: 0;
top: 0;
bottom: 0;
margin: auto;
border: 3px solid;
border-color: transparent transparent #FF3D00 #FF3D00;
width: 40px;
height: 40px;
border-radius: 50%;
-webkit-animation: rotationBack 0.5s linear infinite;
animation: rotationBack 0.5s linear infinite;
transform-origin: center center; *
}loader-6
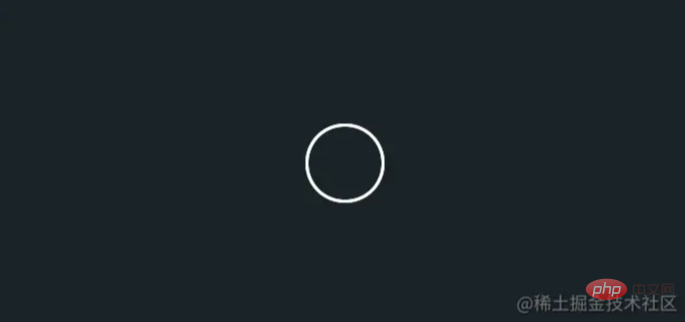
观察:看上去像是一个时钟,一个圆里面有一根指针。
实现逻辑
一个宽高相等的容器,加上白色的边,50%的圆角。这样就是外围的圈。

指针是如何实现的:从这里开始不再讨论新增div的情况。 其实红色的指针就是一个单纯的宽高不一致的容器。

完整代码
.loader-6 {
    width: 48px;
    height: 48px;
    border: 2px solid #FFF;
    border-radius: 50%;
    display: inline-block;
    position: relative;
    -webkit-animation: rotation 1s linear infinite;
    animation: rotation 1s linear infinite;
}
.loader-6:after {
content: "";
position: absolute;
left: 50%;
top: 0;
background: #FF3D00;
width: 3px;
height: 24px;
transform: translateX(-50%);
}loader-7

观察:首先确定几个圈,一共两个。当第一个圈还没消失,第二个圈已经出现。最后出现了类似水波的效果。同时要注意的是,这两个两个圈是一样大的,这是因为他们最终消失的地方是一致的。
实现逻辑
首先确定,这两个圈是否在容器上。上面一直时在容器上添加边框,当然这个例子也可以,但是为了实现的简单,我们把这两个圈放在::after和::before中。

加上动画,这里的圈是逐渐放大的,在CSS中scale用来放大缩小元素。同时为了实现波纹逐渐清晰的效果,我们加上透明度。
  @keyframes animloader7 {
    0% {
      transform: scale(0);
      opacity: 1;
    }
    100% {
      transform: scale(1);
      opacity: 0;
    }
  }
完整代码
这里因为两个圈是先后出现的,所以需要一个圈加上delay
.loader-7 {
    width: 48px;
    height: 48px;
    display: inline-block;
    position: relative;
}
.loader-7::after, .loader--7::before {
content: "";
width: 48px;
height: 48px;
border-radius: 50%;
border: 2px solid #FFF;
position: absolute;
left: 0;
top: 0;
-webkit-animation: animloader7 2s linear infinite;
animation: animloader7 2s linear infinite;
}.loader-7::after {
-webkit-animation-delay: 1s;
animation-delay: 1s;
}
.loader-7::after, .loader-7::before {
content: "";
width: 48px;
height: 48px;
border-radius: 50%;
border: 2px solid #FFF;
position: absolute;
left: 0;
top: 0;
-webkit-animation: animloader7 2s linear infinite;
animation: animloader7 2s linear infinite;
}loader-8
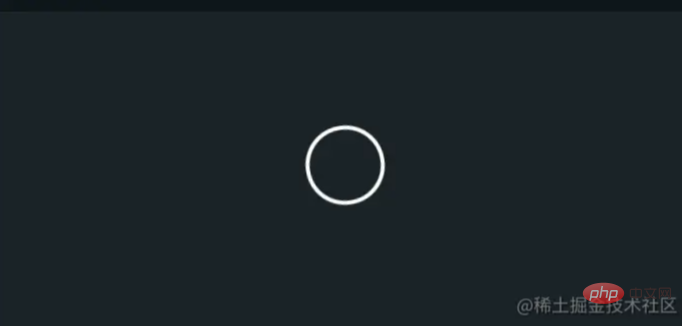
观察:一段圆弧加上一个三角形。
实现逻辑
一个宽高相等的容器,加上白色的边,50%的圆角。这样就是外围的圈。

transparent,利用这个值给边框设置透明,即可实现缺口。
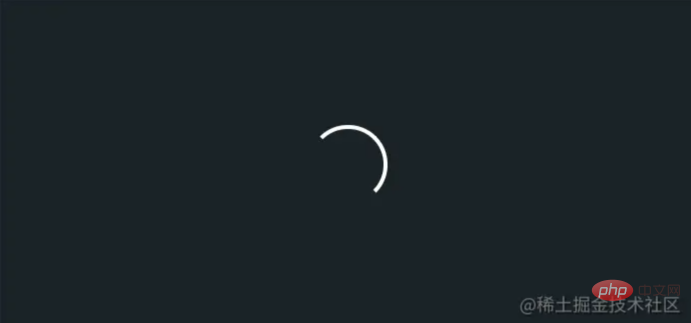
在:after上创建箭头。CSS中我们有多种方法实现三角形,其中最简单是使用border,不需要给元素设置宽高,只需要设置border的大小,并且只有一边设置颜色。
border: 10px solid transparent;
border-right-color: #FFF
加上旋转动画。
完整代码
.loader-8 {
    width: 48px;
    height: 48px;
    border: 3px solid #FFF;
    border-bottom-color: transparent;
    border-radius: 50%;
    display: inline-block;
    position: relative;
    -webkit-animation: rotation 1s linear infinite;
    animation: rotation 1s linear infinite;
}
.loader-8:after {
content: "";
position: absolute;
left: 20px;
top: 31px;
border: 10px solid transparent;
border-right-color: #FFF;
transform: rotate(-40deg);
}本文转载自:https://juejin.cn/post/7018466377551839269
作者:前端picker
更多编程相关知识,请访问:编程入门!!
The above is the detailed content of 8 CSS tips for implementing loading loading effects (share). For more information, please follow other related articles on the PHP Chinese website!

