Home >Web Front-end >HTML Tutorial >Teach you step by step how to use html+css to achieve carousel effect (code sharing)
Teach you step by step how to use html+css to achieve carousel effect (code sharing)
- 奋力向前Original
- 2021-08-27 14:16:187189browse
In the previous article "Teach you step by step how to use CSS to create a simple heartbeat effect (detailed code explanation)", I introduced you how to use CSS to create a simple heartbeat effect. The following article will introduce to you how to use html css to achieve carousel effect. Let’s see how to do it together.

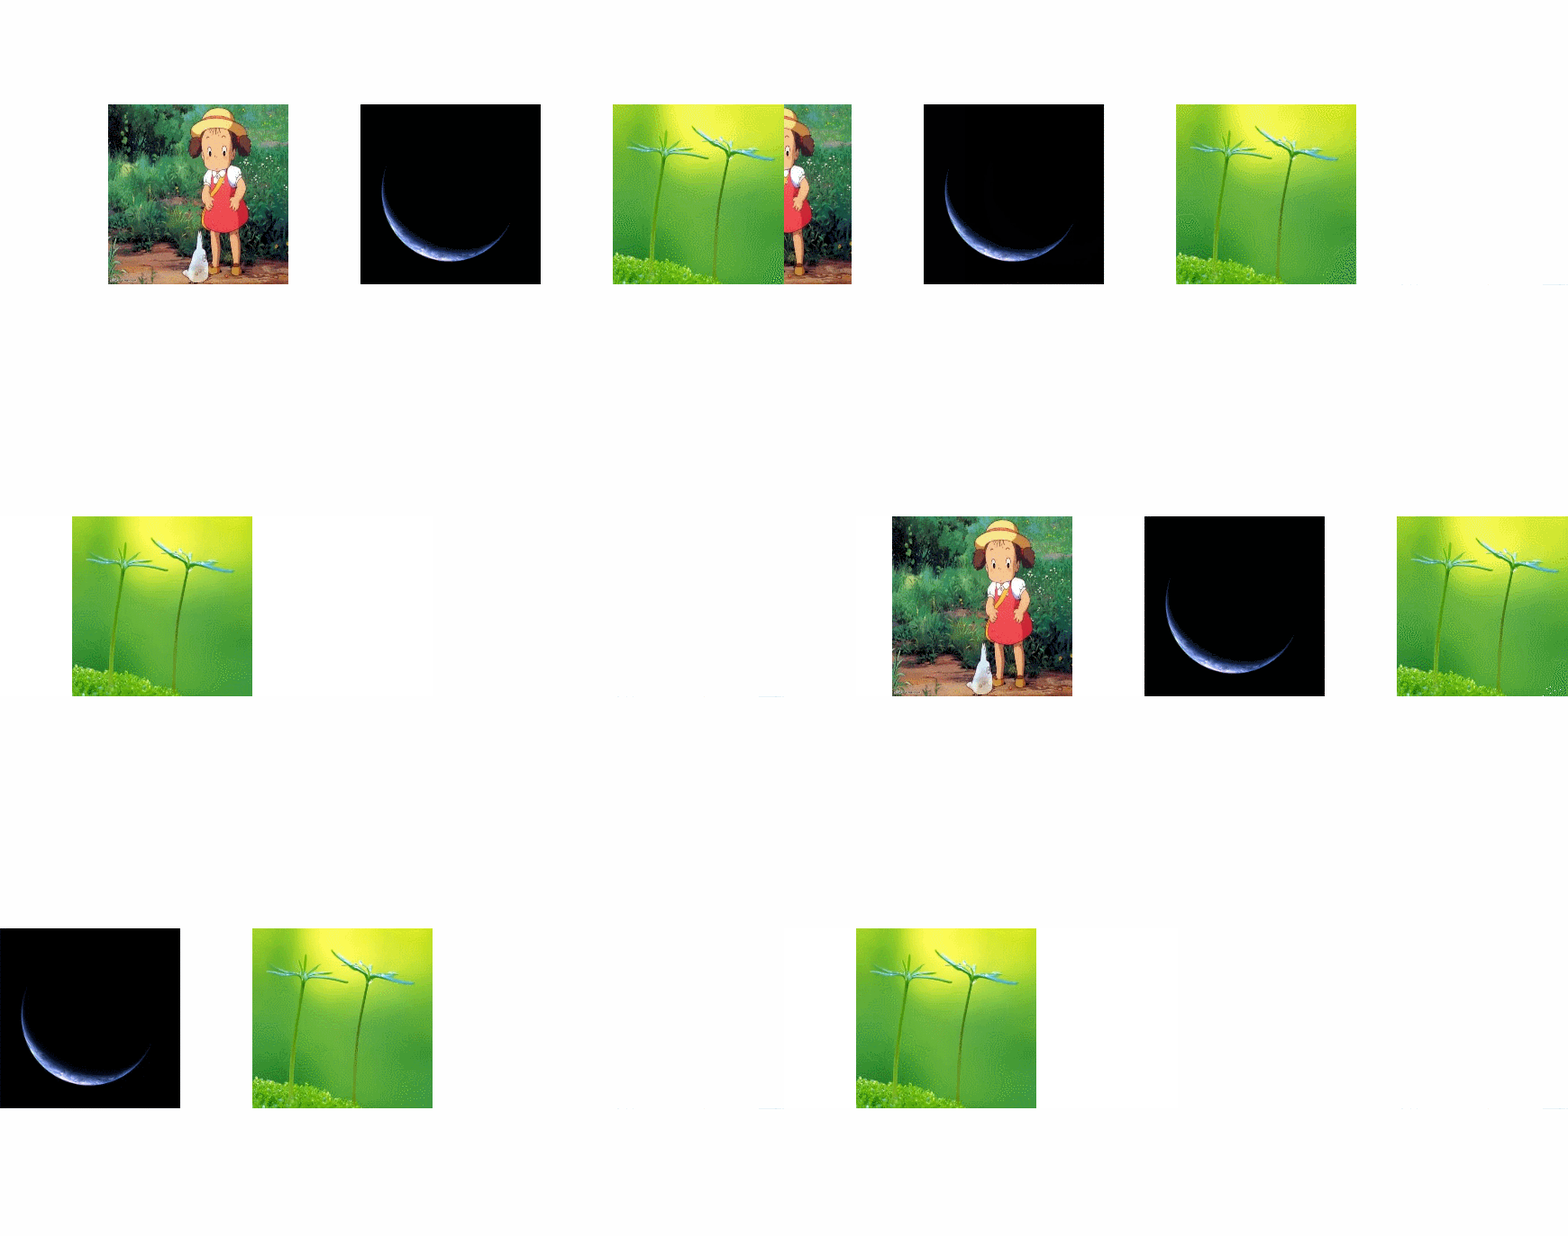
The renderings of promoting the carousel are as follows

First write the Html part , you can understand this div tag. If you write CSS or JS, you can use these div tags, <div id="container"> is a <code>div with the ID being container. Without going into too much detail, let me give you the code below. Example.
div id="container">
<div id="screen">
id="screen" This can set attributes for the div tag block, such as width, height, color, etc. <a href="#">href</a>Now is a meaning of CSS code is to specify the hyperlink target, <img src="/static/imghwm/default1.png" data-src="img.jpg" class="lazy" alt="Teach you step by step how to use html+css to achieve carousel effect (code sharing)" > tag# The ##src attribute is required. Its value is the URL of the image file, which is the absolute path or relative path of the file that references the image.
a href="#"Usage<a href="#" onclick="window.close()"></a>
Category
Internal connection:Anchor: External link:nameCreate a link with name is the URL link of the representation.
imgUsage
The picture and the HTML text are in the same directory: for example index.html and img.jpg
<img src="/static/imghwm/default1.png" data-src="img.jpg" class="lazy" alt="Teach you step by step how to use html+css to achieve carousel effect (code sharing)" >The picture and
HTML are not in the same directory: The picture img.jpg is in the folder images, index.htmlThe folder images is in the same directory
<img src="/static/imghwm/default1.png" data-src="images/img.jpg" class="lazy" alt="Teach you step by step how to use html+css to achieve carousel effect (code sharing)" >Picture
img.jpg is in the folder images, index. htmlIn the controller folder, the images and controller folders are in the same directory
<img src="/static/imghwm/default1.png" data-src="../images/img.jpg" class="lazy" alt="Teach you step by step how to use html+css to achieve carousel effect (code sharing)" >Change the image width and height Set to 200 pixels respectively: The
height and width properties of the 
tag set the dimensions of the image.
<img src="/static/imghwm/default1.png" data-src="#" class="lazy" style="max-width:90%" style="max-width:90%" alt="Teach you step by step how to use html+css to achieve carousel effect (code sharing)" >htmlComplete code
ok, after writing the html editing code, then use css to write and edit Set the inner and outer margins to
0px, then set the a tag in screen to [left floating] and set the animation attribute, the period is 1s and it will loop infinitely.
*{
	margin: 0px;
	padding: 20px;
}
#screen a{
	animation: donghua 1s infinite;
	float: left;
Code effect
containerThe width and height are both 200px (with the image width same) and hide the overflow.
0px, 200px, 400px , 600px, 800px
@keyframes donghua{
	0%{transform: translate(0px)}
	18%{transform: translate(0px)}
	20%{transform: translate(-200px)}
	38%{transform: translate(-200px)}
	40%{transform: translate(-400px)}
	58%{transform: translate(-400px)}
	60%{transform: translate(-600px)}
	78%{transform: translate(-600px)}
	80%{transform: translate(-800px)}
	100%{transform: translate(-800px)}
}
Effect code

【End】Recommended learning:
The above is the detailed content of Teach you step by step how to use html+css to achieve carousel effect (code sharing). For more information, please follow other related articles on the PHP Chinese website!
Related articles
See more- It is worth understanding the basic structure of html web pages while studying (summary)
- How to use template engine in Nodejs? How to render HTML using template engine?
- Teach you step by step how to use css to add border effects to HTML fonts (code sharing)
- HTML5 article: 5 ways to achieve page jump (code sharing)
- HTML article: How to implement the input box effect in web pages (detailed code explanation)
- One trick to teach you how to use HTML to add border effects to images (detailed code explanation)


