This article demonstrates the installation of openJDK in CentOS
This article is a personal technical sharing, if there are any errors or omissions, please Get in touch and make changes.
Note: Server operation is performed by therootuser. If there is a permission problem, please switch to therootuser or grant the relevant permissions to the current user. This article will not go into details
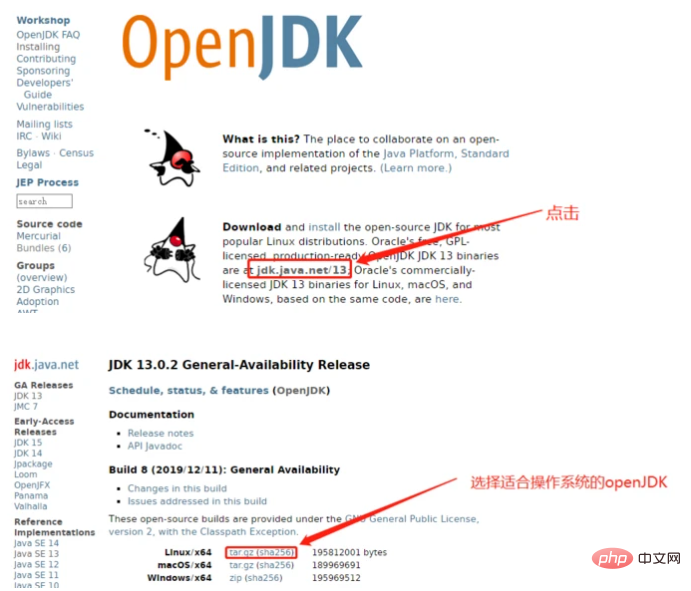
DownloadopenJDK
wget Download
wget https://download.java.net/java/GA/jdk13.0.2/d4173c853231432d94f001e99d882ca7/8/GPL/openjdk-13.0.2_linux -x64_bin.tar.gz
Manual download-upload to the server (when the server cannot connect to the Internet or the download is slow)
openJDK official website Or click directly to download openjdk-13.0.2_linux-x64_bin.tar.gz)
Check whether openJDK or other versions of JDK are installed on the server, and uninstall
Executerpm -qa |grep java Check whether JDK is installed on the server, or execute java, javac, java -version
Uninstall JDK on the server
Install openJDK
Prepare openJDK on the server. According to personal habits, copy openJDK to the specified directory. Some people like to install it in /usr/local/src directory, some people like to install it in the /opt directory
Copy the installation package to the installation path

Installation package decompression
Execute the installation package decompression commandtar -zxvf openjdk-13.0.2_linux-x64_bin.tar.gz

Configure environment variables
Execute vim /etc/profile, configure environment variables
ConfigurationJAVA_HOME:export JAVA_HOME=/usr/local/src/jdk-13.0.2
Add the java bin directory to the system path:export PATH=$PATH:${JAVA_HOME}/bin

Reload environmentsource /etc/profile
Verify
java -version

