
Home >PHP Framework >Laravel >How to build voyager in laravel framework
How to build voyager in laravel framework

- 藏色散人forward
- 2020-12-28 16:14:083424browse
The following Laravel framework tutorial column will introduce you to the laravel framework to build voyager. I hope it will be helpful to friends in need!

voyager is a laravel extension used for background management
First build the laravel environment
1. Download from github Official website source code, choose the version you need according to the branch, here download the 5.5 version according to my local PHP environment
git clone git@github.com:laravel/laravel.git -b 5.5
2. Install laravel core library and extensions
composer install
3. Create based on .env.example .env file, and define the database configuration
4. Execute the command php artisan key:generate
Now the laravel framework is completed. Next, install the voyager extension
1.Execute Command to download the voyager extension
composer require tcg/voyager
2. Add
TCG\Voyager\VoyagerServiceProvider::class,
in the providers of config->app.php 3. Because I plan to install the Chinese version of voyager locally, I change the language setting and change config->app.php
'locale' => 'zh_CN',
4. Execute the installation command, --with-dummy is to pre-insert some data. The system will create a default account admin@admin.com password
php artisan voyager:install --with-dummy
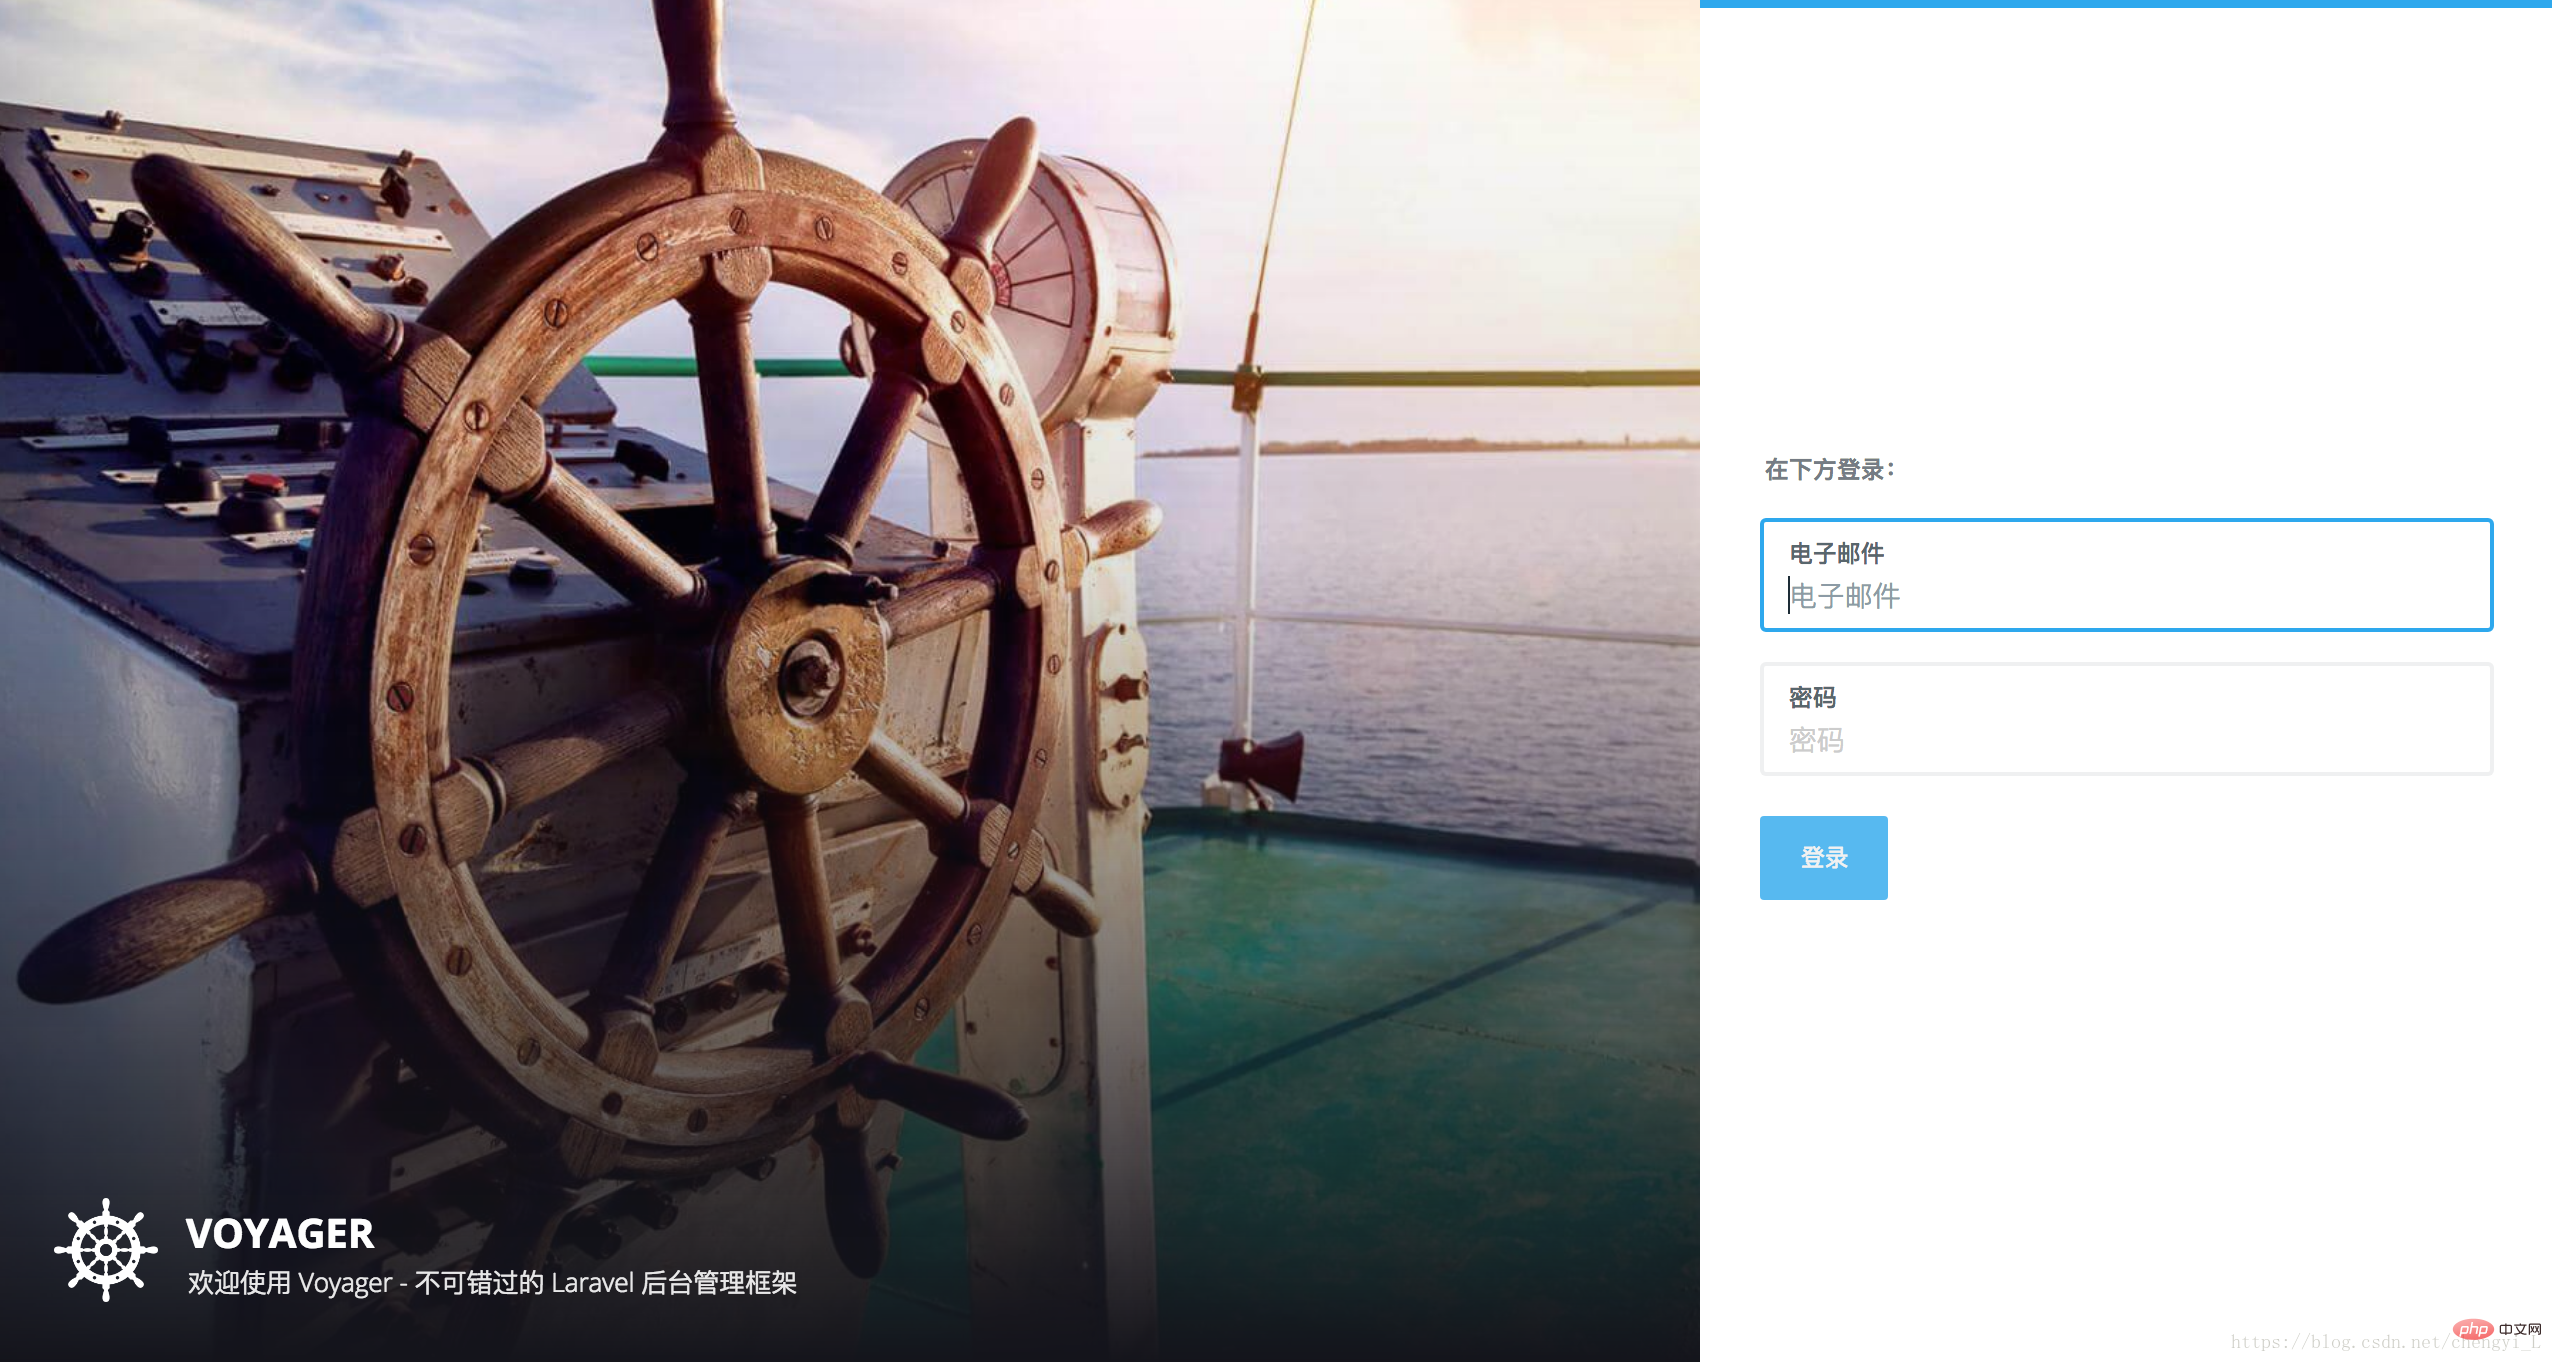
5. Now the voyager installation is complete. Visit localhost/admin to see the Chinese management interface
7. Some other errors
If the mysql version is lower, an error "Specified key was too long error." may be reported during the last installation process
Modify app->Providers->AppserviceProvider.php as follows
use Illuminate\Support\Facades\Schema;

public function boot()
{
    Schema::defaultStringLength(191);
}
The above is the detailed content of How to build voyager in laravel framework. For more information, please follow other related articles on the PHP Chinese website!