Home >Backend Development >PHP7 >Introduction to how to install PHP7 on Ubuntu
Introduction to how to install PHP7 on Ubuntu
- 藏色散人Original
- 2020-10-16 10:50:233794browse
How to install php7 on Ubuntu: First install PHP7 and common extensions through the command "sudo apt-get install"; then enable Apache's php7.0 module; then start the php7.0-fpm process; and finally test whether PHP The installation is successful.

InstallationPHP7
Ubuntu 16.04 officially comes with PHP7, so you can use it directly apt-get to install.
(1) Install PHP7 and common extensions.
sudo apt-get install php7.0-fpm php7.0-mysql php7.0-common php7.0-mbstring php7.0-gd php7.0-json php7.0-cli php7.0-curl libapache2-mod-php7.0
(2) Enable Apache’s php7.0 module, and then restart Apache.
sudo a2enmod php7.0
sudo systemctl restart apache2
(3) Start the php7.0-fpm process.
sudo systemctl start php7.0-fpm
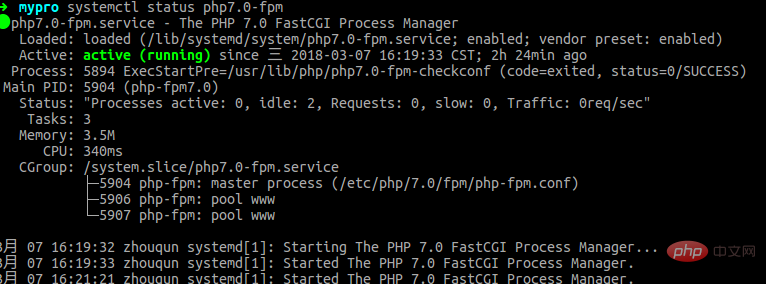
(4) Check the running status of php7.0-fpm.
systemctl status php7.0-fpm

(5) Test whether PHP is installed successfully
php -v
或
php --version

The above is the detailed content of Introduction to how to install PHP7 on Ubuntu. For more information, please follow other related articles on the PHP Chinese website!

