Home >Backend Development >PHP Problem >Tutorial on setting up PHP environment under win7
Tutorial on setting up PHP environment under win7
- 藏色散人Original
- 2020-10-09 10:07:082264browse
How to build a PHP environment under win7: first download and install Phpstudy; then put the website you need in the www folder; then enter the database management page; finally click on the homepage of the webpage to view the homepage of the local website.

Recommended: "PHP Video Tutorial"
First, go to Phpstudy official website to download the installation package
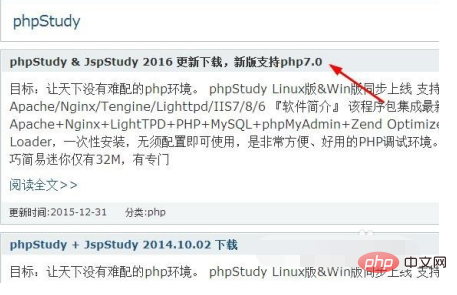
You can choose the installation version according to your own preferences. I will choose a beginner version. The installation method is the same as other versions.
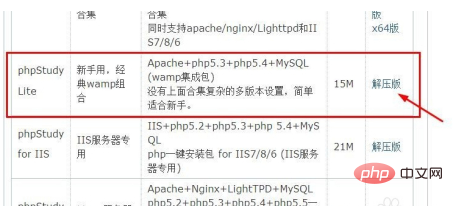
After decompressing or not decompressing, click Install and Run the file.

Wait for the running software installation to complete.

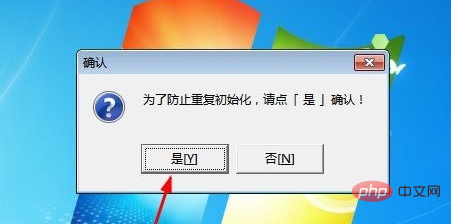
Just click Yes.
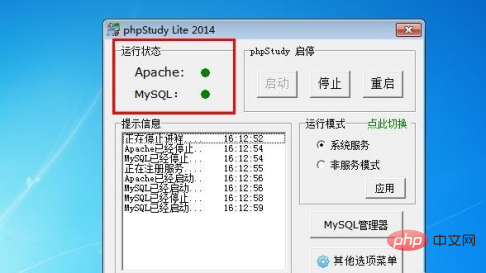
#The installation is completed and the running status is displayed on the homepage of the software.
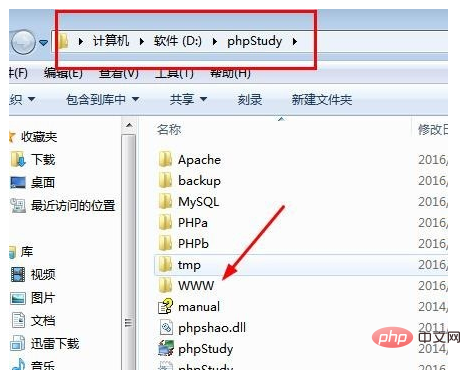
#Open the installation software location, where the www folder is the folder where the website is placed. We can just put the websites we need in it.
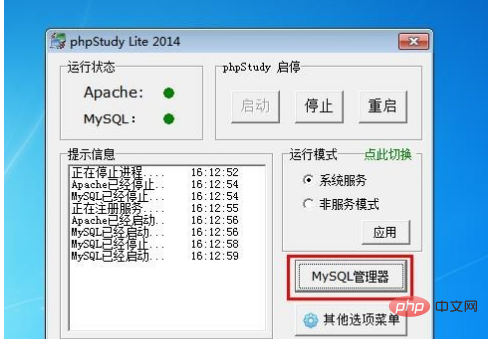
Click the database manager to enter the database management page
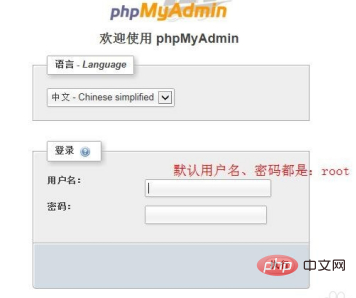
The default database account and password are root, you can directly Carry out login operation.
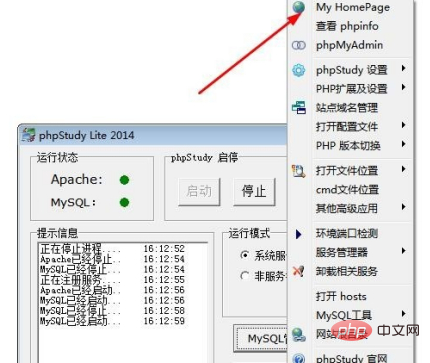
#Click on the home page to view the home page of the local website.
Notes
Please save in time after modification
The above is the detailed content of Tutorial on setting up PHP environment under win7. For more information, please follow other related articles on the PHP Chinese website!

