Home >Backend Development >PHP Tutorial >Detailed explanation of how to send verification code for Alibaba Cloud PHP SMS SMS service
Detailed explanation of how to send verification code for Alibaba Cloud PHP SMS SMS service
- coldplay.xixiforward
- 2020-08-15 17:12:365462browse

Open SMS service
First go to this website to activate it Alibaba Cloud's SMS text message service: https://www.aliyun.com/product/sms?spm=5176.8142029.388261.295.vU5T5g
Related learning recommendations: php programming( Video)
Create signatures and templates
To use the SMS server, you need to create signatures and templates first and submit them to Only after passing the Alibaba Cloud review can you use the SMS service normally.
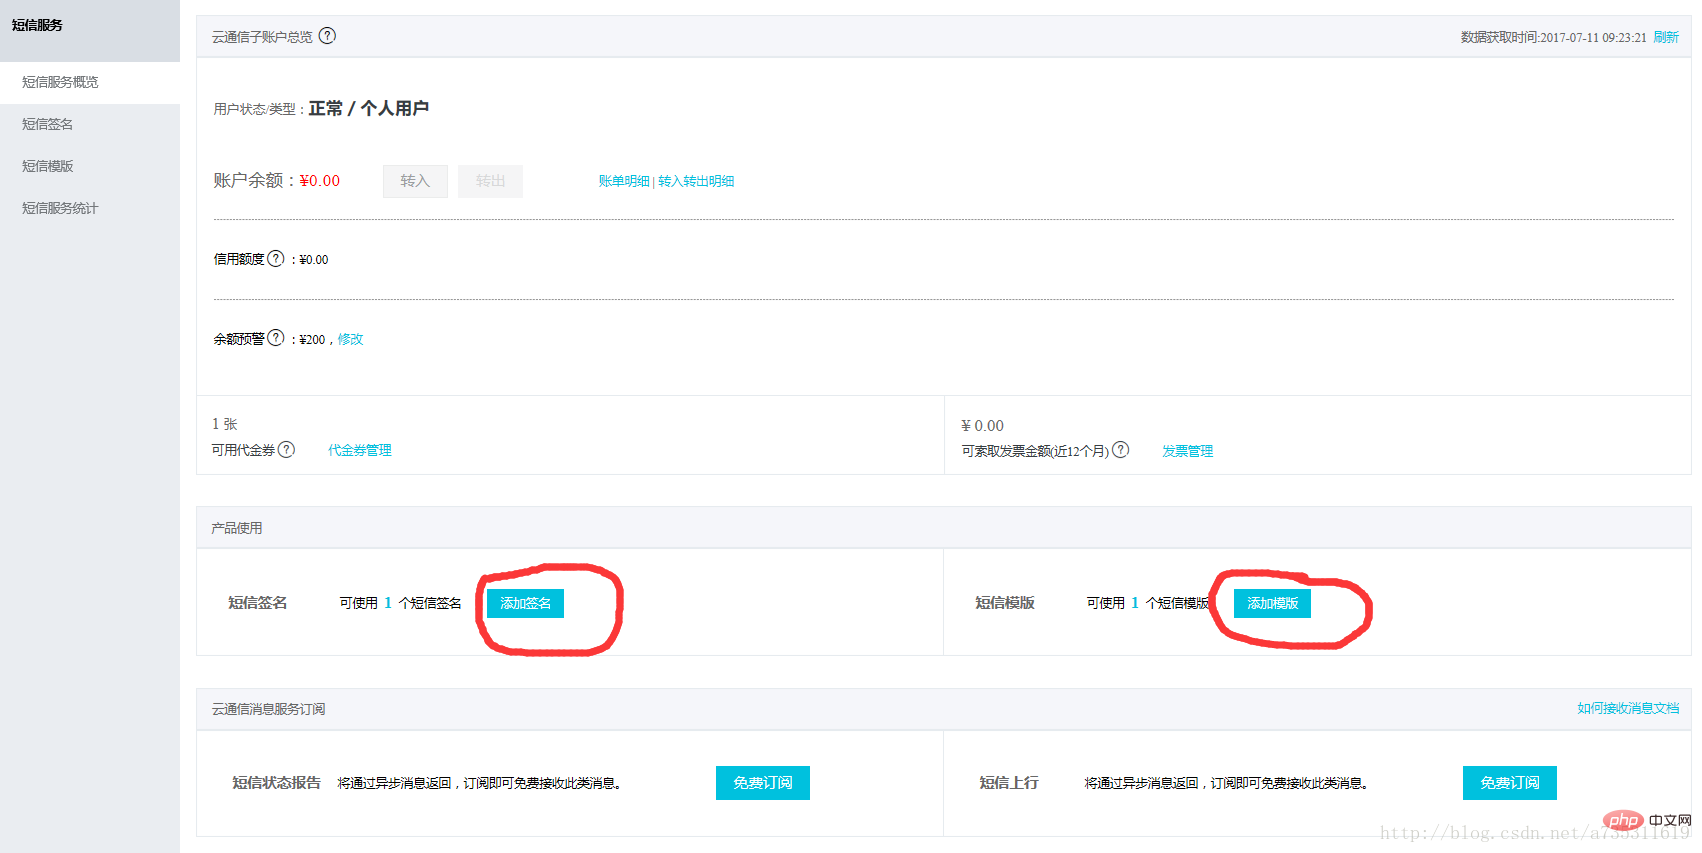
Create a signature
When creating a signature, pay attention to the signature name, and the rest will not be cumbersome. .
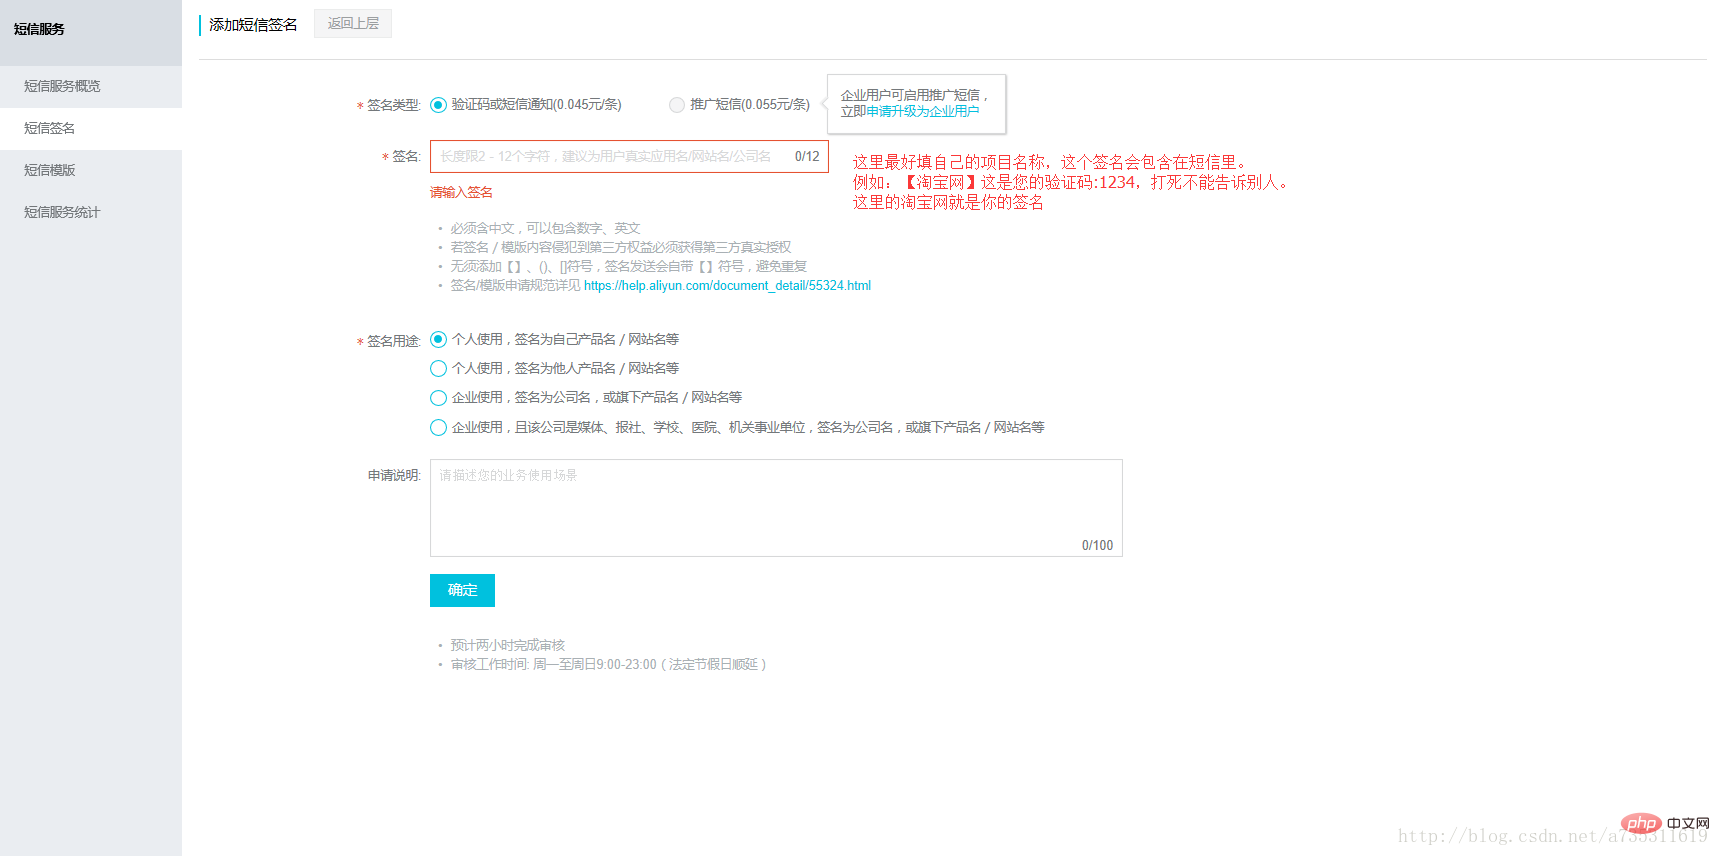
Remember the signature name
Now please remember the signature name you created, you will see it later Need to be used in the code.
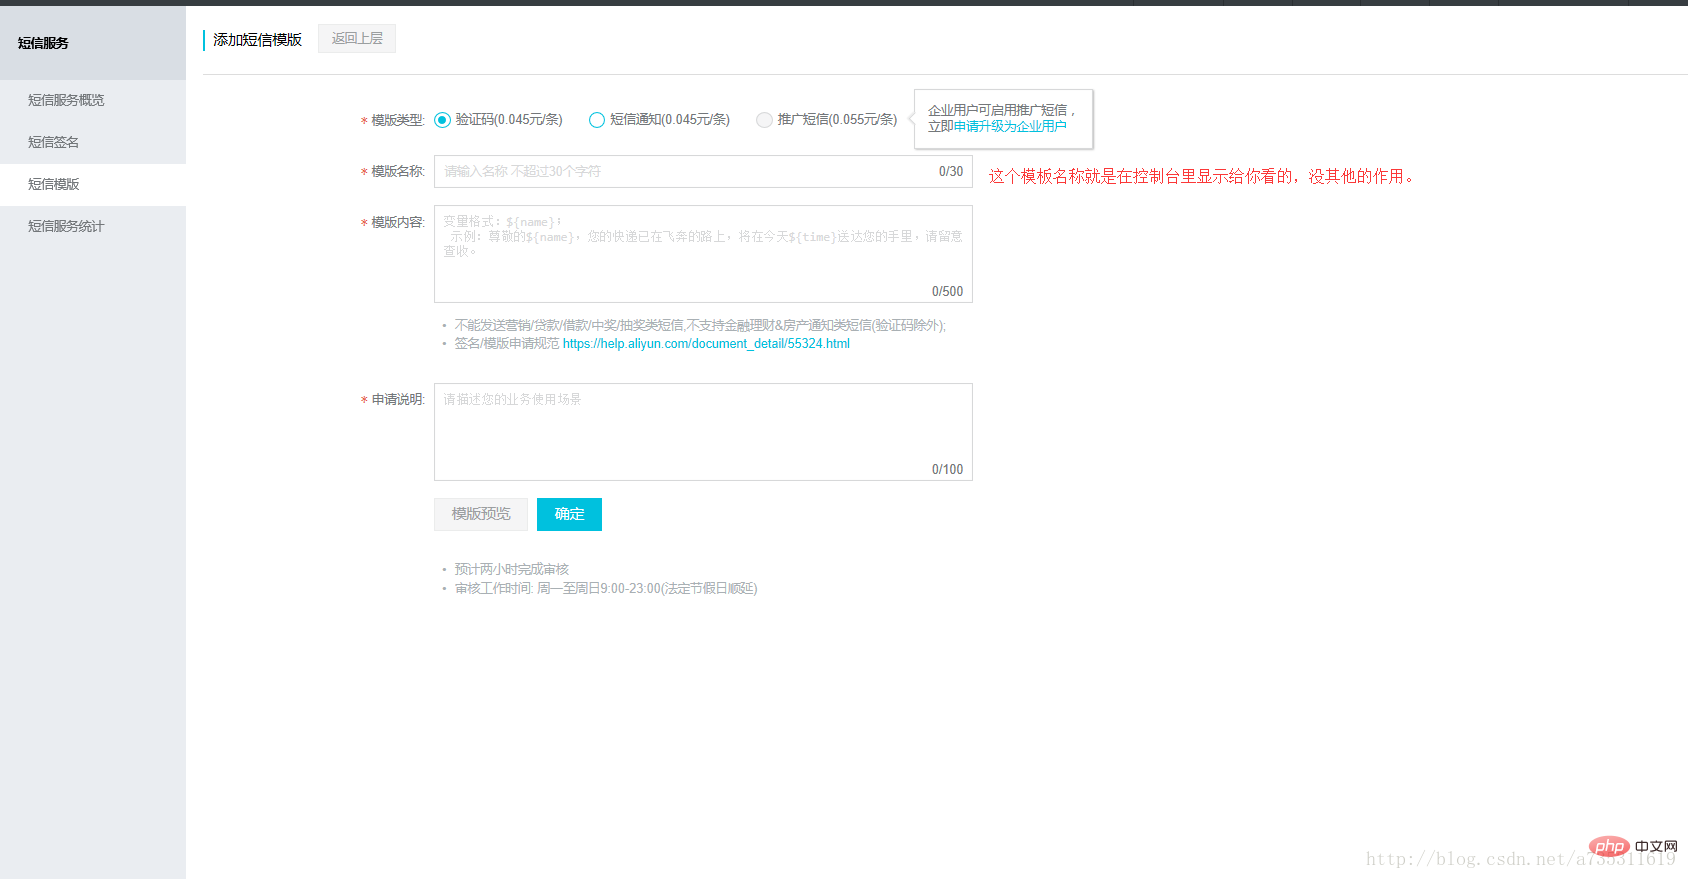
Create a template
Creating a template is also very simple. Alibaba Cloud has clearly written how to fill it out.
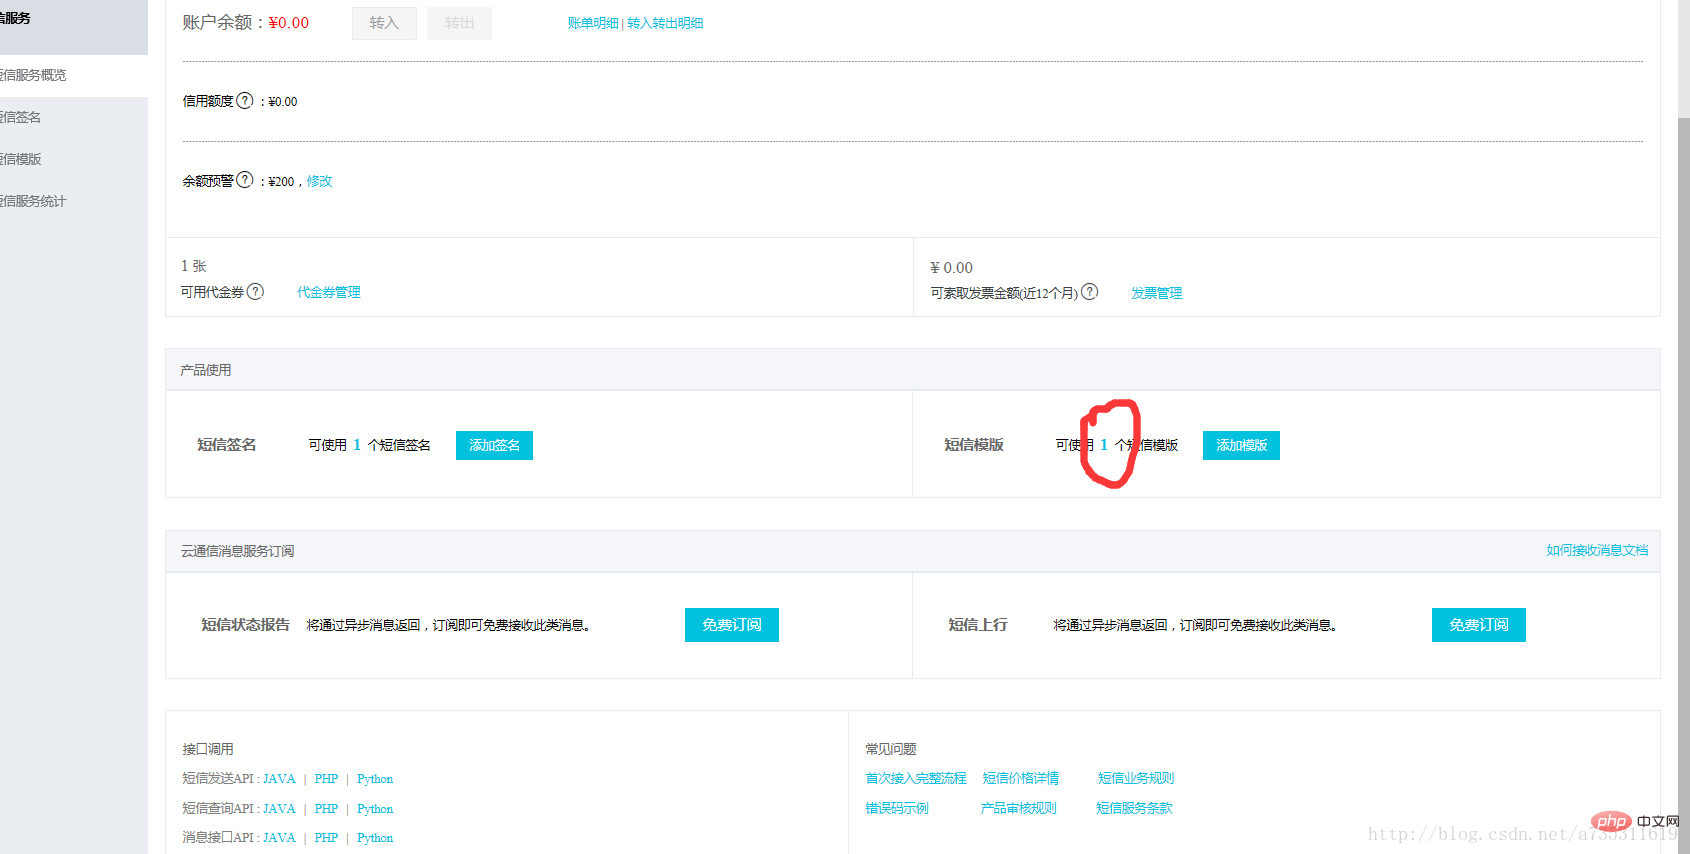
View and remember the template CODE
Return to your console when your template is reviewed When passed, a number greater than 0 will appear.
Click this number and you will enter the template management panel and see your template CODE. Please remember it.

##Create and remember KeyId and KeySecret
Go to the console, put the mouse in the upper right corner where your user name is, and an accessKeySecret will appear. Click on it to create KeyId and KeySecret. If it reminds you to use RAM for security, see if you want it. Assign permissions to your employees and use RAM if needed, otherwise just click Continue.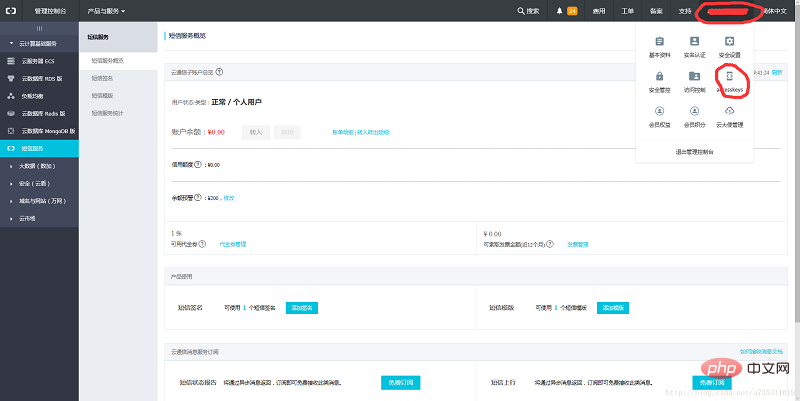
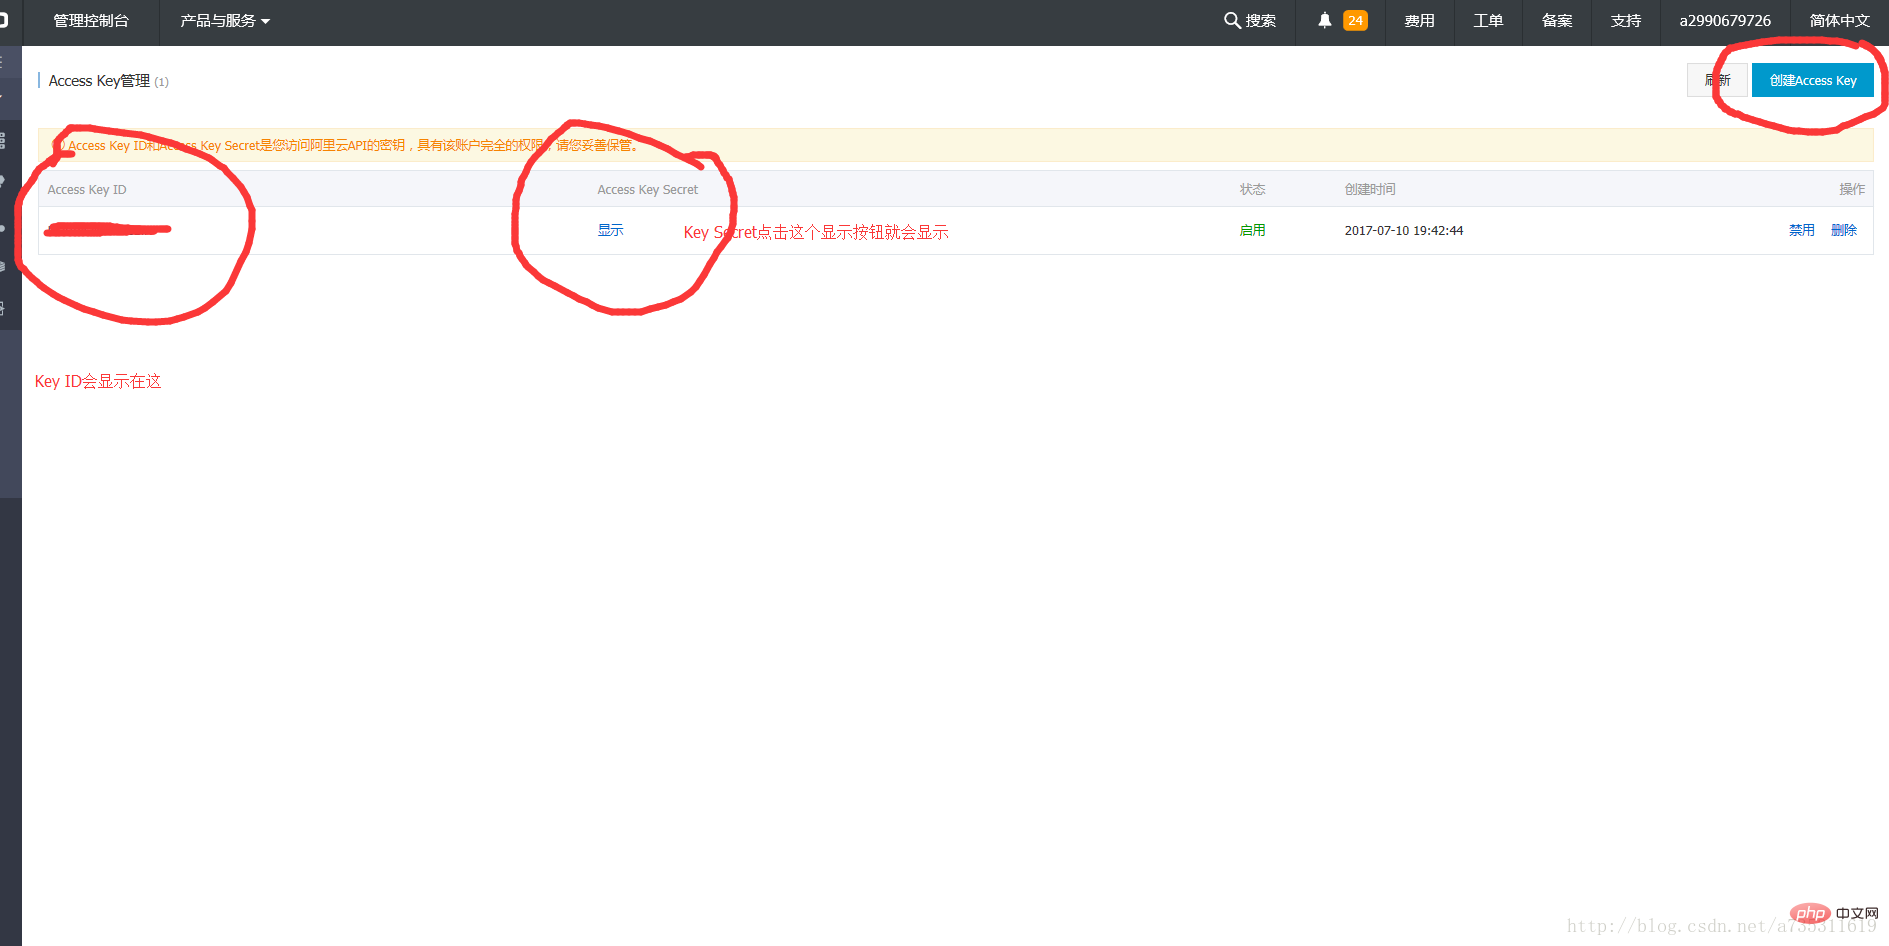
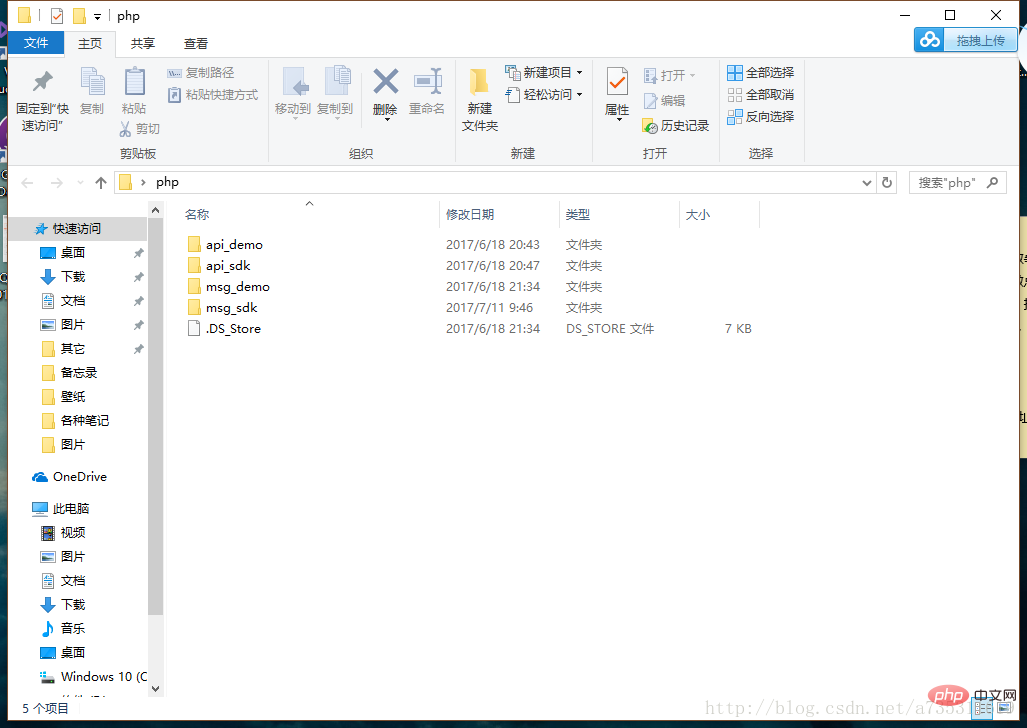
Download Alibaba Cloud SMS Server PHP-SDK
Official download address: https://help.aliyun. com/document_detail/55359.html?spm=5176.8195934.507901.12.b1ngGK
This tutorial uses the SDK download address: http://pan.baidu.com/s/1bpF5B8z
Key: pult
Create PHP-SMS project
Create code file
Create your code file , and put this file in the api_sdk aliyun-php-sdk-core directory in the SDK folder you just downloaded, and write the following code into the code file.
aliyun-php-sdk-core directory contains various modules of SMS text message service, so it must be placed here to use the service
<?php
include 'Config.php';
include_once 'Request/V20170525/SendSmsRequest.php';
include_once 'Request/V20170525/QuerySendDetailsRequest.php';
$accessKeyId = "LTAIvAaNs61JeBiN";
//阿里云KeyId
$accessKeySecret = "Y3H7durYJ6GIqmJJrsdbJwPi6E8O8M";
//阿里云KeySecret
//短信API产品名
$product = "Dysmsapi";
//照写就行了
//短信API产品域名
$domain = "dysmsapi.aliyuncs.com";
//照着写就行了
//暂时不支持多Region
$region = "cn-hangzhou";
//照着写就行了
//初始化访问的acsCleint
$profile = DefaultProfile::getProfile($region, $accessKeyId, $accessKeySecret);
DefaultProfile::addEndpoint("cn-hangzhou", "cn-hangzhou", $product, $domain);
$acsClient= new DefaultAcsClient($profile);
$request = new SendSmsRequest;
//必填-短信接收号码。支持以逗号分隔的形式进行批量调用,批量上限为20个手机号码,批量调用相对于单条调用及时性稍有延迟,验证码类型的短信推荐使用单条调用的方式
$request->setPhoneNumbers("123456789");
//这里填你要发送的电话号码
//必填-短信签名
$request->setSignName("xx项目");
//这里就是刚才让你记住的项目签名
//必填-短信模板Code
$request->setTemplateCode("SMS_123456");
//这里就是模板CODE
//选填-假如模板中存在变量需要替换则为必填(JSON格式)
$request->setTemplateParam("{\"name\":\"郭涛\",\"number\":\"316\"}");
//选填-发送短信流水号
$request->setOutId("1234");//照填就行了
//发起访问请求
$acsResponse = $acsClient->getAcsResponse($request);
var_dump($acsResponse);//返回结果Move into Requset
Still in the api_sdk directory in the downloaded SDK folder, there is a folder for Dysmsapi. When you open this folder, you will see a folder called Request. , put this Reques. Copy and paste the folder into aliyun-php-sdk-core. To be honest, I can't figure out why Alibaba Cloud installs the SDK separately. Maybe it's because I'm using it wrongly. If there is a master who can figure it out, please give me some advice. May good people live a safe life.
After moving in, open the source file SendSmsRequest.php in the Request\V20170525 directory. Please disable the space naming in the first line. That is, this line namespace Dysmsapi\Reqest\V20170525;The final effect is as follows
<?php
/*
 * Licensed to the Apache Software Foundation (ASF) under one
 * or more contributor license agreements. See the NOTICE file
 * distributed with this work for additional information
 * regarding copyright ownership. The ASF licenses this file
 * to you under the Apache License, Version 2.0 (the
 * "License"); you may not use this file except in compliance
 * with the License. You may obtain a copy of the License at
 *
 *   http://www.apache.org/licenses/LICENSE-2.0
 *
 * Unless required by applicable law or agreed to in writing,
 * software distributed under the License is distributed on an
 * "AS IS" BASIS, WITHOUT WARRANTIES OR CONDITIONS OF ANY
 * KIND, either express or implied. See the License for the
 * specific language governing permissions and limitations
 * under the License.
 */
//namespace Dysmsapi\Request\V20170525;//就是屏蔽这一行代码!!!!
class SendSmsRequest extends \RpcAcsRequest
{
  function __construct()
  {
    parent::__construct("Dysmsapi", "2017-05-25", "SendSms");
  }
  private $outId;
  private $signName;
  private $ownerId;
  private $resourceOwnerId;
  private $templateCode;
  private $phoneNumbers;
  private $resourceOwnerAccount;
  private $templateParam;
  public function getOutId() {
    return $this->outId;
  }
  public function setOutId($outId) {
    $this->outId = $outId;
    $this->queryParameters["OutId"]=$outId;
  }
  public function getSignName() {
    return $this->signName;
  }
  public function setSignName($signName) {
    $this->signName = $signName;
    $this->queryParameters["SignName"]=$signName;
  }
  public function getOwnerId() {
    return $this->ownerId;
  }
  public function setOwnerId($ownerId) {
    $this->ownerId = $ownerId;
    $this->queryParameters["OwnerId"]=$ownerId;
  }
  public function getResourceOwnerId() {
    return $this->resourceOwnerId;
  }
  public function setResourceOwnerId($resourceOwnerId) {
    $this->resourceOwnerId = $resourceOwnerId;
    $this->queryParameters["ResourceOwnerId"]=$resourceOwnerId;
  }
  public function getTemplateCode() {
    return $this->templateCode;
  }
  public function setTemplateCode($templateCode) {
    $this->templateCode = $templateCode;
    $this->queryParameters["TemplateCode"]=$templateCode;
  }
  public function getPhoneNumbers() {
    return $this->phoneNumbers;
  }
  public function setPhoneNumbers($phoneNumbers) {
    $this->phoneNumbers = $phoneNumbers;
    $this->queryParameters["PhoneNumbers"]=$phoneNumbers;
  }
  public function getResourceOwnerAccount() {
    return $this->resourceOwnerAccount;
  }
  public function setResourceOwnerAccount($resourceOwnerAccount) {
    $this->resourceOwnerAccount = $resourceOwnerAccount;
    $this->queryParameters["ResourceOwnerAccount"]=$resourceOwnerAccount;
  }
  public function getTemplateParam() {
    return $this->templateParam;
  }
  public function setTemplateParam($templateParam) {
    $this->templateParam = $templateParam;
    $this->queryParameters["TemplateParam"]=$templateParam;
  }
}
Complete
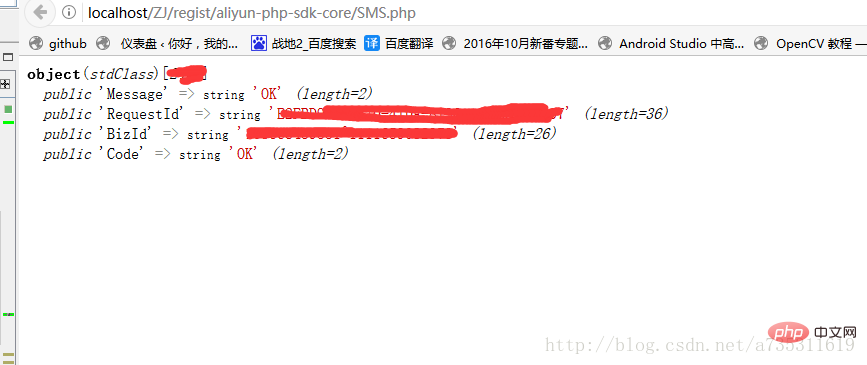
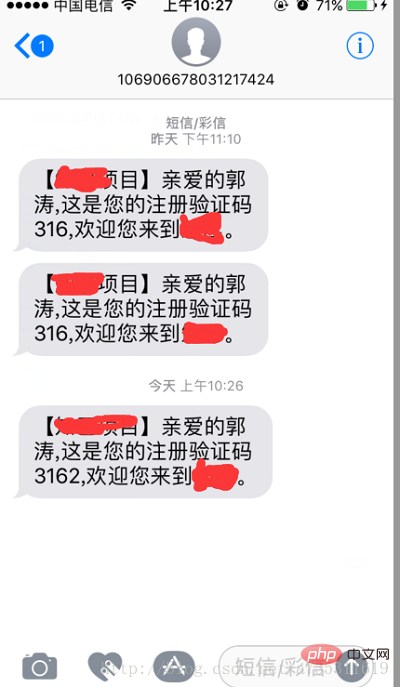
Run it and try it
Related learning recommendations: Programming video
The above is the detailed content of Detailed explanation of how to send verification code for Alibaba Cloud PHP SMS SMS service. For more information, please follow other related articles on the PHP Chinese website!

