What are the techniques for formatting multiple images in Word?
- coldplay.xixiOriginal
- 2020-06-15 14:50:4617930browse

#What are the techniques for formatting multiple pictures?
The tips for formatting multiple pictures in word are:
1. According to the number of pictures you want to insert, insert a table with corresponding cells in word. At that time, we will install the pictures and text in this form.
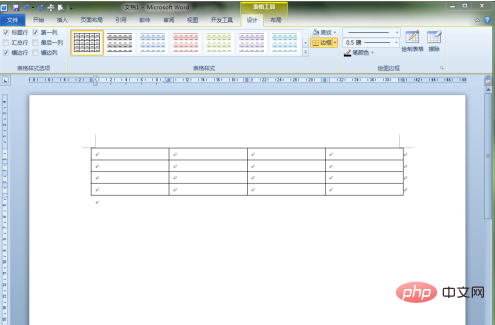
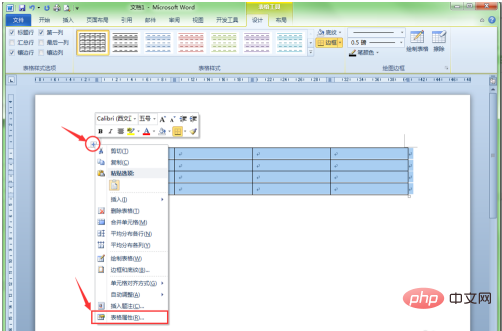
#2. In order to ensure that when inserting pictures into the table, the pictures will not expand the table, we need to make certain modifications to the table settings. Place the mouse on the control button in the upper left corner of the table and click to select the entire table, then right-click the mouse and select "Table Properties..." in the pop-up right-click menu.
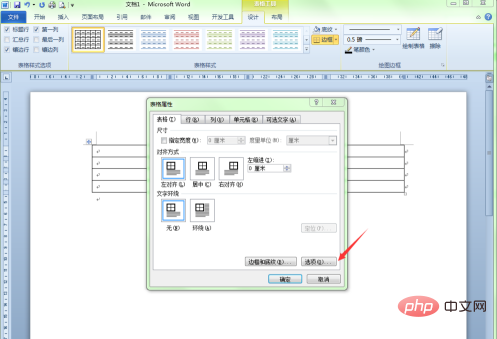
#3. In the pop-up "Table Properties" dialog box, click the "Options" button at the bottom right of the dialog box.
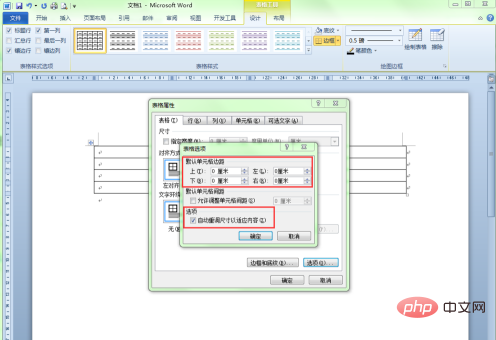
#4. In the pop-up "Table Options" dialog box, set the margins of all cells to "0 cm". Uncheck "Automatically resize to fit content" in the options so that when you insert a picture into a cell, the picture will not stretch the cell too much.
#5. Next we will insert the required pictures and text into the cells.
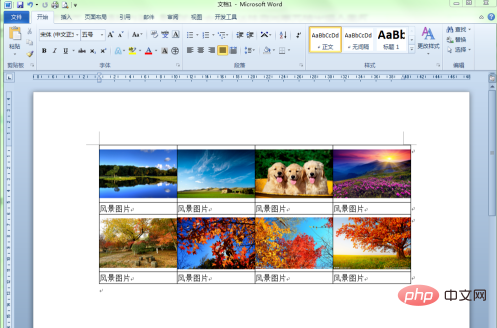
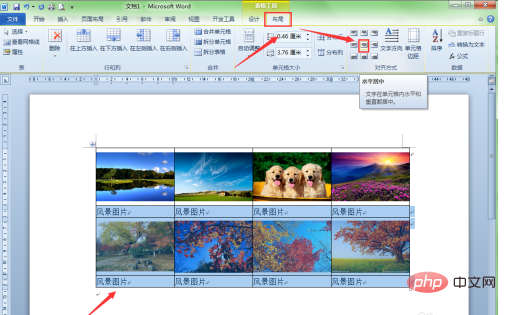
#6. We see that the text in the cell is left-aligned, and now we want to center-align all the text. Select the text and click the "Center" alignment button in the "Layout" menu to align all text in the center.
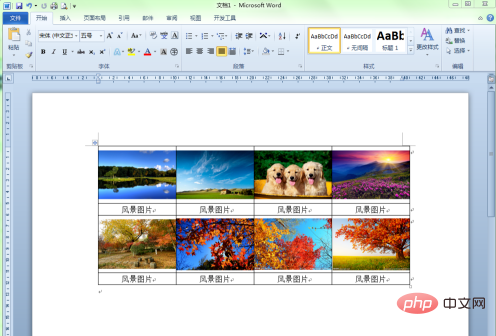
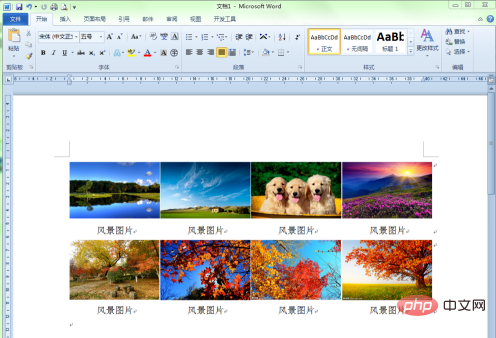
#7. This is the effect after all the text is centered and aligned.
#8. Now we need to hide the lines of the table. Select the entire table, click the "Border" button under the "Design" menu, and select "No Border" in the pop-up drop-down list.
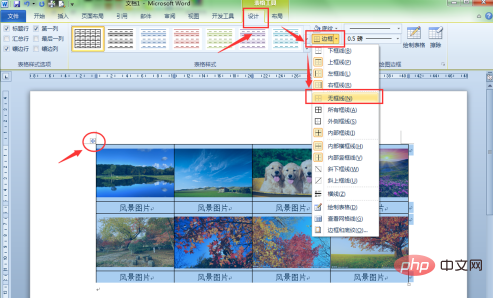
#9. After setting the border of the table to borderless, we can see that the alignment effect of pictures and text is very beautiful. This is actually a clever use of word tables to align pictures and text.
Recommended tutorial: "Word Beginner Tutorial"
The above is the detailed content of What are the techniques for formatting multiple images in Word?. For more information, please follow other related articles on the PHP Chinese website!

