 Operation and Maintenance
 Windows Operation and Maintenance
 How to turn off win10 power-on self-test
First of all, we manually check whether there is a problem with the disk drive and enter the drive properties.

Click on the tool interface to see file errors in the check drive.

#Next, click Scan Drive and check if there are any problems after the scan is completed.

For some hard disks with bad sectors or a small number of other problems that can be used without affecting the hard disk startup, you can disable the function of checking the disk at startup in Windows 10.

#Right-click Run in the Start menu and enter regedit to enter the Win10 Registry Manager.

Find Session Manager in the following path HKEY_LOCAL_MACHINE\SYSTEM\CurrentControlSet\Control

Find in the Session Manager folder BootExecute and double-click to open.

Delete the BootExecute data autocheck autochk *, and then confirm and try restarting.

Recommended related articles and tutorials: windows tutorial
The above is the detailed content of How to turn off win10 power-on self-test. For more information, please follow other related articles on the PHP Chinese website!
 Python脚本关闭计算机Aug 29, 2023 am 08:01 AM
在当今快节奏的数字世界中,能够自动执行计算机任务可以极大地提高生产力和便利性。其中一项任务是关闭计算机,如果手动完成,这可能会非常耗时。值得庆幸的是,Python为我们提供了一套强大的工具来与系统交互并自动执行此类任务。在这篇博文中,我们将探讨如何编写Python脚本来轻松关闭计算机。无论您是想安排自动关机、远程启动关机,还是只是通过避免手动关机来节省时间,此脚本都会派上用场。导入所需的模块在开始编写脚本之前,我们需要导入必要的模块,以便与系统交互并执行关闭命令。在本节中,我们将导入os模块(它
 win11快速启动有必要关闭吗Jun 29, 2023 pm 03:10 PM
win11快速启动有必要关闭吗?win11的快速启动可以帮助用户快速完成电脑开机,十分方便。但是也有不少用户认为正常启动比起快速启动,更能让电脑硬件进行充分休息。那么win11的快速启动和正常启动模式到底有什么区别呢?快速启动功能有必要进行关闭吗?今天小编就来给大家详细说明一下吧。win11快速启动和正常启动区别介绍快速启动就是你的电脑没有实现根本意义上的关机。电脑在关机或者休眠后,计算机的内存是无法存储文件的,所以电脑会将内存中的所有内容保存到硬盘中,生成一个指定的文件,而在唤醒休眠或者再次开
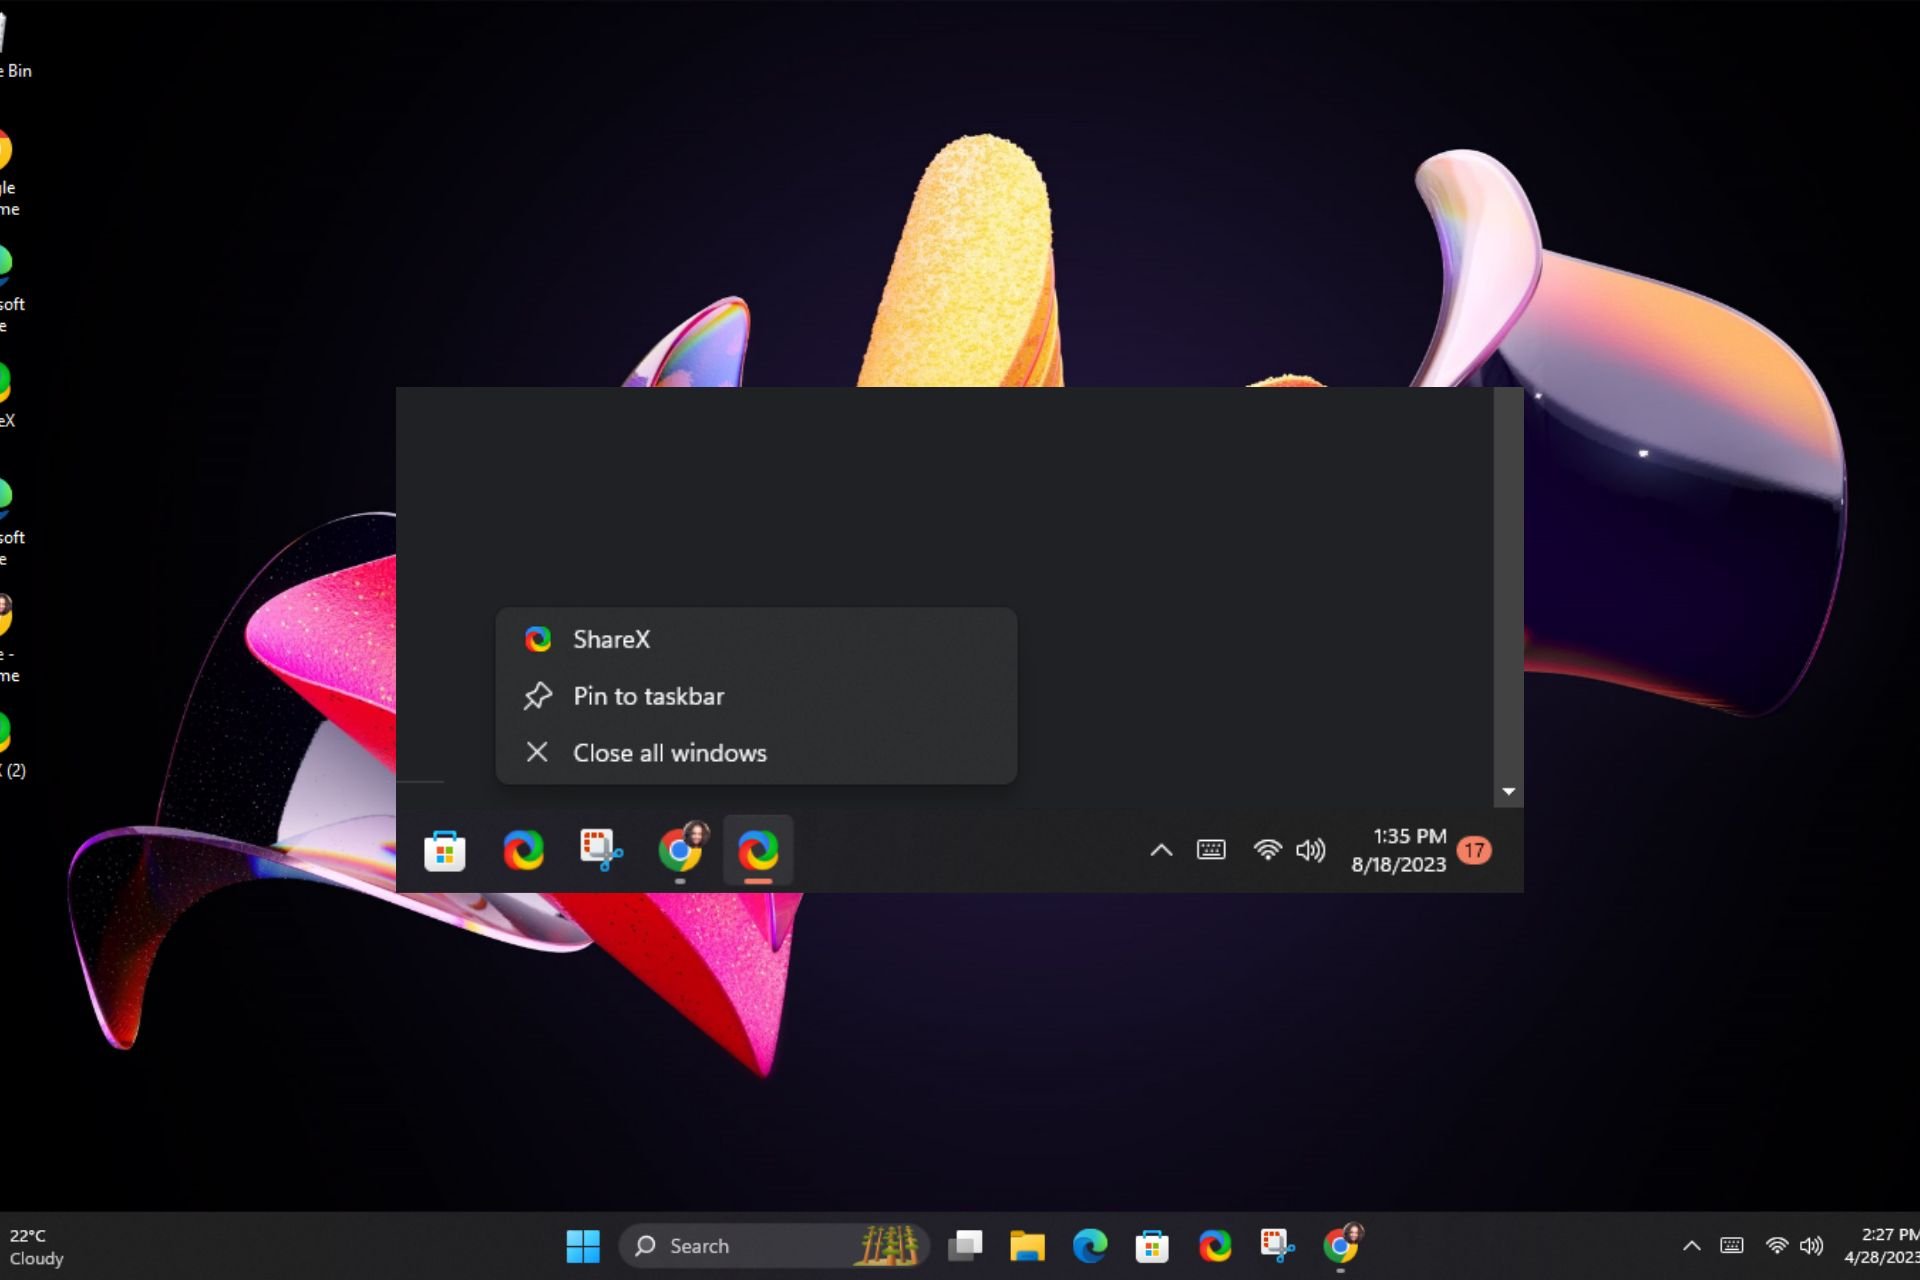
 在 Windows 11 上一次关闭所有 Windows 应用程序的 5 种方法Aug 22, 2023 am 10:37 AM
多任务处理通常需要您同时打开同一应用程序的多个窗口。虽然打开这些窗户似乎并不难,但管理它们可能会很痛苦。如果您正在寻找一种除了使用专用键盘快捷键之外一次关闭所有窗口应用程序的简单方法,本文将对您有很大帮助。如何在Windows11中一次关闭所有程序?1.使用任务栏在任务栏上查找打开多个活动程序的程序。右键单击其任务栏图标,然后选择“关闭所有窗口”选项。这可能是最简单,最快的方法,但是如果打开多个窗口的后台进程太多,则必须多次重复此过程,直到清除任务栏。或者,您可以使用旧的紧急键盘快捷键+.预览面
 win10电脑如何关闭语音识别功能Jun 29, 2023 pm 05:07 PM
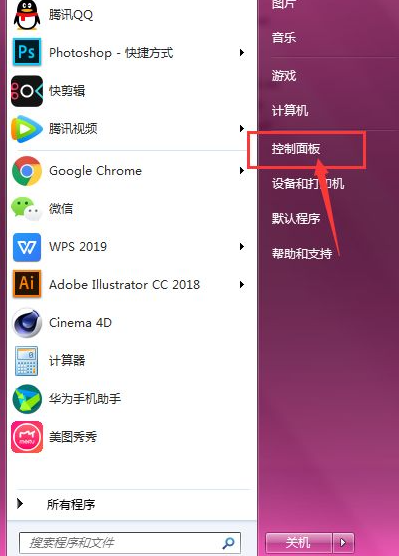
win10电脑如何关闭语音识别功能?相信有很多时候用户使用电脑时都会通过语音识别来快速的完成其他操作。不过也有部分用户在使用电脑的过程中不想要使用这个功能,那么我们要如何去关闭这个语音识别功能呢?下面就和小编一起来看看Win10关闭语音识别的攻略吧。Win10关闭语音识别的攻略1、在开始菜单单击鼠标右键,选择控制面板2、将控制面板【查看方式】修改为大图标,在下面点击语音识别3、点击左侧的高级语音选项4、将下面启动时运行语音识别前面的勾去掉,点击确定即可。
 Win11怎样关闭445端口Jul 04, 2023 pm 12:17 PM
Win11怎样关闭445端口?445号端口是一个TCP端口,是一个共享文件夹和打印机端口,在局域网内提供文件或打印机共享服务。近期有部分Win11用户想要关闭445端口,那么应该如何操作呢?很多小伙伴不知道怎么详细操作,小编下面整理了Win11关闭445端口的详细操作,如果你感兴趣的话,跟着小编一起往下看看吧! Win11关闭445端口的详细操作 1、首先,按Win+S组合键,或点击底部任务栏上的搜索图标,打开的Windows搜索窗口,顶部输入Windows防火墙,然后点击系统给出的最佳
 笔记本win7系统如何关闭触摸版Jul 17, 2023 am 10:33 AM
有的用户在使用外接鼠标操作win7电脑的时候,左手老是不小心碰到触摸板导致操作失误,那么在win7系统笔记本如何关闭触摸板呢?下面一起来看看吧。1、打开电脑端底部的主菜单栏,选择如图的【控制面板】。2、进入到面板栏中,点击如图的【硬件和声音】选项。3、然后继续选择打开如图的【鼠标】选项。4、在上方菜单中,找到【触控板】选项,将其打开。5、在这里就可以调节设置触控板的设置属性了。6、将其取消选择,然后点击下方的应用确定,这样就可以关闭触控板了。以上笔记本win7系统关闭触摸板的操作大家学会了没有呢
 Win7怎么关闭3D加快?Win7关掉3D加快的方式Jul 07, 2023 pm 04:29 PM
尽管说3D加快可以让视觉冲击有一定的提高,但3D加快作用十分占有运行内存,许多朋友要想关掉这一作用却不知怎么实际操作,那麼碰到这样的情况该怎么办呢?下边就和小编一起来看一看是如何解决的吧。Win7关掉3D加快的方式1、按住“win+r”键盘快捷键,开启运行窗口键入“dxdiag”按回车键开启DirectX确诊专用工具。2、随后将页面转换到“表明”查询,就可以查询到系统软件是不是打开3d加快。3、随后退回到桌面,再度按“win+r”键盘快捷键,开启运行窗口键入“regedit”按回车键开启注册表编
 如何停用Win7交互式服务检测?Jun 30, 2023 am 09:33 AM
win7交互式服务检测怎么关闭?各位在使用电脑的过程中,是否有遇到过交互式服务检测这一提示窗口呢?该窗口一般都是由于病毒入侵导致的系统自动防护所引起的,因此我们需要对其十分重视,各位在关闭其之前,最好对电脑进行一次全面杀毒,那么,我们究竟要怎么关闭交互式服务检测这一窗口呢?下面就由小编为大家带来win7交互式服务检测关闭方法。win7交互式服务检测关闭方法1、首先按下左下角的“开始”按钮,然后在弹出的菜单窗口里点击“控制面板”选项。2、把“管理工具”打开后,接下来再点击“服务”。3、接着找到名为


Hot AI Tools

Undresser.AI Undress
AI-powered app for creating realistic nude photos

AI Clothes Remover
Online AI tool for removing clothes from photos.

Undress AI Tool
Undress images for free

Clothoff.io
AI clothes remover

AI Hentai Generator
Generate AI Hentai for free.

Hot Article

Hot Tools

SublimeText3 Linux new version
SublimeText3 Linux latest version

Notepad++7.3.1
Easy-to-use and free code editor

Atom editor mac version download
The most popular open source editor

WebStorm Mac version
Useful JavaScript development tools

ZendStudio 13.5.1 Mac
Powerful PHP integrated development environment


