Home >Development Tools >phpstorm >How to configure the server in phpstorm
How to configure the server in phpstorm
- 爱喝马黛茶的安东尼Original
- 2019-08-08 11:07:084795browse

Step 1
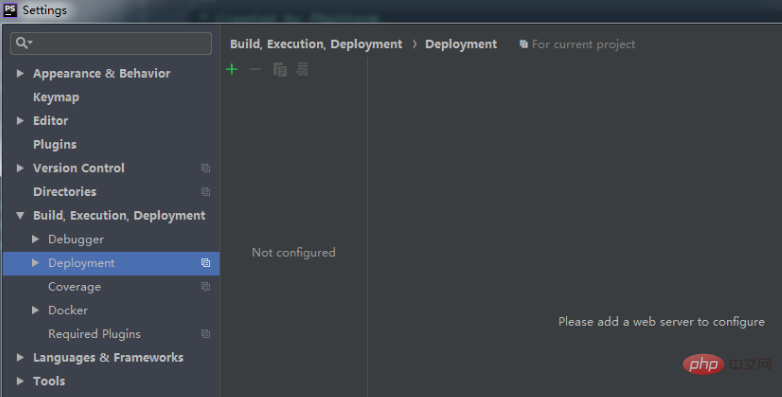
Open the dialog box shown below through Files|Settings|Deployment.

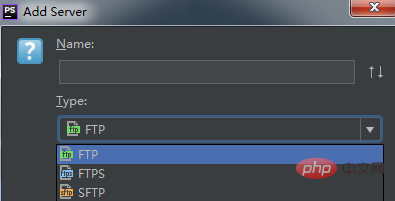
Click the green plus sign and the following dialog box will appear.

The name here can be chosen casually. For example, I named it "Apache". The selection of the "Type" option below is based on our application type. If it is application 1 , select "In place"; if it is application 2, select "Local or mounted folder"; if it is application 3, select according to your own file transfer method. Depending on the selection, the interface that appears later will be different. Of course, modifications can still be made in the next interface.
Related recommendations: "PhpStorm Usage Tutorial"
Step 2
If the "Type" in the previous step is selected "Local or mounted folder", then the following dialog box will appear.
As you can see, there are three tab areas to fill in: "Connection", "Mapping", and "Excluded Paths". When the selected "Type" is different, only the "Connection" part will be different. If the "Type" is "In place", then only the "Web server root URL" needs to be filled in. "Web server root URL", as the name suggests, is the root URL of the web server. If we have configured the domain name of the server in the hosts file, then the configured domain name can be written here.
Then what needs to be filled in is the "Upload/download project files" section. First understand the concepts of Upload and Download.
Upload is copying data from the project TO the server, either local or remote.
Download is copying data FROM the server to the project.
In other words, since the "Type" we selected is "Local or mounted folder" (i.e. Application 2), the project files need to be transferred to the server root file directory, so "Upload/download project files" What needs to be filled in is which directory we want to transfer the project to. Generally, we just fill in the /htdocs directory of the server.
The third step
In the previous step we have filled in the "Connection" part, and the next step is the "Mapping" part, as shown in the figure below:

“Deployment path on server ‘Apache’”: This is essentially a requirement to specify a more detailed “Upload/download project files” directory. Generally, a folder with the same name as the project file is most convenient.
“Web path on server ‘Apache’”: refers to the directory of the homepage php/html file.
The configuration work is completed here.
Step 4
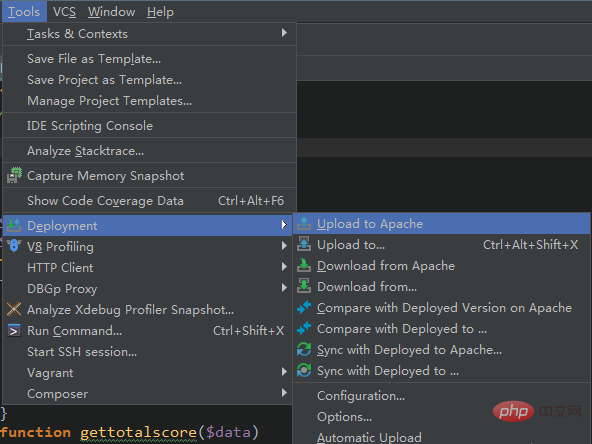
Now you can upload the project to the web server as shown in the figure below. After uploading, we will be in the specified directory of the server. See an exact copy of the current project.
 ##
##
The above is the detailed content of How to configure the server in phpstorm. For more information, please follow other related articles on the PHP Chinese website!


