Home >Backend Development >Python Tutorial >How to specify virtualenv in python files
How to specify virtualenv in python files
- 爱喝马黛茶的安东尼Original
- 2019-08-02 15:38:061937browse

If the same computer wants to use different python environments, a common method is to use anaconda to create multiple versions of virtual environments (virtualenv). So, how to create and enter a virtualenv of a specified version of python under the Windows operating system? Here is a detailed introduction to you:
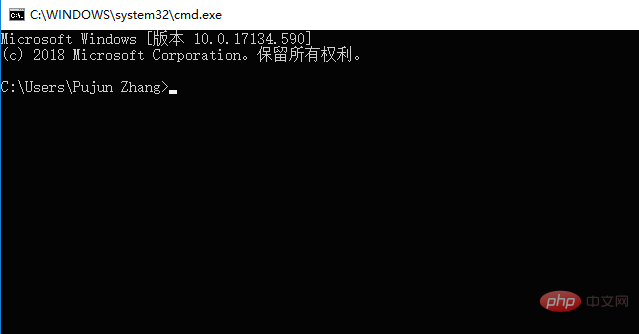
We first go to the official website to install anaconda, and then enter cmd (win R, enter cmd, hit Enter), as shown in the picture:

Use the command:
conda create --name <name> python=<version>
to create a virtual environment. The
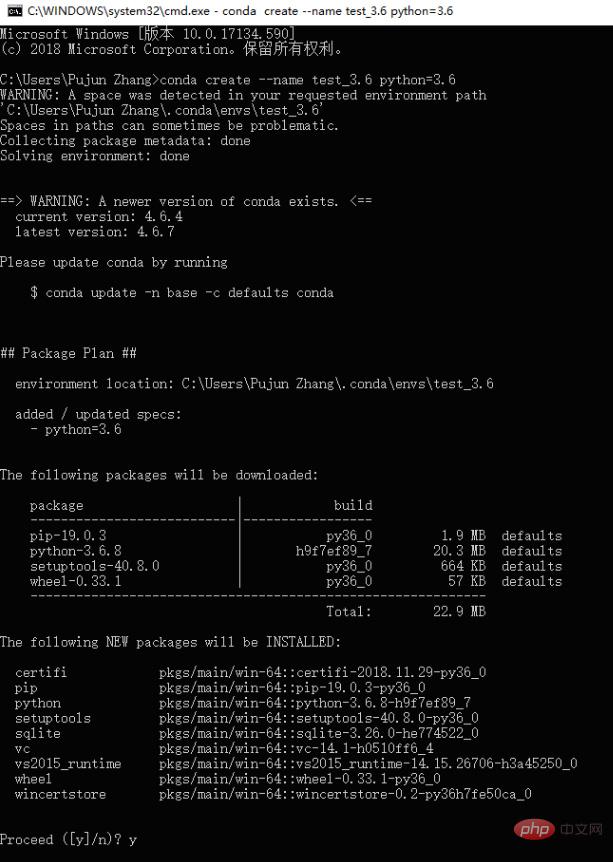
conda create --name test_3.6 python=3.6
Related recommendations: "Python Video Tutorial"
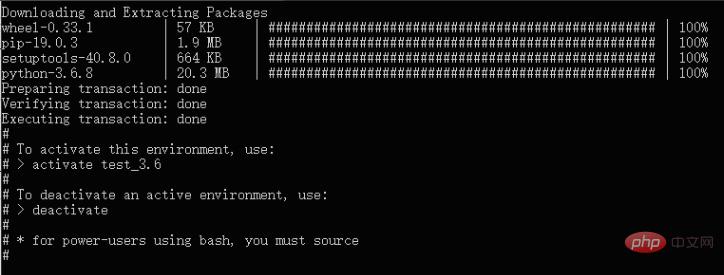
You can create a virtual environment named test_3.6. During the creation process, you will be asked about the installed packages. Generally, enter y Then press Enter, and then conda will start to build the normal environment. You need to download some commonly used packages, as shown in the picture:


For the environment that has been created, we can use the command:
activate <name>
to enter the corresponding virtualenv.
Here we enter in cmd:
activate test_3.6
to enter the newly created environment.
You can see that after entering the environment, the name of the virtual environment will be displayed in brackets at the beginning of the console line.

We can enter python to view the python version of the current environment, as shown in the figure, our python version is python3.6.8.

If we want to exit the virtual environment, we can exit the corresponding environment through the command:
conda deactivate
(the old version of the command does not require conda, but after termination version will be deactivated).

The above is the detailed content of How to specify virtualenv in python files. For more information, please follow other related articles on the PHP Chinese website!

