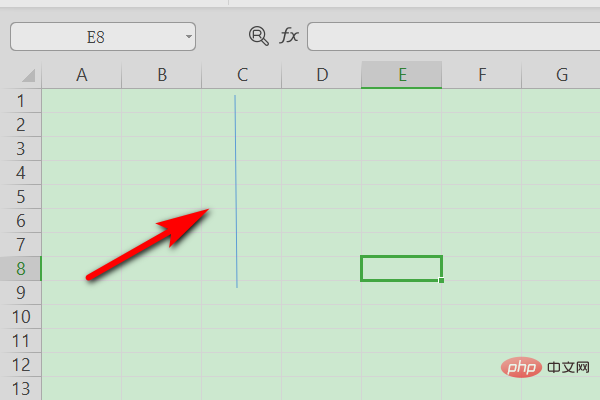
How to insert vertical lines in a table
- 步履不停Original
- 2019-06-27 10:18:4155639browse

The steps are as follows:
1. First find the table on the desktop where you need to add vertical lines and open it.

#2. After opening, find the insert option on the table and click it.

#3. Find the shape in the Insert tab and click the drop-down button next to the shape.

#4. Then various shapes will pop up, just select a straight line among the lines.

#5. Place the mouse on the cell where you want to add the filling, and use the mouse to pull down to draw a vertical line.

For more Excel-related technical articles, please visit the Excel Tutorial column to learn!
The above is the detailed content of How to insert vertical lines in a table. For more information, please follow other related articles on the PHP Chinese website!
Statement:
The content of this article is voluntarily contributed by netizens, and the copyright belongs to the original author. This site does not assume corresponding legal responsibility. If you find any content suspected of plagiarism or infringement, please contact admin@php.cn
Previous article:How to type slashes in tablesNext article:How to type slashes in tables

