Home >Web Front-end >PS Tutorial >How to save pictures after cutting them in PS
How to save pictures after cutting them in PS
- silencementOriginal
- 2019-05-28 17:36:4627724browse

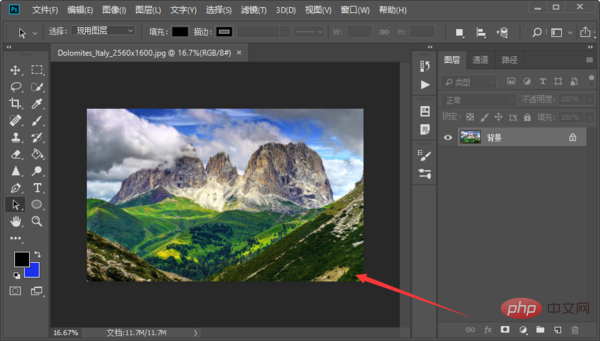
1. First open the PS software, and then open the picture to be processed in PS.
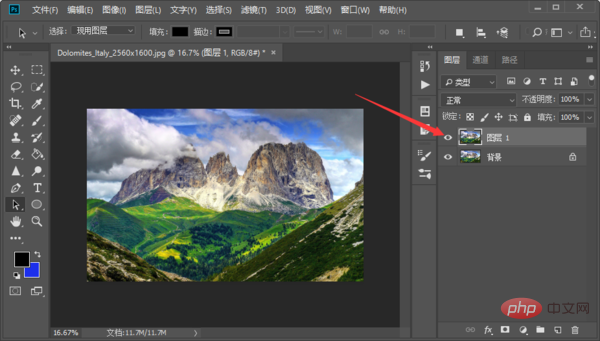
2. Next, press the shortcut key "Ctrl j" to copy the background layer. All subsequent operations will be performed on the copied layer.
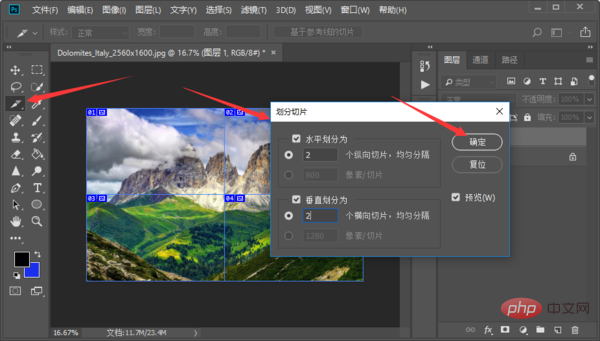
3. Next, select the "Slice Tool" in the left toolbar, then right-click on the picture, select "Divide Slices", and select Just click "OK" to determine the quantity you need to divide.
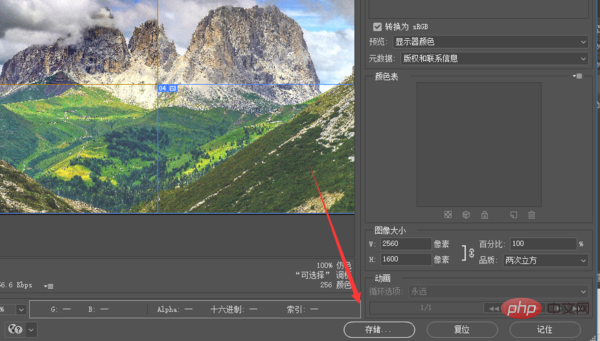
4. Then select "File" - "Export" - "Save as web format" in the upper toolbar.
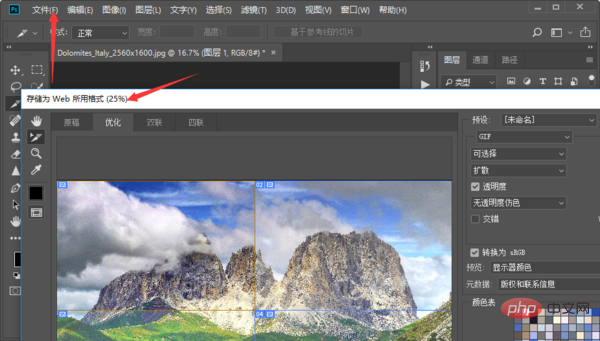
#5. Finally, click "Save".
The above is the detailed content of How to save pictures after cutting them in PS. For more information, please follow other related articles on the PHP Chinese website!

