The content of this article is about helping you quickly build your own Bootstrap site. It has certain reference value. Friends in need can refer to it. I hope it will be helpful to you. .
bootstrap video tutorialSpecial statement: This article was translated by Bai Ya based on the original English article by Leon Revill "Twitter Bootstrap Tutorial – Up and running with Twitter Bootstrap in 20 Minutes". The entire translation has our own Understanding and thinking, if the translation is not good or wrong, please ask friends in the industry for advice. If you need to reprint this translation, you need to indicate the source of English: http://www.revillwebdesign.com/twitter-bootstrap-clutorial information
## —— Author: Leon Revill##- —Translator: Bai Ya
This tutorial is designed to let you learn to use twitter bootstrap to create a site in 20 minutes. After reading this tutorial, you should be able to use bootstrap to build a basic responsive layout page, understand the grid system, and be able to use bootstrap navigation and navigation bars and understand the basics of responsive design. These are all the knowledge required to use twitter bootstrap. (Recommended tutorial:
) First of all, what we need to say is that twitter bootstrap is a very excellent front-end open source framework. It provides detailed use cases for all group keys. Allows you to easily copy and paste into your design.
Basic HTML templateWe need a basic HTML template so that we can include the required bootstrap files. Here is the beginning of our twitter bootstrap project, copy this code into a file and name it index.html.
<!DOCTYPE html>
<head>
<title>Twitter Bootstrap Tutorial - A responsive layout tutorial</title>
<style type='text/css'>
body {
background-color: #CCC;
}
</style>
</head>
<body>
</body>
</html>In this code we have added some CSS to make the background of the page a light gray color, because this way we can easily see the different columns in our design and make it easier to understand.
Introducing twitter bootstrap filesIn order to use twitter bootstrap we only need to introduce a file into our template. There are many ways to introduce files, if you want Please consult the relevant documentation to learn about these methods.
Based on the starting point of this tutorial, we will introduce the bootstrap-combined.min.css file through CDN without downloading any files.
<link href="http://netdna.bootstrapcdn.com/twitter-bootstrap/2.3.0/css/bootstrap-combined.min.css" rel="stylesheet">
It enables all twitter bootstrap CSS to take effect in our templates.
Twitter Bootstrap containerbootstrap’s container class is very useful. It can create a centered area in the page, and then we can put content in other locations Put it inside. The container class is equivalent to creating a centered div box with a static width and a magin value of auto. The advantage of twitter bootstrap's container class is that it is responsive, and it will calculate the optimal width based on the width of the current screen for practical use.
In the body tag, create a div using the container class. It will serve as the main outer wrapper for other code on the page.
If you adjust the height of this DIV and set its background color to white, the effect you will see will be like this:

Now that we have a place to add additional HTML code, we can add the title text and then create the main navigation bar of the site.
Add the following text or the text of your choice to the div tag of the container class.
<h1 id="TWITTER-nbsp-BOOTSTRAP-nbsp-TUTORIAL">TWITTER BOOTSTRAP TUTORIAL</h1>
There’s not much new here, it’s just a title, let’s move on to the more interesting aspect, twitter bootstrap navigation.
Bootstrap has a nav class that allows us to create various navigation elements. You can add the following code after the h1 tag.
<div class='navbar navbar-inverse'>
<div class='nav-collapse' style="height: auto;">
<ul class="nav">
<li class="active"><a href="#">Home</a></li>
<li><a href="#">Page One</a></li>
<li><a href="#">Page Two</a></li>
</ul>
</div>
</div>navbar相关的类拥有导航条所有的样式,添加navbar-inverse类将会应用一个很酷的黑色风格,这是一个twitter bootstrap的常见搭配。我建议在这个样式的基础上进行拓展从而创造你的独一无二的导航。但在这个教程中我们仍然会使用基础的bootstrap样式。
在类为navbar的DIV当中,我们添加另一个类为nav-collapse的DIV并为其添加行内样式height:auto;这是告诉bootstrap当这个页面在小于970px宽度的浏览器窗口当中时,它会提供一个压缩的切换视图。
如果你保存了index.html文件然后在浏览器中打开,当你调整浏览器窗口的宽度时你就能够看到这个变化,如图所示。
大于979px

小于979px

另外,我们可以添加nav类到一个HTML无序列表元素中以便从bootstrap CSS文件中应用更多的样式,也可以添加一个active类到“HOME”列表项中。
主内容和侧边栏
我们已经完成了站点的主导航,现在我们需要添加主要内容区和一个侧边栏来支持更多的链接或导航路径。请把下面的代码添加到导航条之后。
<div id='content' class='row-fluid'>
<div class='span9 main'>
<h2 id="Main-nbsp-Content-nbsp-Section">Main Content Section</h2>
</div>
<div class='span3 sidebar'>
<h2 id="Sidebar">Sidebar</h2>
</div>
</div>这正是我们需要弄懂的bootstrap的栅格系统,当然,bootstrap的官方文档中涵盖了更多的细节,但我们将会以基础开始,让你更好地理解它。
栅格系统利用了12列的布局,这意味着一个页面可以被分割成12个相同的列。下面这张从bootstrap官方文档中拿到的图片给出了一个很好的展示。

在我们刚刚黏贴在导航条下面的代码中你可以看到名为span9和span3的类。它们会把页面分割成左边9列宽度和右边3列宽度的两部分,形成我们的内容区域和侧边栏。使用栅格系统的其中一个好处就是它会根据视窗宽度动态计算出列的宽度,因此你不需要写任何的媒体查询也能使你的站点工作在任何的屏幕分辨率下。
你可以通过改变span的数量和调整浏览器的大小来观察它们的效果。你会注意到当内容区小于724px的时候,这些列会垂直地堆放。
现在我们在主内容区域把下列文本或者任何其他的文本放在在h2标签之后,这只是为了把页面拉长一点。
<p>Lorem ipsum dolor sit amet, consectetuer adipiscing elit, sed diam nonummy nibh euismod tincidunt ut laoreet dolore magna aliquam erat volutpat. Ut wisi enim ad minim veniam, quis nostrud exerci tation ullamcorper suscipit lobortis nisl ut aliquip ex ea commodo consequat. Duis autem vel eum iriure dolor in hendrerit in vulputate velit esse molestie consequat, vel illum dolore eu feugiat nulla facilisis at vero eros et accumsan et iusto odio dignissim qui blandit praesent luptatum zzril delenit augue duis dolore te feugait nulla facilisi. Nam liber tempor cum soluta nobis eleifend option congue nihil imperdiet doming id quod mazim placerat facer possim assum.</p>
<p>Typi non habent claritatem insitam; est usus legentis in iis qui facit eorum claritatem. Investigationes demonstraverunt lectores legere me lius quod ii legunt saepius. Claritas est etiam processus dynamicus, qui sequitur mutationem consuetudium lectorum. Mirum est notare quam littera gothica, quam nunc putamus parum claram, anteposuerit litterarum formas humanitatis per seacula quarta decima et quinta decima. Eodem modo typi, qui nunc nobis videntur parum clari, fiant sollemnes in futurum.</p>
现在站点会像如下显示:

侧边栏导航
你可以在这里看到所有的Twitter bootstrap为我们提供的导航元素。
我们将要使用垂直选项卡来创建一个额外的导航区。复制和黏贴下面的代码到sidebar的h2标签之后。
<ul class="nav nav-tabs nav-stacked"> <li><a href='#'>Another Link 1</a></li> <li><a href='#'>Another Link 2</a></li> <li><a href='#'>Another Link 3</a></li> </ul>
这是一个简单的展示!上面的代码照字面理解仅仅是一个具有类为nav-tabs和nav-stacked的无序列表,但它却为我们创造了一个导航面板。
看看最后的效果,一个基于twitter bootstrap的响应式设计的页面完成了。

结论
通过twitter bootstrap所提供的特性,我们给出了这个非常快速的bootstrap基础教程,但花点时间练习并多多查阅官方的文档,不久之后你就可以成为一个bootstrap的专家了。
在阅读本教程之后你应该懂得如何使用栅格系统,不同类型的导航和响应式设计的基本原理。
The above is the detailed content of Help you quickly create your own Bootstrap site. For more information, please follow other related articles on the PHP Chinese website!
 10款好看又实用的Bootstrap后台管理系统模板(快来下载)Aug 06, 2021 pm 01:55 PM
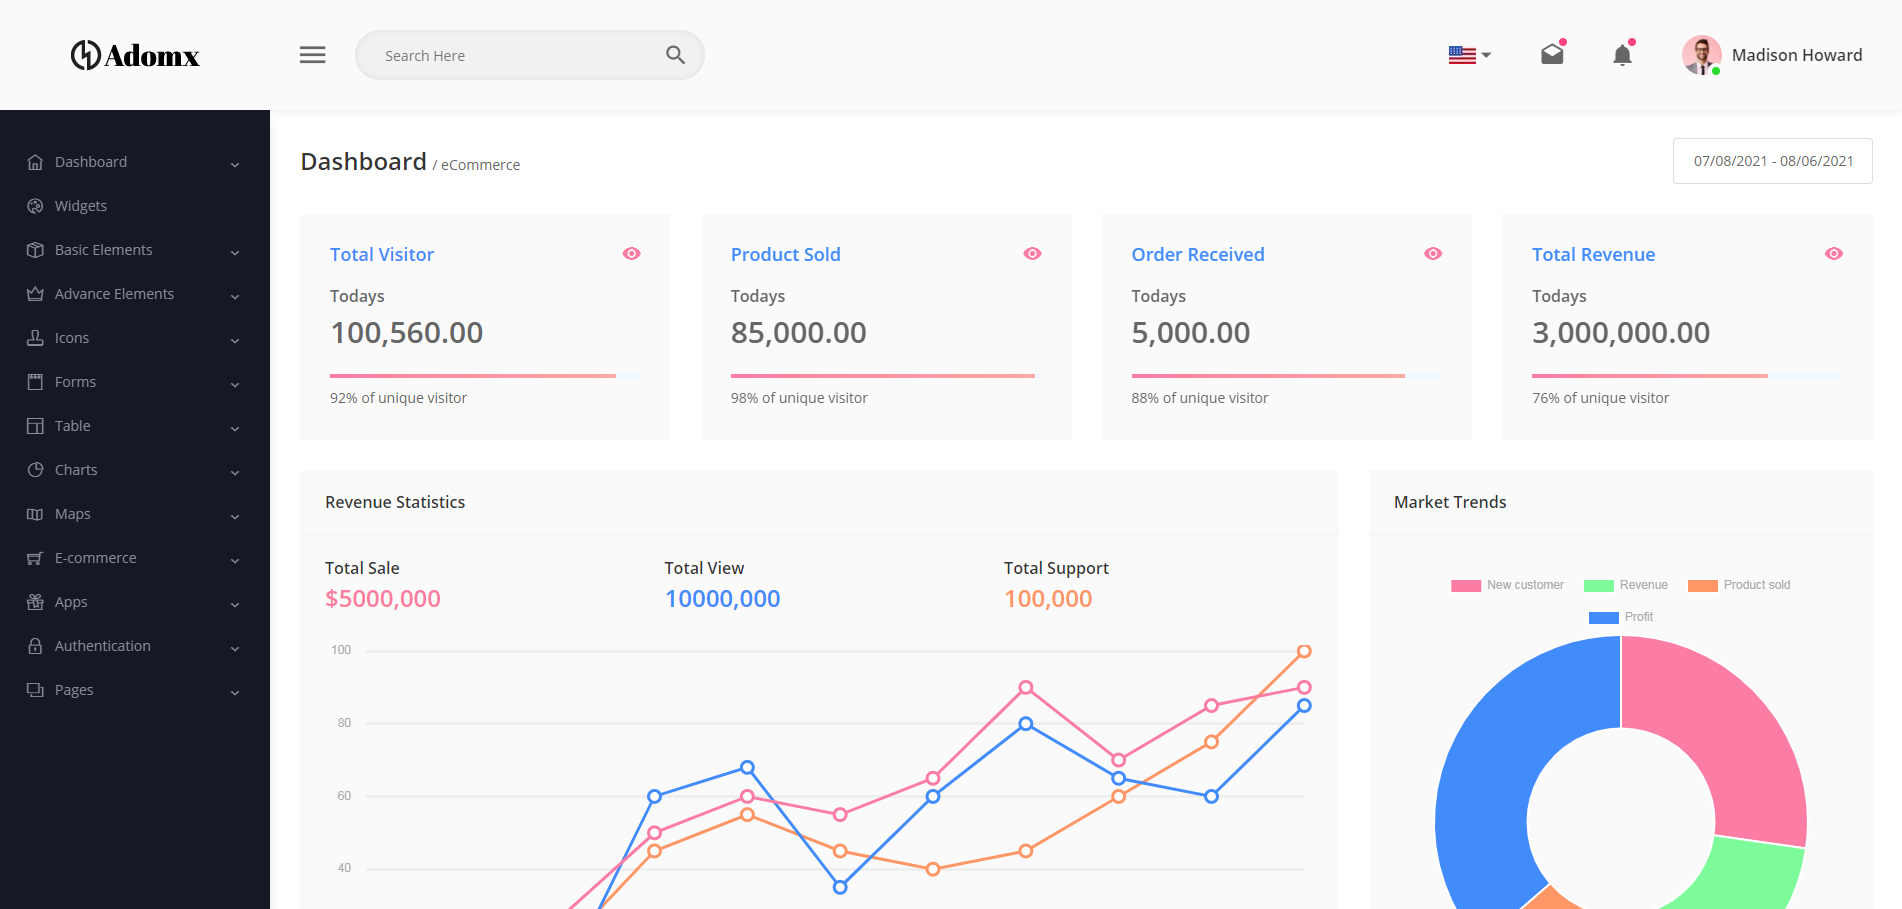
一个好的网站,不能只看外表,网站后台同样很重要。本篇文章给大家分享10款好看又实用的Bootstrap后台管理系统模板,可以帮助大家快速建立强大有美观的网站后台,欢迎下载使用!如果想要获取更多后端模板,请关注php中文网后端模板栏目!
 bootstrap与jquery是什么关系Aug 01, 2022 pm 06:02 PM
bootstrap与jquery的关系是:bootstrap是基于jquery结合了其他技术的前端框架。bootstrap用于快速开发Web应用程序和网站,jquery是一个兼容多浏览器的javascript库,bootstrap是基于HTML、CSS、JAVASCRIPT的。
 7款实用响应式Bootstrap电商源码模板(快来下载)Aug 31, 2021 pm 02:13 PM
好看又实用的Bootstrap电商源码模板可以提高建站效率,下面本文给大家分享7款实用响应式Bootstrap电商源码,均可免费下载,欢迎大家使用!更多电商源码模板,请关注php中文网电商源码栏目!
 8款Bootstrap企业公司网站模板(源码免费下载)Aug 24, 2021 pm 04:35 PM
好看又实用的企业公司网站模板可以提高您的建站效率,下面PHP中文网为大家分享8款Bootstrap企业公司网站模板,均可免费下载,欢迎大家使用!更多企业站源码模板,请关注php中文网企业站源码栏目!
 bootstrap中sm是什么意思May 06, 2022 pm 06:35 PM
在bootstrap中,sm是“小”的意思,是small的缩写;sm常用于表示栅格类“.col-sm-*”,是小屏幕设备类的意思,表示显示大小大于等于768px并且小于992px的屏幕设备,类似平板设备。
 bootstrap modal 如何关闭Dec 07, 2020 am 09:41 AM
bootstrap modal关闭的方法:1、连接好bootstrap的插件;2、给按钮绑定模态框事件;3、通过“ $('#myModal').modal('hide');”方法手动关闭模态框即可。
 bootstrap默认字体大小是多少Aug 22, 2022 pm 04:34 PM
bootstrap默认字体大小是“14px”;Bootstrap是一个基于HTML、CSS、JavaScript的开源框架,用于快速构建基于PC端和移动端设备的响应式web页面,并且默认的行高为“20px”,p元素行高为“10px”。
 bootstrap是免费的吗Jun 21, 2022 pm 05:31 PM
bootstrap是免费的;bootstrap是美国Twitter公司的设计师“Mark Otto”和“Jacob Thornton”合作基于HTML、CSS、JavaScript 开发的简洁、直观、强悍的前端开发框架,开发完成后在2011年8月就在GitHub上发布了,并且开源免费。


Hot AI Tools

Undresser.AI Undress
AI-powered app for creating realistic nude photos

AI Clothes Remover
Online AI tool for removing clothes from photos.

Undress AI Tool
Undress images for free

Clothoff.io
AI clothes remover

AI Hentai Generator
Generate AI Hentai for free.

Hot Article

Hot Tools

SublimeText3 Mac version
God-level code editing software (SublimeText3)

SublimeText3 Linux new version
SublimeText3 Linux latest version

SecLists
SecLists is the ultimate security tester's companion. It is a collection of various types of lists that are frequently used during security assessments, all in one place. SecLists helps make security testing more efficient and productive by conveniently providing all the lists a security tester might need. List types include usernames, passwords, URLs, fuzzing payloads, sensitive data patterns, web shells, and more. The tester can simply pull this repository onto a new test machine and he will have access to every type of list he needs.

WebStorm Mac version
Useful JavaScript development tools

SublimeText3 English version
Recommended: Win version, supports code prompts!


