Home >Web Front-end >JS Tutorial >How to print pages using JavaScript
How to print pages using JavaScript
- 不言Original
- 2019-01-14 17:31:353091browse
The method we use to implement page printing in How to print pages using How to print pages using How to print pages using JavaScript is print. Using the print method, you can open the printed page and print from there. In this article, we will take a closer look at using How to print pages using How to print pages using How to print pages using JavaScript. The print method implements the printed content.

#If the print method is used for buttons or links, you can also create print buttons or print links.
Let’s look at the specific content
How to use the print method to achieve printing?
Let’s take a look at the following code.
window.print();
Only this line of code can connect to the print page, and then you can print directly. Isn't it very simple? Next, let's take a look at using the print method for buttons or links to print.
Setting method of print button
To set the print button, specify the print method in the button's onclick event.
Let’s take a look at the following code.
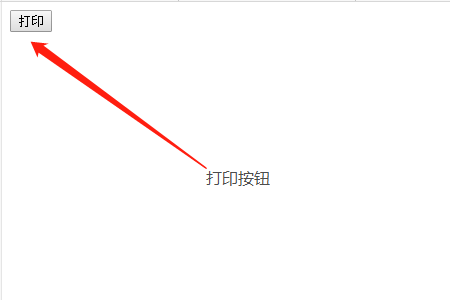
<input type="button" value="打印" onclick="window.print();" />
The execution results are as follows: Click the "Print Button" to print.

#In this way, you can set the print button.
How to set the print link
If a print link is set, you can click the link to open the print screen.
Let’s take a look at the following code.
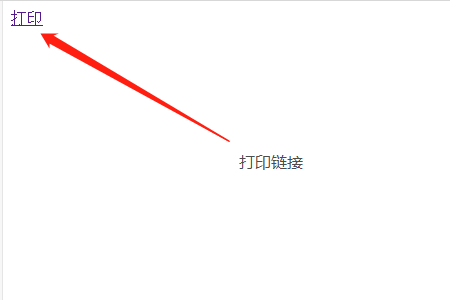
<a href="#" onclick="window.print(); return false;">打印</a>
The execution results are as follows:

The above are the settings for the print link.
The above is the detailed content of How to print pages using JavaScript. For more information, please follow other related articles on the PHP Chinese website!

