Home >Web Front-end >JS Tutorial >Teach you to create a Vue UI component library similar to Element
Teach you to create a Vue UI component library similar to Element
- 不言Original
- 2018-09-01 17:17:196375browse
The content of this article is about teaching you to create a Vue UI component library similar to Element. It has certain reference value. Friends in need can refer to it. I hope it will be helpful to you.
Preface
With the emergence of the three major front-end frameworks, the idea of componentization has become more and more popular, and many component libraries have emerged. It can help developers save time and improve efficiency,
For example, React's Ant-design, Vue's iView, Element, etc., their functions are already very complete.
The purpose of writing this article: to record the process of building a UI library (my understanding of Vue has deepened a lot)Demo address
First let me talk about the idea:
When writing components, you can just import it directly when you want to use it. For example, if you write a time.vue, when you use it
import time from '路径'
Now we need to write a component library, should we put all components in one folder (such as button.vue, icon.vue, input.vue. ..), register all components through Vue.components, and then install them through Vue.use(). This is the vue plug-in. The idea is not that mysterious
1. Environment preparation
As mentioned before, all components should be placed in a folder. The easiest way is to use scaffolding to build a project directory structure,
At the same time You also need to add a sample document to facilitate debugging and display:
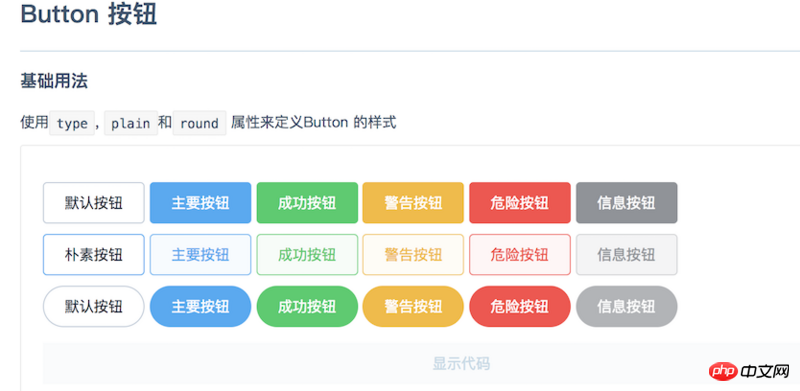
Sample effect of button

Directory structure and Sample document 1. Directory structure
Create the project directly with vue-cli Structure, just modify it based on it (to meet the display of our example)
Directory structure
.
├── build  -------------------------webpack相关配置文件
│   ├── build.js
│   ├── check-versions.js
│   ├── logo.png
│   ├── strip-tags.js
│   ├── utils.js
│   ├── vue-loader.conf.js
│   ├── webpack.base.conf.js -------配置markdown设置时会用到它
│   ├── webpack.dev.conf.js
│   └── webpack.prod.conf.js
├── config  ------------------------vue的基本配置
│   ├── dev.env.js
│   ├── index.js
│   └── prod.env.js
├── examples -----------------------放置例子
│   ├── App.vue --------------------根文件
│   ├── assets ---------------------静态资源
│   │   ├── css --------------------css
│   │   ├── img --------------------图片
│   │   └── logo.png ---------------vue的logo
│   ├── components -----------------公共组件
│   │   ├── demo-block.vue ---------盒子组件
│   │   ├── footer.vue -------------footer组件
│   │   ├── header.vue -------------header组件
│   │   └── side-nav.vue -----------侧边栏组件
│   ├── docs -----------------------例子模块的文档
│   │   ├── breadcrumb.md ----------面包屑组件文档
│   │   ├── button.md --------------按钮组件文档
│   │   ├── card.md ----------------卡片组件文档
│   │   ├── guide.md ---------------简介文档
│   │   ├── icon.md ----------------图标文档
│   │   ├── install.md -------------安装文档
│   │   ├── layout.md --------------布局文档
│   │   ├── logs.md ----------------更新日志文档
│   │   ├── message.md -------------消息文档
│   │   ├── start.md ---------------快速开始1文档
│   │   ├── tag.md -----------------标签文档
│   │   └── twotable.md ------------二维表格文档
│   ├── icon.json ------------------图标数据
│   ├── main.js --------------------入口文件
│   ├── nav.config.json ------------侧边栏数据
│   └── router ---------------------路由
│       └── index.js ---------------路由配置
├── packages -----------------------组件库源代码
│   ├── README.md ------------------README
│   ├── breadcrumb -----------------面包屑源码
│   │   ├── index.js
│   │   └── src
│   ├── breadcrumb-item ------------面包屑源码
│   │   └── index.js
│   ├── button ---------------------按钮源码
│   │   ├── index.js
│   │   └── src
│   ├── card -----------------------卡片源码
│   │   ├── index.js
│   │   └── src
│   ├── col ------------------------列布局源码
│   │   ├── index.js
│   │   └── src
│   ├── message --------------------消息源码
│   │   ├── index.js
│   │   └── src
│   ├── two-dimensional-table -----二维表格源码
│   │    ├── index.js
│   │    └── src
│   ├── row -----------------------行源码
│   │   ├── index.js
│   │   └── src
│   ├── tag -----------------------标签源码
│   │   ├── index.js
│   │   └── src
│   ├── theme-default --------------样式表
│   │   └── lib
│   ├── package.json
│   └── index.js -------------------组件库入口
├── index.html ---------------------主页
├── package.json
├── static
└── README.md
The above is the modified directory structure, the src directory generated by the scaffolding Change examples to put sample documents, so accordingly you need to modify webpack.base.conf.js in the build directory so that it points to examples so that webpack can package correctly
 Example document, it is most suitable to use markdown when writing documents. To enable vue to implement markdown documents, you can use vue-markdown-loader. To configure related files, add
# in the rules of webpack.base.conf.js.  ##You can start writing the document and test it
{
  path: '/hello',
  name: 'hello',
  component: r => require.ensure([], () => r(require('../docs/hello.md')))
}
npm run dev Run the project and open http://localhost:8080/#/hello, it can be displayed, initial success (basic implementation) The next step is to achieve the effect of the sample document:
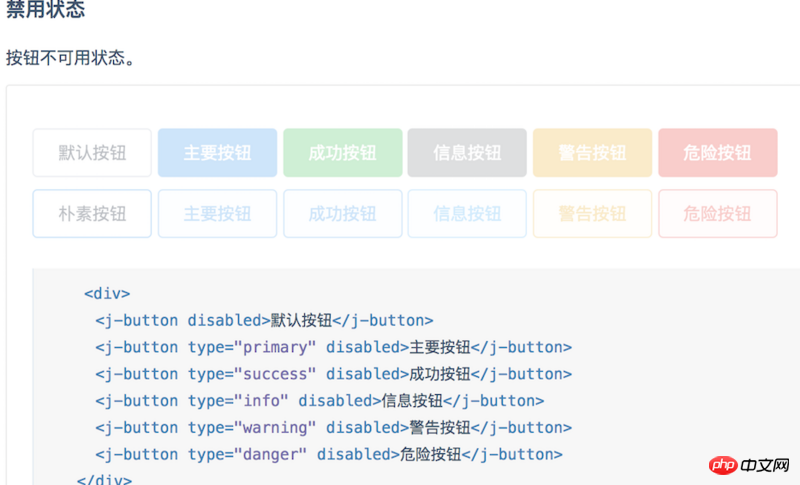
Both demonstration and code display (
as shown below)
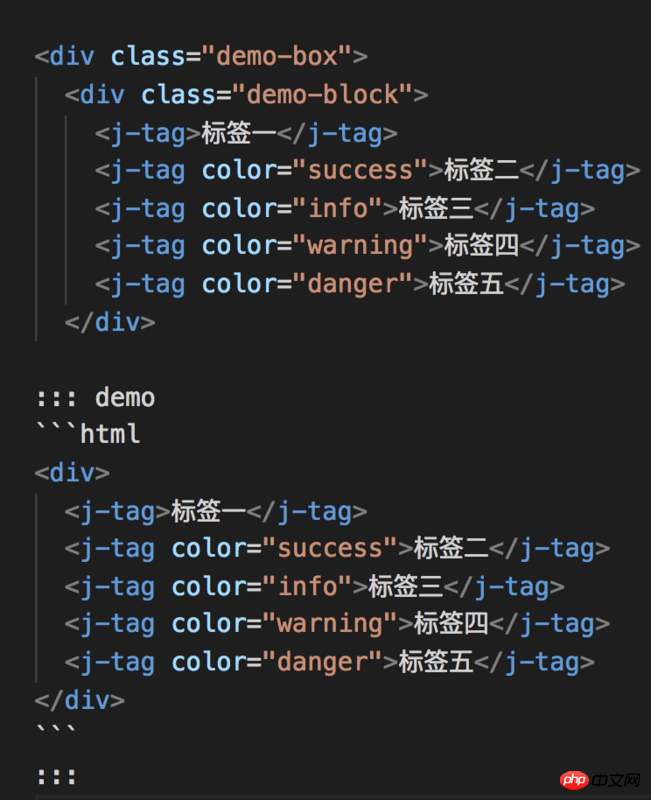
 The example document shown above is button.md. If you want it to display the code in the button.md file where you want to display the code, and display the button where you want to display the button, you need to put an identifier where the button is displayed.
To enable identification during the compilation process, you still need to use markdown configuration to compile and display by installing .vue. It actually encapsulates markdown-it and supports options. Just add the defined identifier (I use is 'demo'), the configuration of options options (also in webpack.base.conf.js)
const vueMarkdown = {
  preprocess: (MarkdownIt, source) => {
    MarkdownIt.renderer.rules.table_open = function () {
      return '
The above is the detailed content of Teach you to create a Vue UI component library similar to Element. For more information, please follow other related articles on the PHP Chinese website!


 2. How to write component source code