
Home >Backend Development >PHP Tutorial >About building the backend of Yii2 and implementing rbac permission control
About building the backend of Yii2 and implementing rbac permission control

- 不言Original
- 2018-06-19 15:02:594636browse
This article mainly introduces the relevant information of the complete example tutorial of setting up the backend of Yii2 and implementing rbac permission control. Friends in need can refer to the following
1. Install yii2
If it is not installed, please refer to the simplest installation tutorial in the history of yii2. There is no one.
If it is already installed, please continue to the next step
2. Configure database
2.1 Configure database
Modify common/config/main-local.php In actual projects, the local database is often different from The online database is inconsistent.
We only need to configure main-local.php here. After the product is online, we can use git or svn to ignore main-local.php and deploy it directly online.
The mysql database we use here is configured as follows

Of course, the information circled in red above needs to be modified manually by yourself. If It's a coincidence that it's the same as mine, so there's no need to modify it
2.2 Create the user data table, we will implement background login later
Instructions: User table and menu table To create, you can refer to the sql in the component yii2-admin we downloaded later. The specific directory is located at
vendor\mdmsoft\yii2-admin\migrations\schema-mysql.sql

CREATE TABLE `user` (
`id` int(11) NOT NULL AUTO_INCREMENT COMMENT '自增ID',
`username` varchar(255) NOT NULL COMMENT '用户名',
`auth_key` varchar(32) NOT NULL COMMENT '自动登录key',
`password_hash` varchar(255) NOT NULL COMMENT '加密密码',
`password_reset_token` varchar(255) DEFAULT NULL COMMENT '重置密码token',
`email` varchar(255) NOT NULL COMMENT '邮箱',
`role` smallint(6) NOT NULL DEFAULT '10' COMMENT '角色等级',
`status` smallint(6) NOT NULL DEFAULT '10' COMMENT '状态',
`created_at` int(11) NOT NULL COMMENT '创建时间',
`updated_at` int(11) NOT NULL COMMENT '更新时间',
PRIMARY KEY (`id`)
) ENGINE=InnoDB AUTO_INCREMENT=0 DEFAULT CHARSET=utf8 COMMENT='用户表';
2.3 Visit the frontend site and register a user first

After successful registration, the login status will be displayed in the upper right corner. We will use this registered user later

3. Use AdminLTE to render the background template
We use AdminLTE (Backend theme for Yii2 Framework) for the background templateInsert a song: AdminLTE is a fully responsive admin template. Based on the Bootstrap3 framework, it is easy to customize the template. Fits a variety of screen resolutions, from small mobile devices to large desktops. Built-in multiple pages, including dashboard, email, calendar, lock screen, login and registration, 404 error, 500 error and other pages.3.1 Install AdminLTE
Here I will briefly describe my installation steps. After cd advanced, Because it is a mac, I will install it directly with composer here. That’s it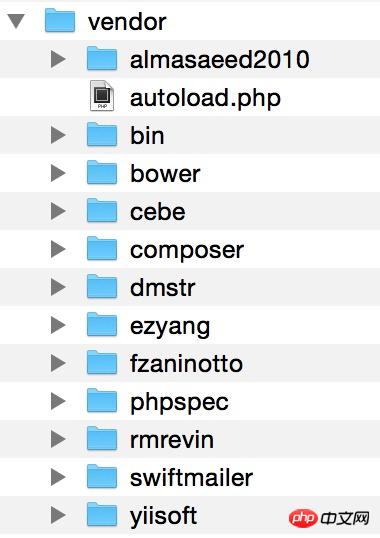
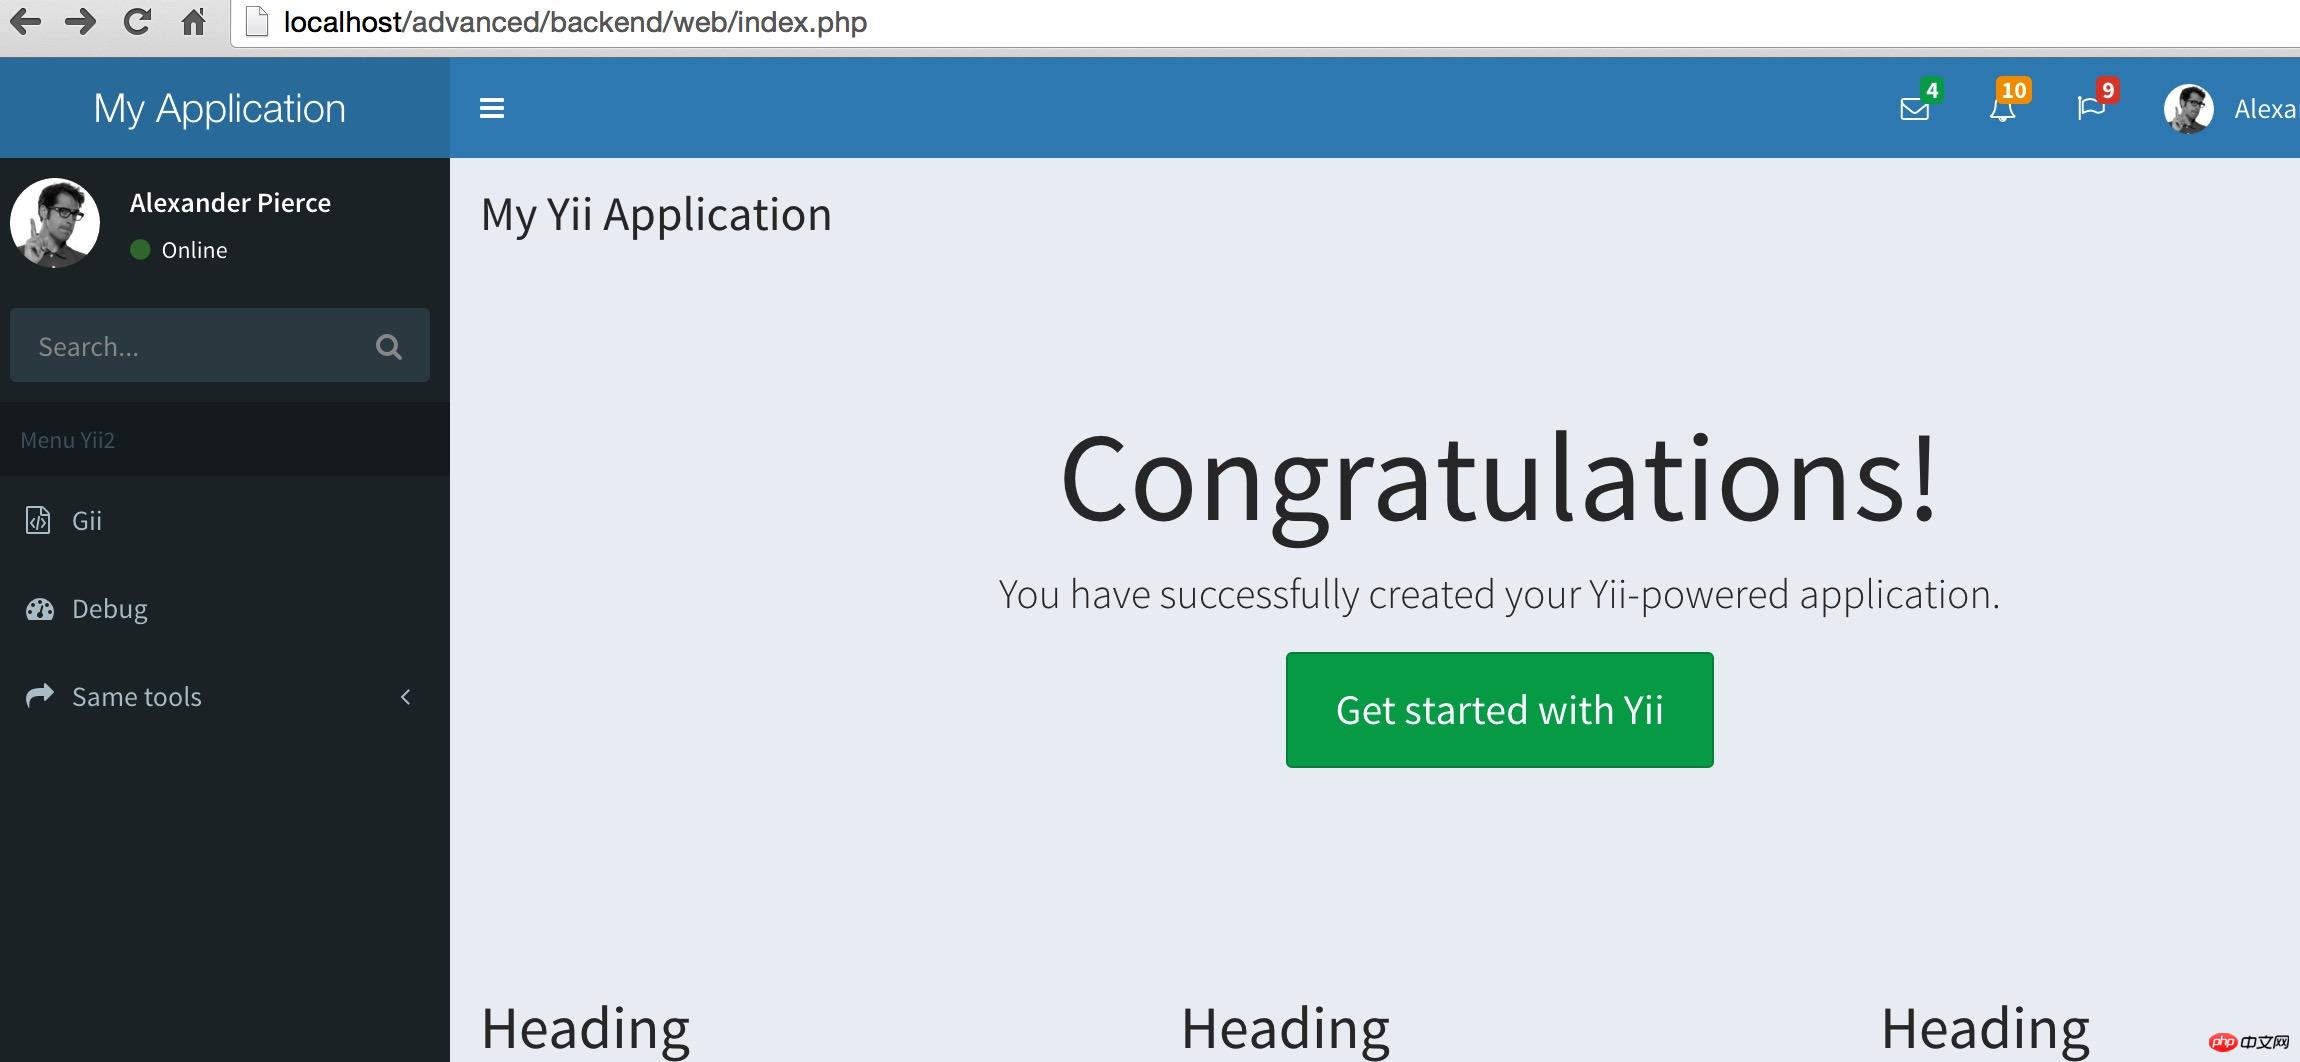
3.2 yii2 configuration integrates AdminLTE to build a handsome and high-end backend
Let’s configure backend/config/main.php first After previewing the effect, I was eager to try the results.'components' => [ 'view' => [ 'theme' => [ 'pathMap' => [ '@app/views' => '@vendor/dmstr/yii2-adminlte-asset/example-views/yiisoft/yii2-app' ], ], ], ],
4. Next we use Yii’s rbac to implement backend permission control
4.1 Let’s configure the short route first
backend/ Add the following configuration to the components of the config/main.php file'urlManager' => [ //用于表明urlManager是否启用URL美化功能,在Yii1.1中称为path格式URL, // Yii2.0中改称美化。 // 默认不启用。但实际使用中,特别是产品环境,一般都会启用。 'enablePrettyUrl' => true, // 是否启用严格解析,如启用严格解析,要求当前请求应至少匹配1个路由规则, // 否则认为是无效路由。 // 这个选项仅在 enablePrettyUrl 启用后才有效。 'enableStrictParsing' => false, // 是否在URL中显示入口脚本。是对美化功能的进一步补充。 'showScriptName' => false, // 指定续接在URL后面的一个后缀,如 .html 之类的。仅在 enablePrettyUrl 启用时有效。 'suffix' => '', 'rules' => [ "<controller:\w+>/<id:\d+>"=>"<controller>/view", "<controller:\w+>/<action:\w+>"=>"<controller>/<action>" ], ],Next, create a .htaccess file under the root directory of the project backend/web and add the following Content, you can’t even create this file. It seems that you really need to hone it
Options +FollowSymLinks
IndexIgnore */*
RewriteEngine on
# if a directory or a file exists, use it directly
RewriteCond %{REQUEST_FILENAME} !-f
RewriteCond %{REQUEST_FILENAME} !-d
# otherwise forward it to index.php
RewriteRule . index.php
Of course, your apache must enable the rewrite module . Next we visit the gii module to test http://localhost/advanced/backend/web/giiThe verification is OK.
4.2 Create the data tables required for permission control
Of course, yii2 has prepared these for us. Open the vendor/yiisoft/yii2/rbac/migrations/schema-mysql.sql file and create data tables in sequence`auth_assignment`; `auth_item_child`; `auth_item`; `auth_rule`;Additional supplementary menu menu table, create it yourself if necessaryNote: For the creation of user table and menu table, please refer to vendor\mdmsoft\yii2-admin\migrations\schema-mysql.sql
CREATE TABLE `menu` (
`id` int(11) NOT NULL AUTO_INCREMENT,
`name` varchar(128) NOT NULL,
`parent` int(11) DEFAULT NULL,
`route` varchar(256) DEFAULT NULL,
`order` int(11) DEFAULT NULL,
`data` text,
PRIMARY KEY (`id`),
KEY `parent` (`parent`),
CONSTRAINT `menu_ibfk_1` FOREIGN KEY (`parent`) REFERENCES `menu` (`id`) ON DELETE SET NULL ON UPDATE CASCADE
) ENGINE=InnoDB DEFAULT CHARSET=utf8
4.3 Download and install yii2-admin
Refer to https://github.com/mdmsoft/yii2-adminFollow the steps step by step Just install it, the same as the installation of adminlte安装好了我们会在vendor目录下面看到 mdmsoft目录
4.4 权限配置
打开backend/config/main.php修改配置
'modules' => [
'admin' => [
'class' => 'mdm\admin\Module',
],
],
'aliases' => [
'@mdm/admin' => '@vendor/mdmsoft/yii2-admin',
],
//这里必须添加authManager配置项
'components' => [
...
//components数组中加入authManager组件,有PhpManager和DbManager两种方式,
//PhpManager将权限关系保存在文件里,这里使用的是DbManager方式,将权限关系保存在数据库.
'authManager' => [
'class' => 'yii\rbac\DbManager',
'defaultRoles' => ['guest'],
],
...
],
4.5 我们访问下权限模块检验下效果如何
http://localhost/advanced/backend/web/admin/route
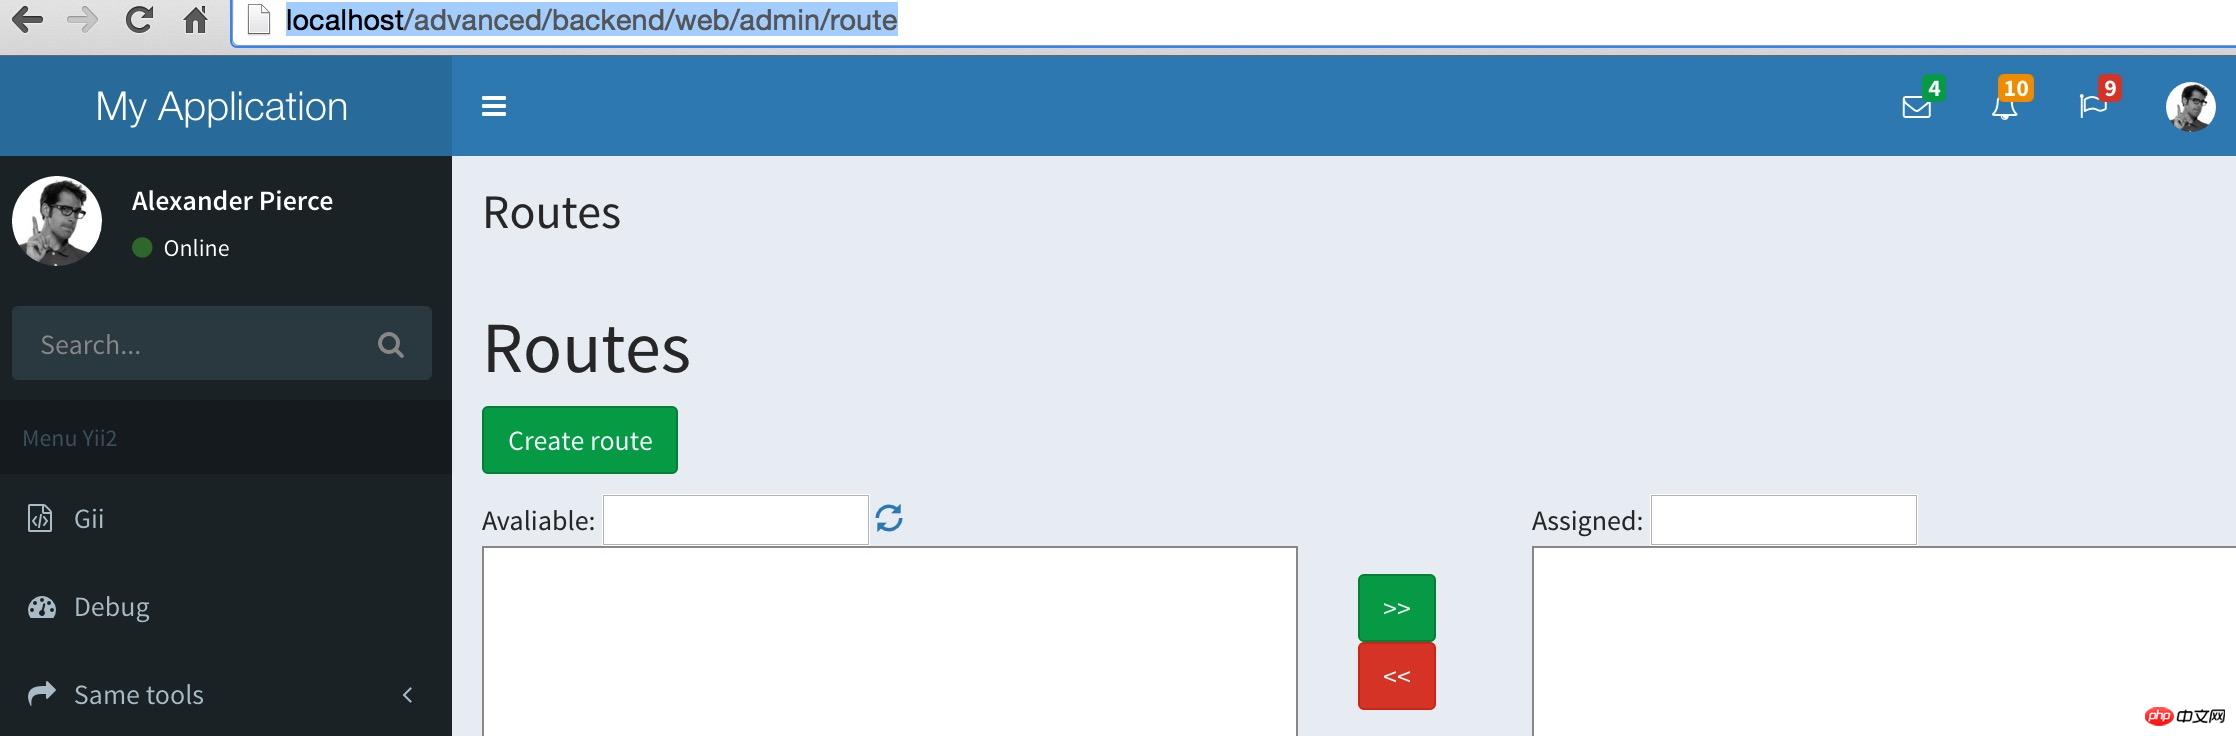
嗯,界面是有的了,下面我们加快脚步验收下我们的权限这块到底成还是不成呢?
一般来说到这一步就ok的了。后面的可以自己摸索着添加路由分配权限了。
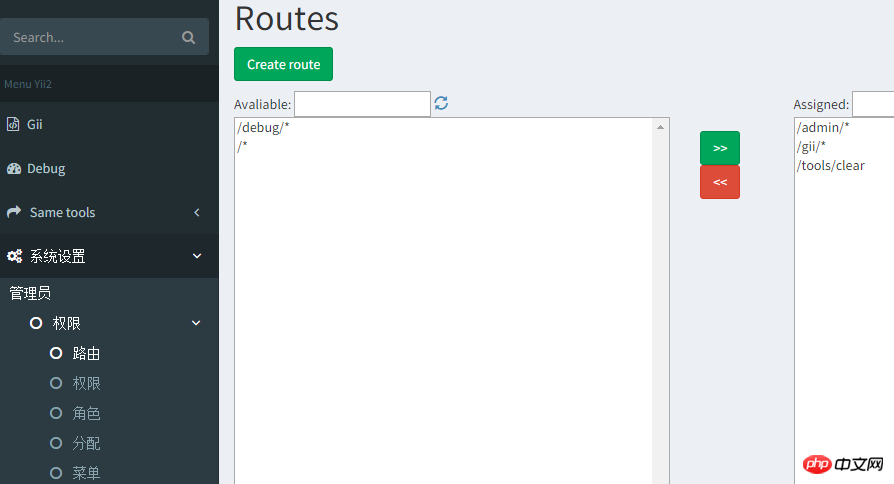
下面我们在左侧菜单上把权限的栏目加上,代码可直接复制,放置于 db2c32bc5578a859f76388e2da8eefc94d7ab0de9a42de71c682b0860bad1410内
<ul class="sidebar-menu">
<li class="treeview">
<a href="#">
<i class="fa fa-gears"></i> <span>权限控制</span>
<i class="fa fa-angle-left pull-right"></i>
</a>
<ul class="treeview-menu">
<li class="treeview">
<a href="/admin">管理员</a>
<ul class="treeview-menu">
<li><a href="/user"><i class="fa fa-circle-o"></i> 后台用户</a></li>
<li class="treeview">
<a href="/admin/role">
<i class="fa fa-circle-o"></i> 权限 <i class="fa fa-angle-left pull-right"></i>
</a>
<ul class="treeview-menu">
<li><a href="/admin/route"><i class="fa fa-circle-o"></i> 路由</a></li>
<li><a href="/admin/permission"><i class="fa fa-circle-o"></i> 权限</a></li>
<li><a href="/admin/role"><i class="fa fa-circle-o"></i> 角色</a></li>
<li><a href="/admin/assignment"><i class="fa fa-circle-o"></i> 分配</a></li>
<li><a href="/admin/menu"><i class="fa fa-circle-o"></i> 菜单</a></li>
</ul>
</li>
</ul>
</li>
</ul>
</li>
</ul>
我们看下效果图,这样一来,我们对权限进行操作就十分的方便了
如此,我们的权限控制基本告一段落了,关于权限需要说明的是:
你应该先添加路由,然后添加权限名称,后再对角色或个人进行权限的独立分配。
5、如何利用menu对菜单进行控制?
4.5步骤中我们是直接写ul li的方式对左侧菜单进行操作的,这样也是能够实现通过菜单对权限进行控制滴。
但是喃,一来不方便操作,而来增加修改个什么东东都得需要我们去修改程序实现,这也TTM不方便了。还好我们家有妙招,DDV杀杀杀。
好了,又扯远了。仔细回想,是不是我们创建的123456张表还有一张menu表没有利用到喃?这货怎么利用喃?来,我们回归正题。
首选,我们访问/admin/menu/index添加几个一级菜单,姑且叫做一级1,一级2,一级3吧,哦对了,忘记添加路由了,怎么回事呢,我们先访问/admin/route/index 把左侧的路由移动到右侧,不然上面创建新菜单会失败哦。创建菜单时,[映射][数据]我们暂且不填写。
添加完毕之后呢,我们打开布局文件left.php,use两个类文件,分别是yii\bootstrap\Nav和mdm\admin\components\MenuHelper;
获取权限的操作 MenuHelper::getAssignedMenu都帮我们做好了。
ok,我们删掉4.5添加的sidebar-menu菜单,添加下面的代码试试看
echo Nav::widget(
[
'encodeLabels' => false,
'options' => ['class' => 'sidebar-menu'],
'items' => MenuHelper::getAssignedMenu(Yii::$app->user->id),
]
);
现在菜单控制权限我们基本上是ok了,现在你可以继续添加菜单试试效果如何。
以上就是本文的全部内容,希望对大家的学习有所帮助,更多相关内容请关注PHP中文网!
相关推荐:
The above is the detailed content of About building the backend of Yii2 and implementing rbac permission control. For more information, please follow other related articles on the PHP Chinese website!