Home >Backend Development >PHP Tutorial >Installing Memcached under Windows 10 64 and installing the Memcache extension for PHP 7.0.22
Installing Memcached under Windows 10 64 and installing the Memcache extension for PHP 7.0.22
- 不言Original
- 2018-04-10 16:00:232121browse
The content of this article is to install Memcached and install the Memcache extension of PHP 7.0.22 under Windows 10 64. Now I share it with you. Friends in need can refer to it
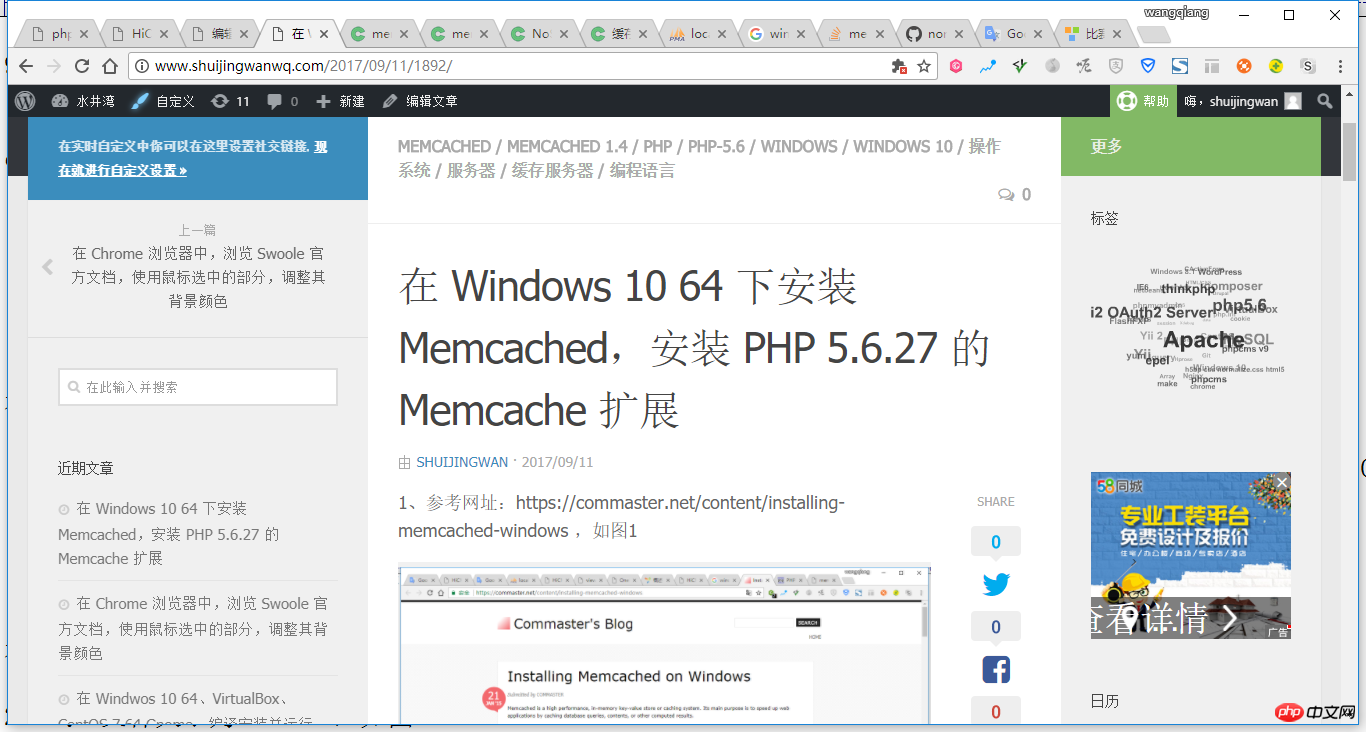
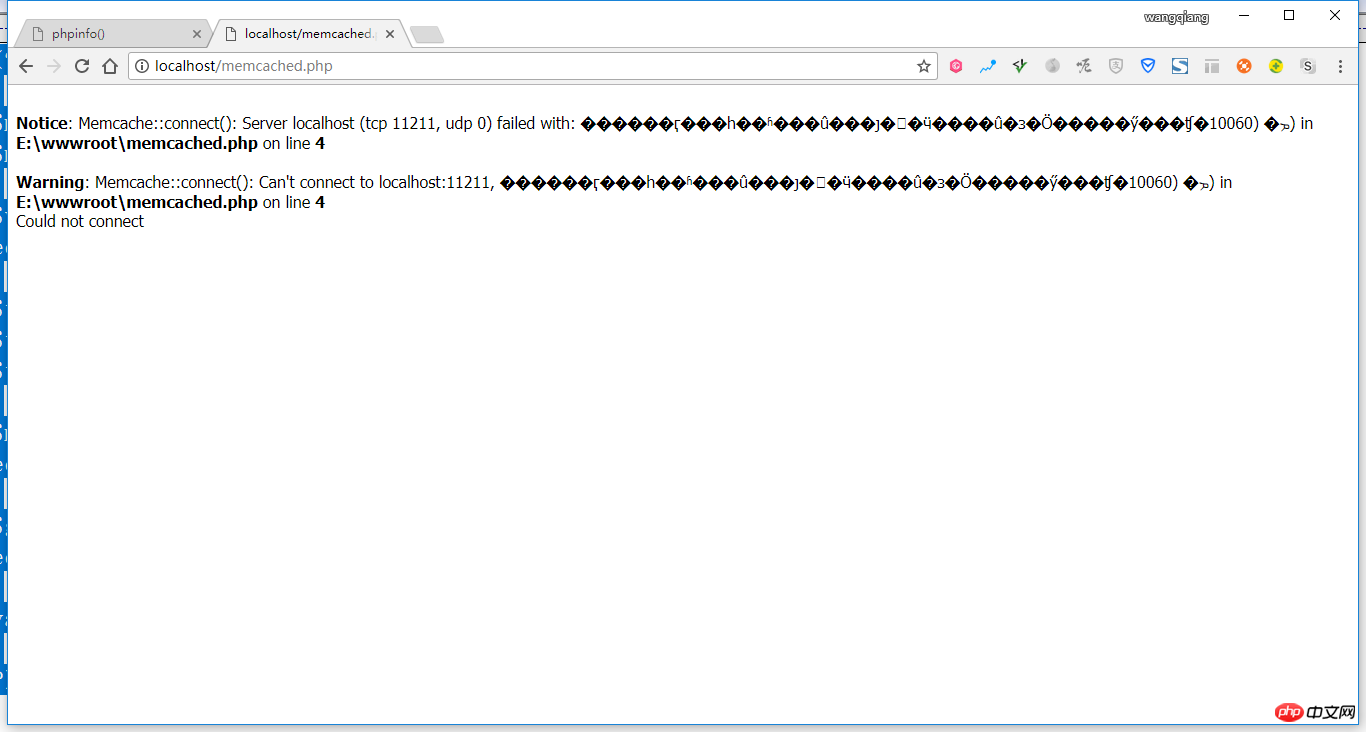
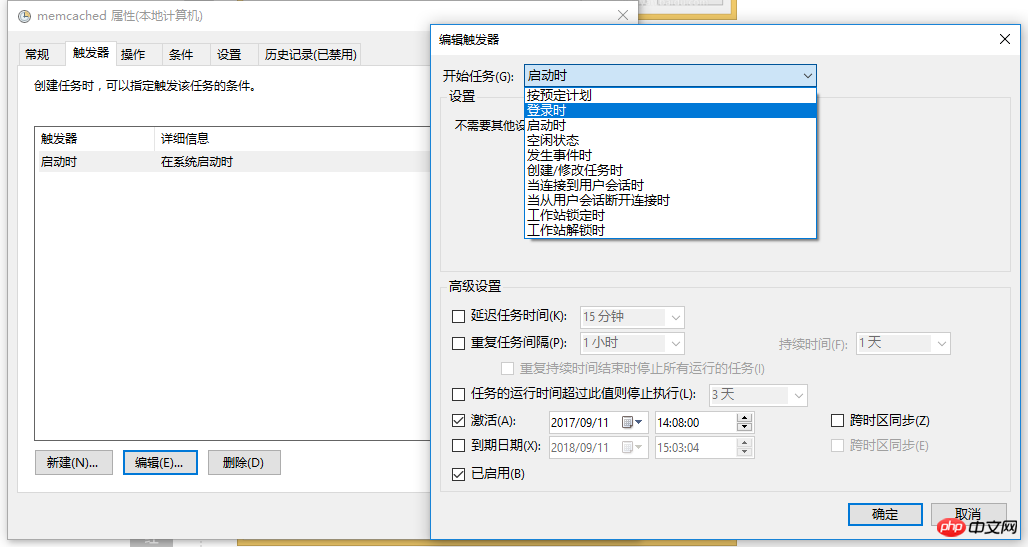
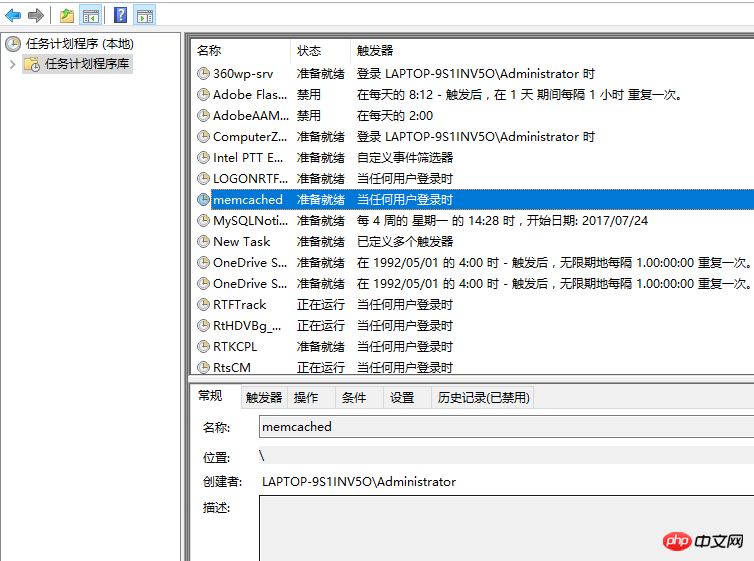
1. I have written a blog before under PHP 5.6.27: http://www.shuijingwanwq.com/2017/09/11/1892/, this time it is under PHP 7.0.22, as shown in the figure 1
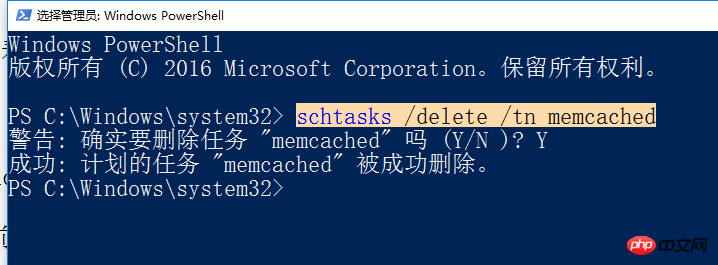
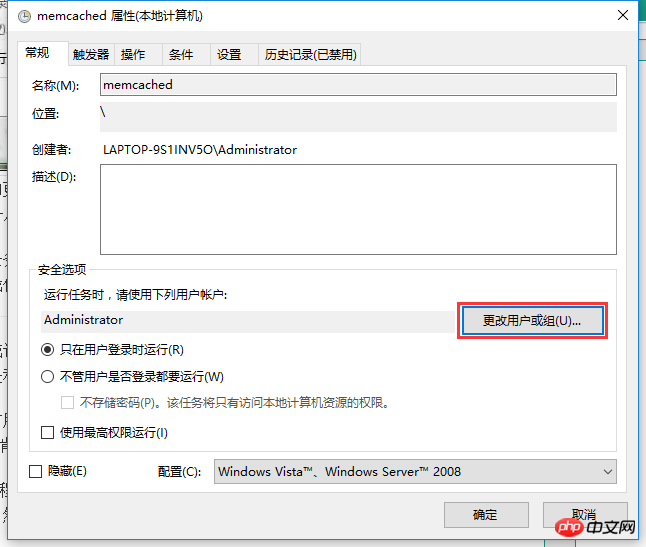
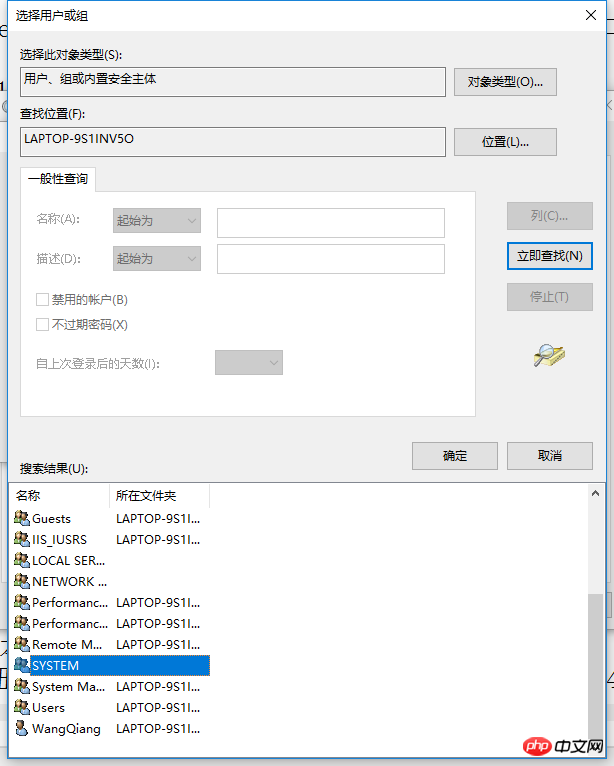
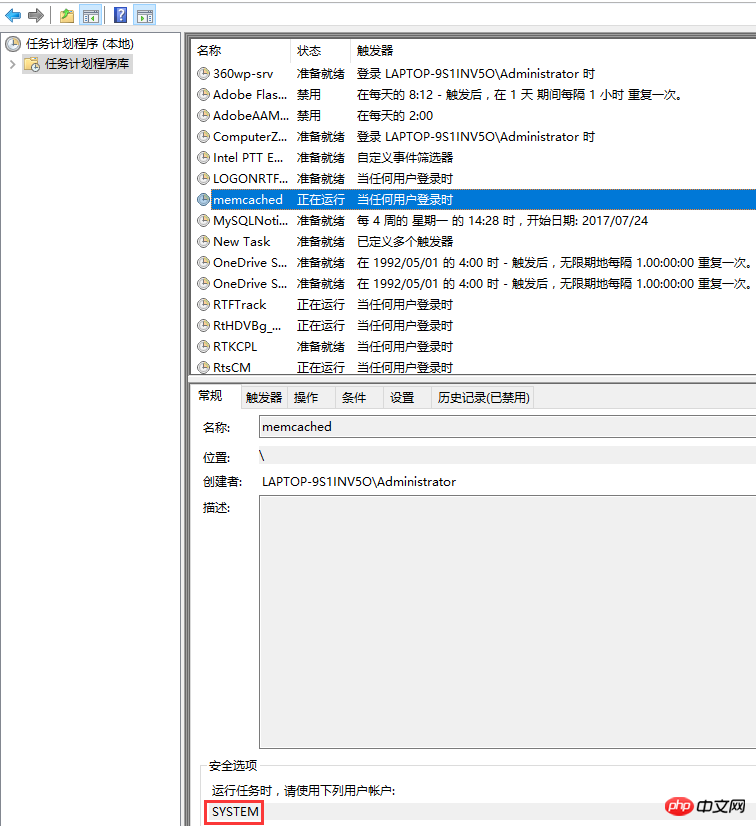
schtasks /delete /tn memcached
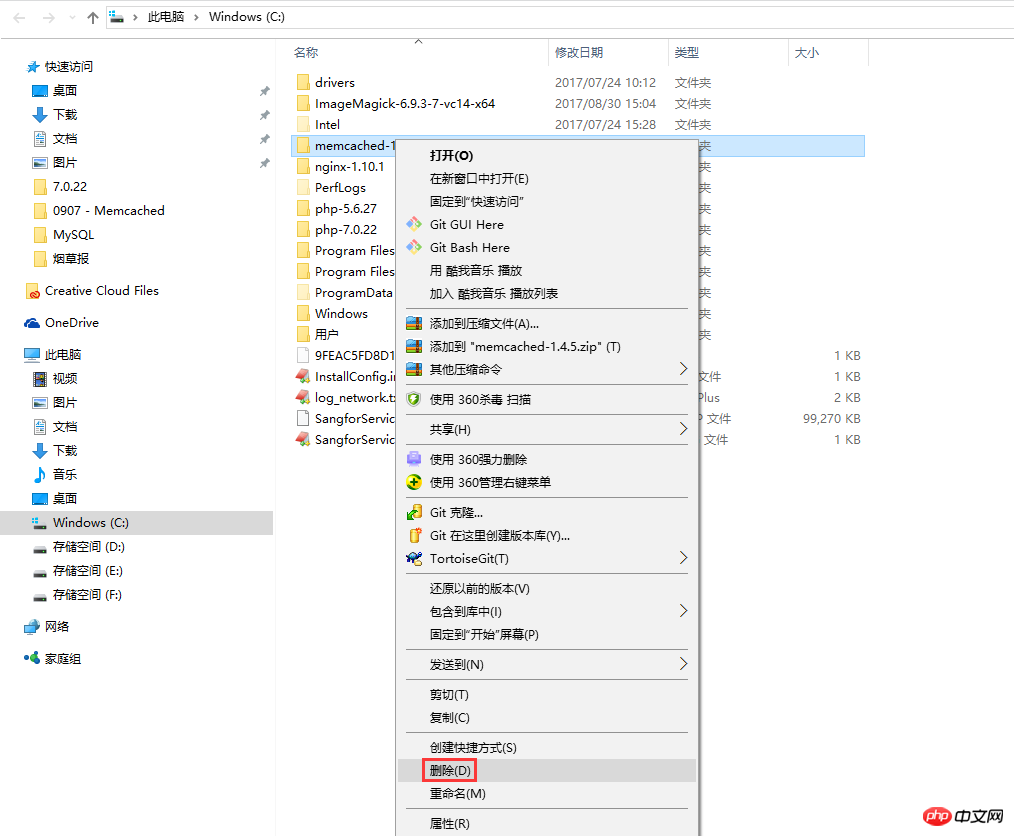
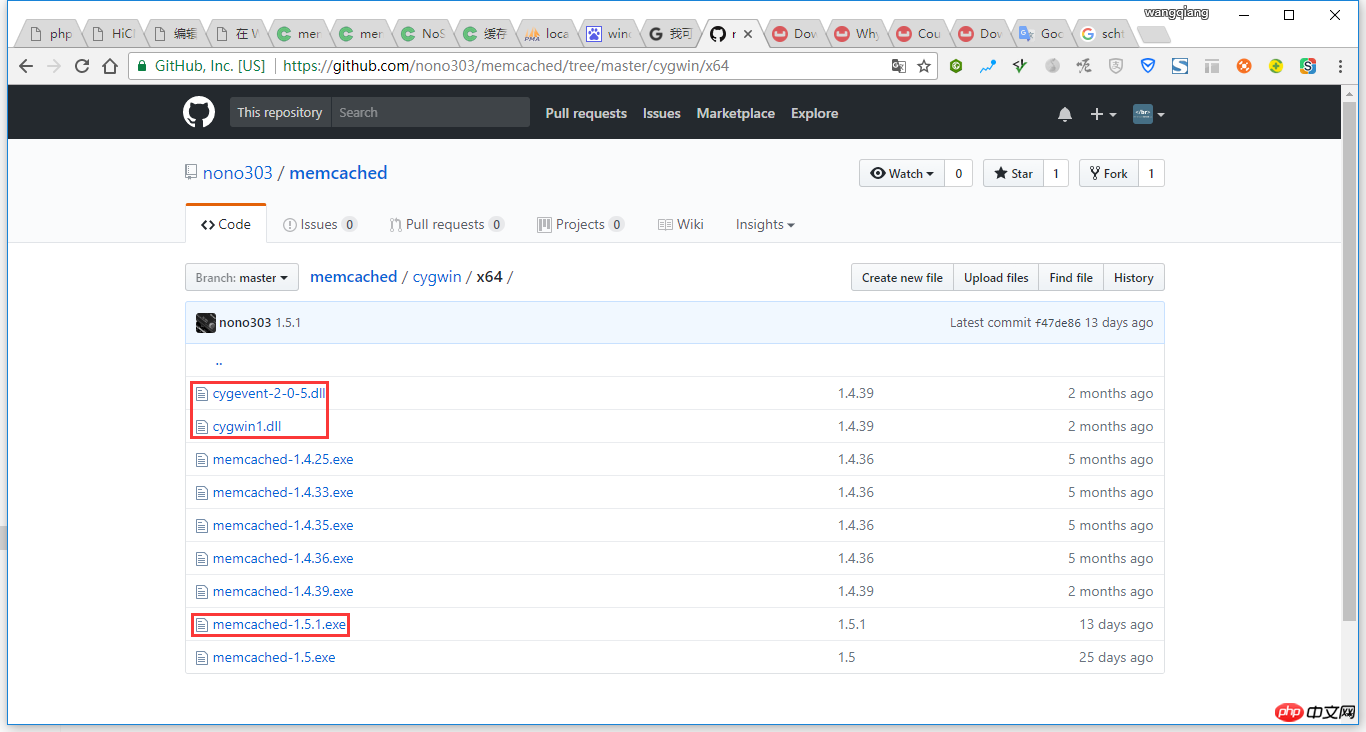

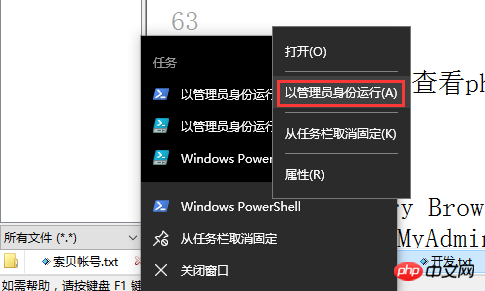
schtasks /create /sc onstart /tn memcached /tr “'C :\memcached-1.5.1\memcached-1.5.1.exe' -m 512”

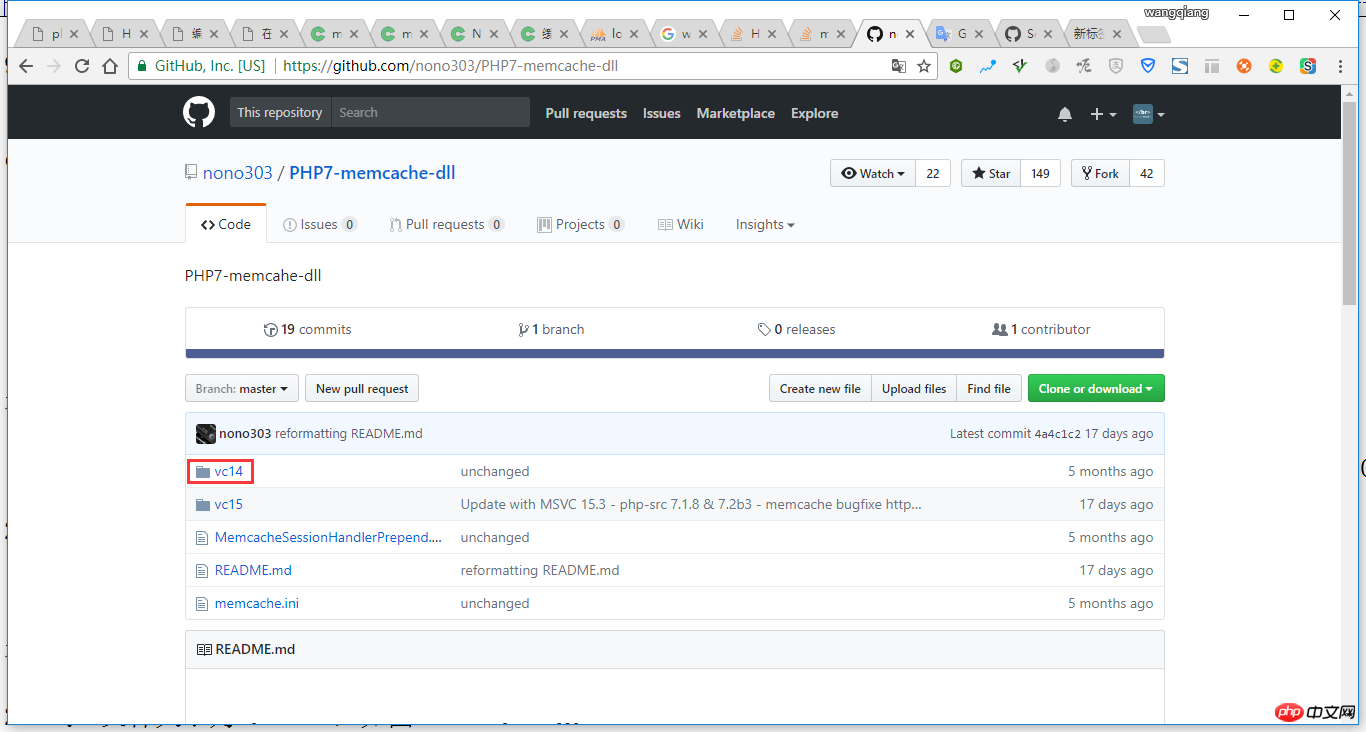 ##Figure 8
9. View phpinfo, compiler It is MSVC14 and thread-safe, as shown in Figure 9
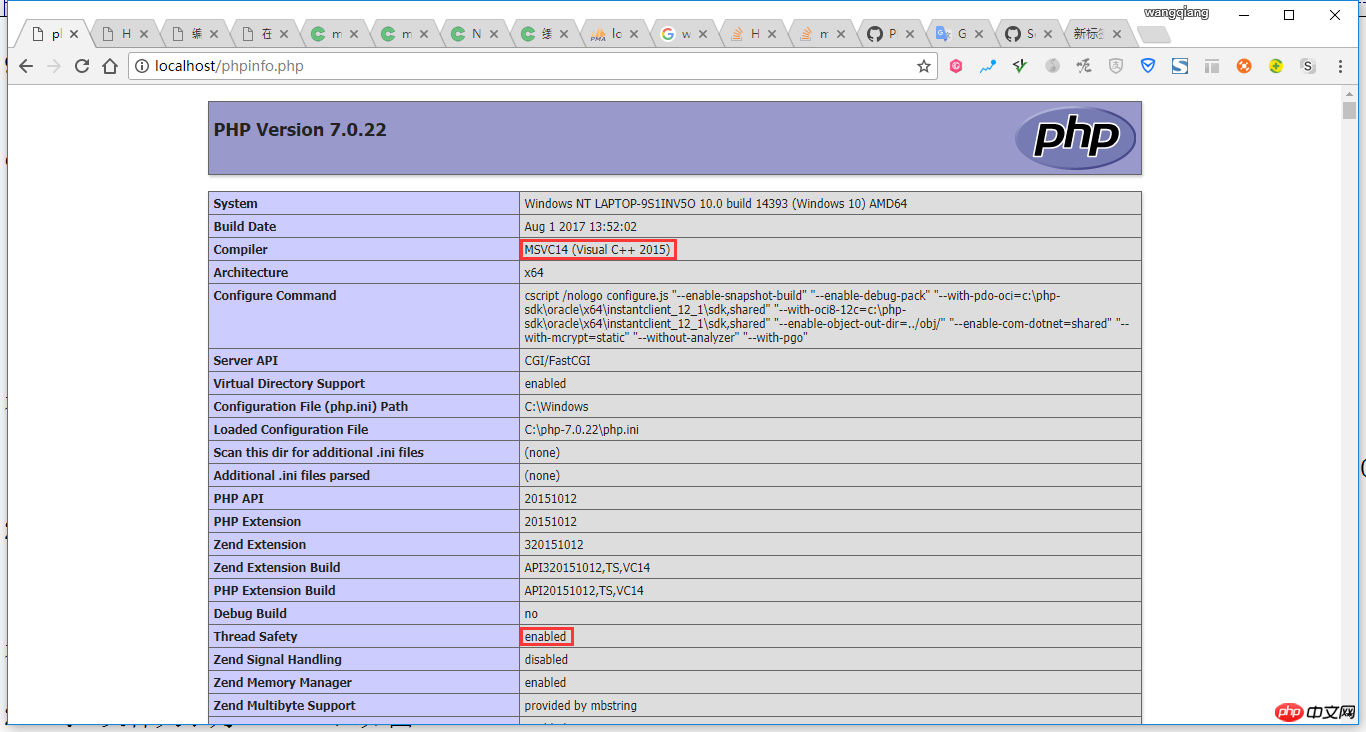 Figure 9
10. Open the URL: https://github.com/nono303/PHP7- memcache-dll/tree/master/vc14/x64/ts, download: php-7.0.x_memcache.dll, as shown in Figure 10
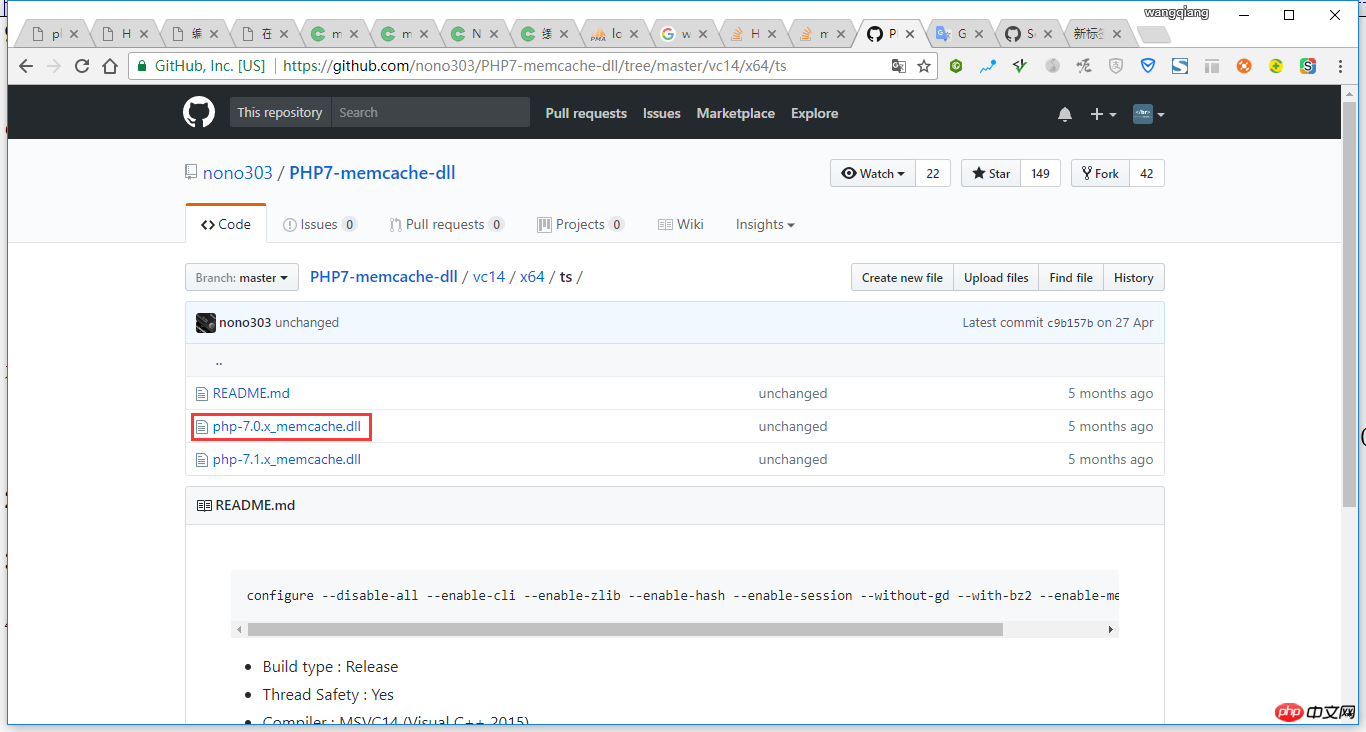 Figure 10
11. Copy php-7.0.x_memcache.dll to: C:\php-7.0.22\ext\php_memcache.dll, as shown in Figure 11
##Figure 11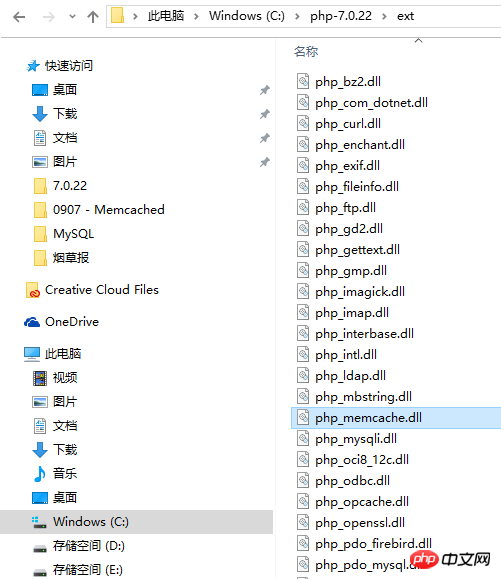
extension=php_memcache.dll
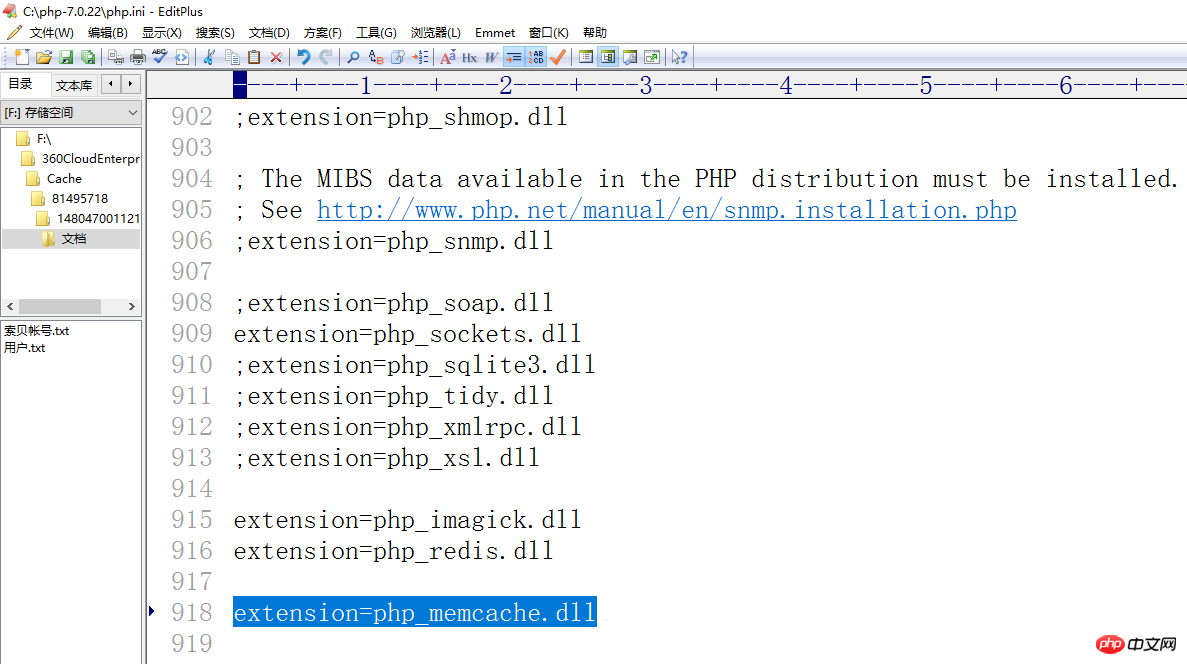
Figure 12
13. Check phpinfo, memcache already exists, as shown in Figure 13
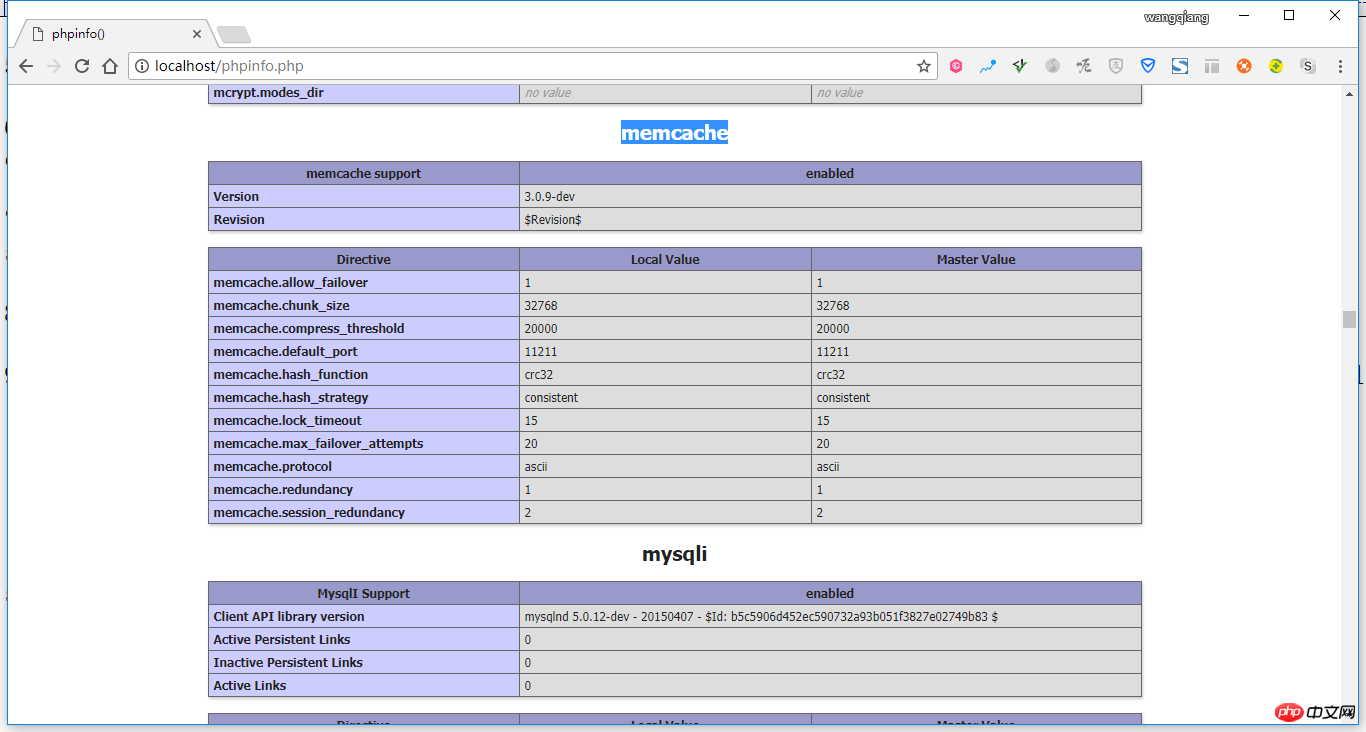
Figure 13
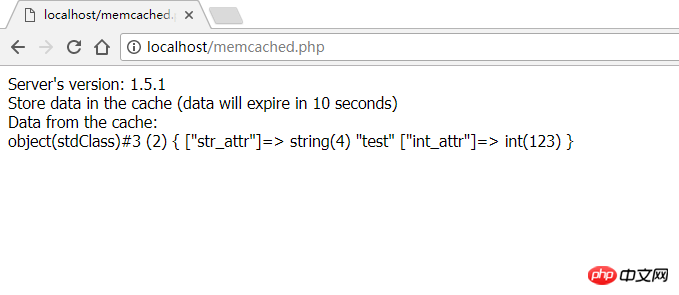
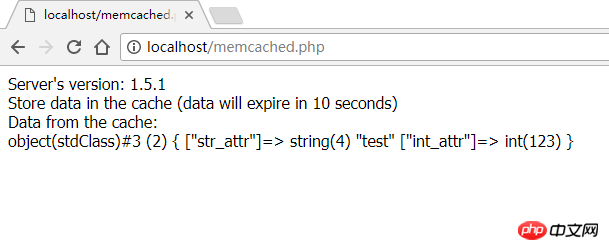
14. Create a new test program: memcached.php, as shown in Figure 14
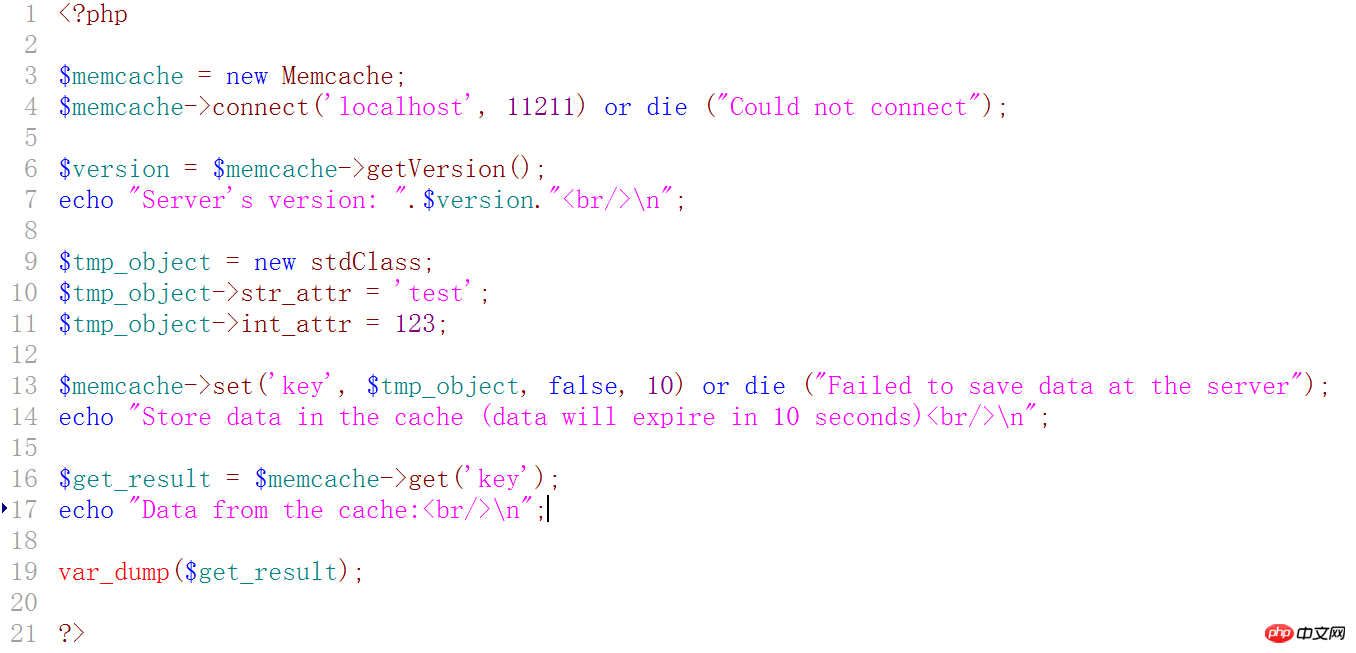
| 12345 6789101112131415161718192021 |
<?php
$memcache = new Memcache;
$memcache->connect('localhost', 11211) or die ("Could not connect");
$version = $memcache->getVersion();
echo "Server's version: ".$version."<br/>\n";
$tmp_object = new stdClass;
$tmp_object->str_attr = 'test';
$tmp_object->int_attr = 123;
$memcache->set('key', $tmp_object, false, 10) or die ("Failed to save data at the server");
echo "Store data in the cache (data will expire in 10 seconds)<br/>\n";
$get_result = $memcache->get('key');
echo "Data from the cache:<br/>\n";
var_dump($get_result);
?>
|
The above is the detailed content of Installing Memcached under Windows 10 64 and installing the Memcache extension for PHP 7.0.22. For more information, please follow other related articles on the PHP Chinese website!


 ##Figure 22
 Related recommendations: