

Uninstall MariaDB
CentOS7 installs MariaDB by default instead of MySQL, and MySQL-related software packages are also removed from the yum server. Because MariaDB and MySQL may conflict, uninstall MariaDB first.
1. Before installing the new version of mysql, we need to uninstall the mariadb-lib that comes with the system
[root@iZwz94qazh62gk5ewl4ei2Z home]# rpm -qa | grep -i mariadb
 mariadb-libs-5.5.52-1.el7.x86_64
[root@iZwz94qazh62gk5ewl4ei2Z home]# rpm -e --nodeps mariadb-libs-5.5.52-1.el7.x86_64
2. Go to the official website of mysql to download the rpm set of the latest version of mysql Package: mysql-5.7.18-1.el6.x86_64.rpm-bundle.tar
3. Upload mysql-5.7.18-1.el6.x86_64.rpm-bundle.tar to the linux server, and Unzip the tar package
[root@iZwz94qazh62gk5ewl4ei2Z home]# mkdir mysql
[root@iZwz94qazh62gk5ewl4ei2Z home]# tar -xf mysql-5.7.18-1.el6.x86_64.rpm-bundle.tar -C mysql
[root@iZwz94qazh62gk5ewl4ei2Z home]# cd mysql
[root@iZwz94qazh62gk5ewl4ei2Z mysql]# ll
total 459492-rw-r--r-- 1 7155 31415  23618836 Mar 20 17:40 mysql-community-client-5.7.18-1.el6.x86_64.rpm-rw-r--r-- 1 7155 31415    335496 Mar 20 17:40 mysql-community-common-5.7.18-1.el6.x86_64.rpm-rw-r--r-- 1 7155 31415   3747352 Mar 20 17:40 mysql-community-devel-5.7.18-1.el6.x86_64.rpm-rw-r--r-- 1 7155 31415  39086508 Mar 20 17:40 mysql-community-embedded-5.7.18-1.el6.x86_64.rpm-rw-r--r-- 1 7155 31415 135869292 Mar 20 17:40 mysql-community-embedded-devel-5.7.18-1.el6.x86_64.rpm-rw-r--r-- 1 7155 31415   2177064 Mar 20 17:40 mysql-community-libs-5.7.18-1.el6.x86_64.rpm-rw-r--r-- 1 7155 31415   1723180 Mar 20 17:40 mysql-community-libs-compat-5.7.18-1.el6.x86_64.rpm-rw-r--r-- 1 7155 31415 159060212 Mar 20 17:41 mysql-community-server-5.7.18-1.el6.x86_64.rpm-rw-r--r-- 1 7155 31415 104881084 Mar 20 17:41 mysql-community-test-5.7.18-1.el6.x86_64.rpm
4. Use the rpm -ivh command to install
[root@iZwz94qazh62gk5ewl4ei2Z mysql]# -community-common-.-.el6.x86_64.rpm: Header V3 DSA/SHA1 Signature, key /:mysql-community-common-.-.e################################# [-community-libs-.-.el6.x86_64.rpm: Header V3 DSA/SHA1 Signature, key /:mysql-community-libs-.-.el6################################# [-community-client-.-.el6.x86_64.rpm: Header V3 DSA/SHA1 Signature, key /:mysql-community-client-.-.e################################# [-community-server-.-.el6.x86_64.rpm: Header V3 DSA/SHA1 Signature, key /:mysql-community-server-.-.e################################# [
The above packages have dependencies and must be executed in order.
Use the rpm installation method to install mysql. The installation path is as follows:
a Database directory
/var/lib/mysql/
b Configuration file
/usr/share /mysql(mysql.server command and configuration file)
c Related commands
/usr/bin(mysqladmin mysqldump and other commands)
d Startup script
/etc/rc.d/init.d/ (Directory of startup script file mysql)
e /etc/my.conf
5. Database initialization
In order to ensure that the database directory is logged in with the owner of the file being mysql User, if your Linux system is running the mysql service as root, you need to execute the following command to initialize
[root@iZwz94qazh62gk5ewl4ei2Z mysql]# mysqld --initialize --user=mysql
If you are logged in and run as mysql, you can remove the --user option.
In addition, the --initialize option defaults to initialization in "safe" mode, which will generate a password for the root user and mark the password as expired. After logging in, you need to set a new password,
When using the --initialize-insecure command, the safe mode is not used and a password will not be generated for the root user.
The --initialize initialization used in the demonstration here will generate a root account password. The password is in the log file. The red area is the automatically generated password
[root@iZwz94qazh62gk5ewl4ei2Z mysql]# cat /var/log/mysqld.log2017-06-05T14:30:52.709474Z 0 [Warning] TIMESTAMP with implicit DEFAULT value is deprecated. Please use --explicit_defaults_for_timestamp server option (see documentation for more details).2017-06-05T14:30:55.590590Z 0 [Warning] InnoDB: New log files created, LSN=457902017-06-05T14:30:56.000269Z 0 [Warning] InnoDB: Creating foreign key constraint system tables.2017-06-05T14:30:56.109868Z 0 [Warning] No existing UUID has been found, so we assume that this is the first time that this server has been started. Generating a new UUID: 960c533e-49fb-11e7-91f2-00163e089fd2.2017-06-05T14:30:56.116186Z 0 [Warning] Gtid table is not ready to be used. Table 'mysql.gtid_executed' cannot be opened.2017-06-05T14:30:56.116777Z 1 [Note] A temporary password is generated for root@localhost: :Wu?2QQutQwj
Now start the mysql database systemctl start mysqld.service (Centos7-specific startup method)
[root@iZwz94qazh62gk5ewl4ei2Z mysql]# systemctl start mysqld.service
You can use the following two commands to stop, start and restart mysql:
Start:
使用 service 启动:service mysqld start
使用 mysqld 脚本启动:/etc/inint.d/mysqld start
使用 safe_mysqld 启动:safe_mysqld&
Stop:
使用 service 启动:service mysqld stop
使用 mysqld 脚本启动:/etc/inint.d/mysqld stop
mysqladmin shutdown
Restart:
使用 service 启动:service mysqld restart
使用 mysqld 脚本启动:/etc/inint.d/mysqld restart
Connect to database
[root@iZwz94qazh62gk5ewl4ei2Z mysql]# mysql -u root -p
Enter password:
Password input: :Wu?2QQutQwj
Change password:
set password = password('你的密码');Set up remote access
grant all privileges on *.* to 'root' @'%' identified by '123456';
flush privileges;
Set mysql to start at boot
加入到系统服务:
chkconfig --add mysqld
自动启动:
chkconfig mysqld on
查询列表:
chkconfig

说明:都没关闭(off)时是没有自动启动。
flush privileges;
The above is the detailed content of Cloud server Centos7.3 installation mysql5.7.18 rpm installation steps. For more information, please follow other related articles on the PHP Chinese website!

 win11安装语言包错误0x800f0950什么原因Jul 01, 2023 pm 11:29 PM
win11安装语言包错误0x800f0950什么原因?当我们在给windows11系统安装新语言包时,有时会遇到系统提示错误代码:0x800f0950,导致语言包安装流程无法继续进行下去。导致这个错误代码一般是什么原因,又要怎么解决呢?今天小编就来给大家说明一下win11安装语言包错误0x800f0950的具体解决步骤,有需要的用户们赶紧来看一下吧。win11电脑错误代码0x800f0950解决技巧1、首先按下快捷键“Win+R”打开运行,然后输入:Regedit打开注册表。2、在搜索框中输入“
 如何在 Google Docs 中安装自定义字体Apr 26, 2023 pm 01:40 PM
GoogleDocs在学校和工作环境中变得很流行,因为它提供了文字处理器所期望的所有功能。使用Google文档,您可以创建文档、简历和项目提案,还可以与世界各地的其他用户同时工作。您可能会注意到GoogleDocs不包括MicrosoftWord附带的所有功能,但它提供了自定义文档的能力。使用正确的字体可以改变文档的外观并使其具有吸引力。GoogleDocs提供了大量字体,您可以根据自己的喜好从中选择任何人。如果您希望将自定义字体添加到Google文档,请继续阅读本文。在本文中
 阿里云宣布 2024 云栖大会于 9 月 19 日至 21 日在杭州举办,畅享票免费申请Aug 07, 2024 pm 07:12 PM
本站8月5日消息,阿里云宣布,2024云栖大会将于9月19日~21日在杭州云栖小镇举办,将设三日主论坛、400场分论坛与并行话题以及近四万平方米展区。云栖大会对公众免费开放,即日起公众可以通过云栖大会官网免费申请畅享票,另有5000元的全通票可购买,本站附门票网址:https://yunqi.aliyun.com/2024/ticket-list据介绍,云栖大会起源于2009年,最初命名为第一届中国网站发展论坛,2011年演变成阿里云开发者大会,2015年正式更名为“云栖大会”,至今已连续成功举
 Steam 未检测到 Windows 11/10 中已安装的游戏,如何修复Jun 27, 2023 pm 11:47 PM
Steam客户端无法识别您计算机上的任何游戏吗?当您从计算机上卸载Steam客户端时,会发生这种情况。但是,当您重新安装Steam应用程序时,它会自动识别已安装文件夹中的游戏。但是,别担心。不,您不必重新下载计算机上的所有游戏。有一些基本和一些高级解决方案可用。修复1–尝试在同一位置安装游戏这是解决这个问题的最简单方法。只需打开Steam应用程序并尝试在同一位置安装游戏即可。步骤1–在您的系统上打开Steam客户端。步骤2–直接进入“库”以查找您拥有的所有游戏。第3步–选择游戏。它将列在“未分类
 修复:在 Xbox 应用上的 Halo Infinite(Campaign)安装错误代码 0X80070032、0X80070424 或 0X80070005May 21, 2023 am 11:41 AM
<p><strong>HaloInfinite(Campaign)</strong>是一款第一人称射击视频游戏,于2021年11月推出,可供单人和多用户使用。该游戏是Halo系列的延续,适用于Windows、XboxOne和Xbox系列的用户X|S。最近,它还在PC版XboxGamePass上发布,以提高其可访问性。大量玩家报告在尝试使用WindowsPC上的<strong>Xbox应
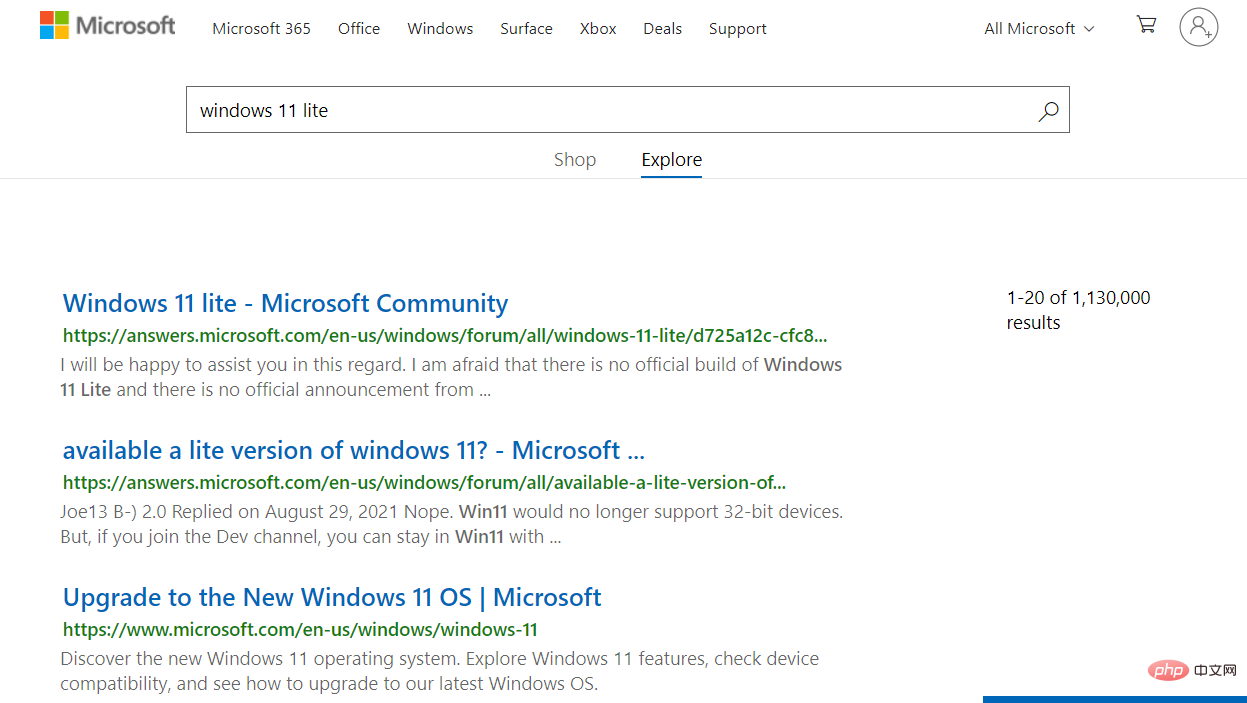 Windows 11 Lite:它是什么以及如何在您的 PC 上安装它Apr 14, 2023 pm 11:19 PM
我们深知MicrosoftWindows11是一个功能齐全且设计吸引人的操作系统。但是,用户一直要求Windows11Lite版本。尽管它提供了重大改进,但Windows11是一个资源匮乏的操作系统,它可能很快就会使旧机器混乱到无法顺利运行的地步。本文将解决您最常问的关于是否有Windows11Lite版本以及是否可以安全下载的问题。跟着!有Windows11Lite版本吗?我们正在谈论的Windows11Lite21H2版本是由Neelkalpa的T
 阿里游戏公司“灵犀互娱”换帅,将由《三国志・战略版》制作人周炳枢接任Mar 13, 2024 pm 07:55 PM
据游戏葡萄报道,阿里旗下游戏公司灵犀互娱的业务负责人詹钟晖(叮当)在一封内部邮件中宣布他和陈伟安将在财年末(3月31日)卸任。他还透露,岗位将由《三国志・战略版》制作人周炳枢(饼叔)接替。邮件内容未公开。各位灵犀小伙伴,灵犀互娱成立七年以来,凭借所有团队成员的共同努力和集团的全力支持,通过一系列优秀作品,在玩家心目中树立了相当的品牌影响力,在行业中也逐渐崭露头角。随着人才梯队日渐完善,灵犀的年轻人们成长迅速,已能担当带领灵犀继续发展的重任。到这个财年末,我和老陈、春娇将正式卸任大班委,交给炳枢带
 如何在 Windows 11 中重新安装邮件应用程序Apr 14, 2023 pm 03:19 PM
<p><strong>邮件应用程序</strong>是Windows11内置的一个非常有用的电子邮件客户端。它允许您从一个位置管理所有邮件帐户。虽然Mail应用程序非常有用,但有时可能需要重置,有时也需要重新安装,原因有多种。在本文中,我们将通过一些简单的步骤说明如何从Windows11轻松卸载Mail应用程序,以及如何轻松地从MicrosoftStore将其取回。</p>&l


Hot AI Tools

Undresser.AI Undress
AI-powered app for creating realistic nude photos

AI Clothes Remover
Online AI tool for removing clothes from photos.

Undress AI Tool
Undress images for free

Clothoff.io
AI clothes remover

AI Hentai Generator
Generate AI Hentai for free.

Hot Article
Hot Tools

Safe Exam Browser
Safe Exam Browser is a secure browser environment for taking online exams securely. This software turns any computer into a secure workstation. It controls access to any utility and prevents students from using unauthorized resources.

SublimeText3 Linux new version
SublimeText3 Linux latest version

VSCode Windows 64-bit Download
A free and powerful IDE editor launched by Microsoft

Atom editor mac version download
The most popular open source editor

SublimeText3 Mac version
God-level code editing software (SublimeText3)

