 Web Front-end
 JS Tutorial
 Detailed explanation of examples of bootstrap method introduced by Webpack
本篇文章主要介绍了Webpack如何引入bootstrap的方法,小编觉得挺不错的,现在分享给大家,也给大家做个参考。一起跟随小编过来看看吧
【相关视频推荐:Bootstrap教程】
Bootstrap中是一种事实上的界面标准,标准到现在的网站大量的使用它。如果可以使用webpack引入的bootstrapcss,就可以一个npm install完成项目的依赖,而不必手工的添加到html内。
本来以为在入口文件内加一行就行:
import 'bootstrap/dist/css/bootstrapcss'
然后安装依赖:
npm i bootstrap url url-loader style-loader css-loader --save
实际上却不是想象的那么简单。因为css文件内还引用了很多类型的字体文件和矢量图文件。要引入它,必须同时提供css之外的类型的对应的loader:
//webpackconfigjs:
moduleexports = {
entry: {
'js'
},
output: {
filename: 'bundlejs'
},
module: {
loaders: [

{ test: /\css$/, loader: 'style-loader!css-loader' },
{ test: /\eot(\?v=\d+\\d+\\d+)?$/, loader: "file" },
{ test: /\(woff|woff2)$/, loader:"url?prefix=font/&limit=5000" },
{ test: /\ttf(\?v=\d+\\d+\\d+)?$/, loader: "url?limit=10000&mimetype=application/octet-stream" },
{ test: /\svg(\?v=\d+\\d+\\d+)?$/, loader: "url?limit=10000&mimetype=image/svg+xml" }
]
}
};
我们在html文件内使用那么一点点的bootstrap:
// chtml
<html>
<body>
<ul class="nav nav-pills">
<li role="presentation" class="active"><a href="#" rel="external nofollow" rel="external nofollow" rel="external nofollow" >Home</a></li>
<li role="presentation"><a href="#" rel="external nofollow" rel="external nofollow" rel="external nofollow" >Profile</a></li>
<li role="presentation"><a href="#" rel="external nofollow" rel="external nofollow" rel="external nofollow" >Messages</a></li>
</ul>
<script type="text/javascript" src="bundlejs"></script>
</body>
</html>
再次执行转译:
webpack
打开浏览器:
open chtml
看到bootstrap那熟悉而太熟悉的界面。
引入jquery
如果需要使用bootstrap的js插件的话,就必须首先引入jquery。引用jquery的一个方法是使用webpack插件。
首先安装jquery:
npm i jquery
其次使用插件装入jquery,方法是修改webpack的配置文件,加入:
plugins: [
new webpackProvidePlugin({
$: "jquery",
jQuery: "jquery"
})
]
在入口文件内加入代码来做验证:
$("body")append("<p>hello world</p>")如果成功,说明jquery加载成功。这样你就可以在入口js文件内加载bootstrapjs了:
import 'bootstrap/dist/js/bootstrapjs'
排除错误
我确实在引入bootstrap的时候,遇到一个神奇的错误。在webpack转译时报错,css-loader,unknown word样子的错误。对webpackconfigjs文件加入一个include属性并指向到不存在的目录即可。
{
test: /\css$/,
include: [
pathresolve(dirname, "not_exist_path")
],
loader: "style!css"
}
原始的issue在此:githubcom/webpack/cs 。我看看看到此答案时以为是个玩笑。
The above is the detailed content of Detailed explanation of examples of bootstrap method introduced by Webpack. For more information, please follow other related articles on the PHP Chinese website!
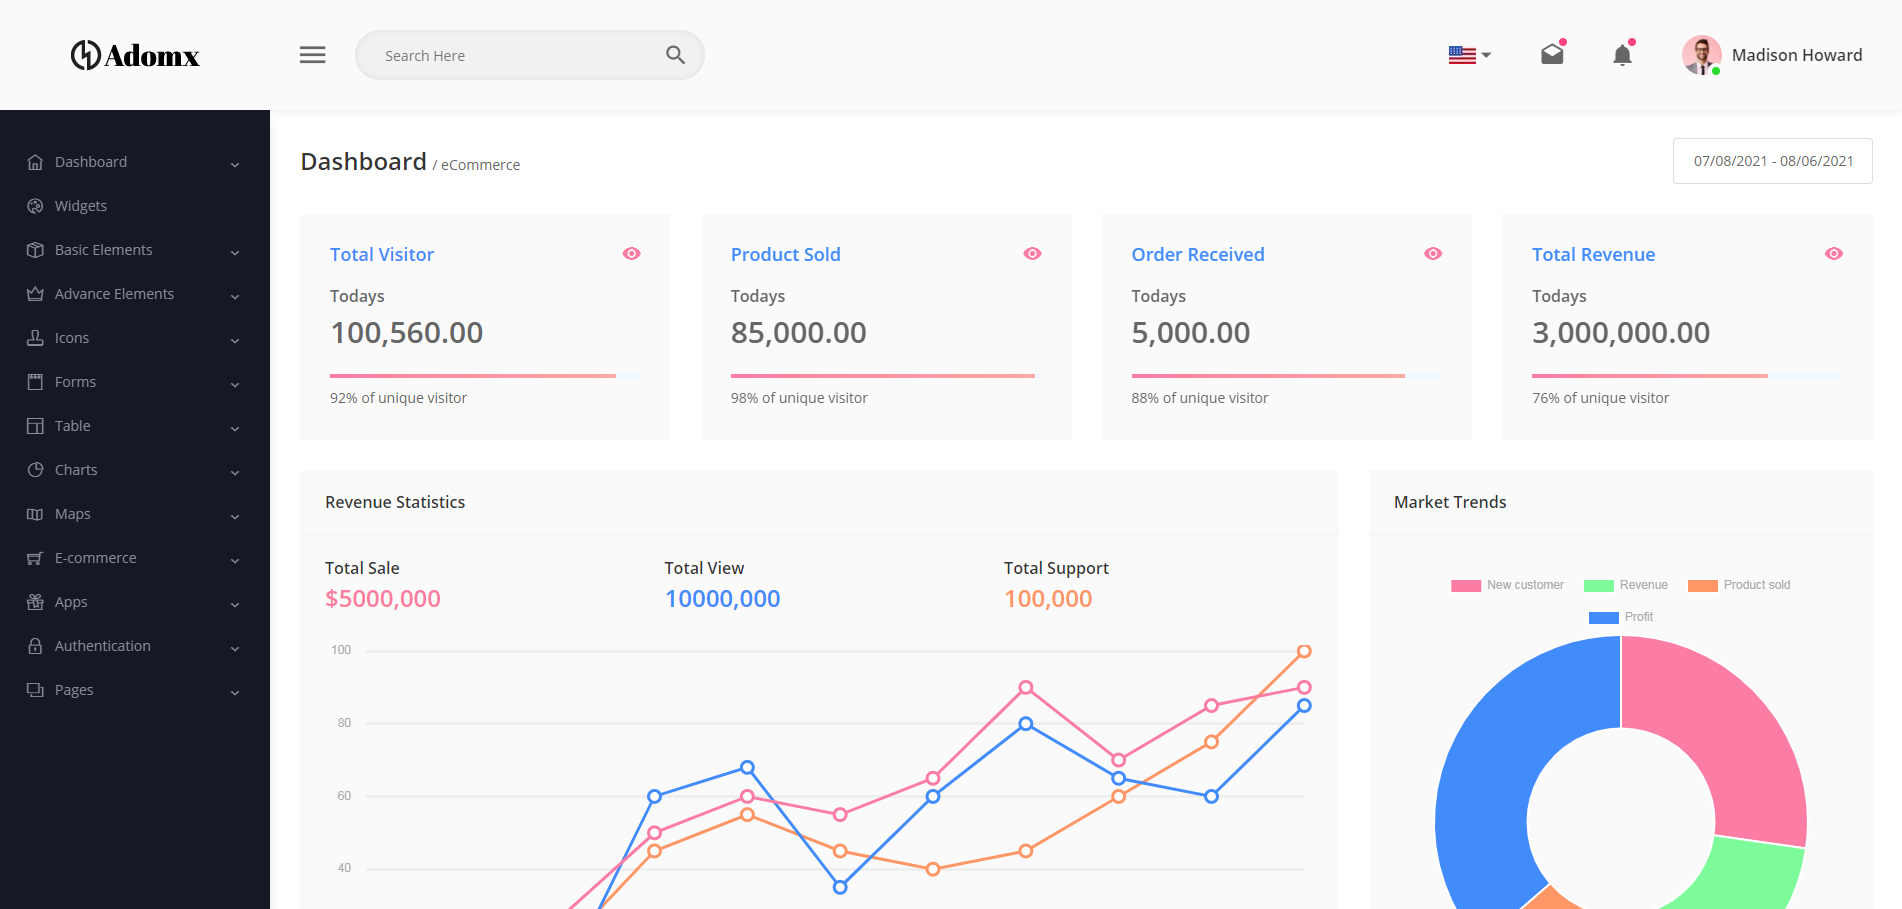 10款好看又实用的Bootstrap后台管理系统模板(快来下载)Aug 06, 2021 pm 01:55 PM
一个好的网站,不能只看外表,网站后台同样很重要。本篇文章给大家分享10款好看又实用的Bootstrap后台管理系统模板,可以帮助大家快速建立强大有美观的网站后台,欢迎下载使用!如果想要获取更多后端模板,请关注php中文网后端模板栏目!
 bootstrap与jquery是什么关系Aug 01, 2022 pm 06:02 PM
bootstrap与jquery的关系是:bootstrap是基于jquery结合了其他技术的前端框架。bootstrap用于快速开发Web应用程序和网站,jquery是一个兼容多浏览器的javascript库,bootstrap是基于HTML、CSS、JAVASCRIPT的。
 7款实用响应式Bootstrap电商源码模板(快来下载)Aug 31, 2021 pm 02:13 PM
好看又实用的Bootstrap电商源码模板可以提高建站效率,下面本文给大家分享7款实用响应式Bootstrap电商源码,均可免费下载,欢迎大家使用!更多电商源码模板,请关注php中文网电商源码栏目!
 8款Bootstrap企业公司网站模板(源码免费下载)Aug 24, 2021 pm 04:35 PM
好看又实用的企业公司网站模板可以提高您的建站效率,下面PHP中文网为大家分享8款Bootstrap企业公司网站模板,均可免费下载,欢迎大家使用!更多企业站源码模板,请关注php中文网企业站源码栏目!
 bootstrap中sm是什么意思May 06, 2022 pm 06:35 PM
在bootstrap中,sm是“小”的意思,是small的缩写;sm常用于表示栅格类“.col-sm-*”,是小屏幕设备类的意思,表示显示大小大于等于768px并且小于992px的屏幕设备,类似平板设备。
 bootstrap默认字体大小是多少Aug 22, 2022 pm 04:34 PM
bootstrap默认字体大小是“14px”;Bootstrap是一个基于HTML、CSS、JavaScript的开源框架,用于快速构建基于PC端和移动端设备的响应式web页面,并且默认的行高为“20px”,p元素行高为“10px”。
 bootstrap modal 如何关闭Dec 07, 2020 am 09:41 AM
bootstrap modal关闭的方法:1、连接好bootstrap的插件;2、给按钮绑定模态框事件;3、通过“ $('#myModal').modal('hide');”方法手动关闭模态框即可。
 bootstrap-datepicker的用法是什么May 05, 2022 pm 05:49 PM
在bootstrap中,“bootstrap-datepicker”用于设置日历、时间样式,是一款时间选择插件,语法为“元素对象.datepicker({属性:属性值,...})”;可以通过不同的属性来设置时间显示样式。


Hot AI Tools

Undresser.AI Undress
AI-powered app for creating realistic nude photos

AI Clothes Remover
Online AI tool for removing clothes from photos.

Undress AI Tool
Undress images for free

Clothoff.io
AI clothes remover

AI Hentai Generator
Generate AI Hentai for free.

Hot Article

Hot Tools

SAP NetWeaver Server Adapter for Eclipse
Integrate Eclipse with SAP NetWeaver application server.

Dreamweaver Mac version
Visual web development tools

ZendStudio 13.5.1 Mac
Powerful PHP integrated development environment

Atom editor mac version download
The most popular open source editor

SublimeText3 Linux new version
SublimeText3 Linux latest version


