Home >Operation and Maintenance >Linux Operation and Maintenance >Ubuntu compilation LNMP environment
Ubuntu compilation LNMP environment
- 大家讲道理Original
- 2017-05-28 10:25:211483browse
这里用Nginx1.2.0+mysql5.6.33+php5.6.2搭配安装环境
---------------------------------------------Nginx BEGIN---------------------------------------------
使用命令下载nginx安装包,用的是稳定版, 这里下载: b20095c093dfb0026663dcf3c1b9ea46

下载下来后就解压一下

解压后得到一个nginx-1.12.0的文件夹

进入文件夹, 运行命令:
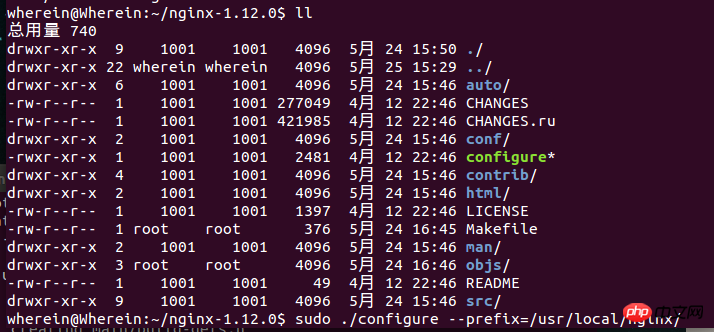
回车运行脚本配置后, 这里要注意一下, 有可能会缺失zlib, ssh等库, 这个没关系, 查找 sudo apt-cache search xxx(库) 然后 sudo apt-get install xxx(对应库名) 就行了
这里可以参考: Nginx官网安装 的文章
成功后再运行:
sudo make
sudo make install
要想加入自启动的话, 得在/etc/init.d/ 下建nginx 里面填上
#! /bin/sh###BEGIN INIT INFO
# Provides:     nginx
# Required-Start:  $all
# Required-Stop:   $all
# Default-Start:   2 3 4 5# Default-Stop:   0 1 6# Short-Description: starts the nginx web server
# Description:    starts nginx using start-stop-daemon
### END INIT INFO

PATH=/usr/local/sbin:/usr/local/bin:/sbin:/bin:/usr/sbin:/usr/bin
DAEMON=/usr/local/nginx/sbin/nginx
NAME=nginx
DESC=nginx

test -x $DAEMON || exit 0
  # Include nginx defaults if availableif [ -f /etc/default/nginx ] ; then
  . /etc/default/nginx
#    . /usr/local/nginx/conffi
  set -e

. /lib/lsb/init-functions
case "$1" in
 start)  echo -n "Starting $DESC: "
  start-stop-daemon --start --quiet --pidfile /usr/local/nginx/logs/$NAME.pid \    --exec $DAEMON -- $DAEMON_OPTS || true
  echo "$NAME."
  ;;
 stop)  echo -n "Stopping $DESC: "
  start-stop-daemon --stop --quiet --pidfile /usr/local/nginx/logs/$NAME.pid \    --exec $DAEMON || true
  echo "$NAME."
  ;;
 restart|force-reload)  echo -n "Restarting $DESC: "
  start-stop-daemon --stop --quiet --pidfile \    /usr/local/nginx/logs/$NAME.pid --exec $DAEMON || true
  sleep 1
  start-stop-daemon --start --quiet --pidfile \    /usr/local/nginx/logs/$NAME.pid --exec $DAEMON -- $DAEMON_OPTS || true
  echo "$NAME."
  ;;
 reload)   echo -n "Reloading $DESC configuration: "
   start-stop-daemon --stop --signal HUP --quiet --pidfile /usr/local/nginx/logs/$NAME.pid \     --exec $DAEMON || true
   echo "$NAME."
   ;;
 status)
   status_of_proc -p /usr/local/nginx/logs/$NAME.pid "$DAEMON" nginx && exit 0 || exit $?
   ;; *)
  N=/etc/init.d/$NAME  echo "Usage: $N {start|stop|restart|reload|force-reload|status}" >&2
  exit 1
  ;;esac
  exit 0
启动nginx 和看是否启动进程成功

浏览器运行 localhost 看到这个就说明启动成功了:

---------------------------------------------Nginx END---------------------------------------------
---------------------------------------------MySQL BEGIN---------------------------------------------
1 通过命令下载: http://dev.mysql.com/get/Downloads/MySQL-5.6/mysql-5.6.33-linux-glibc2.5-x86_64.tar.gz

2 解压后直接复制到软件夹, 免安装
//解压tar -zxvf mysql-5.6.33-linux-glibc2.5-x86_64.tar.gz//复制解压后的mysql目录sudo cp -r mysql-5.6.33-linux-glibc2.5-x86_64 /usr/local/mysql
3 给权限
cd /usr/local/mysql//新建一个数据库数据存放文件夹sudo mkdir ./data/mysql//新建库 设user为mysql和数据文件路径./scripts/mysql_install_db --user=mysql --datadir=/usr/local/mysql/data/mysql//复制一个启动器cp support-files/mysql.server /etc/init.d/mysqld//给权限 755 [rwx-rx-x]sudo chmod 755 /etc/init.d/mysqld
4 配置init.d/mysqld
sudo /etc/init.d/mysqld

5 启动测试
sudo service mysqld start
这里可能出现的错误:

可能原因
[一] /usr/local/mysql/data/mysql.pid 文件没有写的权限
解决:
sudo chmod -R 755 /usr/local/mysql/data
[二] 可能进程里已经存在有mysql进程了
解决:
ps -aux | grep mysqlsudo kill pid
我这里就是这个原因, kill掉进程后重启

进入mysql看看;;;
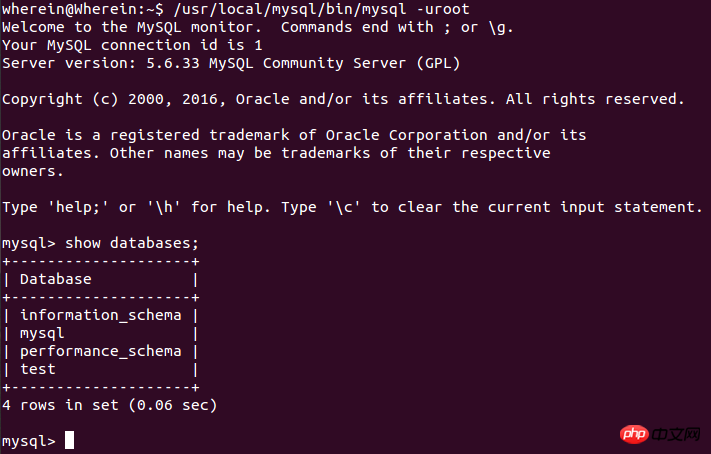
成功了.....
---------------------------------------------MySQL END---------------------------------------------
---------------------------------------------php BEGIN---------------------------------------------
//下载wget http://mirrors.sohu.com/php/php-5.6.2.tar.gz//解压tar -zxvf php-5.6.2.tar.gz//进入php目录cd php-5.6.2//运行脚本sudo ./configure --prefix=/usr/local/php --enable-fpm --enable-mbstring --with-mysql=/usr/local/mysql//编译phpsudo makesudo make install
注: --enable-fpm 开启phpfastcgi功能
  --with-mysql=/usr/local/mysql 启用php支持mysql功能 后面是mysql数据库的安装路径
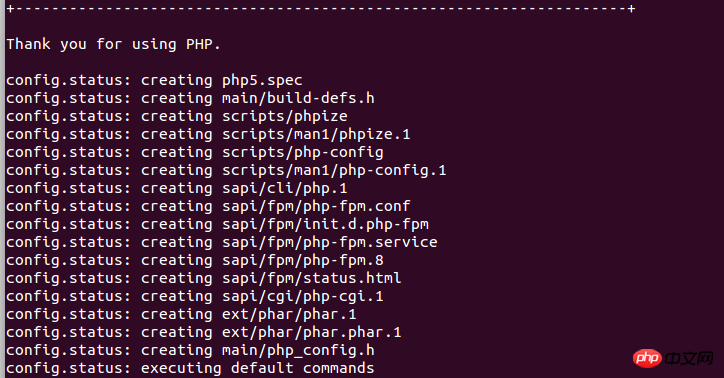
执行sudo make
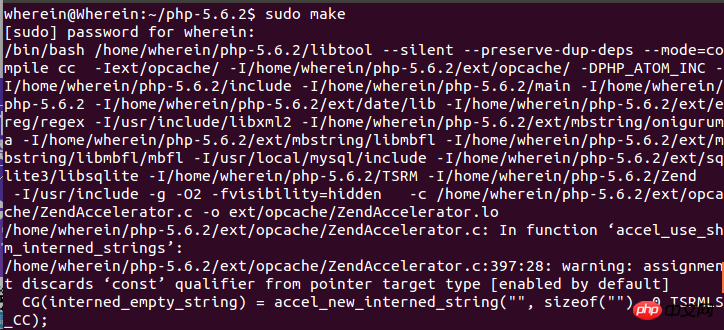
时间较长....这里好可怕,.,,.,.,.,.,漫长的等待后会看到....

执行sudo make install
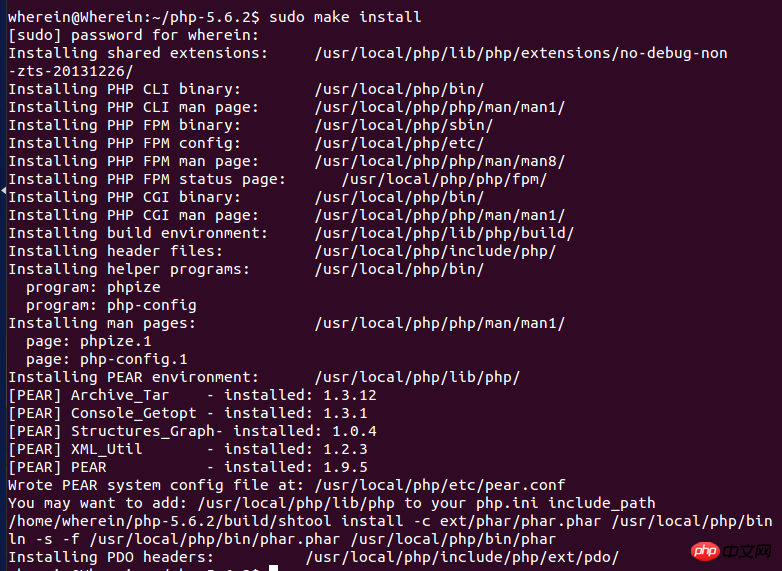
查看php版本

//复制php安装文件提供的模板作为php.inisudo cp php.ini-production /usr/local/lib/php.ini//配置php-fpmsudo cp /usr/local/php/lletc/php-fpm.conf.default /usr/local/etc/php-fpm.conf//让php-fpm以服务的形式启动sudo cp ./sapi/fpm/init.d.php-fpm /etc/init.d/php-fpm
跑一下看看...

ok....
-------------------------- ------------------php END-------------------------------- ----------------
The above is the detailed content of Ubuntu compilation LNMP environment. For more information, please follow other related articles on the PHP Chinese website!

