Home >Backend Development >Python Tutorial >A detailed explanation of how to implement the function of sending emails and attachments in python
A detailed explanation of how to implement the function of sending emails and attachments in python
- 黄舟Original
- 2017-05-21 14:10:222093browse
This article mainly introduces the function of sending emails and attachments in detail to everyone python, which has a certain reference value. Interested friends can refer to it
To everyone today Let’s talk about sending emails in python. If there are any more official ones, just go to Baidu. There are also a lot of documents. To be honest, most people will not read them unless they have to. Return to the topic:
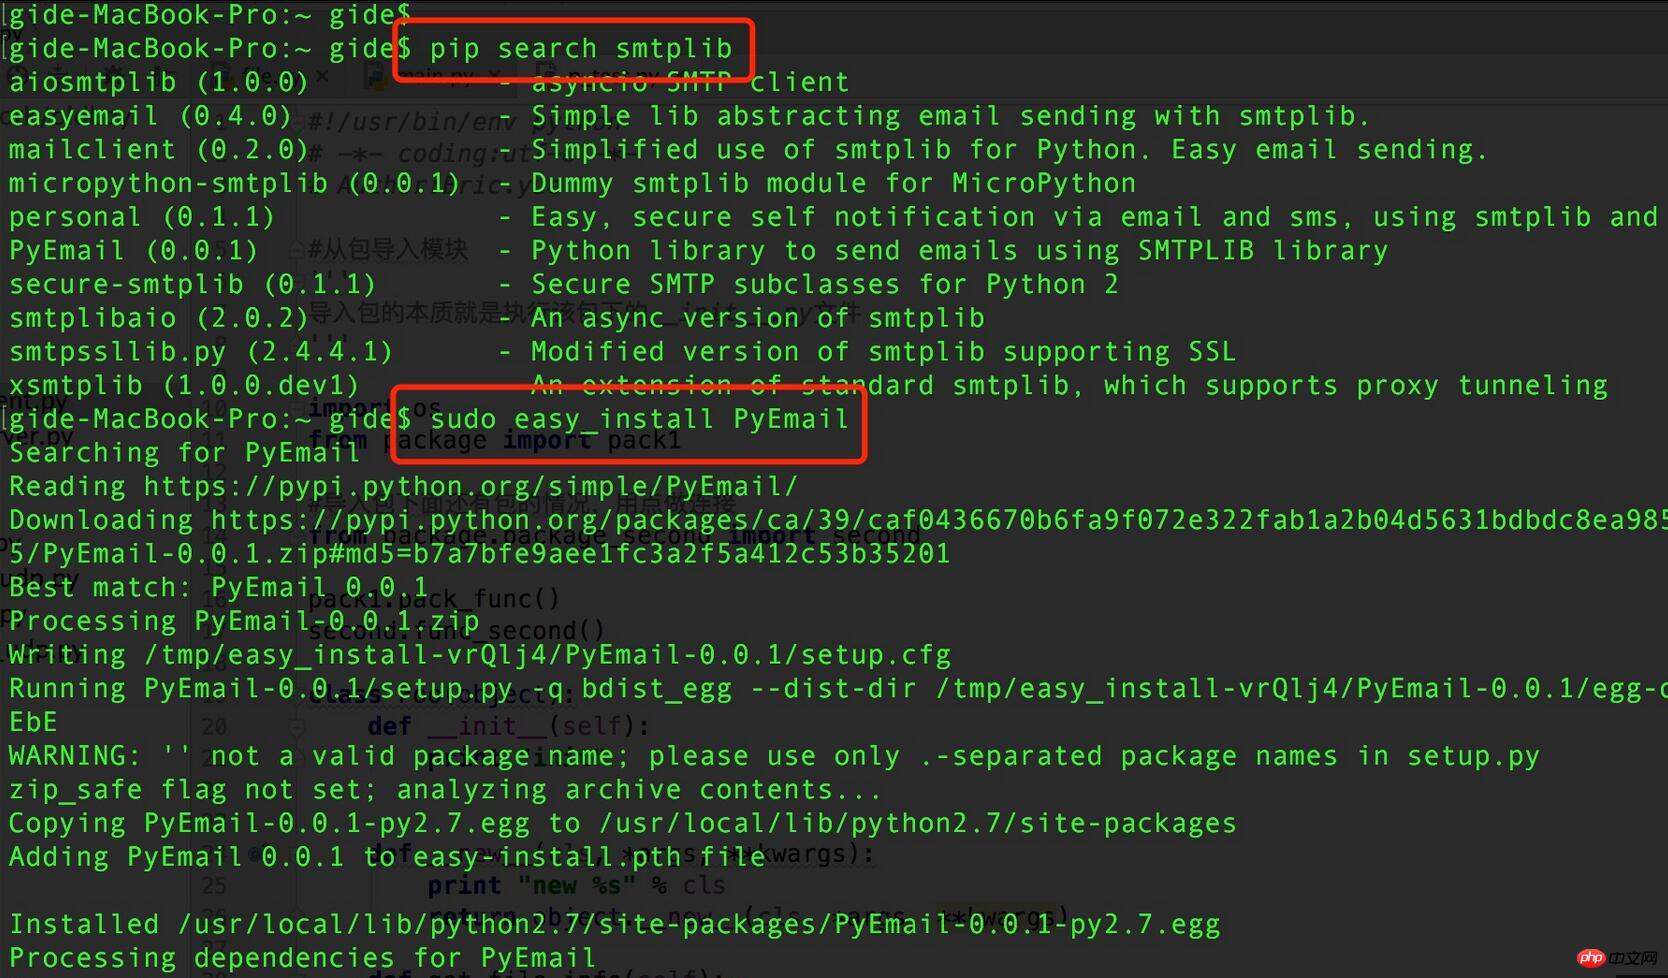
I am a mac. If you don’t follow the instructions If you rely on modules, please follow the screenshot below to install

. If there are no errors, it means the installation has been successful.
Python sends a file attachment of an unknown MIME type. The basic idea is as follows:
1. Construct a MIMEMultipart object as the root container
2. Construct a MIMEText object as an email display Content and append to the root container
3. Construct a MIMEBase object as the file attachment content and append it to the root container
a. Read the file content and format it
b. Set the attachment header
4. Set Root containerProperties
5. Get the complete formatted text
6. Use smtp to send mail
Example code:
#!/usr/bin/env python
# -*- coding:utf-8 -*-
import smtplib
from email.mime.multipart import MIMEMultipart
from email.mime.text import MIMEText
from email.mime.application import MIMEApplication
class Mailer(object):
def init(self,maillist,mailtitle,mailcontent):
self.mail_list = maillist
self.mail_title = mailtitle
self.mail_content = mailcontent
self.mail_host = "smtp.163.com"
self.mail_user = "your email name"
self.mail_pass = "your email password"
self.mail_postfix = "163.com"
def sendMail(self):
me = self.mail_user + "<" + self.mail_user + "@" + self.mail_postfix + ">"
msg = MIMEMultipart()
msg['Subject'] = 'Python mail Test'
msg['From'] = me
msg['To'] = ";".join(self.mail_list)
#puretext = MIMEText('<h1>你好,<br/>'+self.mail_content+'</h1>','html','utf-8')
puretext = MIMEText('纯文本内容'+self.mail_content)
msg.attach(puretext)
# jpg类型的附件
jpgpart = MIMEApplication(open('/home/mypan/1949777163775279642.jpg', 'rb').read())
jpgpart.add_header('Content-Disposition', 'attachment', filename='beauty.jpg')
msg.attach(jpgpart)
# 首先是xlsx类型的附件
#xlsxpart = MIMEApplication(open('test.xlsx', 'rb').read())
#xlsxpart.add_header('Content-Disposition', 'attachment', filename='test.xlsx')
#msg.attach(xlsxpart)
# mp3类型的附件
#mp3part = MIMEApplication(open('kenny.mp3', 'rb').read())
#mp3part.add_header('Content-Disposition', 'attachment', filename='benny.mp3')
#msg.attach(mp3part)
# pdf类型附件
#part = MIMEApplication(open('foo.pdf', 'rb').read())
#part.add_header('Content-Disposition', 'attachment', filename="foo.pdf")
#msg.attach(part)
try:
s = smtplib.SMTP() #创建邮件服务器对象
s.connect(self.mail_host) #连接到指定的smtp服务器。参数分别表示smpt主机和端口
s.login(self.mail_user, self.mail_pass) #登录到你邮箱
s.sendmail(me, self.mail_list, msg.as_string()) #发送内容
s.close()
return True
except Exception, e:
print str(e)
return False
if name == 'main':
#send list
mailto_list = ["aaa@lsh123.com","bbb@163.com"]
mail_title = 'Hey subject'
mail_content = 'Hey this is content'
mm = Mailer(mailto_list,mail_title,mail_content)
res = mm.sendMail()
print resThe above is the detailed content of A detailed explanation of how to implement the function of sending emails and attachments in python. For more information, please follow other related articles on the PHP Chinese website!

