
Home >WeChat Applet >Mini Program Development >Detailed explanation of the steps for PHP development of small program payment server integration
Detailed explanation of the steps for PHP development of small program payment server integration

- Y2JOriginal
- 2017-05-12 11:44:064117browse
This article mainly introduces the detailed explanation of WeChat Mini Program WeChat Payment Server integration examples and related information for source code download. Friends in need can refer to
WeChat Mini Program WeChat Payment Server Set
Theoretically, all the work of integrating WeChat payment can be completed on the mini program side, because the mini program js has the ability to access the network, but for the sake of security, sensitive keys are not exposed, and the official ready-made php can be used. The demo is more labor-saving, so the signature and request are completed on the server side, and the applet only connects to the wx.requestPayment(OBJECT) interface.
The overall integration process is similar to JSAPI and APP. First place an order in a unified manner, and then use the returned results to request payment.
A total of three steps:
1. The applet exchanges the code returned by wx.login for openid 2. The server places an order to WeChat 3. The applet initiates payment
Prepare these things in advance:
APPID = 'wx426b3015555a46be';
MCHID = '1900009851';
KEY = '8934e7d15453e97507ef794cf7b0519d';
APPSECRET = '7813490da6f1265e4901ffb80afaa36f';
PHP SDK, the download link is at the end of the article
The 1st and 4th are application mini programs The 2nd and 3rd items were obtained when applying for WeChat payment. Note that the 3rd and 4th items look similar, but they are actually two things. Confusing the two will result in the signature not passing .
Place an order on WeChat and get the prepay_id
1. Create a Controller and import the WxPay.Api.php class
<?php
require_once DIR . '/BaseController.php';
require_once DIR . '/../third_party/wxpay/WxPay.Api.php';
class WXPay extends BaseController {
function index() {
}
}Afterwards, you can make access requests through index.php/wxpay
2. Modify the configuration fileWxPay.Config.php
and change it to apply for the corresponding key
3. Implement the index method
function index() {
//     初始化值对象
    $input = new WxPayUnifiedOrder();
//     文档提及的参数规范:商家名称-销售商品类目
    $input->SetBody("灵动商城-手机");
//     订单号应该是由小程序端传给服务端的,在用户下单时即生成,demo中取值是一个生成的时间戳
    $input->SetOut_trade_no('123123123');
//     费用应该是由小程序端传给服务端的,在用户下单时告知服务端应付金额,demo中取值是1,即1分钱
    $input->SetTotal_fee("1");
    $input->SetNotify_url("http://paysdk.weixin.qq.com/example/notify.php");
    $input->SetTrade_type("JSAPI");
//     由小程序端传给服务端
    $input->SetOpenid($this->input->post('openId'));
//     向微信统一下单,并返回order,它是一个array数组
    $order = WxPayApi::unifiedOrder($input);
//     json化返回给小程序端
    header("Content-Type: application/json");
    echo json_encode($order);
  }
Note 1:The nonce_str mentioned in the document is not not submitted, but the sdk fills it in for us The source of
is in line 55 of WxPay.Api.php
$inputObj->SetNonce_str(self::getNonceStr());//随机字符串
Description 2: sign has also kindly setSign , the source is in line 111 of WxPay.Data.php, in MakeSign()
 /**
   * 生成签名
   * @return 签名,本函数不覆盖sign成员变量,如要设置签名需要调用SetSign方法赋值
   */
  public function MakeSign()
  {
    //签名步骤一:按字典序排序参数
    ksort($this->values);
    $string = $this->ToUrlParams();
    //签名步骤二:在string后加入KEY
    $string = $string . "&key=".WxPayConfig::KEY;
    //签名步骤三:MD5加密
    $string = md5($string);
    //签名步骤四:所有字符转为大写
    $result = strtoupper($string);
    return $result;
  }
4. Call the login interface in the applet to get the openid
Request to log in to WeChat, get the code, and then submit the code in exchange for openId
wx.login({
success: function(res) {
if (res.code) {
//发起网络请求
wx.request({
url: 'https://api.weixin.qq.com/sns/jscode2session?appid=wx9114b997bd86f***&secret=d27551c7803cf16015e536b192******&js_code='+res.code+'&grant_type=authorization_code',
data: {
code: res.code
},
success: function (response) {
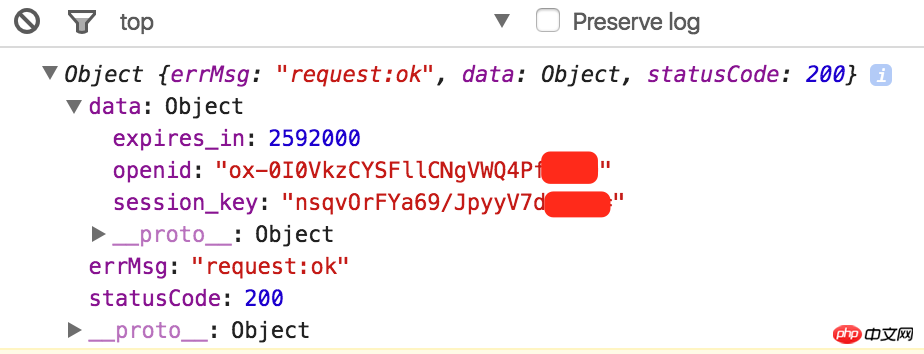
console.log(response);
}
})
} else {
console.log('获取用户登录态失败!' + res.errMsg)
}
}
});From the console, you can see that you have successfully obtained the openid, and the rest The thing is just to pass it to the server, where $this->input->post('openId') is waiting to receive it.
5. The mini program initiates a request to lendoo.leanapp.cn/index.php/WXPay for unified order placement
    //统一下单接口对接
          wx.request({
            url: 'https://lendoo.leanapp.cn/index.php/WXPay',
            data: {
              openId: openId
            },
            success: function (response) {
              console.log(response);

            },
                header: {
            'content-type': 'application/x-www-form-urlencoded'
        },
          });
Get the following results
{
"appid": "wx9114b997bd86f8ed",
"mch_id": "1414142302",
"nonce_str": "eEICgYFuGqxFRK6f",
"prepay_id": "wx201701022235141fc713b8f80137935406",
"result_code": "SUCCESS",
"return_code": "SUCCESS",
"return_msg": "OK",
"sign": "63E60C8CD90394FB50E612D085F5362C",
"trade_type": "JSAPI"
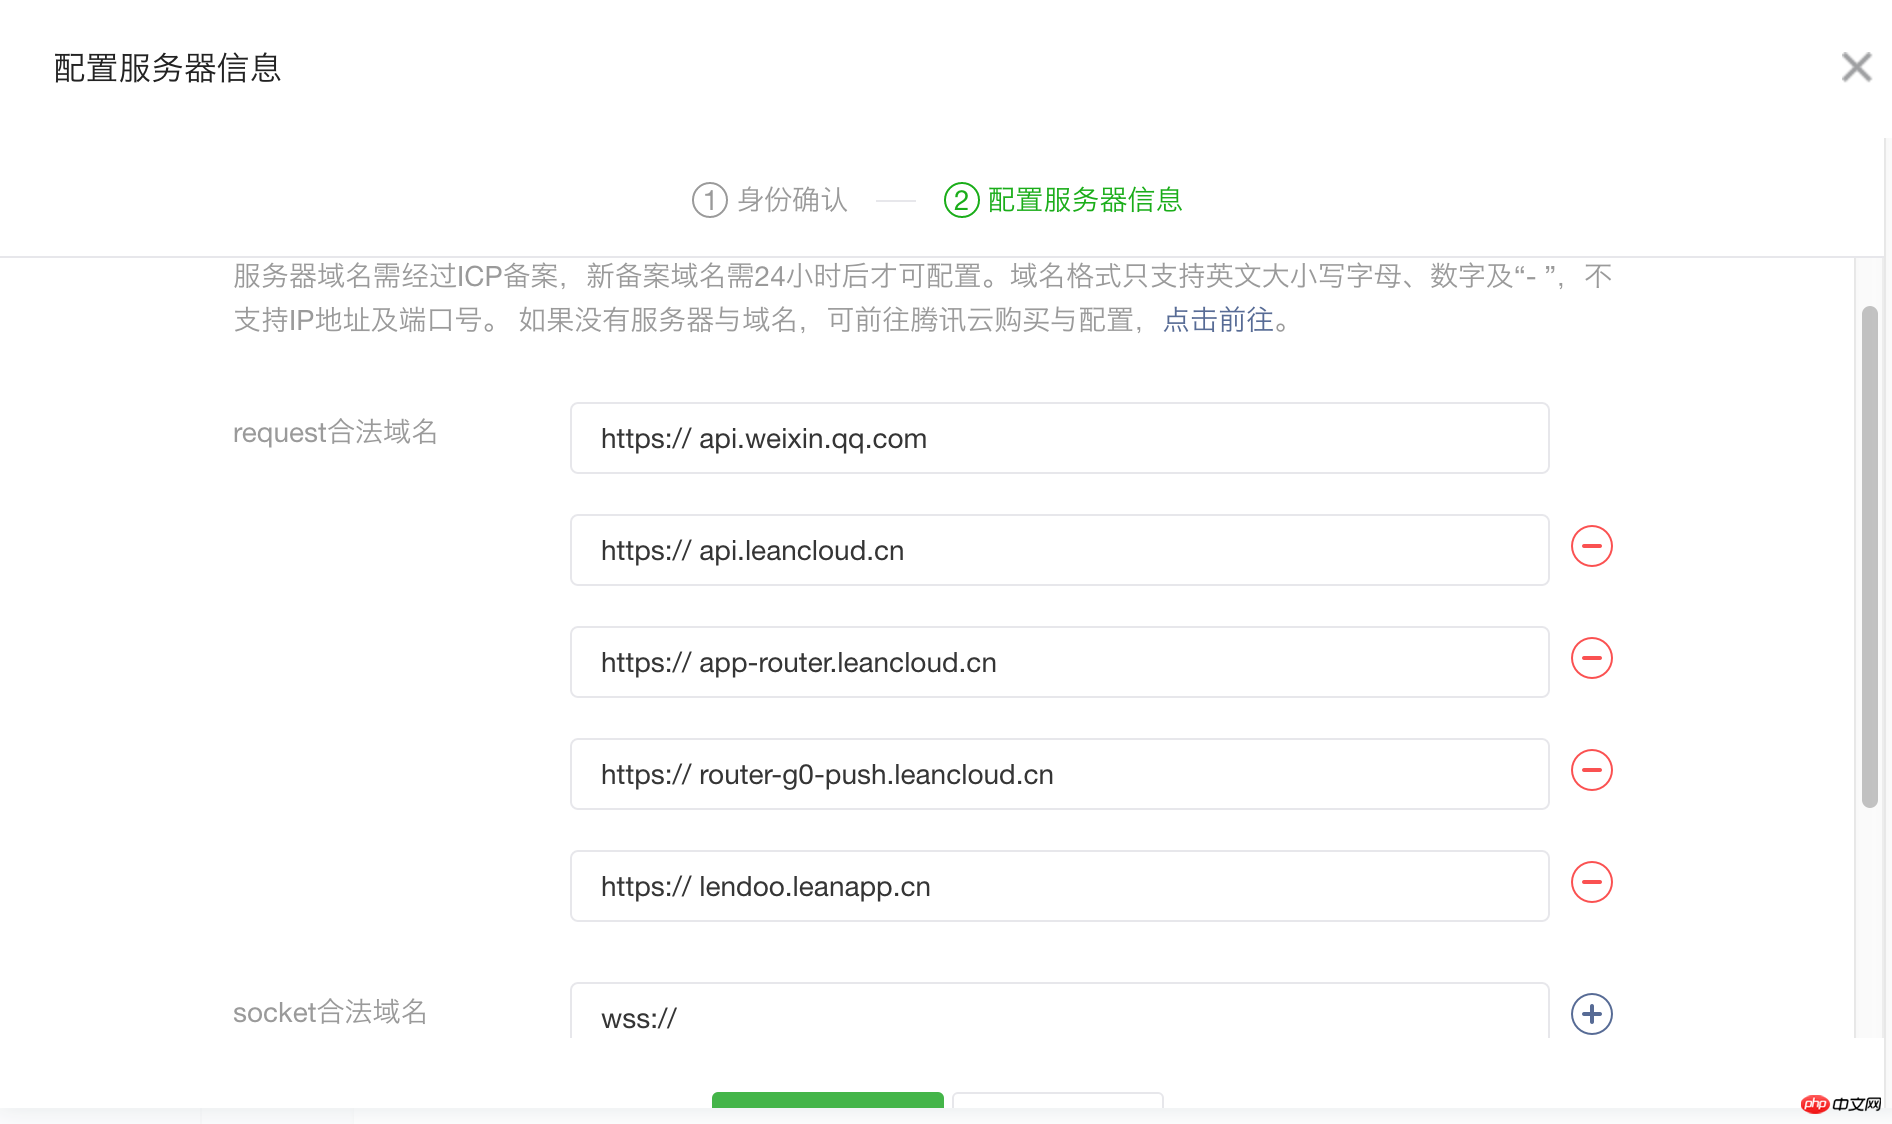
}The premise is that https://lendoo.leanapp.cn is already in the whitelist:
6. Call up the payment API on the applet
// 发起支付
var appId = response.data.appid;
var timeStamp = (Date.parse(new Date()) / 1000).toString();
var pkg = 'prepay_id=' + response.data.prepay_id;
var nonceStr = response.data.nonce_str;
var paySign = md5.hex_md5('appId='+appId+'&nonceStr='+nonceStr+'&package='+pkg+'&signType=MD5&timeStamp='+timeStamp+"&key=d27551c7803cf16***e536b192d5d03b").toUpperCase();
console.log(paySign);
console.log(appId);
wx.requestPayment({
'timeStamp': timeStamp,
'nonceStr': nonceStr,
'package': pkg,
'signType': 'MD5',
'paySign': paySign,
'success':function(res){
console.log('success');
console.log(res);
}
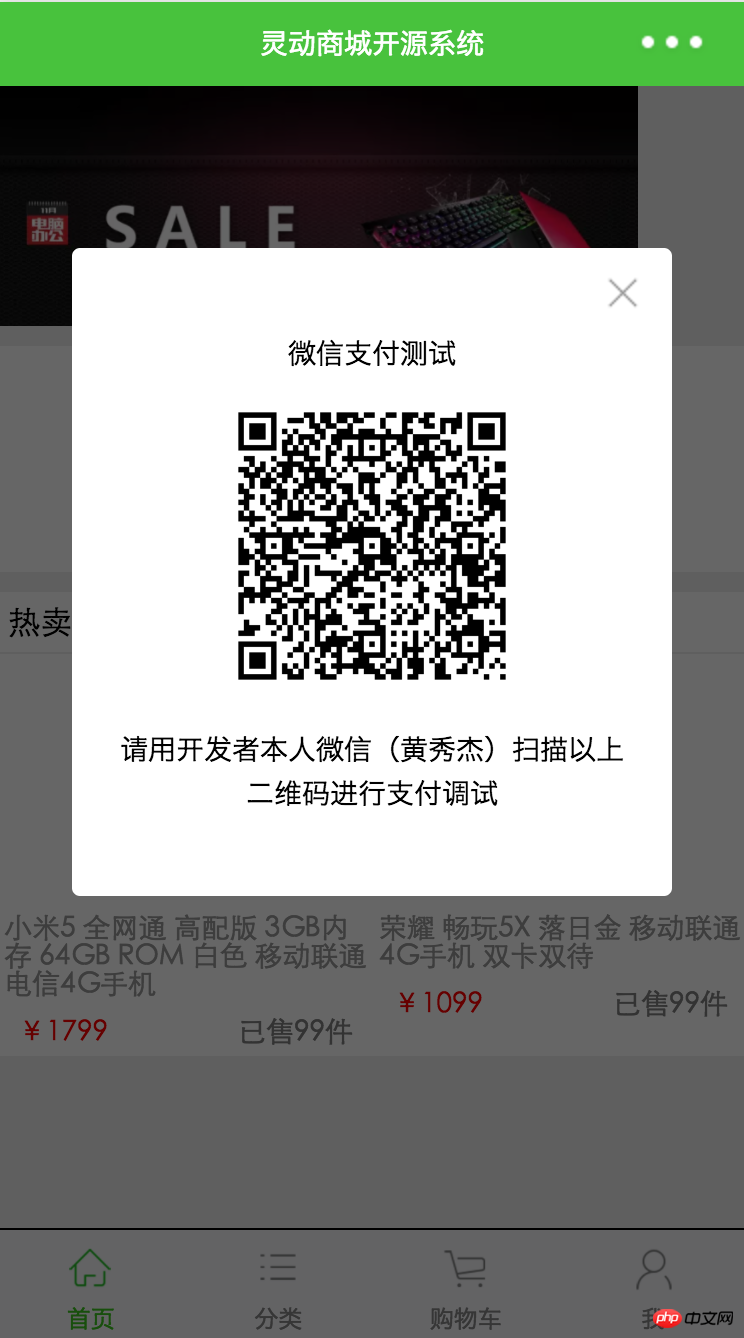
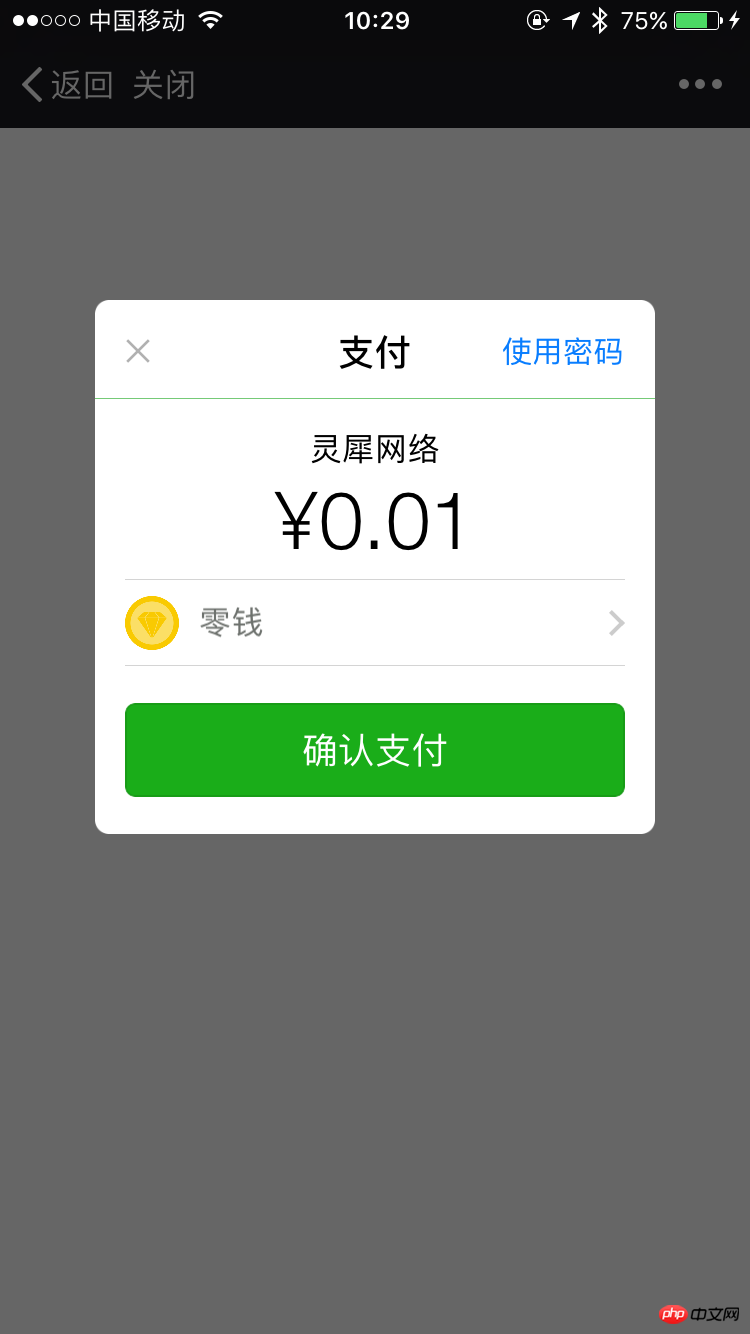
});for simulator testing, a QR code will pop up for scanning
An error was reported:
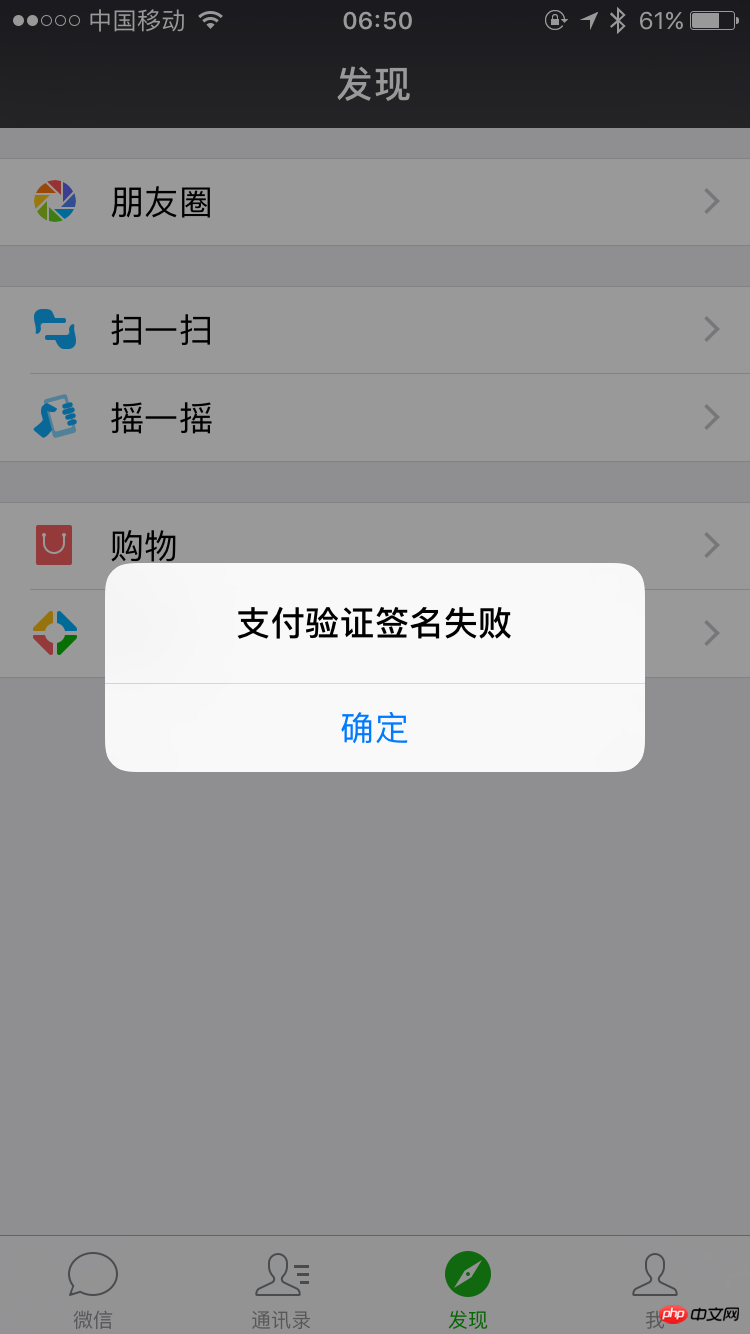
errMsg:"requestPayment:fail"
err_code:2
err_desc:"支付验证签名失败"
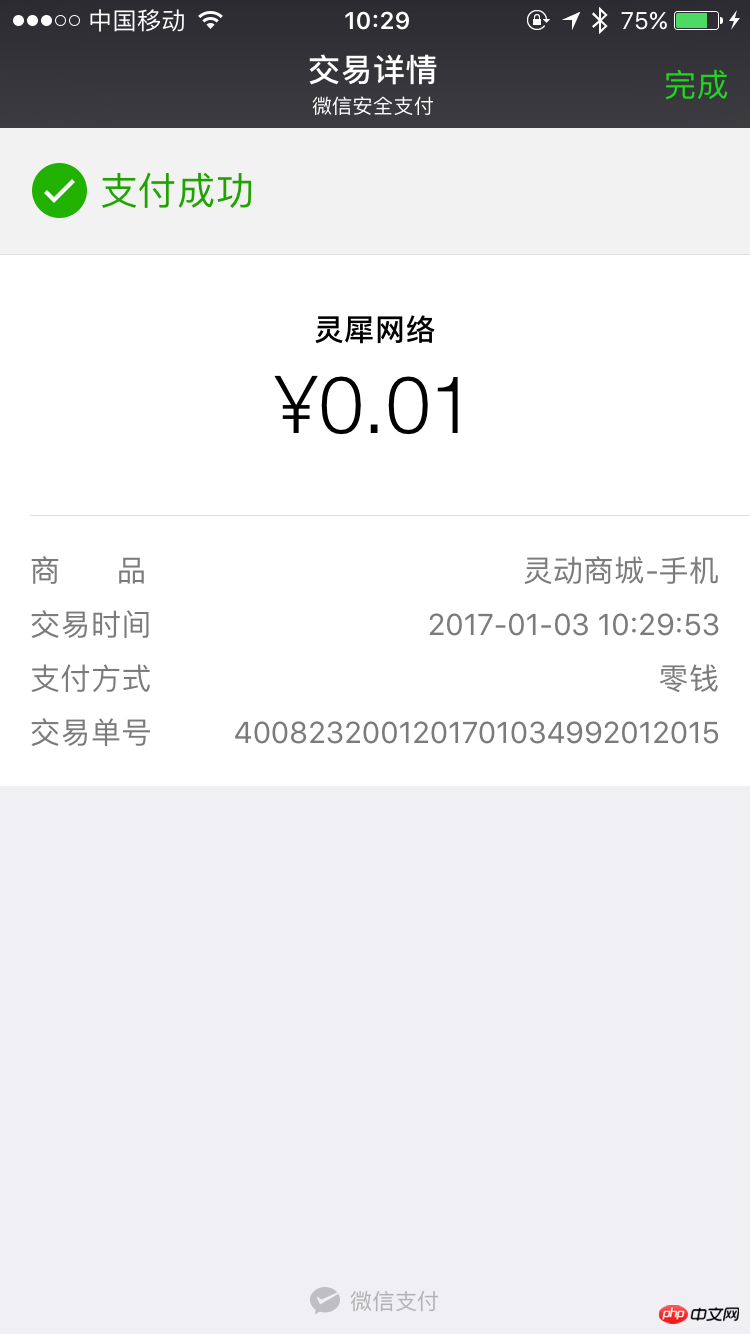
key needs to be added to the signature! ! ! 'appId='+appId+'&nonceStr='+nonceStr+'&package='+pkg+'&signType=MD5&timeStamp='+timeStamp+"&key=d27551c7803cf16*e536b192d5d03b"This is complete.
But there is no mention of key in the document

Screenshot of successful payment
After complaining about the document, let’s complain about the naming rules. GetSpbill_create_ip() and IsSpbill_create_ipSet() are separated by underscores and camels. Member methodsThe first letter is also capitalized, unifiedOrder( ) This kind of serious writing does not forget to make a few gestures. It seems that it is true that the Internet says that the SDKs of large companies are written by interns, but where is the code reviewer?
【Related recommendations】
1. Complete source code download of WeChat mini program
2. WeChat mini program demo: imitation Mall
The above is the detailed content of Detailed explanation of the steps for PHP development of small program payment server integration. For more information, please follow other related articles on the PHP Chinese website!
Related articles
See more- WeChat Mini Program Simple DEMO layout, logic, and style exercises
- Detailed explanation and examples of WeChat applet wx.request (interface calling method)
- WeChat Mini Program - Detailed explanation of WeChat login, WeChat payment, and template messages
- WeChat applet (application account) simple example application and detailed explanation of the example
- Detailed explanation of WeChat applet for loop