This article mainly introduces in detail Android's use of custom View to implement shape graphics drawing, which has certain reference value. Interested friends can refer to it
Overview
I have written an article before that introduces the use of Shape resources by drawables in Android. By defining the shape resources in drawables, simple graphic effects can be drawn, such as rectangles, ellipses, lines and rings, etc. Later, I happened to encounter such a requirement in the project, which was to display a vertical dotted line at a specific position. Just when I confidently put the resource file above in, I discovered that it did not meet my requirements. The vertical dotted line drawn using shape is actually a horizontal line rotated 90 degrees. But the disadvantage of this is that the effective area of the View is the area that coincides with the original position after being rotated 90 degrees, and cannot be changed at will. This effect cannot be used at all. So I thought of using a custom view to draw the results I wanted.
1. Draw a horizontal dotted line
The code is as follows:
import android.content.Context;
import android.graphics.Canvas;
import android.graphics.Color;
import android.graphics.DashPathEffect;
import android.graphics.Paint;
import android.util.AttributeSet;
import android.view.View;

public class CustView extends View{

  private Paint mPaint; //定义画笔

  public CustView(Context context, AttributeSet attrs) {
    super(context, attrs);

    //初始化画笔
    initPaint();
    setLayerType(View.LAYER_TYPE_SOFTWARE, mPaint); //4.0以上关闭硬件加速,否则虚线不显示
  }

  private void initPaint() {
    mPaint = new Paint();
    mPaint.setAntiAlias(true); //设置抗锯齿的效果
    mPaint.setStyle(Paint.Style.STROKE); //设置画笔样式为描边
    mPaint.setStrokeWidth(3); //设置笔刷的粗细度
    mPaint.setColor(Color.RED); //设置画笔的颜色
    mPaint.setPathEffect(new DashPathEffect(new float[]{5,5,5,5}, 1)); //设置画笔的路径效果为虚线效果
  }

  @Override
  protected void onDraw(Canvas canvas) {
    super.onDraw(canvas);

    canvas.drawLine(0, 0, 100, 0, mPaint);
  }
}
The layout file is quoted as follows:
<com.test.CustView
  android:layout_width="100dp"
  android:layout_height="10dp"
  android:layout_marginTop="10dp" />
Instructions : In the code of the custom View, the full name of the drawLine method executed in the onDraw method is as follows:
public void drawLine (float startX, float startY, float stopX, float stopY, Paint paint)
startX: x coordinate of the starting end point
startY: y coordinate of the starting end point
stopX: x coordinate of the ending end point
stopY: y coordinate of the ending end point
The above four left values are all calculated in relative position, that is, relative to the control on the left. If there is no control on the left, the relative position of the left border of the mobile phone screen is calculated.
canvas.drawLine(0, 0, 100, 0, mPaint); means starting from the position where the x and y coordinates are 0 relative to the left, and drawing a 100px dotted line to the right.

After removing the Button button, the relative position starts to be calculated based on the left border of the screen, as shown in the figure:

Another thing to note is that the values of stopX and stopY cannot exceed the values of layout_width and layout_height of the control in xml. Otherwise, the smallest value will be used as the basis, and the exceeded length will be invalid.
2. Draw a vertical dotted line
is consistent with the above code, and only needs to be modified to the following:
canvas.drawLine( 0, 0, 0, 100, mPaint);
3.Draw a solid circle
1).First set the brush style to solid
mPaint.setStyle(Paint.Style.FILL); //Set the brush style to fill
2). Draw a circle in the canvas
canvas.drawCircle(50, 50, 50, mPaint);
The same values of X and Y cannot exceed the values of layout_width and layout_height of the control in xml.
4. Draw a circle
Just modify the code slightly:
  @Override
  protected void onDraw(Canvas canvas) {
    super.onDraw(canvas);

    canvas.drawCircle(50, 50, 50, mPaint); //画一个外圆
    mPaint.setColor(Color.WHITE);      //重新设置画笔颜色
    canvas.drawCircle(50, 50, 30, mPaint); //画一个内圆
  }
5. Draw a rectangle
  @Override
  protected void onDraw(Canvas canvas) {
    super.onDraw(canvas);

    RectF rect = new RectF(0, 0, 80, 60);
    canvas.drawRect(rect, mPaint);
  }
The above is the detailed content of Teach you how to use Android custom View to implement shape graphics drawing.. For more information, please follow other related articles on the PHP Chinese website!
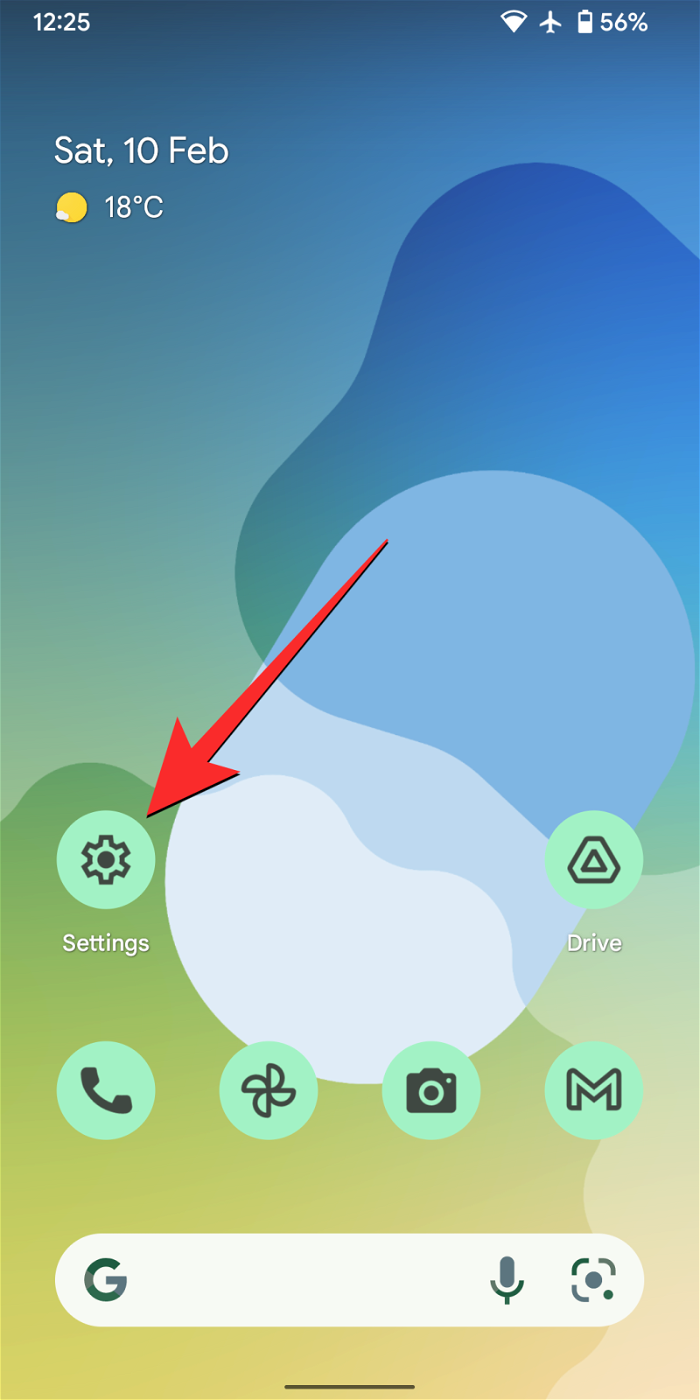 如何在 iPhone 和 Android 上关闭蓝色警报Feb 29, 2024 pm 10:10 PM
根据美国司法部的解释,蓝色警报旨在提供关于可能对执法人员构成直接和紧急威胁的个人的重要信息。这种警报的目的是及时通知公众,并让他们了解与这些罪犯相关的潜在危险。通过这种主动的方式,蓝色警报有助于增强社区的安全意识,促使人们采取必要的预防措施以保护自己和周围的人。这种警报系统的建立旨在提高对潜在威胁的警觉性,并加强执法机构与公众之间的沟通,以共尽管这些紧急通知对我们社会至关重要,但有时可能会对日常生活造成干扰,尤其是在午夜或重要活动时收到通知时。为了确保安全,我们建议您保持这些通知功能开启,但如果
 在Android中实现轮询的方法是什么?Sep 21, 2023 pm 08:33 PM
Android中的轮询是一项关键技术,它允许应用程序定期从服务器或数据源检索和更新信息。通过实施轮询,开发人员可以确保实时数据同步并向用户提供最新的内容。它涉及定期向服务器或数据源发送请求并获取最新信息。Android提供了定时器、线程、后台服务等多种机制来高效地完成轮询。这使开发人员能够设计与远程数据源保持同步的响应式动态应用程序。本文探讨了如何在Android中实现轮询。它涵盖了实现此功能所涉及的关键注意事项和步骤。轮询定期检查更新并从服务器或源检索数据的过程在Android中称为轮询。通过
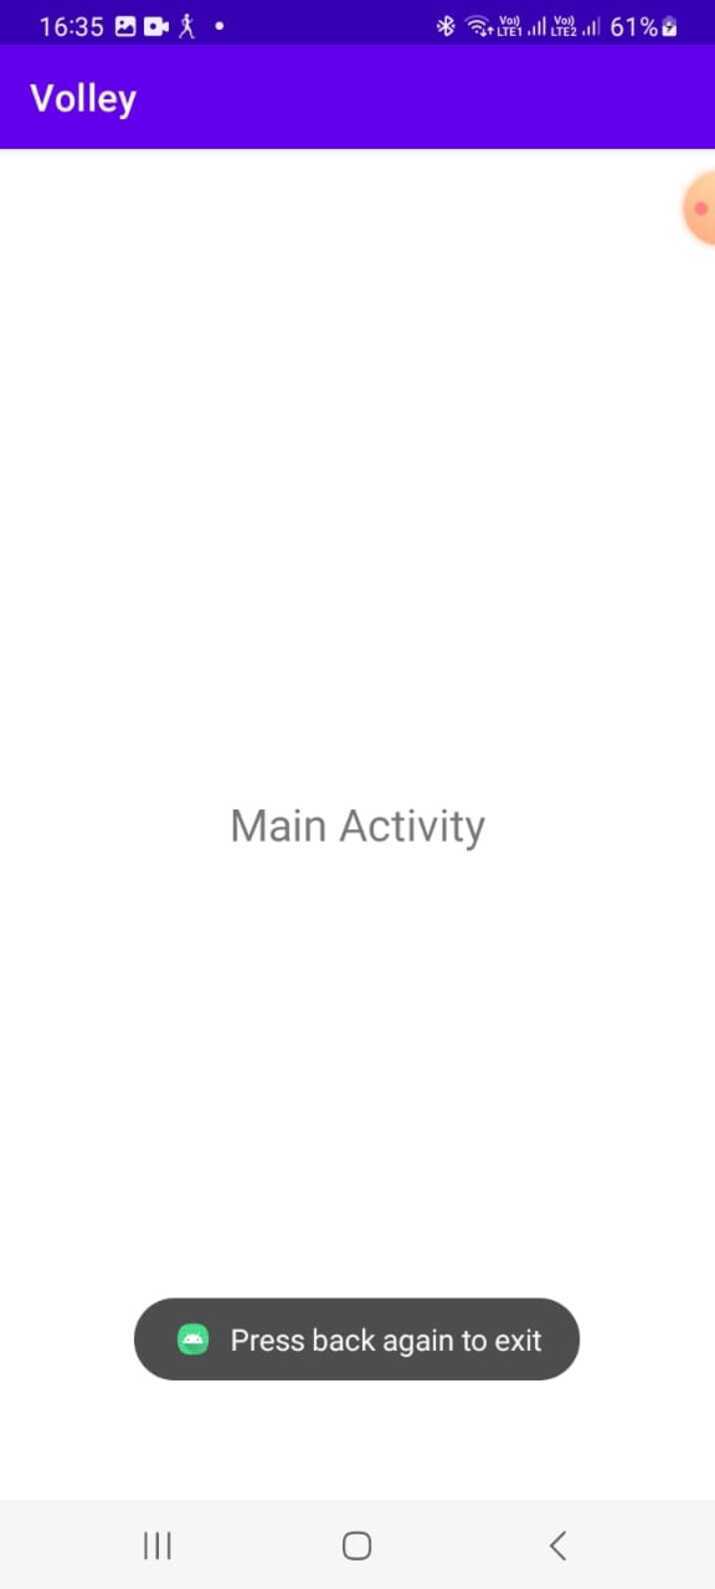 如何在Android中实现按下返回键再次退出的功能?Aug 30, 2023 am 08:05 AM
为了提升用户体验并防止数据或进度丢失,Android应用程序开发者必须避免意外退出。他们可以通过加入“再次按返回退出”功能来实现这一点,该功能要求用户在特定时间内连续按两次返回按钮才能退出应用程序。这种实现显著提升了用户参与度和满意度,确保他们不会意外丢失任何重要信息Thisguideexaminesthepracticalstepstoadd"PressBackAgaintoExit"capabilityinAndroid.Itpresentsasystematicguid
 Android逆向中smali复杂类实例分析May 12, 2023 pm 04:22 PM
1.java复杂类如果有什么地方不懂,请看:JAVA总纲或者构造方法这里贴代码,很简单没有难度。2.smali代码我们要把java代码转为smali代码,可以参考java转smali我们还是分模块来看。2.1第一个模块——信息模块这个模块就是基本信息,说明了类名等,知道就好对分析帮助不大。2.2第二个模块——构造方法我们来一句一句解析,如果有之前解析重复的地方就不再重复了。但是会提供链接。.methodpublicconstructor(Ljava/lang/String;I)V这一句话分为.m
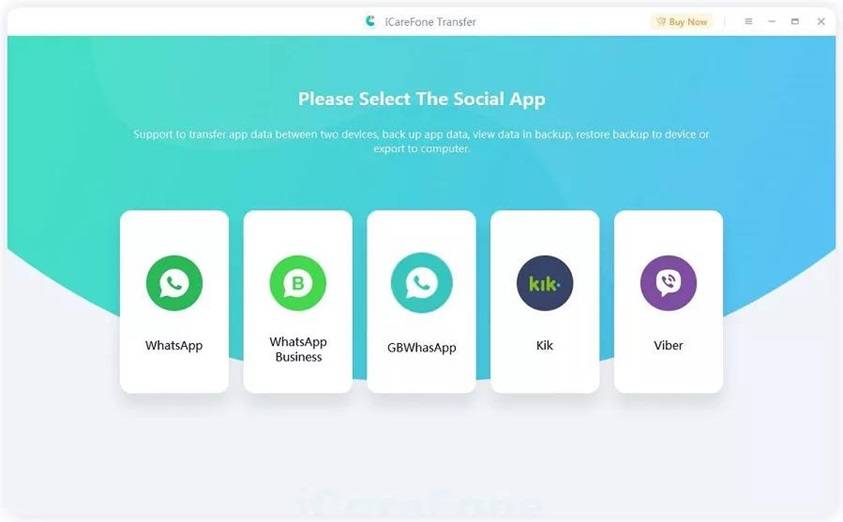 如何在2023年将 WhatsApp 从安卓迁移到 iPhone 15?Sep 22, 2023 pm 02:37 PM
如何将WhatsApp聊天从Android转移到iPhone?你已经拿到了新的iPhone15,并且你正在从Android跳跃?如果是这种情况,您可能还对将WhatsApp从Android转移到iPhone感到好奇。但是,老实说,这有点棘手,因为Android和iPhone的操作系统不兼容。但不要失去希望。这不是什么不可能完成的任务。让我们在本文中讨论几种将WhatsApp从Android转移到iPhone15的方法。因此,坚持到最后以彻底学习解决方案。如何在不删除数据的情况下将WhatsApp
 同样基于linux为什么安卓效率低Mar 15, 2023 pm 07:16 PM
原因:1、安卓系统上设置了一个JAVA虚拟机来支持Java应用程序的运行,而这种虚拟机对硬件的消耗是非常大的;2、手机生产厂商对安卓系统的定制与开发,增加了安卓系统的负担,拖慢其运行速度影响其流畅性;3、应用软件太臃肿,同质化严重,在一定程度上拖慢安卓手机的运行速度。
 Android中动态导出dex文件的方法是什么May 30, 2023 pm 04:52 PM
1.启动ida端口监听1.1启动Android_server服务1.2端口转发1.3软件进入调试模式2.ida下断2.1attach附加进程2.2断三项2.3选择进程2.4打开Modules搜索artPS:小知识Android4.4版本之前系统函数在libdvm.soAndroid5.0之后系统函数在libart.so2.5打开Openmemory()函数在libart.so中搜索Openmemory函数并且跟进去。PS:小知识一般来说,系统dex都会在这个函数中进行加载,但是会出现一个问题,后
 Android APP测试流程和常见问题是什么May 13, 2023 pm 09:58 PM
1.自动化测试自动化测试主要包括几个部分,UI功能的自动化测试、接口的自动化测试、其他专项的自动化测试。1.1UI功能自动化测试UI功能的自动化测试,也就是大家常说的自动化测试,主要是基于UI界面进行的自动化测试,通过脚本实现UI功能的点击,替代人工进行自动化测试。这个测试的优势在于对高度重复的界面特性功能测试的测试人力进行有效的释放,利用脚本的执行,实现功能的快速高效回归。但这种测试的不足之处也是显而易见的,主要包括维护成本高,易发生误判,兼容性不足等。因为是基于界面操作,界面的稳定程度便成了


Hot AI Tools

Undresser.AI Undress
AI-powered app for creating realistic nude photos

AI Clothes Remover
Online AI tool for removing clothes from photos.

Undress AI Tool
Undress images for free

Clothoff.io
AI clothes remover

AI Hentai Generator
Generate AI Hentai for free.

Hot Article

Hot Tools

SublimeText3 Mac version
God-level code editing software (SublimeText3)

MantisBT
Mantis is an easy-to-deploy web-based defect tracking tool designed to aid in product defect tracking. It requires PHP, MySQL and a web server. Check out our demo and hosting services.

MinGW - Minimalist GNU for Windows
This project is in the process of being migrated to osdn.net/projects/mingw, you can continue to follow us there. MinGW: A native Windows port of the GNU Compiler Collection (GCC), freely distributable import libraries and header files for building native Windows applications; includes extensions to the MSVC runtime to support C99 functionality. All MinGW software can run on 64-bit Windows platforms.

WebStorm Mac version
Useful JavaScript development tools

Safe Exam Browser
Safe Exam Browser is a secure browser environment for taking online exams securely. This software turns any computer into a secure workstation. It controls access to any utility and prevents students from using unauthorized resources.


