Home >Backend Development >C#.Net Tutorial >C# Development Example-Customized Screenshot Tool (3) Graphical Introduction to Tray Icon and Menu Implementation
C# Development Example-Customized Screenshot Tool (3) Graphical Introduction to Tray Icon and Menu Implementation
- 黄舟Original
- 2017-03-14 13:22:352693browse
Overview
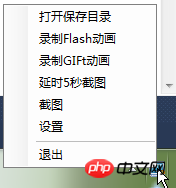
The purpose of adding the tray icon function is mainly to add menu functions. You can manage programs through the tray icon; the tray menu includes "open the save directory and record Flashanimation, record GIF animation, 5-second delayed screenshot, screenshot, settings, exit" and other functions.
System Tray
The system tray is a special area, usually at the bottom of the desktop, where users can access running programs at any time. In Microsoft Windows, the system tray often refers to the Status area of the taskbar; on the Gnome desktop, it often refers to the bulletin board area; on the KDE desktop, it refers to the system tray. In every system, the tray is an area shared by all applications running in the desktop environment.
Add tray icon
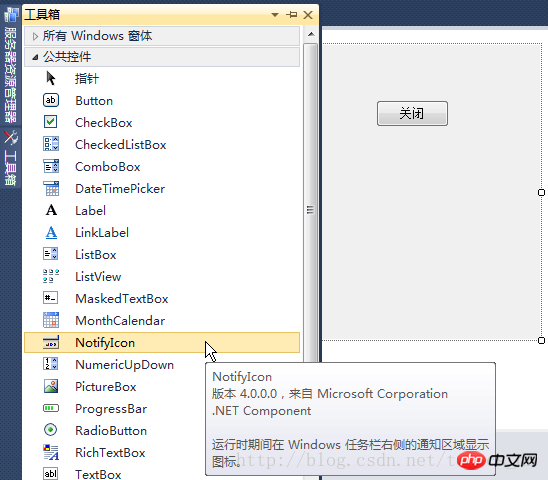
In Form1 formDesign mode, move the mouse to the left toolbox to pop up the tool In the main panel of the box, find NotifyIcon in the public controls and double-click it
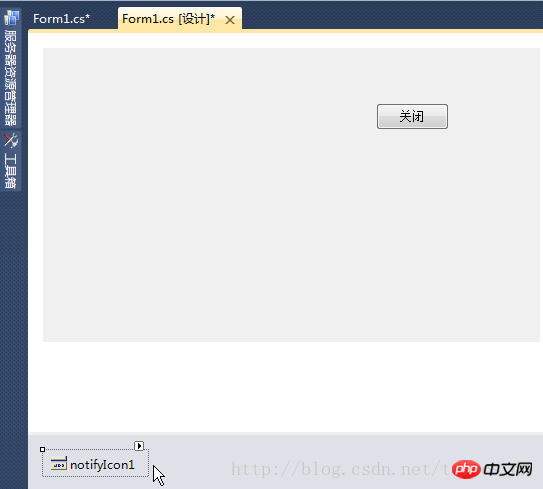
After double-clicking, you will find an additional "notifyIcon1" below the form ”
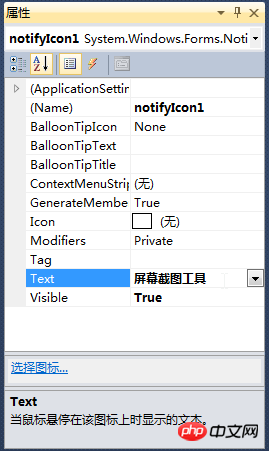
Select “notifyIcon1” and set the Text property in the Properties window on the right to: Screenshot Tool
Add icon resource
Select the menu: Project》Properties, then select the resource and switch to the iconView
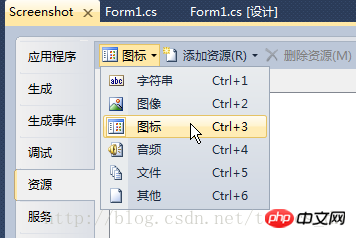
Click the "Add Resource" drop-down button》Add an existing file
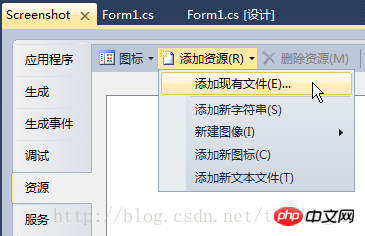
Select one Icon file prepared in advance, make sure
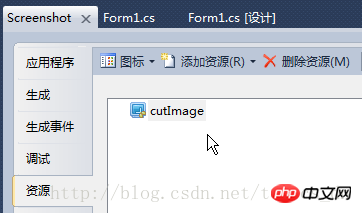
Add the following code in the "Form1_Load" event:
this.notifyIcon1.Icon = Properties.Resources.cutImage;
this.notifyIcon1.Visible = true;
Compile , run it, and you can see it on the taskbar. Move the mouse to the tray icon, and the property information "Screenshot Tool" just set will be displayed.
Add tray menu
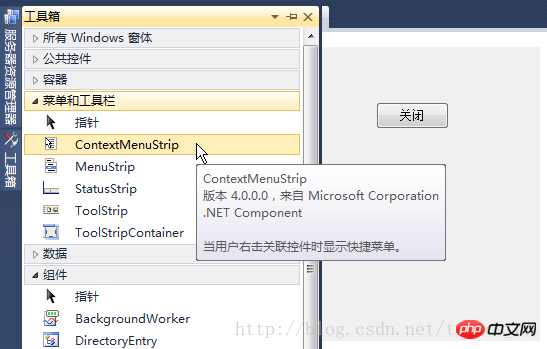
Open the toolbox>>Menu and Toolbar>>double-click "ContextMenuStrip" to add a right-click menu
To add a menu item, just enter a minus sign for the line (separator)
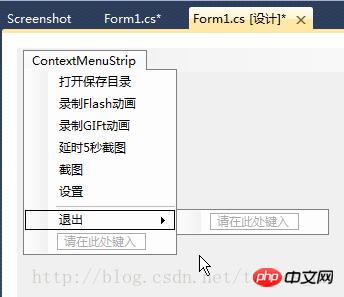
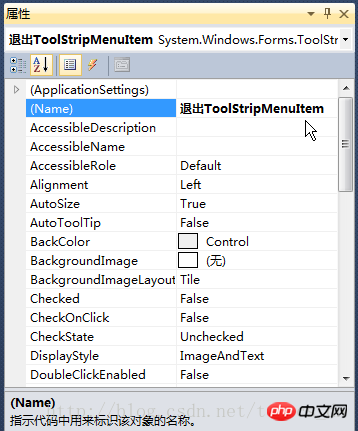
The menu text is in Chinese, so there will also be in the menu name Chinese, I don’t want the code variable name to be in Chinese, so change the exit name to “tsmi_exit”
        private void tsmi_exit_Click(object sender, EventArgs e)
        {
            Application.Exit();
        }
Add code in "Form1_Load"this.notifyIcon1.ContextMenuStrip = this.contextMenuStrip1;Compile, run, right-click on the tray icon, you can see In the following menu, select Exit to exit the screenshot program.
The above is the detailed content of C# Development Example-Customized Screenshot Tool (3) Graphical Introduction to Tray Icon and Menu Implementation. For more information, please follow other related articles on the PHP Chinese website!

