search
HomeBackend DevelopmentPHP TutorialNginx Wiki (outdated latest: http://nginxorg/en/docs/)

SynopsisThis module makes it possible to transfer requests to another server.Example:

<span>location</span> / <span>{</span>
  proxy_pass        <span>http</span>://localhost:<span>8000</span><span>;</span>
  proxy_set_header  X-Real-IP  <span>$remote_addr</span><span>;</span><span>}</span>
Note that when using the HTTP Proxy Module (or even when using FastCGI), the entire client request will be buffered in nginx before being passed on to the backend proxied servers. As a result, upload progress meters will not function correctly if they work by measuring the data received by the backend servers.Directivesproxy_bindsyntax: proxy_bind addressdefault: nonecontext: http, server, locationversion: ≥ 0.8.22example:

proxy_bind  192.168.1.1<span>;</span>
This directive binds each upstream socket to a local address before calling connect(). It may be useful if host has several interfaces/aliases and you want to pass outgoing connections from specific interface/address.proxy_buffer_size Syntax: proxy_buffer_size size Default: 4k|8k Context: http
server
location Reference: proxy_buffer_size
This directive set the buffer size, into which will be read the first part of the response, obtained from the proxied server.In this part of response the small response-header is located, as a rule.By default, the buffer size is equal to the size of one buffer in directive proxy_buffers; however, it is possible to set it to less.proxy_buffering Syntax: proxy_buffering on | off Default: on Context: http
server
location Reference: proxy_buffering
This directive activate response buffering of the proxied server.If buffering is activated, then nginx reads the answer from the proxied server as fast as possible, saving it in the buffer as configured by directives proxy_buffer_size and proxy_buffers. If the response does not fit into memory, then parts of it will be written to disk.If buffering is switched off, then the response is synchronously transferred to client immediately as it is received. nginx does not attempt to read the entire answer from the proxied server, the maximum size of data which nginx can accept from the server is set by directive proxy_buffer_size.Also note that caching upstream proxy responses won't work if proxy_buffering is set to off.For Comet applications based on long-polling it is important to set proxy_buffering to off, otherwise the asynchronous response is buffered and the Comet does not work.Buffering can be set on a per-request basis by setting the X-Accel-Buffering header in the proxy response.proxy_buffers Syntax: proxy_buffers number size Default: 8 4k|8k Context: http
server
location Reference: proxy_buffers
This directive sets the number and the size of buffers, into which will be read the answer, obtained from the proxied server. By default, the size of one buffer is equal to the size of page. Depending on platform this is either 4K or 8K.proxy_busy_buffers_size Syntax: proxy_busy_buffers_size size Default: 8k|16k Context: http
server
location Reference: proxy_busy_buffers_size
proxy_cache Syntax: proxy_cache zone | off Default: off Context: http
server
location Reference: proxy_cache
This directive sets name of zone for caching. The same zone can be used in multiple places.The cache honors backend's "Expires", "Cache-Control: no-cache", and "Cache-Control: max-age=XXX" headers since version 0.7.48. Since version 7.66, "private" and "no-store" are also honored. nginx does not handle "Vary" headers when caching. In order to ensure private items are not served to all users unintentionally by the cache, the back-end can set "no-cache" or "max-age=0", or the proxy_cache_key must include user-specific data such as $cookie_xxx. However, using cookie values as part of proxy_cache_key can defeat the benefits of caching for public items, so separate locations with different proxy_cache_key values might be necessary to separate private and public items.The cache depends on proxy buffers, and will not work if proxy_buffers is set to off.The following response headers flag a response as uncacheable unless they are ignored:
  • Set-Cookie
  • Cache-Control containing "no-cache", "no-store", "private", or a "max-age" with a non-numeric or 0 value
  • Expires with a time in the past
  • X-Accel-Expires: 0
  • proxy_cache_bypass Syntax: proxy_cache_bypass string ... Default:   Context: http
    server
    location Reference: proxy_cache_bypass
    The directive specifies the conditions under which the answer will not be taken from the cache. If at least one of a string variable is not empty and not equal to "0", the answer is not taken from the cache:

     proxy_cache_bypass <span>$cookie_nocache</span><span>$arg_nocache</span><span>$arg_comment</span><span>;</span>
     proxy_cache_bypass <span>$http_pragma</span><span>$http_authorization</span><span>;</span>
    Note that the response from the back-end is still eligible for caching. Thus one way of refreshing an item in the cache is sending a request with a header you pick yourself, e.g. "My-Secret-Header: 1", then having a proxy_cache_bypass line like:

    proxy_cache_bypass <span>$http_my_secret_header</span><span>;</span>
    Can be used in conjunction with the directive proxy_no_cache.proxy_cache_key Syntax: proxy_cache_key string Default: $scheme$proxy_host$request_uri Context: http
    server
    location Reference: proxy_cache_key
    The directive specifies what information is included in the key for caching, for example

    proxy_cache_key <span>"$host$request_uri$cookie_user"</span><span>;</span>
    Note that by default, the hostname of the server is not included in the cache key. If you are using subdomains for different locations on your website, you need to include it, e.g. by changing the cache key to something like

    proxy_cache_key <span>"$scheme$host$request_uri"</span><span>;</span>
    proxy_cache_lock Syntax: proxy_cache_lock on | off Default: off Context: http
    server
    location Appeared in: 1.1.12 Reference: proxy_cache_lock When enabled, only one request at a time will be allowed to populate a new cache element identified according to the proxy_cache_key directive by passing a request to a proxied server. Other requests of the same cache element will either wait for a response to appear in the cache or the cache lock for this element to be released, up to the time set by the proxy_cache_lock_timeout directive. Similar effect for updating cache entry (this directive works only for inserting new cache element) can be archieved by using proxy_cache_use_stale updating directive.proxy_cache_lock_timeout Syntax: proxy_cache_lock_timeout time Default: 5s Context: http
    server
    location Appeared in: 1.1.12 Reference: proxy_cache_lock_timeout
    proxy_cache_methodssyntax: proxy_cache_methods [GET HEAD POST];default: proxy_cache_methods GET HEAD;context: http, server, locationGET/HEAD is syntax sugar, i.e. you can not disable GET/HEAD even if you set just

    proxy_cache_methods POST<span>;</span>
    proxy_cache_min_uses Syntax: proxy_cache_min_uses number Default: 1 Context: http
    server
    location Reference: proxy_cache_min_uses
    Number of queries, after which reply will be cached.proxy_cache_path Syntax: proxy_cache_path path [ levels = levels ] keys_zone = name : size [ inactive = time ] [ max_size = size ] [ loader_files = number ] [ loader_sleep = time ] [ loader_threshold = time ] Default:   Context: http Reference: proxy_cache_path
    This directive sets the cache path and other cache parameters. Cached data is stored in files. An MD5 hash of the proxied URL is used as the key for the cache entry, and is also used as the filename in the cache path for the response contents and metadata. The levels parameter sets the number of subdirectory levels in cache. For example:

    proxy_cache_path  /data/nginx/cache/one  levels<span>=</span><span>1</span>:<span>2</span>   keys_zone<span>=</span>one:10m<span>;</span>
    In this cache, file names will be like the following:

    <span>/</span>data<span>/</span>nginx<span>/</span>cache<span>/</span>c<span>/</span><span>29</span><span>/</span>b7f54b2df7773722d382f4809d65029c
    You may use any combination of 1 and 2 in the level formats: X, X:X, or X:X:X e.g.: "2", "2:2", "1:1:2". There can be at most 3 levels.All active keys and metadata is stored in shared memory. Zone name and the size of the zone is defined via the keys_zone parameter.Note that each defined zone must have a unique path. For example:

    proxy_cache_path  /data/nginx/cache/one    levels<span>=</span><span>1</span>      keys_zone<span>=</span>one:10m<span>;</span>
    proxy_cache_path  /data/nginx/cache/two    levels<span>=</span><span>2</span>:<span>2</span>    keys_zone<span>=</span>two:100m<span>;</span>
    proxy_cache_path  /data/nginx/cache/three  levels<span>=</span><span>1</span>:<span>1</span>:<span>2</span>  keys_zone<span>=</span>three:1000m<span>;</span>
    If cached data is not requested for time defined by the inactive parameter, than that data is removed from the cache. The inactive parameter defaults to 10 minutes (10m).A special process, called "cache manager", is created to control the on-disk cache. It is responsible for removing inactive items and enforcing the size of the cache, as defined by the parameter max_size. When the total size of the cache exceeds the maximum size set by max_size, the least recently used data in the cache is deleted to make room for a new cache entry (a LRU replacement policy).Zone size should be set proportional to number of pages to cache. The size of the metadata for one page (file) depends on the OS; currently it is 64 bytes for FreeBSD/i386, and 128 bytes for FreeBSD/amd64.The directories specified by proxy_cache_path and proxy_temp_path should be located on the same filesystem.proxy_cache_use_stale Syntax: proxy_cache_use_stale error | timeout | invalid_header | updating | http_500 | http_502 | http_503 | http_504 | http_404 | off ... Default: off Context: http
    server
    location Reference: proxy_cache_use_stale
    This directive tells Nginx when to serve a stale item from the proxy cache. The parameters for this directive are similar to proxy_next_upstream with the addition of 'updating'.To prevent cache stampedes (when multiple threads stampede in to try to update the cache simultaneously) you can specify the 'updating' parameter. This will cause one thread to update the cache and while the update is in progress all other threads will serve the stale version of what is in the cache.proxy_cache_valid Syntax: proxy_cache_valid [ code ...] time Default:   Context: http
    server
    location Reference: proxy_cache_valid
    This directive sets the time for caching different replies. Example:

    proxy_cache_valid  <span>200</span><span>302</span>  10m<span>;</span>
    proxy_cache_valid  <span>404</span>      1m<span>;</span>
    sets 10 minutes cache time for replies with code 200 and 302, and 1 minute for 404s.If only time is specified:

    proxy_cache_valid 5m<span>;</span>
    then only replies with codes 200, 301 and 302 will be cached.Also it is possible to cache any replies with parameter "any":

    proxy_cache_valid  <span>200</span><span>302</span> 10m<span>;</span>
    proxy_cache_valid  <span>301</span> 1h<span>;</span>
    proxy_cache_valid  any 1m<span>;</span>
    Upstream cache-related directives have priority over proxy_cache_valid value, in particular the order is (from Igor):
  • X-Accel-Expires
  • Expires/Cache-Control
  • proxy_cache_valid
  • The order in which your backend return HTTP headers change cache behaviour. Read this post for details.You may ignore the headers using

    proxy_ignore_headers X-Accel-Expires Expires Cache-Control<span>;</span>
    Concerning If-Modified / Last-Modified since behaviour, please remember that by default nginx sends 304 only if L-M == I-M-S. Controlled by directive if_modified_since [off|exact|before]Note: you must set this option for any persistent caching to occur.proxy_connect_timeout Syntax: proxy_connect_timeout time Default: 60s Context: http
    server
    location Reference: proxy_connect_timeout
    This directive assigns a timeout for the connection to the upstream server. It is necessary to keep in mind that this time out cannot be more than 75 seconds.This is not the time until the server returns the pages, that is the proxy_read_timeout statement. If your upstream server is up, but hanging (e.g. it does not have enough threads to process your request so it puts you in the pool of connections to deal with later), then this statement will not help as the connection to the server has been made.proxy_cookie_domain Syntax: proxy_cookie_domain off 
    proxy_cookie_domain domain replacement
    Default: off Context: http
    server
    location Appeared in: 1.1.15 Reference: proxy_cookie_domain
    proxy_cookie_path Syntax: proxy_cookie_path off 
    proxy_cookie_path path replacement
    Default: off Context: http
    server
    location Appeared in: 1.1.15 Reference: proxy_cookie_path
    proxy_headers_hash_bucket_sizesyntax: proxy_headers_hash_bucket_size size;default: proxy_headers_hash_bucket_size 64;context: http, server, location, ifThis directive sets the bucket size of the headers hash table. 
    This determines the limit of the header name. If you use header names longer than 64 characters then increase this.proxy_headers_hash_max_sizesyntax: proxy_headers_hash_max_size size;default: proxy_headers_hash_max_size 512;context: http, server, location, ifThis directive sets the maximum size of the headers hash table. 
    Should not be smaller than the amount of headers your back-end is setting.proxy_hide_header Syntax: proxy_hide_header field Default:   Context: http
    server
    location Reference: proxy_hide_header
    nginx does not transfer the "Date", "Server", "X-Pad" and "X-Accel-..." header lines from the proxied server response. The proxy_hide_header directive allows to hide some additional header lines. But if on the contrary the header lines must be passed, then the proxy_pass_header should be used. For example if you want to hide the MS-OfficeWebserver and the AspNet-Version:

    <span>location</span> / <span>{</span>
      proxy_hide_header X-AspNet-Version<span>;</span>
      proxy_hide_header MicrosoftOfficeWebServer<span>;</span><span>}</span>
    This directive can also be very helpful when using X-Accel-Redirect. For example, you may have one set of backend servers which return the headers for a file download, which includes X-Accel-Redirect to the actual file, as well as the correct Content-Type. However, the Redirect URL points to a files erver which hosts the actual file you wish to serve, and that server sends its own Content-Type header, which might be incorrect, and overrides the header sent by the original backend servers. You can avoid this by adding the proxy_hide_header directive to the fileserver. Example:

    <span>location</span> / <span>{</span>
      proxy_pass <span>http</span>://backend_servers<span>;</span><span>}</span>
     
    <span>location</span> /files/ <span>{</span>
      proxy_pass <span>http</span>://fileserver<span>;</span>
      proxy_hide_header Content-Type<span>;</span><span>}</span>
    proxy_http_version Syntax: proxy_http_version 1.0 | 1.1 Default: 1.0 Context: http
    server
    location Appeared in: 1.1.4 Reference: proxy_http_version
    proxy_ignore_client_abort Syntax: proxy_ignore_client_abort on | off Default: off Context: http
    server
    location Reference: proxy_ignore_client_abort
    Prevents aborting request to proxy in case the client itself aborts the request.proxy_ignore_headers Syntax: proxy_ignore_headers field ... Default:   Context: http
    server
    location Reference: proxy_ignore_headers
    Prohibits the processing of the header lines from the proxy server's response.It can specify the string as "X-Accel-Redirect", "X-Accel-Expires", "Expires", "Cache-Control" or "Set-Cookie". By default, nginx does not caches requests with Set-Cookie.proxy_intercept_errors Syntax: proxy_intercept_errors on | off Default: off Context: http
    server
    location Reference: proxy_intercept_errors
    This directive decides if nginx will intercept responses with HTTP status codes of 400 and higher.By default all responses will be sent as-is from the proxied server.If you set this to on then nginx will intercept status codes that are explicitly handled by an error_page directive. Responses with status codes that do not match an error_page directive will be sent as-is from the proxied server.proxy_max_temp_file_size Syntax: proxy_max_temp_file_size size Default: 1024m Context: http
    server
    location Reference: proxy_max_temp_file_size
    The maximum size of a temporary file when the content is larger than the proxy buffer. If file is larger than this size, it will be served synchronously from upstream server rather than buffered to disk.If proxy_max_temp_file_size is equal to zero, temporary files usage will be disabled.proxy_methodsyntax: proxy_method [method];default: Nonecontext: http, server, locationAllows you to override the HTTP method of the request to be passed to the backend server. If you specify POST for example, all requests forwarded to the backend server will be POST requests.Example:

    proxy_method POST<span>;</span>
    proxy_next_upstream Syntax: proxy_next_upstream error | timeout | invalid_header | http_500 | http_502 | http_503 | http_504 | http_404 | off ... Default: error timeout Context: http
    server
    location Reference: proxy_next_upstream
    Directive determines in what cases the request will be transmitted to the next server:
  • error — an error has occurred while connecting to the server, sending a request to it, or reading its response;
  • timeout — occurred timeout during the connection with the server, transfer the request or while reading response from the server;
  • invalid_header — server returned a empty or incorrect answer;
  • http_500 — server returned answer with code 500
  • http_502 — server returned answer with code 502
  • http_503 — server returned answer with code 503
  • http_504 — server returned answer with code 504
  • http_404 — server returned answer with code 404
  • off — it forbids the request transfer to the next server
  • Transferring the request to the next server is only possible when nothing has been transferred to the client -- that is, if an error or timeout arises in the middle of the transfer of the request, then it is not possible to retry the current request on a different server.proxy_no_cache Syntax: proxy_no_cache string ... Default:   Context: http
    server
    location Reference: proxy_no_cache
    Specifies in what cases a response will not be cached, e.g.

    proxy_no_cache <span>$cookie_nocache</span><span>$arg_nocache</span><span>$arg_comment</span><span>;</span>
    proxy_no_cache <span>$http_pragma</span><span>$http_authorization</span><span>;</span>
    The response is marked uncacheable if any of the arguments expand to anything other than "0" or the empty string. For instance, in the above example, the response will never be cached if the cookie "nocache" is set in the request.proxy_pass Syntax: proxy_pass URL Default:   Context: location
    if in location
    limit_except Reference: proxy_pass
    This directive sets the address of the proxied server and the URI to which location will be mapped. Address may be given as hostname or address and port, for example,

    proxy_pass <span>http</span>://localhost:<span>8000</span>/uri/<span>;</span>
    or as unix socket path:

    proxy_pass <span>http</span>://unix:/path/to/backend.socket:/uri/<span>;</span>
    path is given after the word unix between two colons.By default, the Host header from the request is not forwarded, but is set based on the proxy_pass statement. To forward the requested Host header, it is necessary to use:

    proxy_set_header Host <span>$host</span><span>;</span>
    While passing request nginx replaces URI part which corresponds to location with one indicated in proxy_pass direct
    Statement
    The content of this article is voluntarily contributed by netizens, and the copyright belongs to the original author. This site does not assume corresponding legal responsibility. If you find any content suspected of plagiarism or infringement, please contact admin@php.cn
    解决方法:您的组织要求您更改 PIN 码解决方法:您的组织要求您更改 PIN 码Oct 04, 2023 pm 05:45 PM

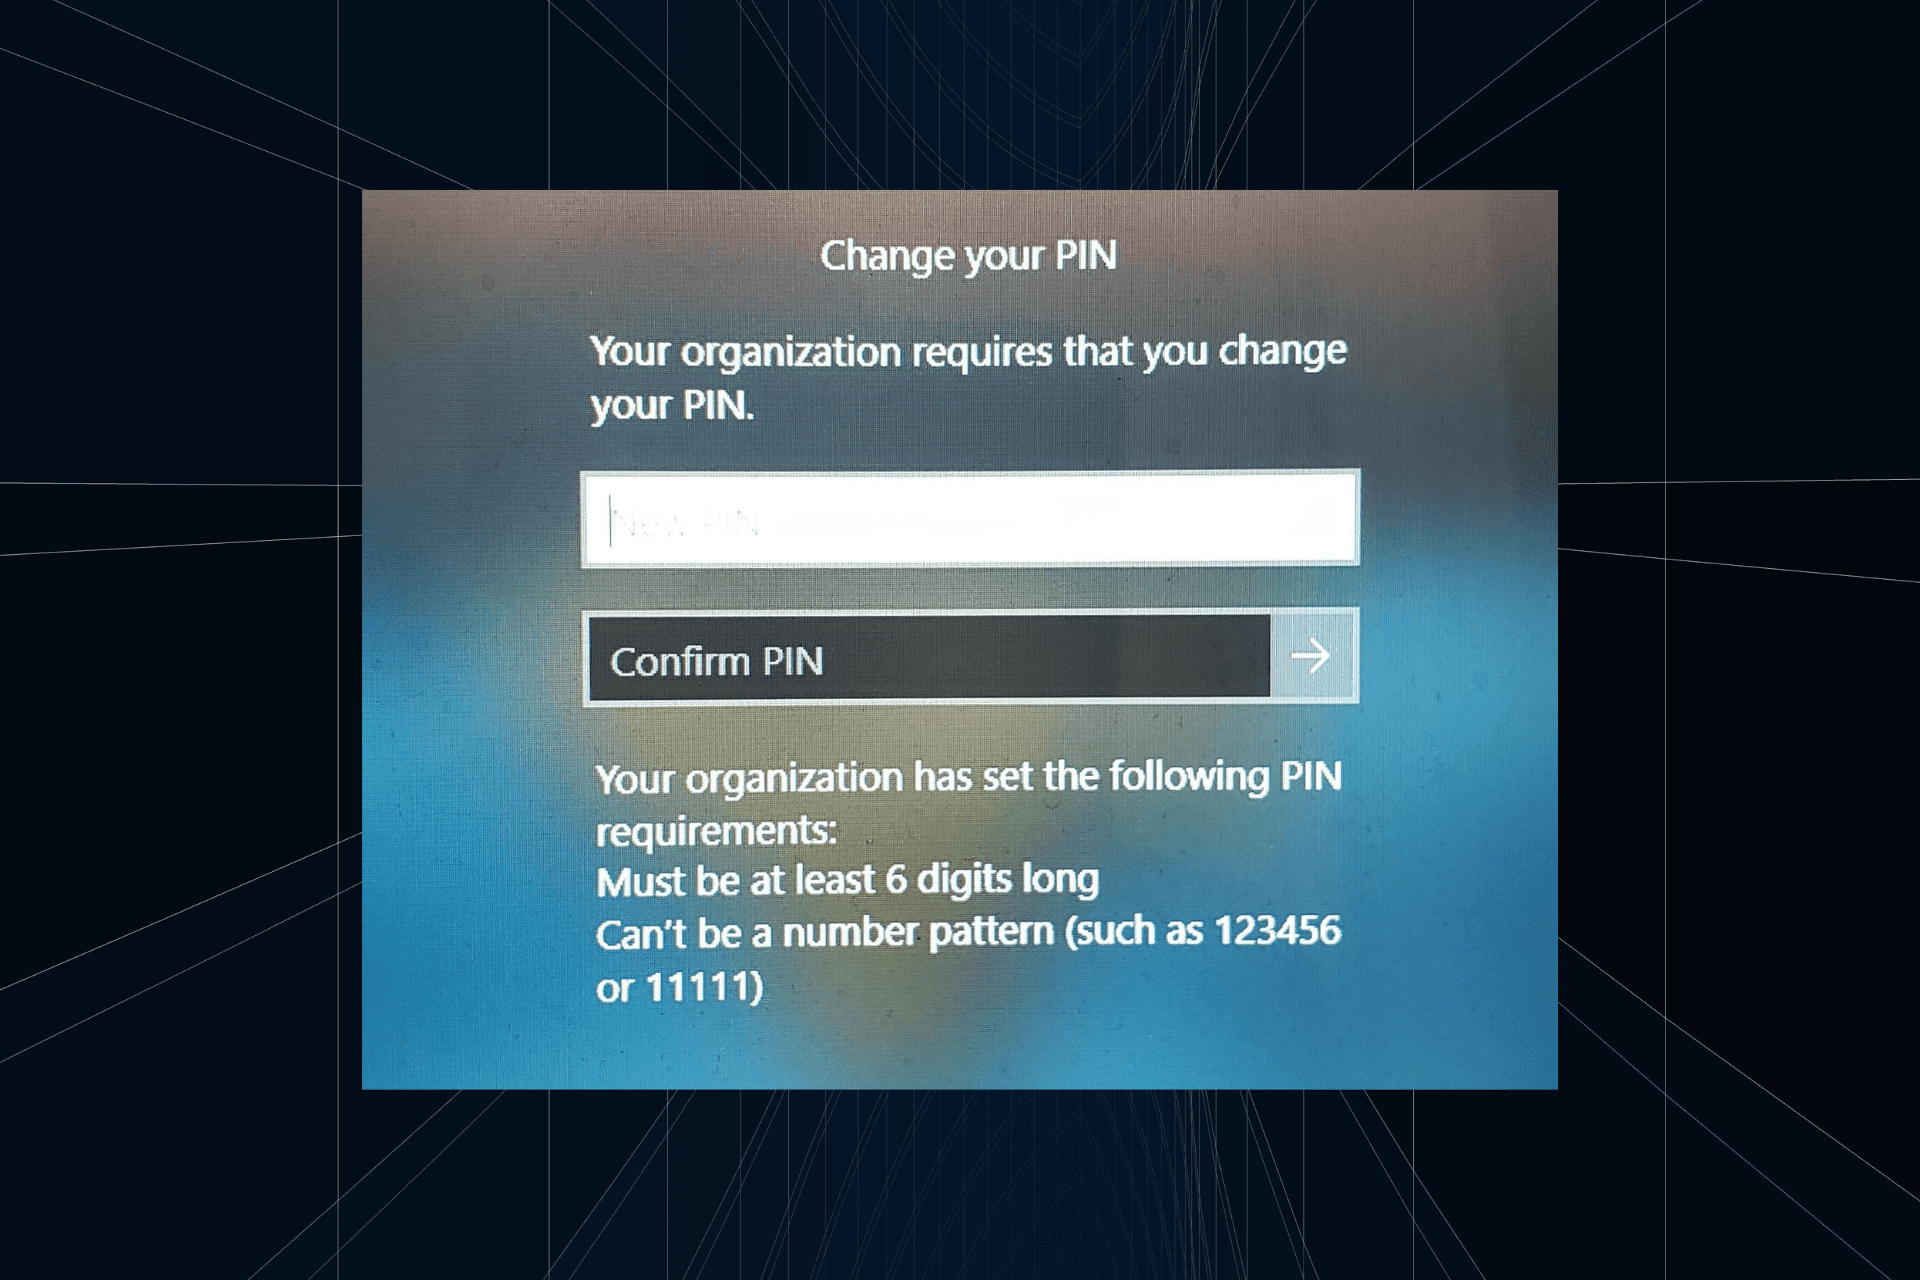
    “你的组织要求你更改PIN消息”将显示在登录屏幕上。当在使用基于组织的帐户设置的电脑上达到PIN过期限制时,就会发生这种情况,在该电脑上,他们可以控制个人设备。但是,如果您使用个人帐户设置了Windows,则理想情况下不应显示错误消息。虽然情况并非总是如此。大多数遇到错误的用户使用个人帐户报告。为什么我的组织要求我在Windows11上更改我的PIN?可能是您的帐户与组织相关联,您的主要方法应该是验证这一点。联系域管理员会有所帮助!此外,配置错误的本地策略设置或不正确的注册表项也可能导致错误。即
    Windows 11 上调整窗口边框设置的方法:更改颜色和大小Windows 11 上调整窗口边框设置的方法:更改颜色和大小Sep 22, 2023 am 11:37 AM

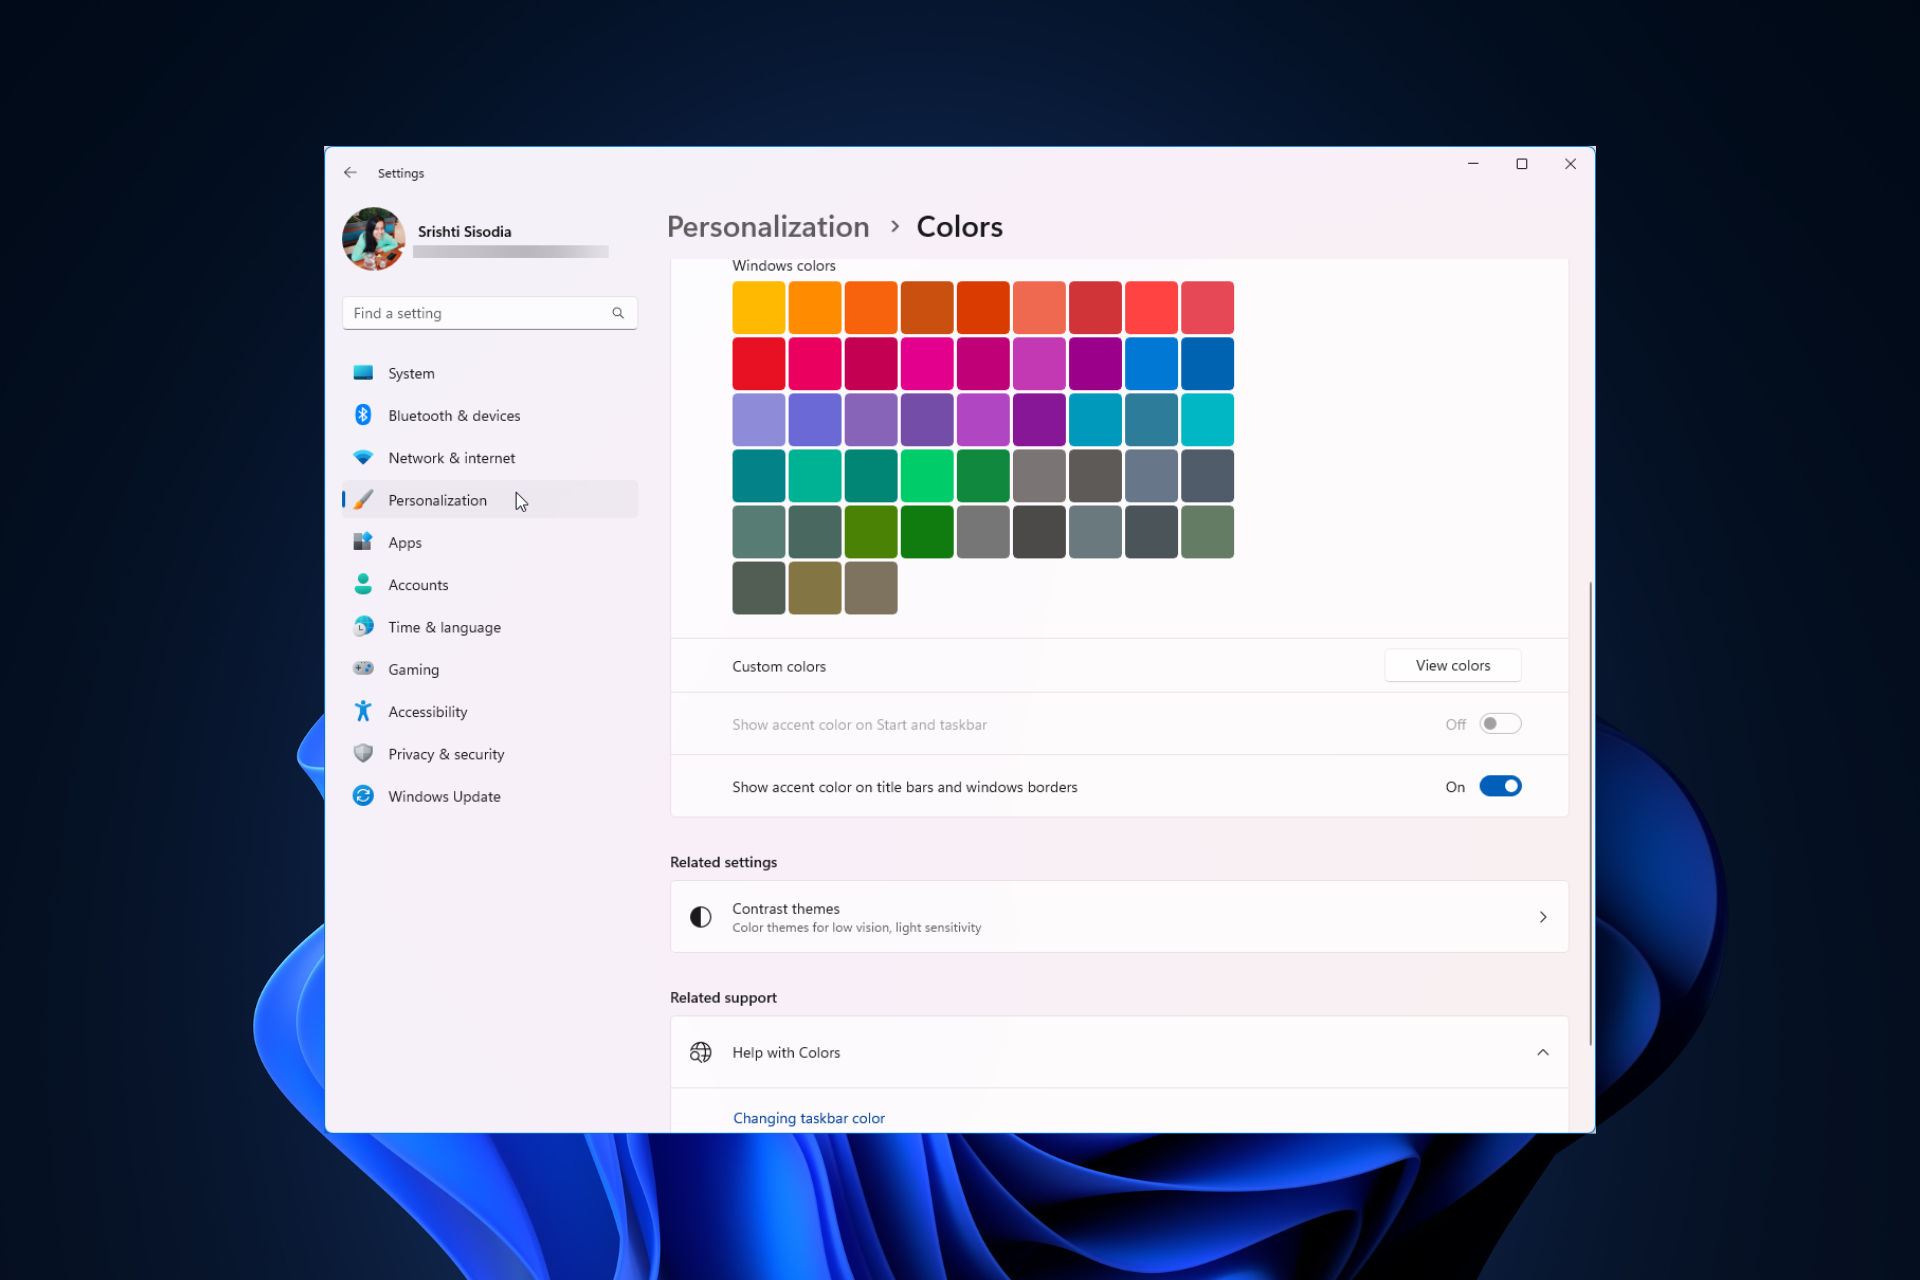
    Windows11将清新优雅的设计带到了最前沿;现代界面允许您个性化和更改最精细的细节,例如窗口边框。在本指南中,我们将讨论分步说明,以帮助您在Windows操作系统中创建反映您的风格的环境。如何更改窗口边框设置?按+打开“设置”应用。WindowsI转到个性化,然后单击颜色设置。颜色更改窗口边框设置窗口11“宽度=”643“高度=”500“&gt;找到在标题栏和窗口边框上显示强调色选项,然后切换它旁边的开关。若要在“开始”菜单和任务栏上显示主题色,请打开“在开始”菜单和任务栏上显示主题
    如何在 Windows 11 上更改标题栏颜色?如何在 Windows 11 上更改标题栏颜色?Sep 14, 2023 pm 03:33 PM

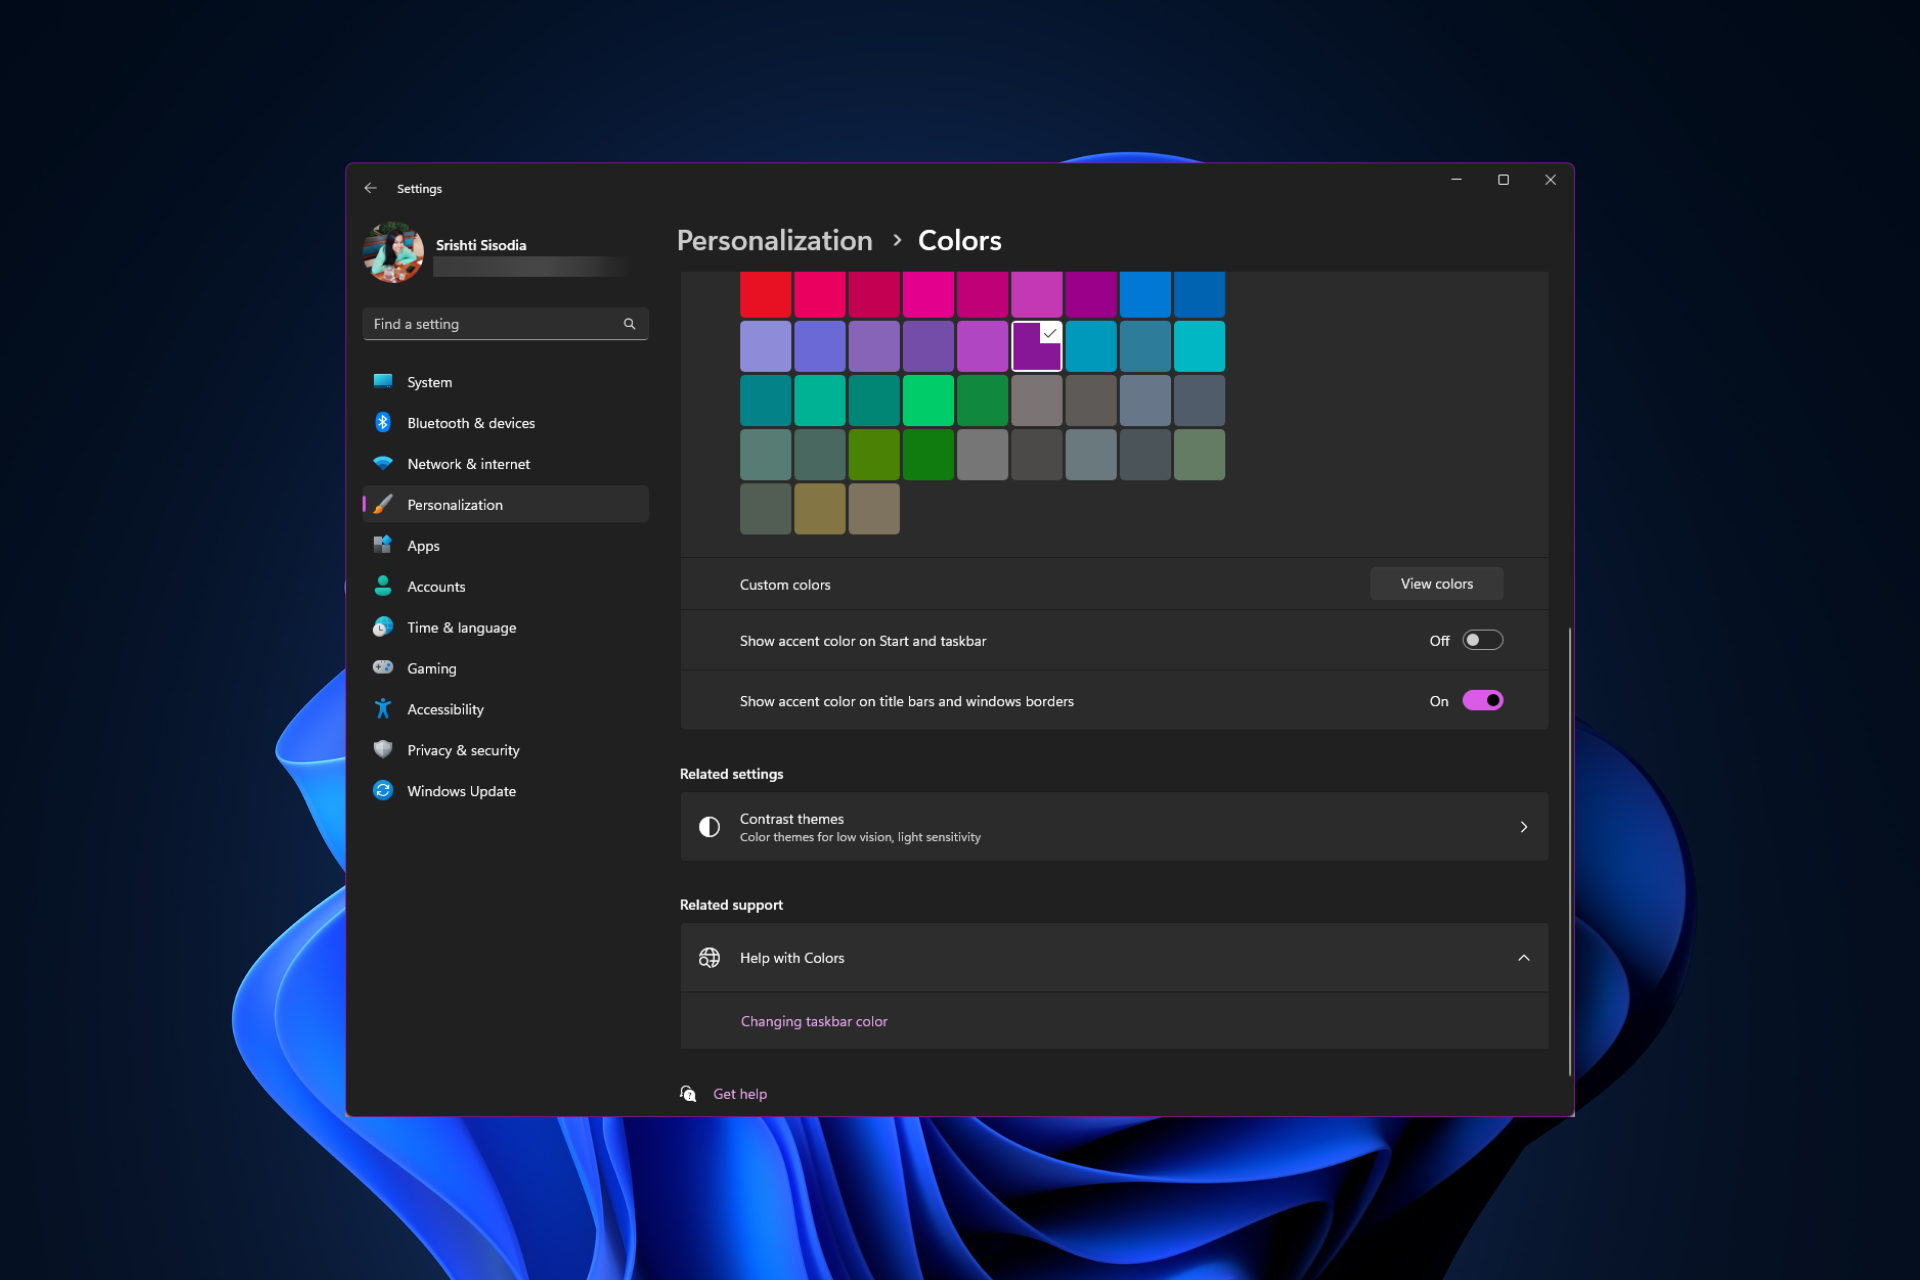
    默认情况下,Windows11上的标题栏颜色取决于您选择的深色/浅色主题。但是,您可以将其更改为所需的任何颜色。在本指南中,我们将讨论三种方法的分步说明,以更改它并个性化您的桌面体验,使其具有视觉吸引力。是否可以更改活动和非活动窗口的标题栏颜色?是的,您可以使用“设置”应用更改活动窗口的标题栏颜色,也可以使用注册表编辑器更改非活动窗口的标题栏颜色。若要了解这些步骤,请转到下一部分。如何在Windows11中更改标题栏的颜色?1.使用“设置”应用按+打开设置窗口。WindowsI前往“个性化”,然
    OOBELANGUAGE错误Windows 11 / 10修复中出现问题的问题OOBELANGUAGE错误Windows 11 / 10修复中出现问题的问题Jul 16, 2023 pm 03:29 PM

    您是否在Windows安装程序页面上看到“出现问题”以及“OOBELANGUAGE”语句?Windows的安装有时会因此类错误而停止。OOBE表示开箱即用的体验。正如错误提示所表示的那样,这是与OOBE语言选择相关的问题。没有什么可担心的,你可以通过OOBE屏幕本身的漂亮注册表编辑来解决这个问题。快速修复–1.单击OOBE应用底部的“重试”按钮。这将继续进行该过程,而不会再打嗝。2.使用电源按钮强制关闭系统。系统重新启动后,OOBE应继续。3.断开系统与互联网的连接。在脱机模式下完成OOBE的所
    Windows 11 上启用或禁用任务栏缩略图预览的方法Windows 11 上启用或禁用任务栏缩略图预览的方法Sep 15, 2023 pm 03:57 PM

    任务栏缩略图可能很有趣,但它们也可能分散注意力或烦人。考虑到您将鼠标悬停在该区域的频率,您可能无意中关闭了重要窗口几次。另一个缺点是它使用更多的系统资源,因此,如果您一直在寻找一种提高资源效率的方法,我们将向您展示如何禁用它。不过,如果您的硬件规格可以处理它并且您喜欢预览版,则可以启用它。如何在Windows11中启用任务栏缩略图预览?1.使用“设置”应用点击键并单击设置。Windows单击系统,然后选择关于。点击高级系统设置。导航到“高级”选项卡,然后选择“性能”下的“设置”。在“视觉效果”选
    Windows 11 上的显示缩放比例调整指南Windows 11 上的显示缩放比例调整指南Sep 19, 2023 pm 06:45 PM

    在Windows11上的显示缩放方面,我们都有不同的偏好。有些人喜欢大图标,有些人喜欢小图标。但是,我们都同意拥有正确的缩放比例很重要。字体缩放不良或图像过度缩放可能是工作时真正的生产力杀手,因此您需要知道如何对其进行自定义以充分利用系统功能。自定义缩放的优点:对于难以阅读屏幕上的文本的人来说,这是一个有用的功能。它可以帮助您一次在屏幕上查看更多内容。您可以创建仅适用于某些监视器和应用程序的自定义扩展配置文件。可以帮助提高低端硬件的性能。它使您可以更好地控制屏幕上的内容。如何在Windows11
    10种在 Windows 11 上调整亮度的方法10种在 Windows 11 上调整亮度的方法Dec 18, 2023 pm 02:21 PM

    屏幕亮度是使用现代计算设备不可或缺的一部分,尤其是当您长时间注视屏幕时。它可以帮助您减轻眼睛疲劳,提高易读性,并轻松有效地查看内容。但是,根据您的设置,有时很难管理亮度,尤其是在具有新UI更改的Windows11上。如果您在调整亮度时遇到问题,以下是在Windows11上管理亮度的所有方法。如何在Windows11上更改亮度[10种方式解释]单显示器用户可以使用以下方法在Windows11上调整亮度。这包括使用单个显示器的台式机系统以及笔记本电脑。让我们开始吧。方法1:使用操作中心操作中心是访问

    如何在Safari中关闭iPhone的隐私浏览身份验证?如何在Safari中关闭iPhone的隐私浏览身份验证?Nov 29, 2023 pm 11:21 PM

    在iOS17中,Apple为其移动操作系统引入了几项新的隐私和安全功能,其中之一是能够要求对Safari中的隐私浏览选项卡进行二次身份验证。以下是它的工作原理以及如何将其关闭。在运行iOS17或iPadOS17的iPhone或iPad上,如果您在Safari浏览器中打开了任何“无痕浏览”标签页,然后退出会话或App,Apple的浏览器现在需要面容ID/触控ID认证或密码才能再次访问它们。换句话说,如果有人在解锁您的iPhone或iPad时拿到了它,他们仍然无法在不知道您的密码的情况下查看您的隐私

    See all articles

    Hot AI Tools

    Undresser.AI Undress

    Undresser.AI Undress

    AI-powered app for creating realistic nude photos

    AI Clothes Remover

    AI Clothes Remover

    Online AI tool for removing clothes from photos.

    Undress AI Tool

    Undress AI Tool

    Undress images for free

    Clothoff.io

    Clothoff.io

    AI clothes remover

    AI Hentai Generator

    AI Hentai Generator

    Generate AI Hentai for free.

    Hot Article

    R.E.P.O. Energy Crystals Explained and What They Do (Yellow Crystal)
    2 weeks agoBy尊渡假赌尊渡假赌尊渡假赌
    Repo: How To Revive Teammates
    4 weeks agoBy尊渡假赌尊渡假赌尊渡假赌
    Hello Kitty Island Adventure: How To Get Giant Seeds
    3 weeks agoBy尊渡假赌尊渡假赌尊渡假赌

    Hot Tools

    ZendStudio 13.5.1 Mac

    ZendStudio 13.5.1 Mac

    Powerful PHP integrated development environment

    SAP NetWeaver Server Adapter for Eclipse

    SAP NetWeaver Server Adapter for Eclipse

    Integrate Eclipse with SAP NetWeaver application server.

    EditPlus Chinese cracked version

    EditPlus Chinese cracked version

    Small size, syntax highlighting, does not support code prompt function

    DVWA

    DVWA

    Damn Vulnerable Web App (DVWA) is a PHP/MySQL web application that is very vulnerable. Its main goals are to be an aid for security professionals to test their skills and tools in a legal environment, to help web developers better understand the process of securing web applications, and to help teachers/students teach/learn in a classroom environment Web application security. The goal of DVWA is to practice some of the most common web vulnerabilities through a simple and straightforward interface, with varying degrees of difficulty. Please note that this software

    Atom editor mac version download

    Atom editor mac version download

    The most popular open source editor