Home >Backend Development >PHP Tutorial >phpMyAdmin download, installation and usage tutorial
phpMyAdmin download, installation and usage tutorial
- PHPzOriginal
- 2016-07-21 15:55:111542browse
We have seen the gradual popularity of PHP: whether it is WordPress in the BLOG program, DEDECMS in the CMS program, or Discuz! in the BBS program, they are all classics.
With the different choices of programming languages, the databases used by WEB applications have also changed, and they have turned to the MySQL camp. Among them, learning phpMyAdmin is essential.
phpMyAdmin (PMA for short) is written in PHP and can control and operate MySQL online through the Internet. It is the preferred database maintenance tool for many MySQL administrators and website administrators. The MySQL database can be completely operated through phpMyAdmin.
Recommended: "phpMyAdmin usage tutorial"
1. Download phpMyAdmin
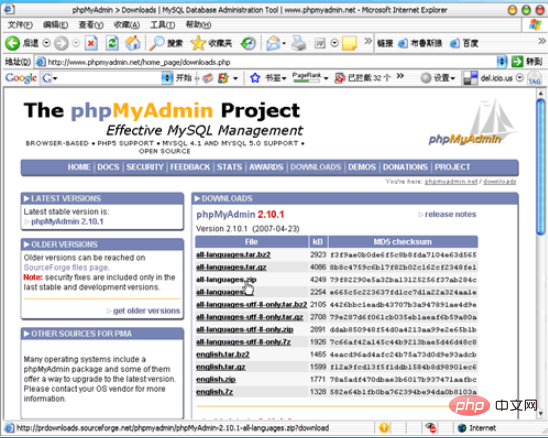
Open the official website of phpMyAdmin : http://www.phpmyadmin.net/, select "Download" on the page, the latest version is phpMyAdmin 2.10.1, select the "all-languages.zip" file to download 
The downloaded ZIP file is decompressed on the local disk through decompression software. If there is MySQL locally, you can test it locally, otherwise upload it to a WEB server that supports MySQL. For example, upload all decompressed files to the phpmyadmin folder of leosn.com, you can use "http://leosn.com/phpmyadmin" for a visit.
2. Installation of phpMyAdmin
Of course, whether you are testing locally or on a remote server, you need to configure the following files to use phpMyAdmin normally.
First of all, there is a file "config.sample.inc.php" in the downloaded and unzipped file. This is a sample file of the phpMyAdmin configuration file. We need to copy all the code in the file and create a new one. File "config.inc.php" and paste the code. The file config.inc.php is the configuration file of phpMyAdmin. This file must be uploaded when uploading to the server.
For the config.inc.php file, the most important thing is to modify the username and password to join phpMyAdmin to connect to MySQL. Find the line of code:
// $cfg['Servers'][$i]['controluser'] = 'pma';
// $cfg['Servers'][$i]['controlpass'] = 'pmapass';
Delete the "//" comment number, and enter the username and password configured in MySQL (for remote servers, please contact your space service provider), such as here:
$cfg['Servers'][$i]['controluser'] = 'leosn_com';
$cfg['Servers'][$i]['controlpass'] = '*********';
Note: If you need to use phpMyAdmin through remote server debugging, you need to add blowfish_secret content definition cookie, find the line of code:
$cfg['blowfish_secret'] = '';
Set the content to COOKIE
$cfg['blowfish_secret'] = 'leosn';
3. Use of phpMyAdmin
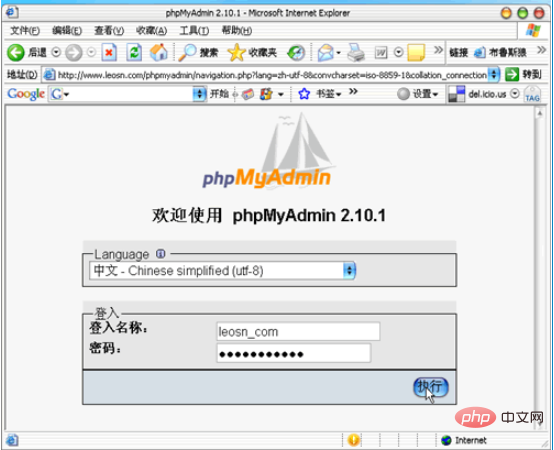
Open the server directory where phpMyAdmin is located, such as http://www.leosn. com/phpmyadmin/, continue to enter the user name and password of the MySQL user, and enter. 
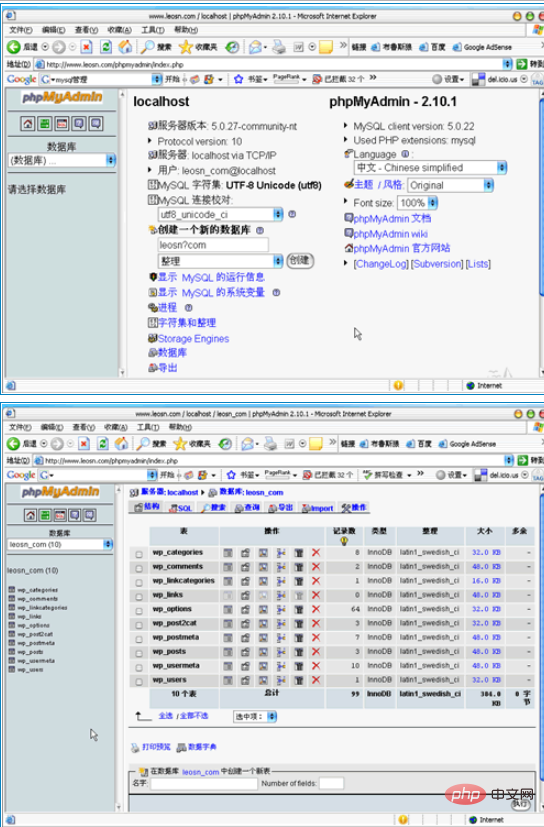
Select the relevant database to see the tables in the database. You can add, delete, and modify tables and fields, and you can import and export database information.
In short, choose the Chinese language phpMyAdmin and you can get started quickly. 

