


XAMPP is an installation package that integrates the Apache web server with PHP, Perl and MySQL, allowing users to easily create a web server on their own computers. Using XAMPP you can easily debug your PHP program, CMS and wordpress blog program locally. This article mainly shares the usage tutorial of XAMPP.
How to use XAMPP
1. Download XAMPP
First download XAMPP. You can directly click on the link provided at the bottom of this page to download from the official website.
2. Install XAMPP
I am using the Windows version of XAMPP installation package. You can install it directly after downloading. All options during the installation process can be kept as default. It is recommended not to install directly on the C drive. After the installation process is complete, you will find XAMPP under the Start/Programs/XAMPP menu. You can use the XAMPP control panel to start/stop all services or install/uninstall all services. 
3. Configure XAMPP
Enter in the browser: http://localhost or http://127.0.0.1 to view Go to the XAMPP welcome screen. If an error occurs, please check whether you have installed similar software before, such as dedecms and dedeampz. There may be some conflicts if they coexist. Stop the running of these software or uninstall it directly.
4. Modify the phpMyAdmin configuration
First use relevant software to open the config.inc.php file located in the D:/xampp/phpMyAdmin folder.
Search
$ cfg
[
'Servers'
]
[
$i
]
[
'auth_type'
]
=
'config'
;
Change the config (default value) to cookie saving.
5. Log in to XAMPP
Enter the phpmyadmin interface through the phpmyadmin navigation bar on the left side of the default homepage http://localhost. You can directly enter the web login interface through http: //localhost/phpmyadmin/. Enter the user name root and click login directly (the password is empty by default).
Note: By default, phpmyadmin has two usernames, namely pma and root. Among them, root is the administrator identity, and pma is the ordinary user identity, but both have no password by default.
6. Create a new administrator account and delete the original root account
First enter the permissions tab, click on the root account to edit its permissions, and only enter the corresponding user name and password, and keep the other options with their default values. After confirmation, a new account with the same permissions as the original root account will be generated; then, edit the permissions of the root account again, and select "Change login information/Copy user" at the bottom. "Delete old user from user table", the other options remain unchanged, and the original root account can be deleted after confirmation. Yuanzi operates this way for security reasons. It is not recommended to use the root user. It is best to create a new user with all functions to manage the database.
7. Change the pma account password
is similar to root, but there will be an error message when changing the account. At this time, use relevant software to change the 63rd line of config.inc.php The pma password change corresponds to the web settings. At this time, there will be no more login errors. The pma password can be left blank. It would be nice not to have to use him.
After the above configuration, the basic configuration of xampp has been completed. Please remember that the root directory of your site is the htdocs folder under the xampp directory. You can create any site in the htdocs directory. For example, if you place test.html under the path ./xampp/htdocs/new, you can enter http://localhost/new/test.html in the browser's address bar to access this file.
Issues that need attention
1. Administrator passwords such as root do not need to be changed in config.inc.php.
2. Only when pma does not set a password, the status of the MySQL database in the XAMPP main interface will be displayed as ACTIVATED!
3. Do not use the mysql management software that comes with XAMPP for Windows Version 1.5.2 to set it up. If set, a my.ini file will be generated in the C:/windows directory. If you want to reinstall, you need to delete this my.ini file to avoid affecting subsequent settings.
4. Please change the default port if necessary. The default port of APACHE is 80. If you have IIS installed, there will be a conflict. So, a port needs to be changed. Open xampp/apache/conf/httpd.conf and change listen 80 to other ports, such as 99, 8080, etc.
5. You may encounter the problem that xampp is installed and can be accessed through localhost and IP on this machine, but cannot be accessed by other machines in the LAN. The solution is: modify xampp/apache/httpd.conf, change Listen 80 to Listen 192.168.0.188:80, and replace 192.168.0.188 with your server’s IP.

 win11安装语言包错误0x800f0950什么原因Jul 01, 2023 pm 11:29 PM
win11安装语言包错误0x800f0950什么原因?当我们在给windows11系统安装新语言包时,有时会遇到系统提示错误代码:0x800f0950,导致语言包安装流程无法继续进行下去。导致这个错误代码一般是什么原因,又要怎么解决呢?今天小编就来给大家说明一下win11安装语言包错误0x800f0950的具体解决步骤,有需要的用户们赶紧来看一下吧。win11电脑错误代码0x800f0950解决技巧1、首先按下快捷键“Win+R”打开运行,然后输入:Regedit打开注册表。2、在搜索框中输入“
 如何在 Google Docs 中安装自定义字体Apr 26, 2023 pm 01:40 PM
GoogleDocs在学校和工作环境中变得很流行,因为它提供了文字处理器所期望的所有功能。使用Google文档,您可以创建文档、简历和项目提案,还可以与世界各地的其他用户同时工作。您可能会注意到GoogleDocs不包括MicrosoftWord附带的所有功能,但它提供了自定义文档的能力。使用正确的字体可以改变文档的外观并使其具有吸引力。GoogleDocs提供了大量字体,您可以根据自己的喜好从中选择任何人。如果您希望将自定义字体添加到Google文档,请继续阅读本文。在本文中
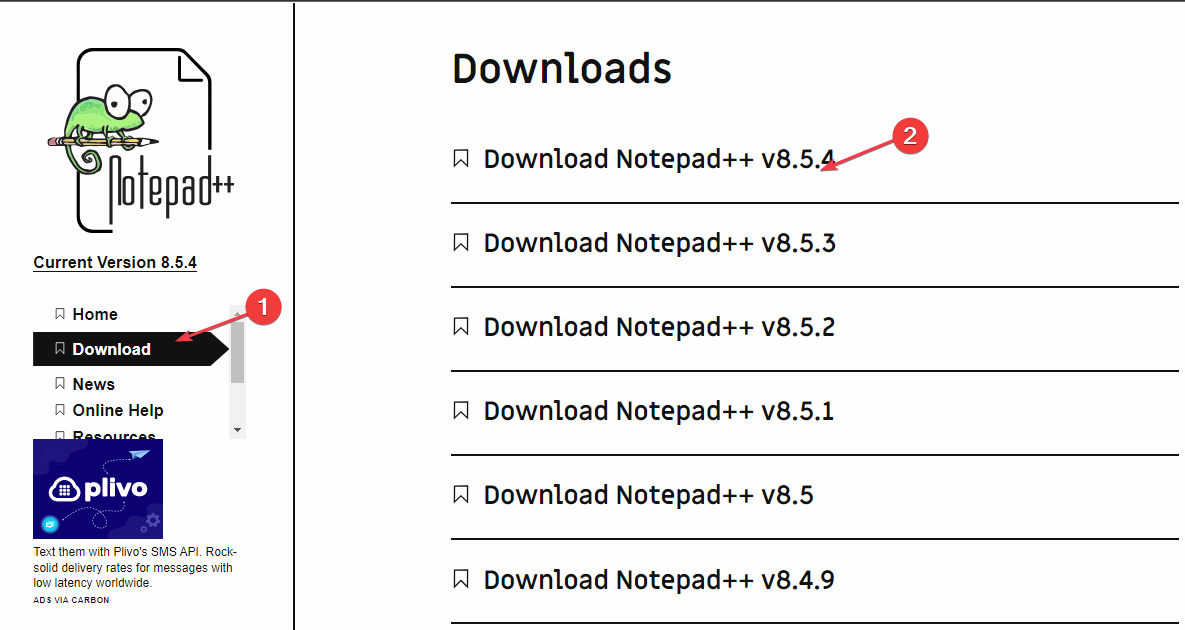 适用于 Windows 11 的记事本++:如何下载和安装它Jul 06, 2023 pm 10:41 PM
Notepad++主要由开发人员用于编辑源代码,由临时用户用于编辑文本。但是,如果您刚刚升级到Windows11,则在您的系统上下载和安装该应用程序可能具有挑战性。因此,我们将讨论在Windows11上下载和安装记事本++。此外,您可以轻松阅读我们关于修复Notepad++在Windows上没有响应的详细指南。记事本++可以在Windows11上运行吗?是的,记事本++可以在Windows11上有效工作,而不会出现兼容性问题。更具体地说,没有臃肿的选项或错误,只需在一个非常小的编辑器中即可。此外
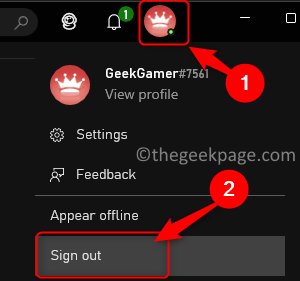
 Steam 未检测到 Windows 11/10 中已安装的游戏,如何修复Jun 27, 2023 pm 11:47 PM
Steam客户端无法识别您计算机上的任何游戏吗?当您从计算机上卸载Steam客户端时,会发生这种情况。但是,当您重新安装Steam应用程序时,它会自动识别已安装文件夹中的游戏。但是,别担心。不,您不必重新下载计算机上的所有游戏。有一些基本和一些高级解决方案可用。修复1–尝试在同一位置安装游戏这是解决这个问题的最简单方法。只需打开Steam应用程序并尝试在同一位置安装游戏即可。步骤1–在您的系统上打开Steam客户端。步骤2–直接进入“库”以查找您拥有的所有游戏。第3步–选择游戏。它将列在“未分类
 修复:在 Xbox 应用上的 Halo Infinite(Campaign)安装错误代码 0X80070032、0X80070424 或 0X80070005May 21, 2023 am 11:41 AM
<p><strong>HaloInfinite(Campaign)</strong>是一款第一人称射击视频游戏,于2021年11月推出,可供单人和多用户使用。该游戏是Halo系列的延续,适用于Windows、XboxOne和Xbox系列的用户X|S。最近,它还在PC版XboxGamePass上发布,以提高其可访问性。大量玩家报告在尝试使用WindowsPC上的<strong>Xbox应
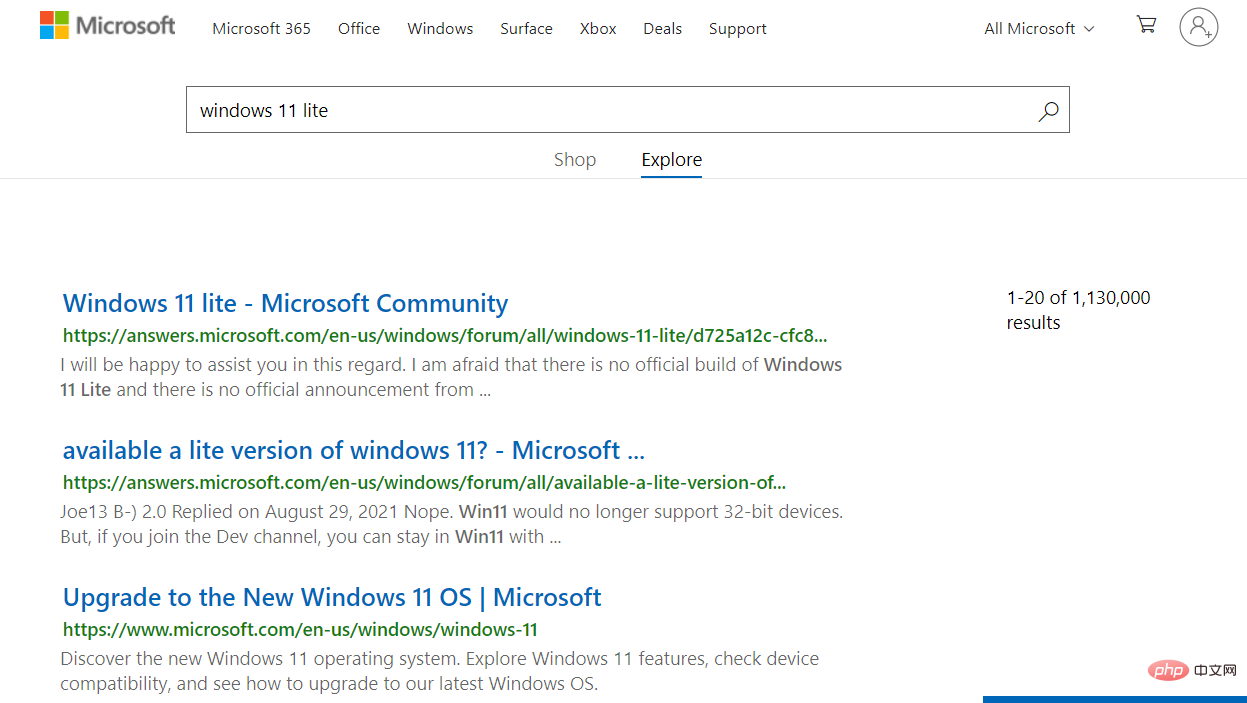 Windows 11 Lite:它是什么以及如何在您的 PC 上安装它Apr 14, 2023 pm 11:19 PM
我们深知MicrosoftWindows11是一个功能齐全且设计吸引人的操作系统。但是,用户一直要求Windows11Lite版本。尽管它提供了重大改进,但Windows11是一个资源匮乏的操作系统,它可能很快就会使旧机器混乱到无法顺利运行的地步。本文将解决您最常问的关于是否有Windows11Lite版本以及是否可以安全下载的问题。跟着!有Windows11Lite版本吗?我们正在谈论的Windows11Lite21H2版本是由Neelkalpa的T
 win11怎么安装无线网卡驱动Jun 29, 2023 am 11:22 AM
win11怎么安装无线网卡驱动?很多win11用户都在使用无线网卡作为自己的上网硬件,而无线网卡驱动是启动和趋势无线网卡的重要程序。很多小伙伴在使用无线网卡的过程中,却不清楚该如何安装和更新无线网卡驱动,导致驱动版本落后,影响网络质量,那么,我们该如何安装无线网卡驱动呢?下面就由小编为大家带来win11无线网卡驱动安装教程。win11无线网卡驱动安装教程1、首先,按【Win】键,或点击任务栏上的【开始图标】,然后点击已固定应用下的【设置】;2、打开的设置(Win+i)窗口,左侧点击【Window
 如何在 Windows 11 中重新安装邮件应用程序Apr 14, 2023 pm 03:19 PM
<p><strong>邮件应用程序</strong>是Windows11内置的一个非常有用的电子邮件客户端。它允许您从一个位置管理所有邮件帐户。虽然Mail应用程序非常有用,但有时可能需要重置,有时也需要重新安装,原因有多种。在本文中,我们将通过一些简单的步骤说明如何从Windows11轻松卸载Mail应用程序,以及如何轻松地从MicrosoftStore将其取回。</p>&l


Hot AI Tools

Undresser.AI Undress
AI-powered app for creating realistic nude photos

AI Clothes Remover
Online AI tool for removing clothes from photos.

Undress AI Tool
Undress images for free

Clothoff.io
AI clothes remover

AI Hentai Generator
Generate AI Hentai for free.

Hot Article
Hot Tools

Zend Studio 13.0.1
Powerful PHP integrated development environment

SublimeText3 Chinese version
Chinese version, very easy to use

SublimeText3 Linux new version
SublimeText3 Linux latest version

Notepad++7.3.1
Easy-to-use and free code editor

Dreamweaver CS6
Visual web development tools

