 Backend Development
 PHP Tutorial
 Detailed explanation of Activity life cycle in Android_PHP tutorial
Detailed explanation of Activity life cycle in Android
Software and hardware environment
- Macbook Pro MGX 72
- Android Studio 1.3.2
- Genymotion Simulator
Preface
In Android, there are four major development components, which are the basis of Android programming, and Activity is the first and top priority. Heavy. Today we will learn about the life cycle of Activity.
What is Activity?
Activity is the most important component in Android development. Almost all interactive operations are performed in Activity. It is mainly responsible for creating a window. In this window, you can add the UI controls you need by calling the setContentView function. Show it. Let’s first look at an activity life cycle diagram provided by the Android API. If you don’t understand it at first, you can read the entire blog post and then look back to deepen your understanding.

Several important callback functions
The following Activity methods show the complete life cycle of the Activity. When the status of the Activity changes, you can Override these methods to implement certain functionality.
<code class="language-none" style="-webkit-print-color-adjust:exact;margin:0px;padding:0px;border:none;border-radius:3px;background-color:transparent;"> public class Activity extends ApplicationContext { protected void onCreate(Bundle savedInstanceState); protected void onStart(); protected void onRestart(); protected void onResume(); protected void onPause(); protected void onStop(); protected void onDestroy();}</code>
onCreate
is called when the activity is created for the first time. The creation of views and initialization of data are all performed here. If you are sharp-eyed, you may have discovered that there is a Bundle savedInstanceState parameter in the onCreate method, which will save the previous state of the activity, which is very useful.
onStart
will be called after the onCreate method
onResume
会在onStart方法后调用。activity是使用栈结构来管理的,此时activity处于栈顶。
onRestart
被stop的activity重新启动时调用此函数,后面会紧跟onResume。
onPause
当有新的activity进入栈顶,即当前activity被迫到后台运行,onPause就会被调用。
onStop
会在onPause方法后调用,此时activity对于用户来讲,已经是不可见的了(Invisible)。从栈的角度来说,就是有新的activity压栈,或者已经存在的activity回到了栈顶。
onDestroy
这是生命周期中的最后一个函数。一般情况下activity已经完成(调用finish函数)或者系统为了回收资源主动销毁activity时,onDestroy才会被调用,可以通过isFinishing()方法来区分这2种情况。
综上,从onCreate开始到onDestroy结束,称为activity的一个完整生命周期。这里还有2个概念需要区别一下。
<code class="language-none" style="-webkit-print-color-adjust:exact;margin:0px;padding:0px;border:none;border-radius:3px;background-color:transparent;">1. 可见的(Visible,从onStart到onStop,这里的可见,不仅仅是在屏幕上可见)2. 前台运行(Foreground,从onResume到onPause)</code>
为了弄明白这些回调函数在各种情况下的调用顺序,我们新建个工程,名叫ActivityLifecycle,在这些回调函数中加些打印,如下
<code class="language-none" style="-webkit-print-color-adjust:exact;margin:0px;padding:0px;border:none;border-radius:3px;background-color:transparent;">@Overrideprotected void onCreate(Bundle savedInstanceState) { super.onCreate(savedInstanceState); setContentView(R.layout.activity_main); editText = (EditText)findViewById(R.id.edittext); Log.d(TAG,"=== onCreate ===");}@Overrideprotected void onStart() { super.onStart(); Log.d(TAG,"=== onStart ===");}@Overrideprotected void onResume() { super.onResume(); Log.d(TAG, "=== onResume ===");}@Overrideprotected void onPause() { super.onPause(); Log.d(TAG, "=== onPause ===");}@Overrideprotected void onRestart() { super.onRestart(); Log.d(TAG, "=== onRestart ===");}@Overrideprotected void onStop() { super.onStop(); Log.d(TAG, "=== onStop ===");}@Overrideprotected void onDestroy() { super.onDestroy(); Log.d(TAG, "=== onDestroy ===");}</code>
运行一下程序,从Logcat中可以看到

说明了一个Activity从创建到显示出来需要执行onCreate-->onStart-->onResume三个方法。
While the App is running, if we want to open other Apps, we usually press the Home button to exit. What is the callback like at this time? Look at the picture below:

executes onPause-->onStop, indicating that the Activity has not been destroyed, but has been overwritten by other activities and placed in the background to run. , this situation is the same as when an emergency occurs (such as an incoming call or an App being installed), and when the emergency ends, the Activity will execute onRestart-->onStart-->onResume, and the entire process will be printed. As shown below

When the App is running, if the current Activity is the last Activity, when we press the Back key, the program will end. At this time, the three methods onPause-->onStop-->onDestroy will be executed one after another, as shown below

Next, modify the project slightly and add the second Activity. Called SecondActivity, enter SecondActivity by clicking a button on MainActivity. At this time, if you press the Back key, SecondActivity will execute onPause-->onStop-->onDestroy, and MainActivity will execute onRestart-->onStart- ->onResume, as shown below

onSaveInstanceState and onRestoreInstanceState
There is a concept here, which is not mentioned above. After the onPause and onStop methods are called, the activity process may be killed at any time, so data saving operations should be performed in the onPause method to avoid data loss. The onSaveInstanceState method also performs a similar function, and the data is saved in the given bundle. Because onSaveInstanceState is not an activity life cycle function, the Android API recommends saving data in the onPause method.
Switch between horizontal and vertical screens
No processing is done. Switch between horizontal and vertical screens and look at the print. You can find that the activity is first destroyed and then re-created

In order to solve the above problems, there are generally several methods
- Prohibit switching between horizontal and vertical screens (limited to horizontal or vertical screens, which is rogue and not recommended)
- Independent layouts for horizontal and vertical screens (Create 2 folders layout-land and layout-port, the corresponding xml files remain unchanged)
- Prevent activity reloading (add android:configChanges="keyboardHidden|orientation" to AndroidManifest.xml, and reload Write onConfigurationChanged method)
Source code download
http://download.csdn.net/detail/djstavav/9147793
References
1. http://developer.android.com/intl/zh-cn/reference/android/app/Activity.html
2. http://developer.android.com/guide/topics/manifest/activity- element.html
3. http://developer.android.com/guide/topics/resources/runtime-changes.html
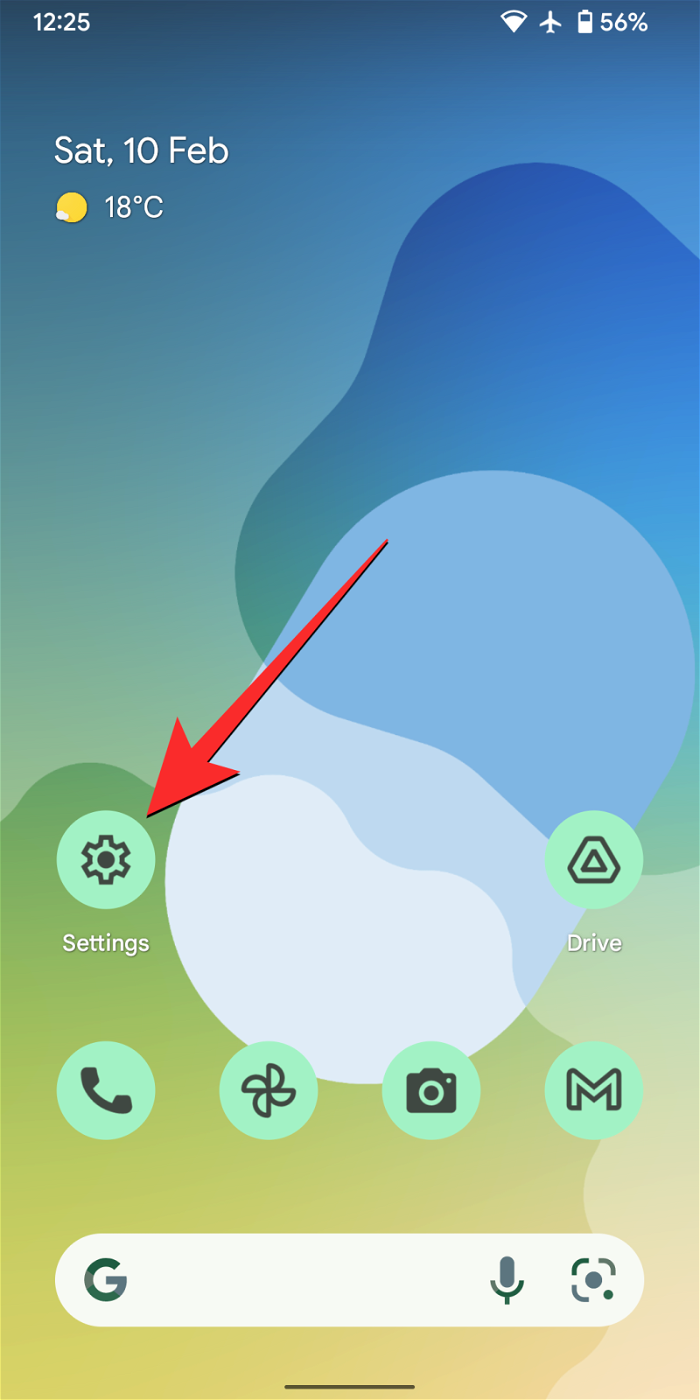 如何在 iPhone 和 Android 上关闭蓝色警报Feb 29, 2024 pm 10:10 PM
根据美国司法部的解释,蓝色警报旨在提供关于可能对执法人员构成直接和紧急威胁的个人的重要信息。这种警报的目的是及时通知公众,并让他们了解与这些罪犯相关的潜在危险。通过这种主动的方式,蓝色警报有助于增强社区的安全意识,促使人们采取必要的预防措施以保护自己和周围的人。这种警报系统的建立旨在提高对潜在威胁的警觉性,并加强执法机构与公众之间的沟通,以共尽管这些紧急通知对我们社会至关重要,但有时可能会对日常生活造成干扰,尤其是在午夜或重要活动时收到通知时。为了确保安全,我们建议您保持这些通知功能开启,但如果
 在Android中实现轮询的方法是什么?Sep 21, 2023 pm 08:33 PM
Android中的轮询是一项关键技术,它允许应用程序定期从服务器或数据源检索和更新信息。通过实施轮询,开发人员可以确保实时数据同步并向用户提供最新的内容。它涉及定期向服务器或数据源发送请求并获取最新信息。Android提供了定时器、线程、后台服务等多种机制来高效地完成轮询。这使开发人员能够设计与远程数据源保持同步的响应式动态应用程序。本文探讨了如何在Android中实现轮询。它涵盖了实现此功能所涉及的关键注意事项和步骤。轮询定期检查更新并从服务器或源检索数据的过程在Android中称为轮询。通过
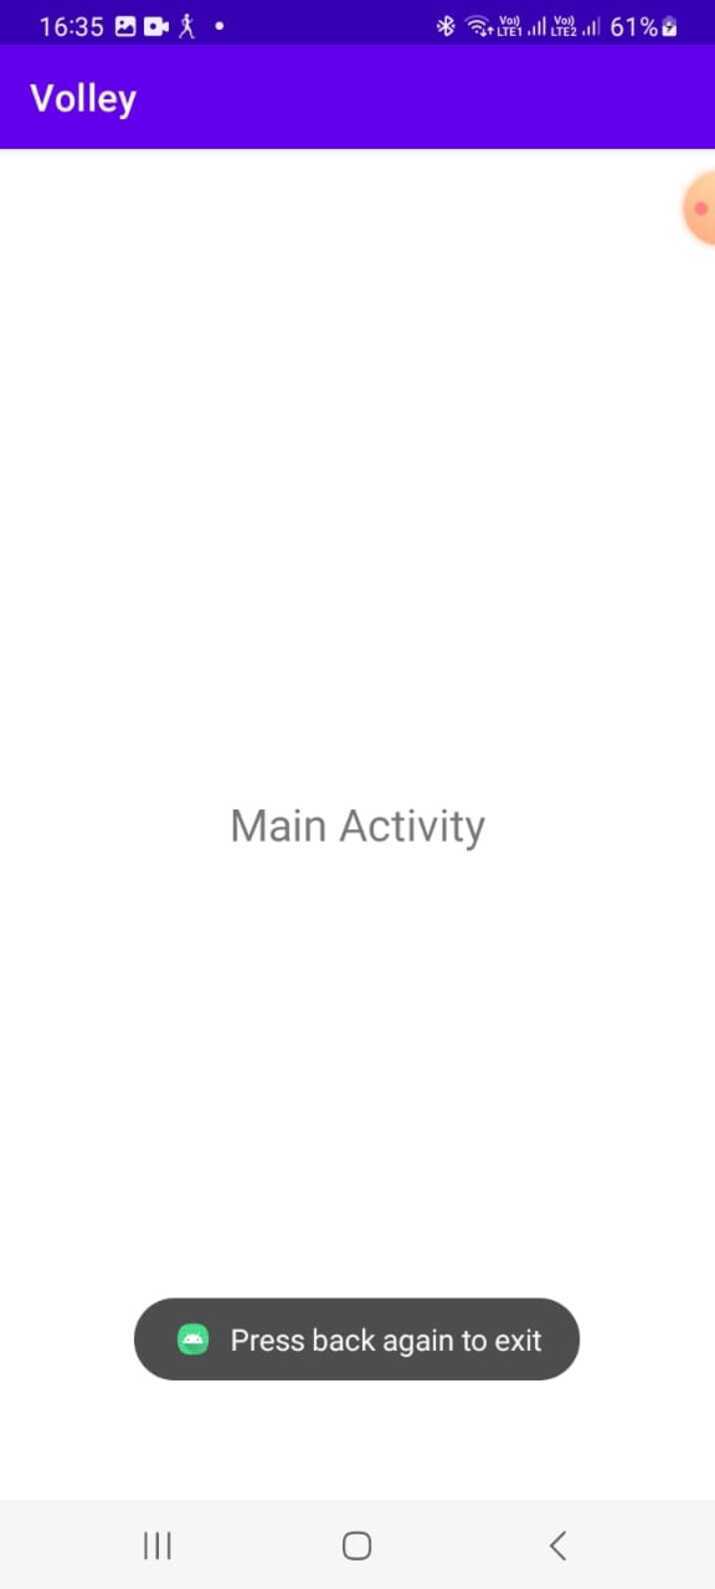 如何在Android中实现按下返回键再次退出的功能?Aug 30, 2023 am 08:05 AM
为了提升用户体验并防止数据或进度丢失,Android应用程序开发者必须避免意外退出。他们可以通过加入“再次按返回退出”功能来实现这一点,该功能要求用户在特定时间内连续按两次返回按钮才能退出应用程序。这种实现显著提升了用户参与度和满意度,确保他们不会意外丢失任何重要信息Thisguideexaminesthepracticalstepstoadd"PressBackAgaintoExit"capabilityinAndroid.Itpresentsasystematicguid
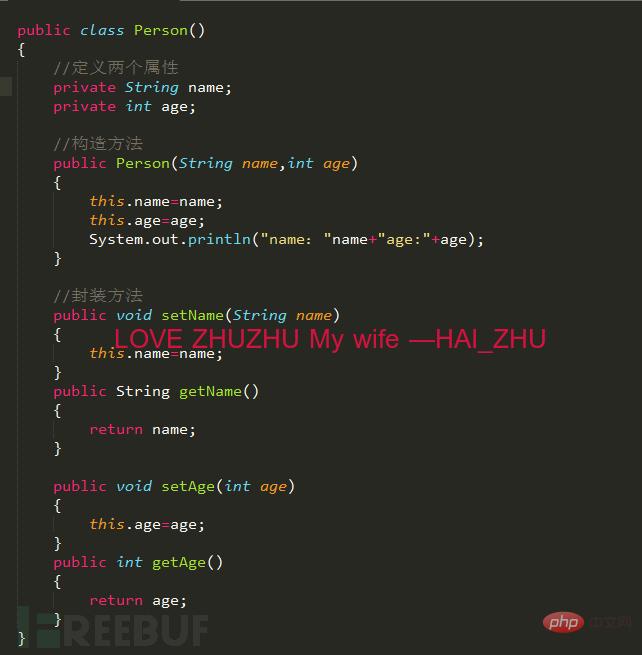 Android逆向中smali复杂类实例分析May 12, 2023 pm 04:22 PM
1.java复杂类如果有什么地方不懂,请看:JAVA总纲或者构造方法这里贴代码,很简单没有难度。2.smali代码我们要把java代码转为smali代码,可以参考java转smali我们还是分模块来看。2.1第一个模块——信息模块这个模块就是基本信息,说明了类名等,知道就好对分析帮助不大。2.2第二个模块——构造方法我们来一句一句解析,如果有之前解析重复的地方就不再重复了。但是会提供链接。.methodpublicconstructor(Ljava/lang/String;I)V这一句话分为.m
 如何在2023年将 WhatsApp 从安卓迁移到 iPhone 15?Sep 22, 2023 pm 02:37 PM
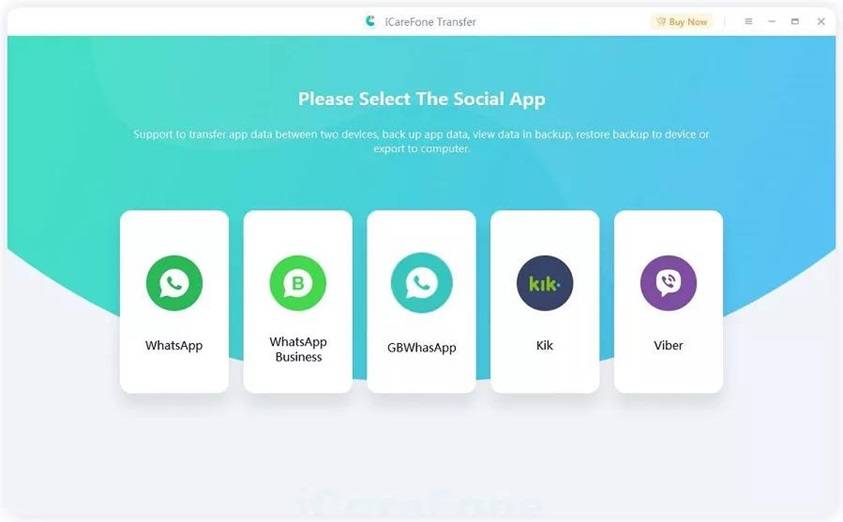
如何将WhatsApp聊天从Android转移到iPhone?你已经拿到了新的iPhone15,并且你正在从Android跳跃?如果是这种情况,您可能还对将WhatsApp从Android转移到iPhone感到好奇。但是,老实说,这有点棘手,因为Android和iPhone的操作系统不兼容。但不要失去希望。这不是什么不可能完成的任务。让我们在本文中讨论几种将WhatsApp从Android转移到iPhone15的方法。因此,坚持到最后以彻底学习解决方案。如何在不删除数据的情况下将WhatsApp
 同样基于linux为什么安卓效率低Mar 15, 2023 pm 07:16 PM
原因:1、安卓系统上设置了一个JAVA虚拟机来支持Java应用程序的运行,而这种虚拟机对硬件的消耗是非常大的;2、手机生产厂商对安卓系统的定制与开发,增加了安卓系统的负担,拖慢其运行速度影响其流畅性;3、应用软件太臃肿,同质化严重,在一定程度上拖慢安卓手机的运行速度。
 Android中动态导出dex文件的方法是什么May 30, 2023 pm 04:52 PM
1.启动ida端口监听1.1启动Android_server服务1.2端口转发1.3软件进入调试模式2.ida下断2.1attach附加进程2.2断三项2.3选择进程2.4打开Modules搜索artPS:小知识Android4.4版本之前系统函数在libdvm.soAndroid5.0之后系统函数在libart.so2.5打开Openmemory()函数在libart.so中搜索Openmemory函数并且跟进去。PS:小知识一般来说,系统dex都会在这个函数中进行加载,但是会出现一个问题,后
 Android APP测试流程和常见问题是什么May 13, 2023 pm 09:58 PM
1.自动化测试自动化测试主要包括几个部分,UI功能的自动化测试、接口的自动化测试、其他专项的自动化测试。1.1UI功能自动化测试UI功能的自动化测试,也就是大家常说的自动化测试,主要是基于UI界面进行的自动化测试,通过脚本实现UI功能的点击,替代人工进行自动化测试。这个测试的优势在于对高度重复的界面特性功能测试的测试人力进行有效的释放,利用脚本的执行,实现功能的快速高效回归。但这种测试的不足之处也是显而易见的,主要包括维护成本高,易发生误判,兼容性不足等。因为是基于界面操作,界面的稳定程度便成了


Hot AI Tools

Undresser.AI Undress
AI-powered app for creating realistic nude photos

AI Clothes Remover
Online AI tool for removing clothes from photos.

Undress AI Tool
Undress images for free

Clothoff.io
AI clothes remover

AI Hentai Generator
Generate AI Hentai for free.

Hot Article

Hot Tools

DVWA
Damn Vulnerable Web App (DVWA) is a PHP/MySQL web application that is very vulnerable. Its main goals are to be an aid for security professionals to test their skills and tools in a legal environment, to help web developers better understand the process of securing web applications, and to help teachers/students teach/learn in a classroom environment Web application security. The goal of DVWA is to practice some of the most common web vulnerabilities through a simple and straightforward interface, with varying degrees of difficulty. Please note that this software

Atom editor mac version download
The most popular open source editor

Dreamweaver Mac version
Visual web development tools

PhpStorm Mac version
The latest (2018.2.1) professional PHP integrated development tool

SecLists
SecLists is the ultimate security tester's companion. It is a collection of various types of lists that are frequently used during security assessments, all in one place. SecLists helps make security testing more efficient and productive by conveniently providing all the lists a security tester might need. List types include usernames, passwords, URLs, fuzzing payloads, sensitive data patterns, web shells, and more. The tester can simply pull this repository onto a new test machine and he will have access to every type of list he needs.


