


PHPCMS V9网站管理系统内容页评论模块伪静态的实现
PHPCMS V9评论伪静态是建立在listinfo支持伪静态规则的基础上才能实现的,所以我们只要熟练学习操作熟练使用listinfo,就能在phpcms的任何页面实现伪静态分页了,下面我们就开始逐步讲解PHPCM V9网站管理系统内容页的评论伪静态的详细实现方法。
一、评论模块伪静态设置
1、首先在后台->扩展->url规则里添加一个新的规则用于评论模块,如下面所示:
{$commentid}_{$page}.html 添加完成后记住前面的id号,比如31。
2、本来PC标签支持urlrule呢,后来不支持了,只好改代码了,于是打开文件phpcms/modules/comment/index.php找到:
include template('comment', 'list'); 在它上面添加几行用于读取urlrule和从评论表中调用评论数据,对了,评论表是带分表的。
$page = intval($_GET['page']);
$page = max($page,1);
$urlrules = getcache('urlrules','commons');
$urlrule = $urlrules[31];//调用url规则
$pagesize = 10; //分页大小
$comment_db = pc_base::load_model('comment_model');
$comment_data_db = pc_base::load_model('comment_data_model');
$comment = $comment_db->get_one(array('commentid'=>$commentid, 'siteid'=>$siteid));
if ($comment){
$comment_data_db->table_name($comment['tableid']);
$comment_info = $comment_data_db->listinfo(Array('commentid'=>$commentid,'status'=>1) , 'id desc', $page ,$pagesize,'','10',$urlrule,Array('commentid'=>$commentid));
$pages = $comment_data_db->pages;
}
3、下面就就改模版了,改模版其实就是改一下那个pc标签,只留下循环那里就可以了, 就是把那个调用评论数据的标签改改, 删掉这个文件phpcmstemplatesdefaultcommentlist.html里的:
{pc:comment action="lists" commentid="$commentid" siteid="$siteid" page="$_GET[page]" hot="$hot" num="20"}
和它对应的那个:
{/pc}
然后把循环语句:
{loop $data $r}
改成:
{loop $comment_info $r}
把分页标签:
{$pages}
改成:
{str_replace("_0.html","_1.html",$pages)}
4、最后在.htaccess文件里加入以下代码:
RewriteRule ^content_(.*)_([0-9]+).html index.php?m=comment&c=index&a=init&commentid=content_$1&page=$2
ok,现在就大功告成了,显示出来的网址是:
/content_9-1-1_2.html
二、TAG模块伪静态设置
1、在后台->扩展->url规则里添加一个新的规则用于评论模块,如下面所示:
{$tag}_{$catid}_{$page}.html 添加完成后记住前面的id号,比如32。
2、打开phpcms/modules/content/tag.php文件,找到:
$total = $this->db->number; //这一行往上面添加以下代码:
$siteid = $this->categorys[$catid]['siteid'];
$siteurl = siteurl($siteid);
$this->db->set_model($modelid);
$page = $_GET['page'];
$urlrules = getcache('urlrules','commons');
$urlrule = $urlrules[32];//调用url规则
$datas = $infos = array();
$infos = $this->db->listinfo("`keywords` LIKE '%$tag%'",'id DESC',$page,25,'','9',$urlrule,Array('catid'=>$catid,'tag'=>urlencode($tag)));
//www.software8.co
3、修改模板,打开phpcmstemplatesdefaultcontentshow.html,
找到:
{APP_PATH}index.php?m=content&c=tag&catid={$catid}&tag={urlencode($keyword)}
改成:
{APP_PATH}{urlencode($keyword)}_{$catid}_1.html
打开phpcmstemplatesdefaultcontenttag.html,把分页标签:
{$pages}
改成:
{str_replace("_0.html","_1.html",$pages)}
4、在.htaccess文件里加入以下代码:
RewriteRule ^(.*)_([0-9]+)_([0-9]+).html index.php?m=content&c=tag&catid=$2&tag=$1&page=$3
最后显示出来的URL样式如下:
/关键词_6_1.html
小结:其实以上的修改都是在listinfo支持伪静态规则的基础上来修改的,熟练使用listinfo,就能在phpcms的任何页面实现伪静态分页了。

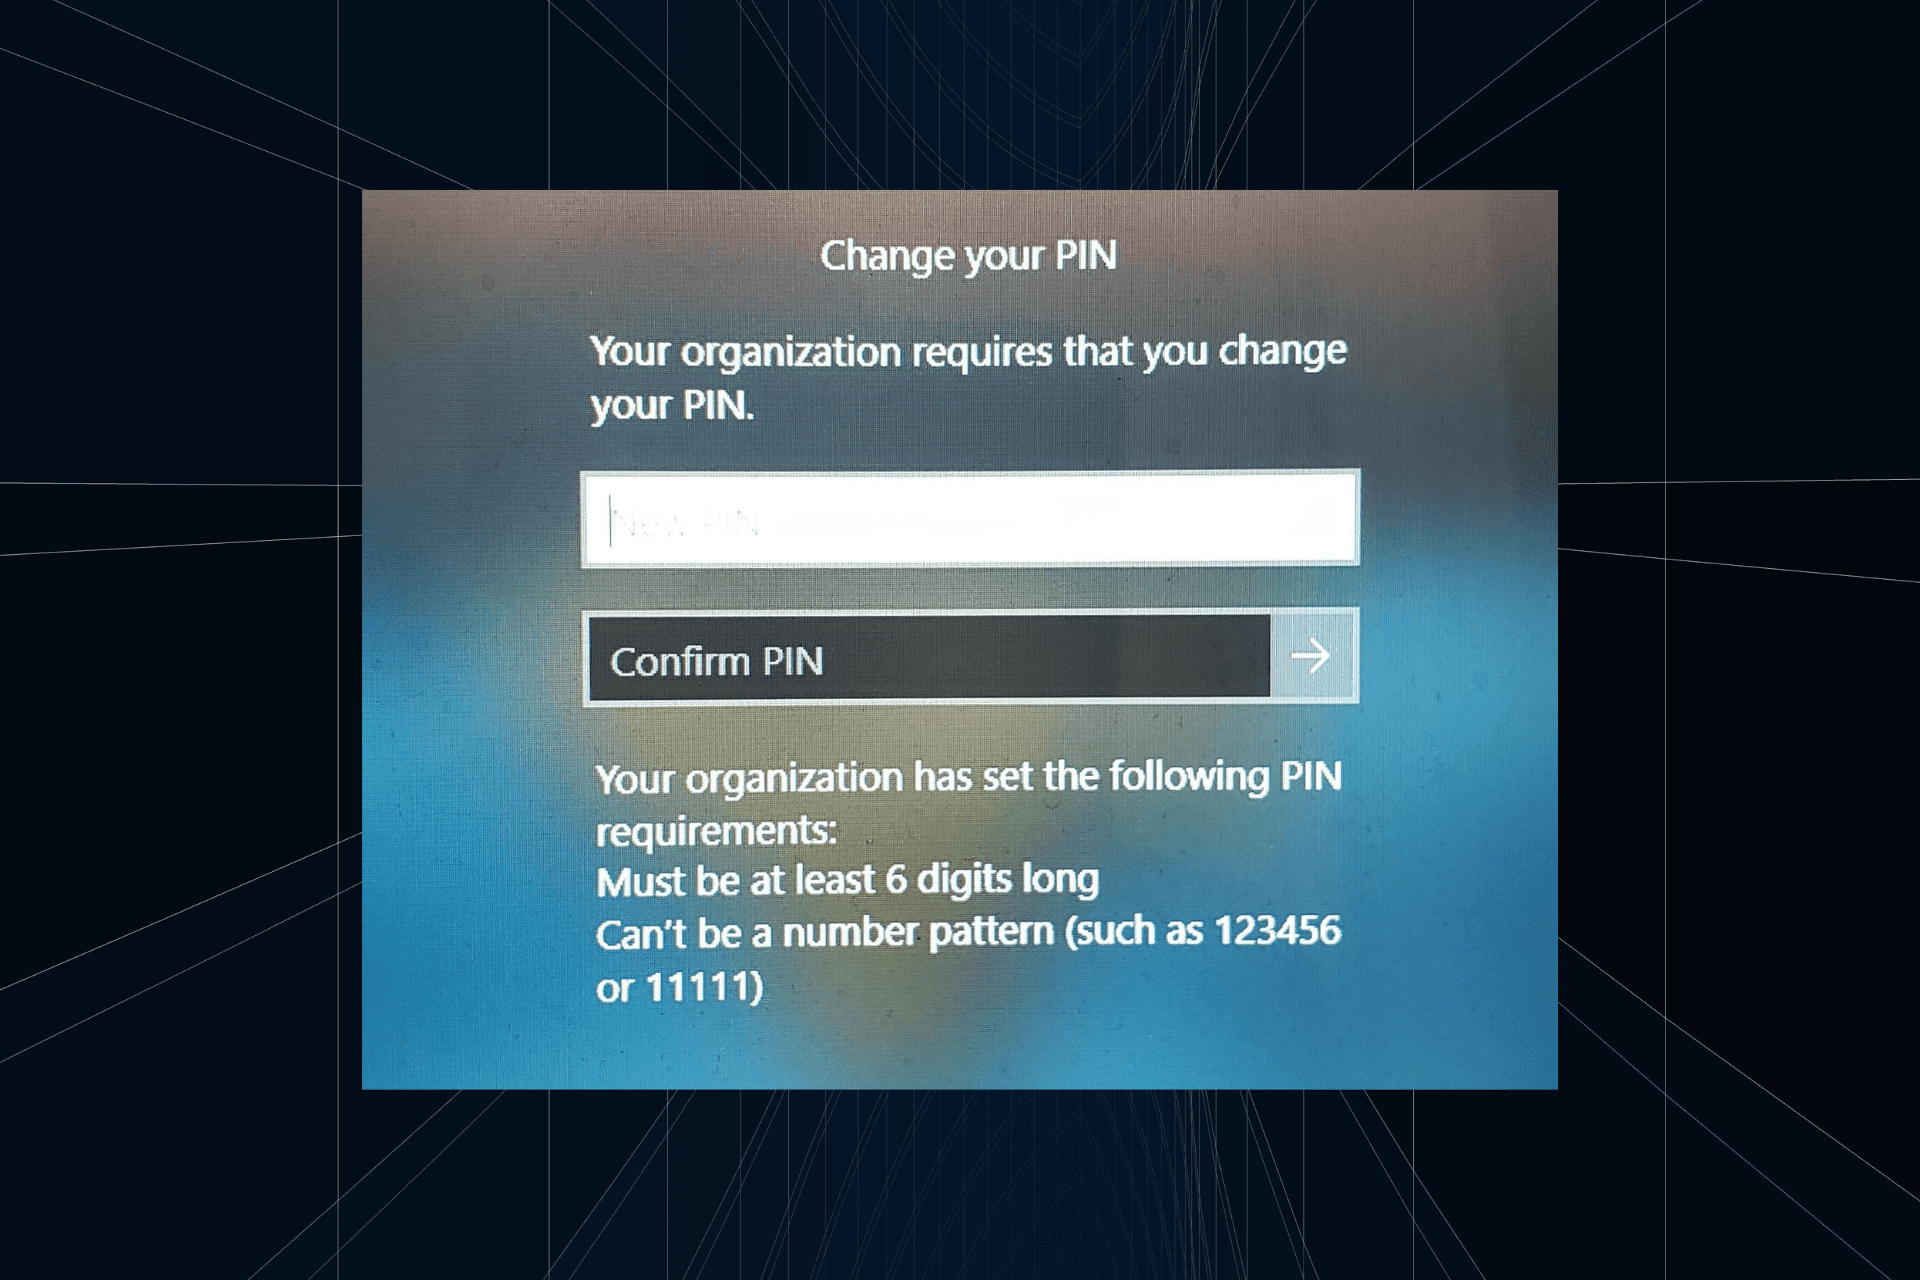 解决方法:您的组织要求您更改 PIN 码Oct 04, 2023 pm 05:45 PM
“你的组织要求你更改PIN消息”将显示在登录屏幕上。当在使用基于组织的帐户设置的电脑上达到PIN过期限制时,就会发生这种情况,在该电脑上,他们可以控制个人设备。但是,如果您使用个人帐户设置了Windows,则理想情况下不应显示错误消息。虽然情况并非总是如此。大多数遇到错误的用户使用个人帐户报告。为什么我的组织要求我在Windows11上更改我的PIN?可能是您的帐户与组织相关联,您的主要方法应该是验证这一点。联系域管理员会有所帮助!此外,配置错误的本地策略设置或不正确的注册表项也可能导致错误。即
 Windows 11 上调整窗口边框设置的方法:更改颜色和大小Sep 22, 2023 am 11:37 AM
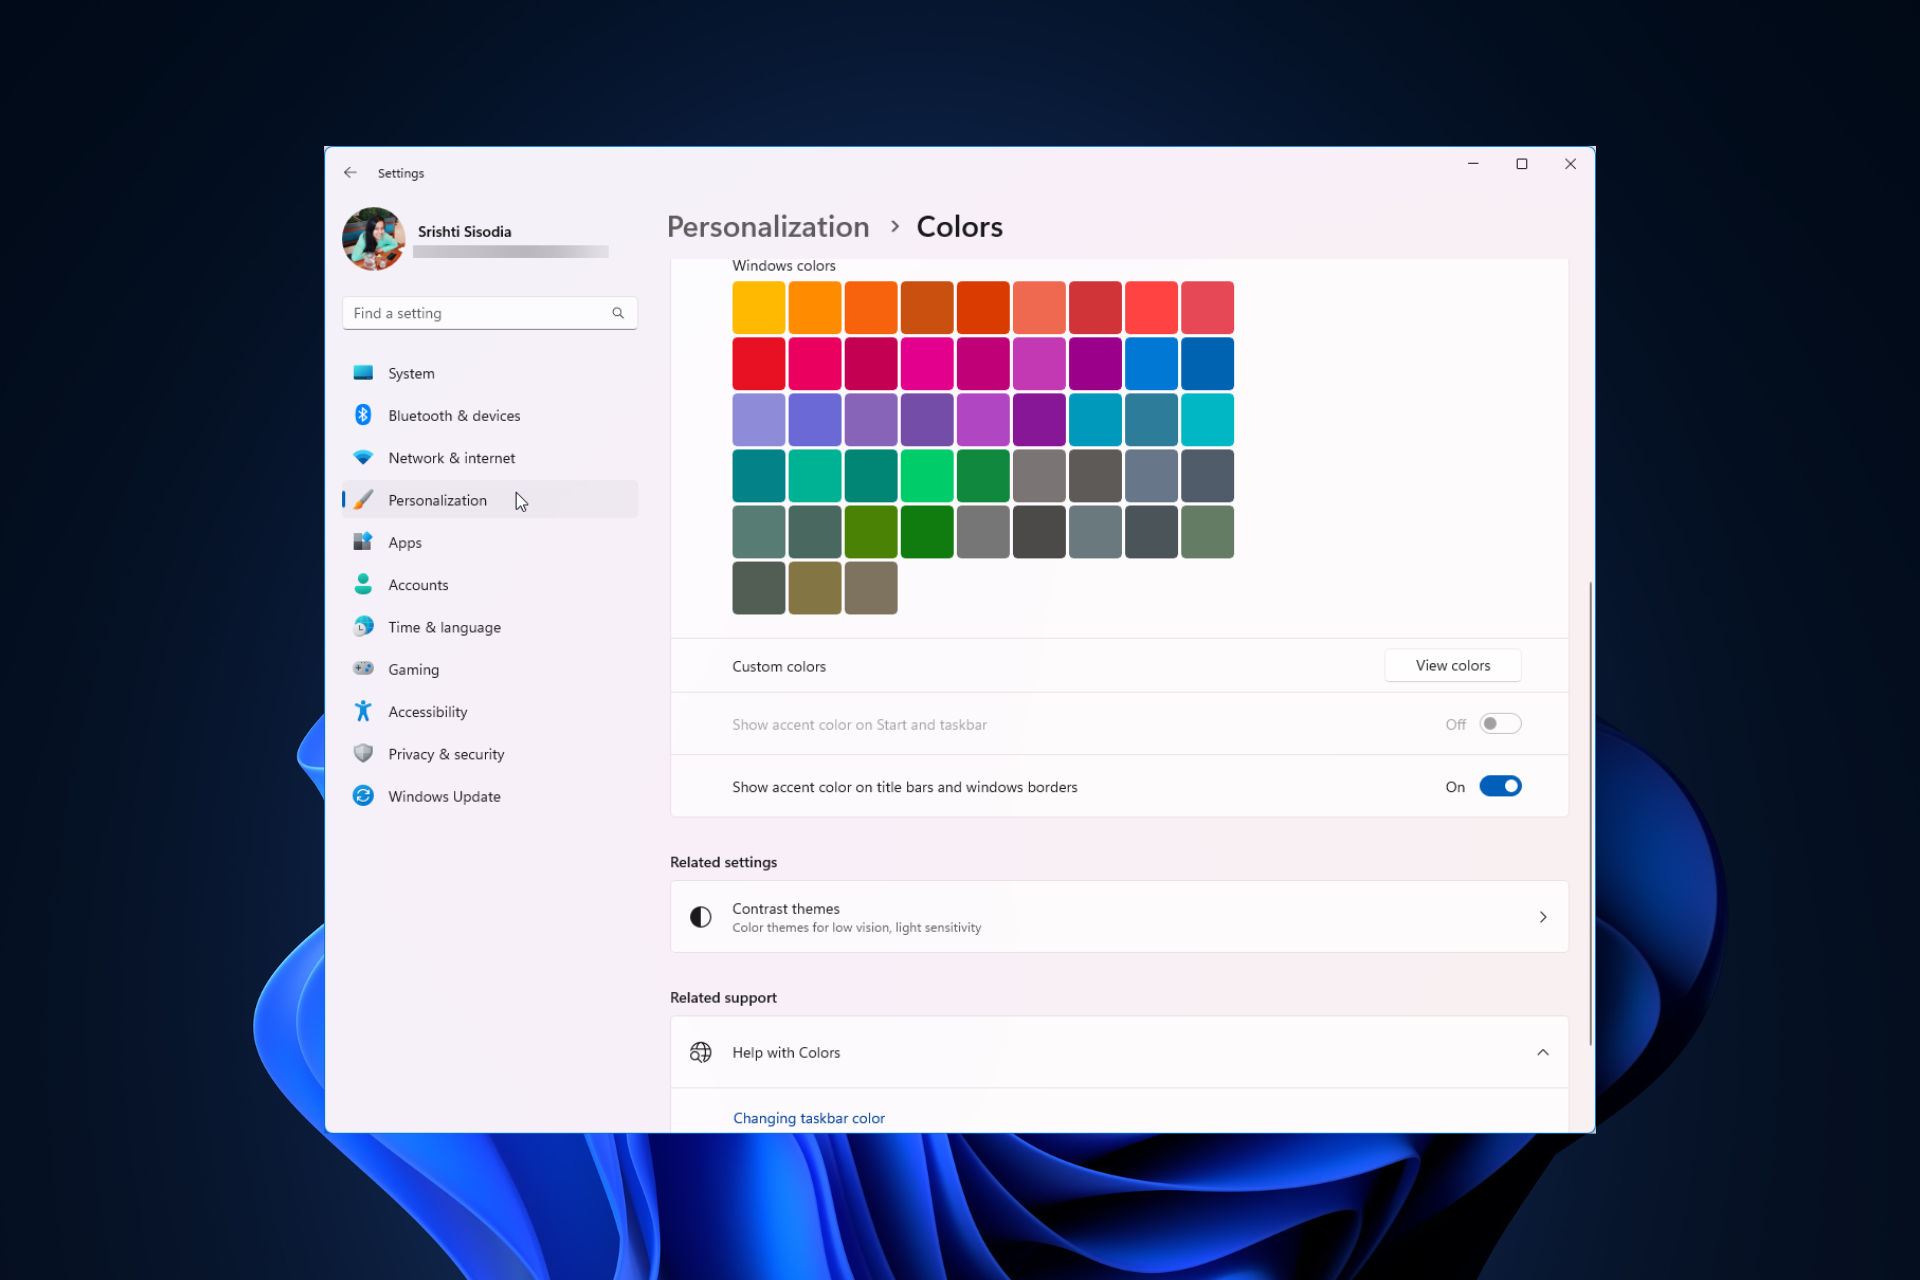
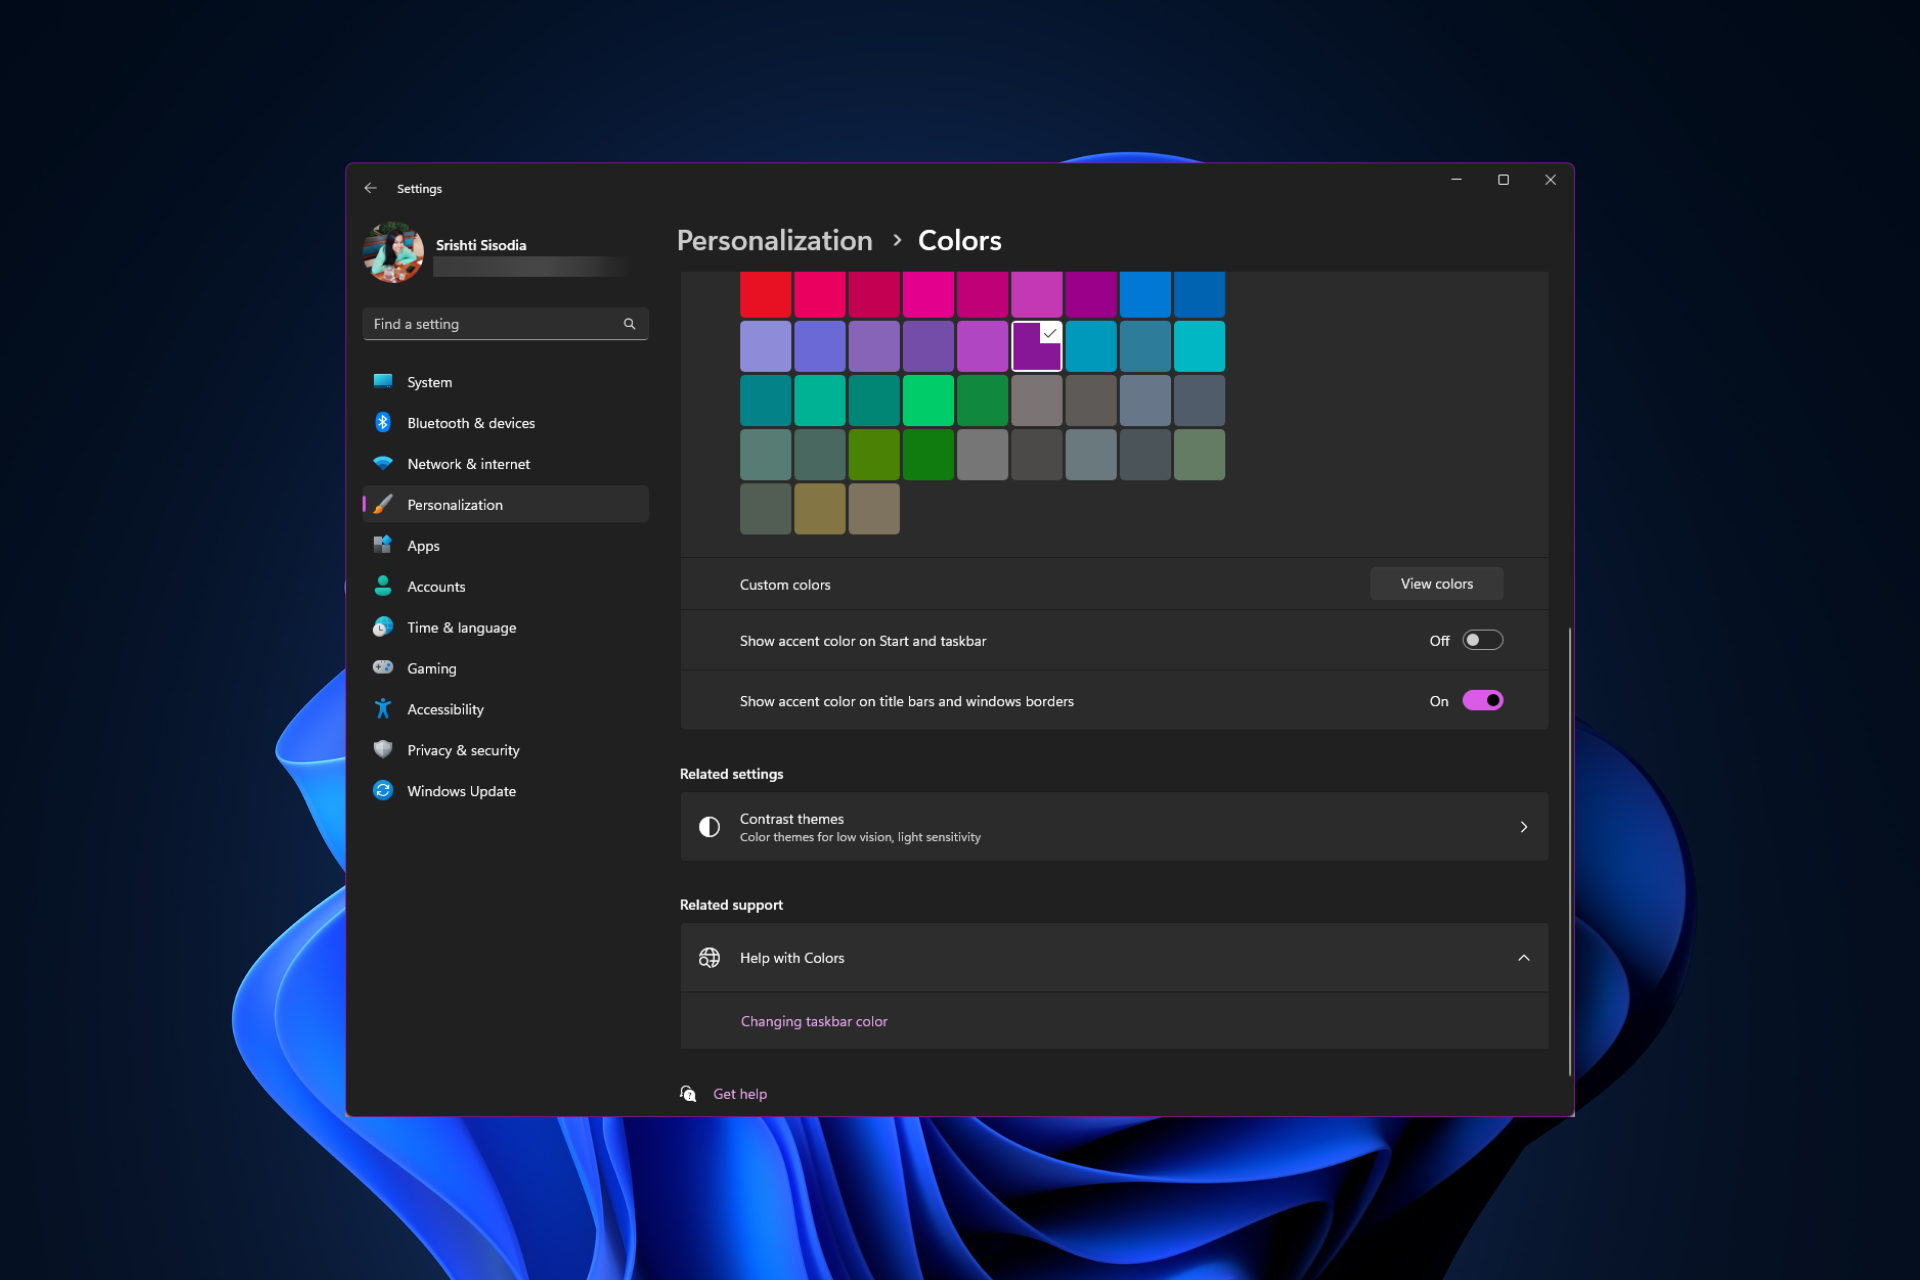
Windows11将清新优雅的设计带到了最前沿;现代界面允许您个性化和更改最精细的细节,例如窗口边框。在本指南中,我们将讨论分步说明,以帮助您在Windows操作系统中创建反映您的风格的环境。如何更改窗口边框设置?按+打开“设置”应用。WindowsI转到个性化,然后单击颜色设置。颜色更改窗口边框设置窗口11“宽度=”643“高度=”500“>找到在标题栏和窗口边框上显示强调色选项,然后切换它旁边的开关。若要在“开始”菜单和任务栏上显示主题色,请打开“在开始”菜单和任务栏上显示主题
 如何在 Windows 11 上更改标题栏颜色?Sep 14, 2023 pm 03:33 PM
默认情况下,Windows11上的标题栏颜色取决于您选择的深色/浅色主题。但是,您可以将其更改为所需的任何颜色。在本指南中,我们将讨论三种方法的分步说明,以更改它并个性化您的桌面体验,使其具有视觉吸引力。是否可以更改活动和非活动窗口的标题栏颜色?是的,您可以使用“设置”应用更改活动窗口的标题栏颜色,也可以使用注册表编辑器更改非活动窗口的标题栏颜色。若要了解这些步骤,请转到下一部分。如何在Windows11中更改标题栏的颜色?1.使用“设置”应用按+打开设置窗口。WindowsI前往“个性化”,然
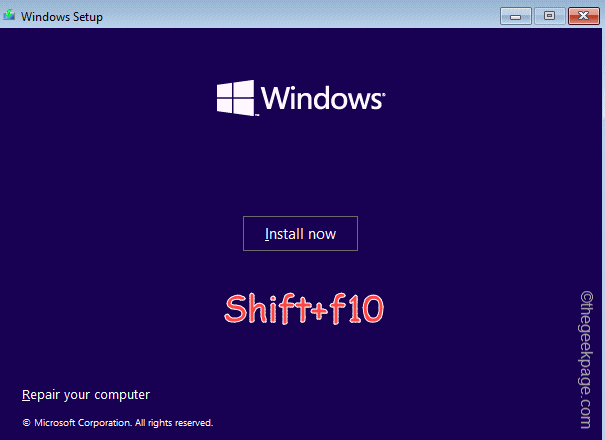 OOBELANGUAGE错误Windows 11 / 10修复中出现问题的问题Jul 16, 2023 pm 03:29 PM
您是否在Windows安装程序页面上看到“出现问题”以及“OOBELANGUAGE”语句?Windows的安装有时会因此类错误而停止。OOBE表示开箱即用的体验。正如错误提示所表示的那样,这是与OOBE语言选择相关的问题。没有什么可担心的,你可以通过OOBE屏幕本身的漂亮注册表编辑来解决这个问题。快速修复–1.单击OOBE应用底部的“重试”按钮。这将继续进行该过程,而不会再打嗝。2.使用电源按钮强制关闭系统。系统重新启动后,OOBE应继续。3.断开系统与互联网的连接。在脱机模式下完成OOBE的所
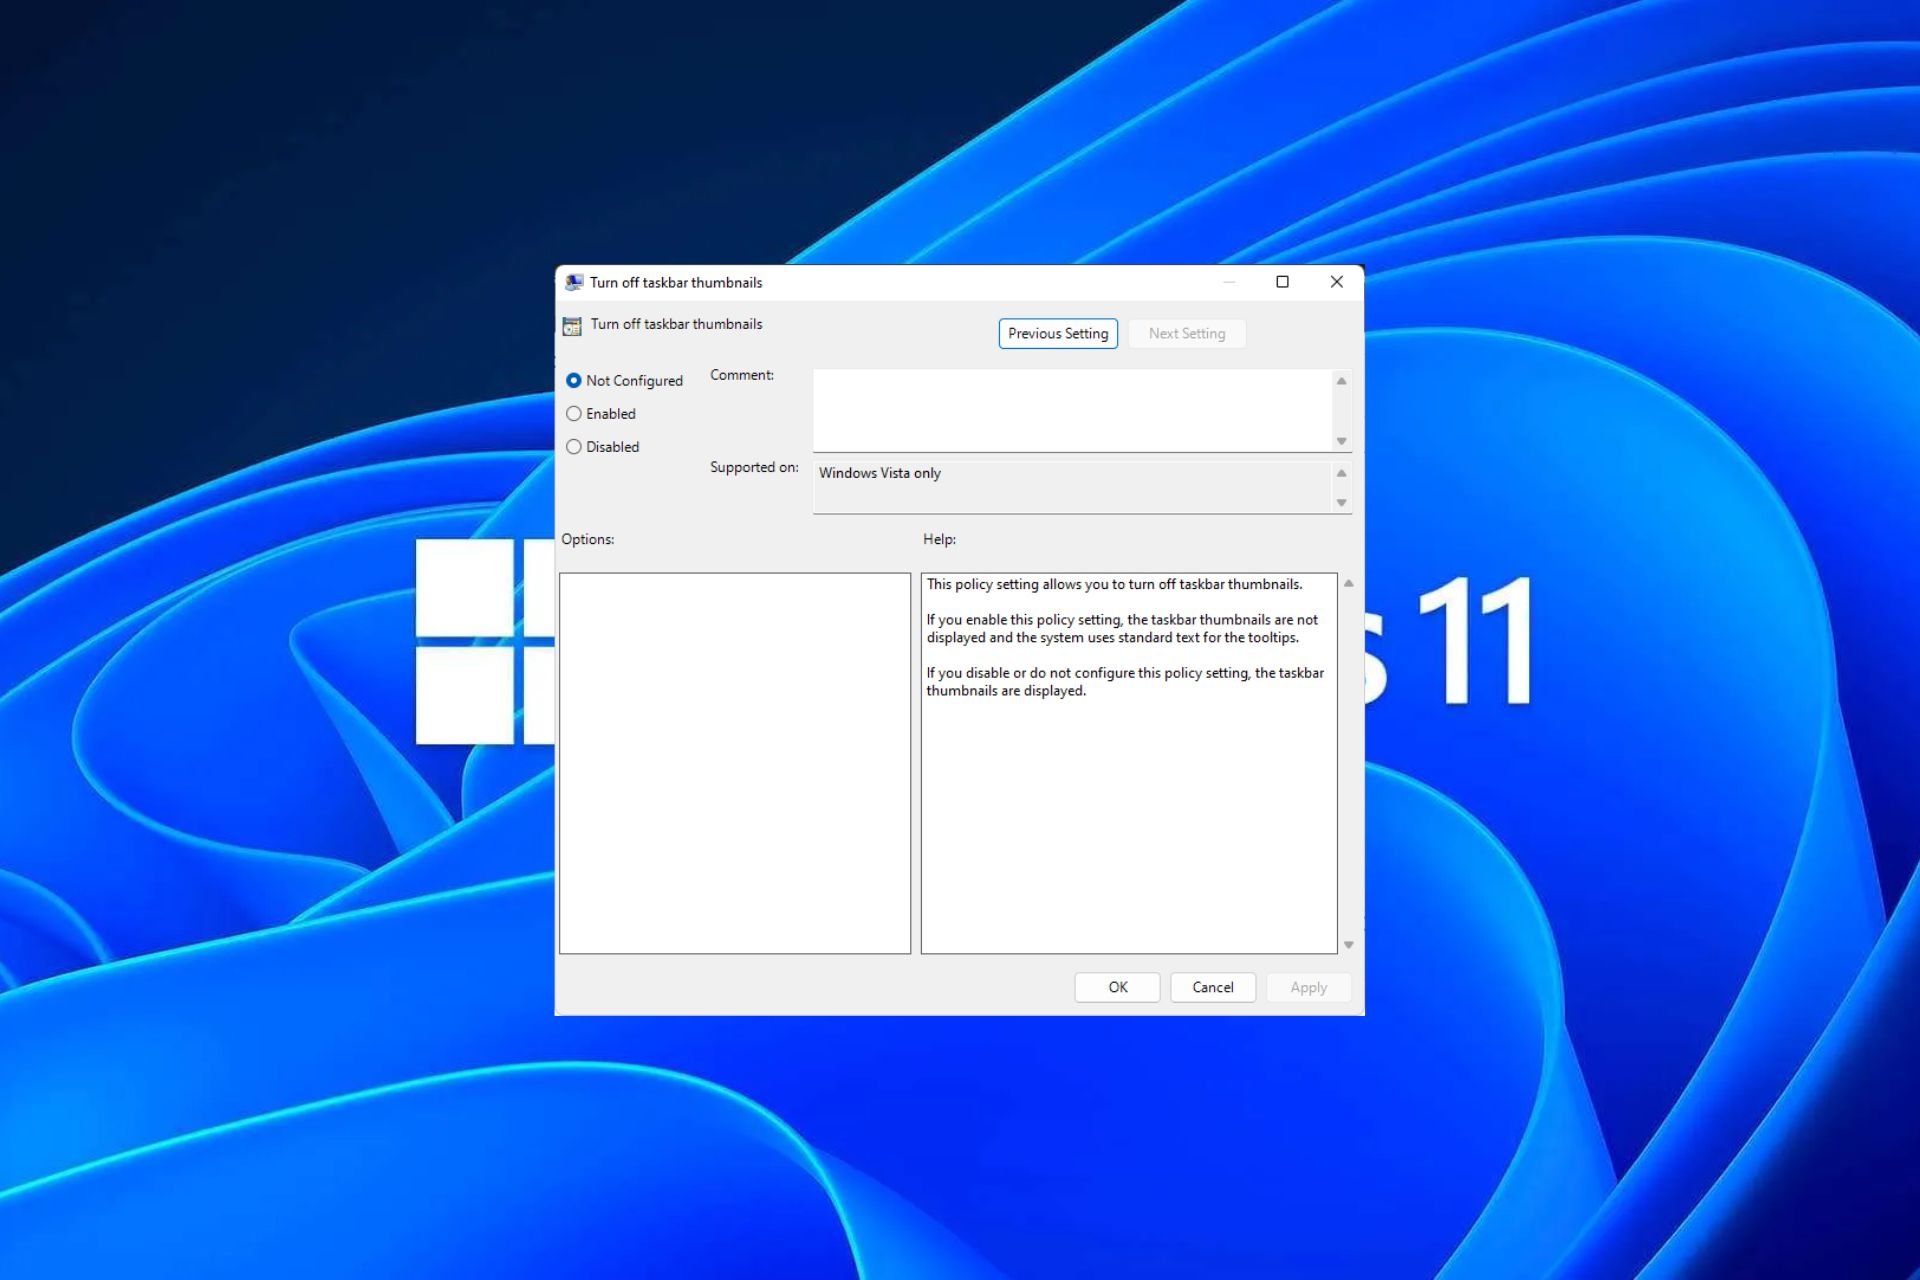 Windows 11 上启用或禁用任务栏缩略图预览的方法Sep 15, 2023 pm 03:57 PM
任务栏缩略图可能很有趣,但它们也可能分散注意力或烦人。考虑到您将鼠标悬停在该区域的频率,您可能无意中关闭了重要窗口几次。另一个缺点是它使用更多的系统资源,因此,如果您一直在寻找一种提高资源效率的方法,我们将向您展示如何禁用它。不过,如果您的硬件规格可以处理它并且您喜欢预览版,则可以启用它。如何在Windows11中启用任务栏缩略图预览?1.使用“设置”应用点击键并单击设置。Windows单击系统,然后选择关于。点击高级系统设置。导航到“高级”选项卡,然后选择“性能”下的“设置”。在“视觉效果”选
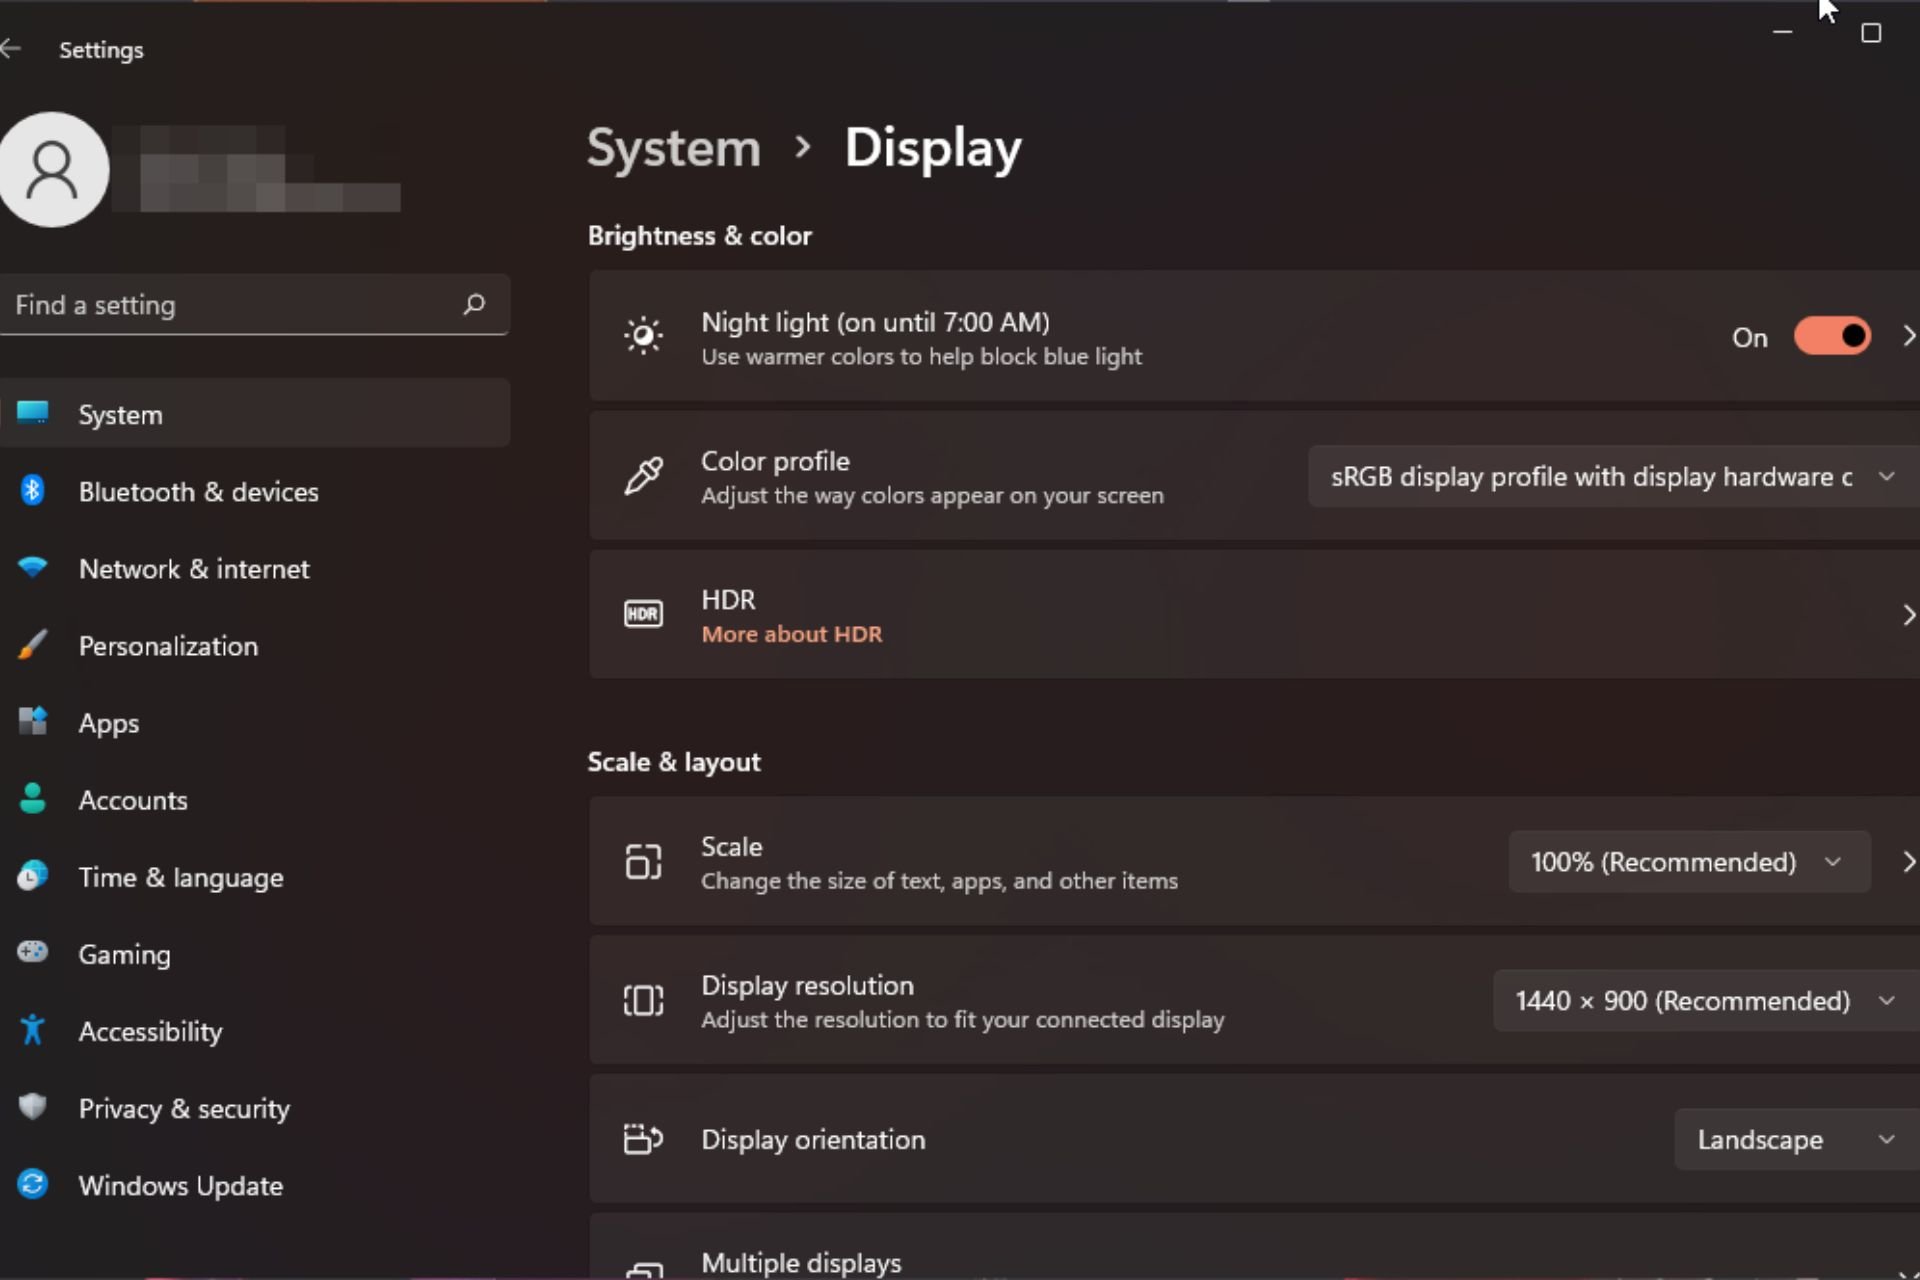 Windows 11 上的显示缩放比例调整指南Sep 19, 2023 pm 06:45 PM
在Windows11上的显示缩放方面,我们都有不同的偏好。有些人喜欢大图标,有些人喜欢小图标。但是,我们都同意拥有正确的缩放比例很重要。字体缩放不良或图像过度缩放可能是工作时真正的生产力杀手,因此您需要知道如何对其进行自定义以充分利用系统功能。自定义缩放的优点:对于难以阅读屏幕上的文本的人来说,这是一个有用的功能。它可以帮助您一次在屏幕上查看更多内容。您可以创建仅适用于某些监视器和应用程序的自定义扩展配置文件。可以帮助提高低端硬件的性能。它使您可以更好地控制屏幕上的内容。如何在Windows11
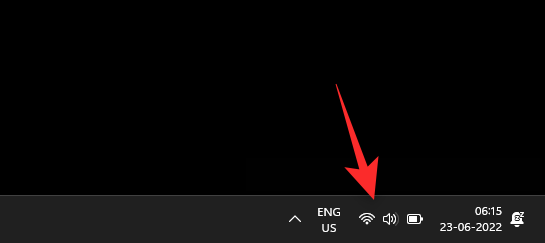 10种在 Windows 11 上调整亮度的方法Dec 18, 2023 pm 02:21 PM
屏幕亮度是使用现代计算设备不可或缺的一部分,尤其是当您长时间注视屏幕时。它可以帮助您减轻眼睛疲劳,提高易读性,并轻松有效地查看内容。但是,根据您的设置,有时很难管理亮度,尤其是在具有新UI更改的Windows11上。如果您在调整亮度时遇到问题,以下是在Windows11上管理亮度的所有方法。如何在Windows11上更改亮度[10种方式解释]单显示器用户可以使用以下方法在Windows11上调整亮度。这包括使用单个显示器的台式机系统以及笔记本电脑。让我们开始吧。方法1:使用操作中心操作中心是访问
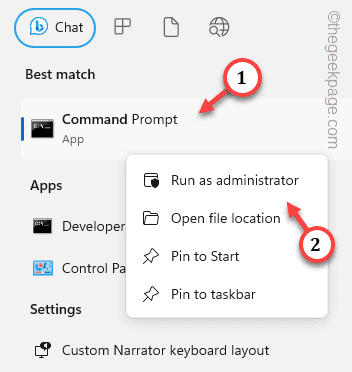 如何修复Windows服务器中的激活错误代码0xc004f069Jul 22, 2023 am 09:49 AM
Windows上的激活过程有时会突然转向显示包含此错误代码0xc004f069的错误消息。虽然激活过程已经联机,但一些运行WindowsServer的旧系统可能会遇到此问题。通过这些初步检查,如果这些检查不能帮助您激活系统,请跳转到主要解决方案以解决问题。解决方法–关闭错误消息和激活窗口。然后,重新启动计算机。再次从头开始重试Windows激活过程。修复1–从终端激活从cmd终端激活WindowsServerEdition系统。阶段–1检查Windows服务器版本您必须检查您使用的是哪种类型的W


Hot AI Tools

Undresser.AI Undress
AI-powered app for creating realistic nude photos

AI Clothes Remover
Online AI tool for removing clothes from photos.

Undress AI Tool
Undress images for free

Clothoff.io
AI clothes remover

AI Hentai Generator
Generate AI Hentai for free.

Hot Article
Hot Tools

SublimeText3 English version
Recommended: Win version, supports code prompts!

mPDF
mPDF is a PHP library that can generate PDF files from UTF-8 encoded HTML. The original author, Ian Back, wrote mPDF to output PDF files "on the fly" from his website and handle different languages. It is slower than original scripts like HTML2FPDF and produces larger files when using Unicode fonts, but supports CSS styles etc. and has a lot of enhancements. Supports almost all languages, including RTL (Arabic and Hebrew) and CJK (Chinese, Japanese and Korean). Supports nested block-level elements (such as P, DIV),

Zend Studio 13.0.1
Powerful PHP integrated development environment

Atom editor mac version download
The most popular open source editor

MinGW - Minimalist GNU for Windows
This project is in the process of being migrated to osdn.net/projects/mingw, you can continue to follow us there. MinGW: A native Windows port of the GNU Compiler Collection (GCC), freely distributable import libraries and header files for building native Windows applications; includes extensions to the MSVC runtime to support C99 functionality. All MinGW software can run on 64-bit Windows platforms.

