 Mobile Game Tutorial
 Mobile Game Guide
 DOOM The Dark Ages Chapter 18: Belly of the Beast Collectible Locations
Doom: The Dark Ages – Belly of the Beast: A Complete Collectibles Guide
This walkthrough details all 12 collectible locations, 153 Gold, and 2 mission challenges in Doom: The Dark Ages' 18th chapter, "Belly of the Beast." This guide ensures 100% completion; any missed items can be retrieved via chapter select.
- Gold: 153
- Ruby: 1
- Demonic Essence – Armor: 1
- Secrets: 6
- Codex Entries: 1
- Collectible Toys: 1
- Challenges: 2
Mission Challenges:
- Swallowed Whole (100 Gold): Completed automatically by following this guide.
- Toe-To-Toe (Grenade Launcher Skin): Parry Cosmic Baron attacks 10 times. These Barons appear in major combat encounters (marked red on the map). You can achieve this in a single encounter or spread it across multiple fights. The initial red combat zone offers an opportunity.


Collectibles (Chronological Order):
- Demonic Essence – Armor #1: An automatic reward from the mini-boss in the first red encounter; impossible to miss.


- 50 Gold (50/153): After clearing enemies, interact with the organ to advance the story. Then, turn left to find a gold chest.


- 6 Gold (56/153): From the previous gold location, turn left. Ignore the main objective door. Follow the left wall, locate a green skeleton grappling point, and use your shield to reach the gold.


- 16 Gold (72/153): Proceed with the main story. In the next room, destroy the second wall from the right (near a green statue) to access the gold.


- 5 Gold (77/153): Return to the middle of the previous room and destroy the first wall on the left.


- Secret #3: After collecting the previous gold, look up and use your shield to reach a higher platform containing a Ruby.


- 50 Gold (127/153): After the second organ destruction, turn right, use your shield to reach a platform, and collect the gold.


- Codex Entry #1 (Commander Thira): After the second major enemy encounter, before destroying the third organ segment, find the codex on the opposite side.


- Collectible Toy #1 (Komodo): After obtaining the codex, jump down, locate a blue symbol, use your shield to access an area containing gold and subsequently the toy.


- 14 Gold (148/153) Secret #6: After the previous area, follow the right wall, enter an opening, use your shield to access a higher area containing gold and a secret area.


- 5 Gold (153/153): After destroying the final organ segment, a path opens to the left; the gold is on a bridge.


This completes all collectibles for "Belly of the Beast" in Doom: The Dark Ages. See the complete Doom: The Dark Ages Collectibles Guide for other chapters.
The above is the detailed content of DOOM The Dark Ages Chapter 18: Belly of the Beast Collectible Locations. For more information, please follow other related articles on the PHP Chinese website!
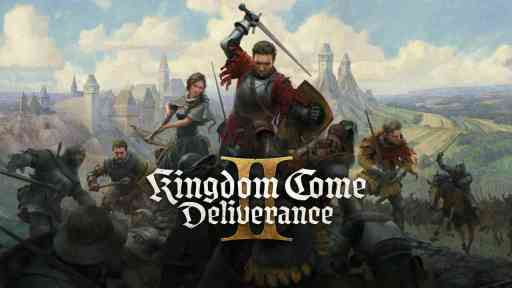 Kingdom Come Deliverance 2 Back in the Saddle WalkthroughMay 14, 2025 am 04:16 AM
Back in the Saddle is the 7th main quest in Kingdom Come Deliverance 2. This walkthrough will guide you through all objectives of the Back in the Saddle main story quest. Follow the chamberlain After the talk with von Bergow, follow Chamberlain Ulri
 Don't Tell Everyone What You Saw Walkthrough - The Hundred Line: Last Defense AcademyMay 14, 2025 am 04:15 AM
Keep the invaders' village location a secret. Days 74-87 Tsubasa departs your group on Day 83. Following several cutscenes, a pivotal, unwinnable battle against Dahl'xia ensues on Day 87. Days 88-93 Kurara leaves your party on Day 91, followed by Sho
 Monster Hunter Wilds: Large MonsterMay 14, 2025 am 04:14 AM
Ajarakan: A Fiery Foe in Monster Hunter Wilds The Ajarakan is a formidable large monster in Monster Hunter Wilds, challenging hunters with its unique abilities and molten armor. Key Traits: Ajarakan's defining feature is its heavily armored carapac
 Kingdom Come Deliverance 2 How to HealMay 14, 2025 am 04:13 AM
In Kingdom Come Deliverance 2 (KCD2) there are two main ways to heal yourself: by sleeping in beds, and by consuming Marigold decoction potions. Method 1: Sleep in Beds Each hour you sleep in a bed restores some health. The more comfortable the bed,
 Kingdom Come Deliverance 2 The Fifth Commandment WalkthroughMay 14, 2025 am 04:11 AM
The Fifth Commandment is a side quest in Kingdom Come Deliverance 2. This walkthrough will guide you through all objectives of The Fifth Commandment side mission. Starting Location: Kuttenberg Region > Kuttenberg City > Hangman’s Halter Tave
 Kingdom Come Deliverance 2 The Sword and the Quill WalkthroughMay 14, 2025 am 04:10 AM
The Sword and the Quill is the 13th main quest in Kingdom Come Deliverance 2. This walkthrough will guide you through all objectives of the The Sword and the Quill main story quest. Follow Zizka and Katherine As you arrive in Kuttenberg you will be
 Assassin's Creed Shadows Arrow Strike WalkthroughMay 14, 2025 am 04:09 AM
Assassin's Creed Shadows: Arrow Strike Quest Guide This walkthrough details the objectives for the Arrow Strike side quest in Assassin's Creed Shadows. Location: Kii Region Quest Giver: Rin (People of Kii > Rin > Arrow Strike on the questboard
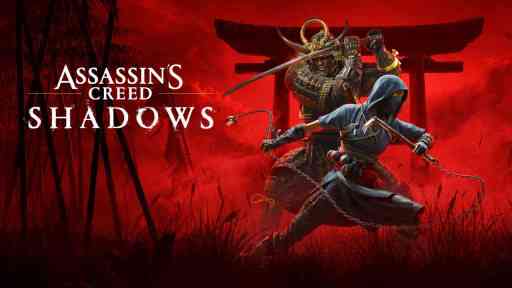 Assassin's Creed Shadows Makino Kurumazuka Kofun WalkthroughMay 14, 2025 am 04:08 AM
Assassin's Creed Shadows: Conquering the Makino Kurumazuka Kofun This guide details how to complete the Makino Kurumazuka Kofun in Assassin's Creed Shadows of the Shogun. Crucially, this Kofun is only accessible as Yasuke, unlocked after completing


Hot AI Tools

Undresser.AI Undress
AI-powered app for creating realistic nude photos

AI Clothes Remover
Online AI tool for removing clothes from photos.

Undress AI Tool
Undress images for free

Clothoff.io
AI clothes remover

Video Face Swap
Swap faces in any video effortlessly with our completely free AI face swap tool!

Hot Article

Hot Tools

SAP NetWeaver Server Adapter for Eclipse
Integrate Eclipse with SAP NetWeaver application server.

MinGW - Minimalist GNU for Windows
This project is in the process of being migrated to osdn.net/projects/mingw, you can continue to follow us there. MinGW: A native Windows port of the GNU Compiler Collection (GCC), freely distributable import libraries and header files for building native Windows applications; includes extensions to the MSVC runtime to support C99 functionality. All MinGW software can run on 64-bit Windows platforms.

Zend Studio 13.0.1
Powerful PHP integrated development environment

ZendStudio 13.5.1 Mac
Powerful PHP integrated development environment

mPDF
mPDF is a PHP library that can generate PDF files from UTF-8 encoded HTML. The original author, Ian Back, wrote mPDF to output PDF files "on the fly" from his website and handle different languages. It is slower than original scripts like HTML2FPDF and produces larger files when using Unicode fonts, but supports CSS styles etc. and has a lot of enhancements. Supports almost all languages, including RTL (Arabic and Hebrew) and CJK (Chinese, Japanese and Korean). Supports nested block-level elements (such as P, DIV),


