The First Berserker: Khazan has its fair share of grueling encounters that will make you cheer the moment you defeat them after what felt like hundreds of attempts, which is to be expected from a soulslike. Rangkus is one such boss fight that will test your limits with potent and infuriating tactics that can tilt you in minutes.

While not the most challenging encounter in the game, Rangkus is definitely up there and will take some time to figure out and adapt to. Fortunately, once you learn how to deal with some of his more devastating actions, you will have him defeated in no time!
Rangkus Overview

Rangkus is a tremendously challenging encounter in The First Berserker: Khazan, which will take lots of time and effort to overcome, but it will be one of the most rewarding victories when you finally cut him down to size. With a heated second phase, you can expect sweating out a narrow win.
However, before we dive into how to defeat Rangkus, let's go over what you will obtain when you finally beat him and some additional information that may be useful to you!
Rangkus Information
|
Mission |
Traitor Revealed |
|---|---|
|
Recommended Level |
Level 43 |
|
Optional? |
No |
|
Rewards |
How To Defeat Rangkus

You're in the thick of things by the time you reach Rangkus in The First Berserker: Khazan, meaning no one is pulling their punches, and you can expect all encounters to require your full attention, forcing you to use everything you have to keep progressing the story. Rangkus can be a huge pain, but once you know how to deal with his tricks, you will mop the floor with him in no time!
Rangkus: Overhead Slam Combo

When the encounter begins, Rangkus almost always performs his Overhead Slam Combo, which involves three devastating attacks with his oversized mace. The first is an Overhead Slam, followed by a Swing from the right and a Heavy Swing from the left.
Reflecting all these attacks is crucial, as you will temporarily stagger him if you do so. For the first attack, wait until you see him begin bringing the mace downward, then guard to land the Reflect. Then wait a brief moment and guard the moment you see him start swinging the mace toward you for another Reflect. For the final Heavy Swing, the pause will be a tad longer, but you will do the same thing as before.
If done correctly, Rangkus will stumble backward and fall to a knee, allowing you to run up and unleash several attacks on him for a pretty decent amount of damage!
Rangkus: Rolling Slash Combo

Next up is another common combo of Rangkus', which is the Rolling Slash Combo. Like the previous move, this action kicks off with an Overhead Slam, which is instantly followed by him rolling toward you before slashing at you with his mace. After that, he will perform a spinning slash and will link it into a backslash.
Like before, Reflecting all four of these attacks will stagger him, so lock in. The Overhead Slam is handled the same way, so wait for him to roll toward you, and as soon as you see him begin swinging his mace, guard for another Reflection. He will then spin toward you, guard when he plants his feet and starts swinging. Release your guard, then press it again the moment you see him perform the backslash for the final Reflection.
Staggering him again here will allow you to deal considerable damage to his Health and Stamina Gauge, making it one of the best ways to open the encounter if you want to get ahead without using any Healing Items or Consumables!
Rangkus: Exhausted

There is a good chance Rangkus will open the encounter with both combos, and if you Reflect all the attacks, his Stamina will likely be close to being depleted, allowing you to be a bit more aggressive to finish it off. Doing so will temporarily place him in an exhausted state, allowing you to unleash all your Skills on him for massive damage!
Rangkus: Charged Slam Combo

Another combo up Rangkus' sleeve is his Charged Slam Combo, which has him perform two Overhead Slams in a row before following it up with a Heavy Swing and ending it with a Charged Slam. If you see him perform two Overhead Slams, expect this combo instead of the previous ones.
The two Overhead Slams will be Reflected the same way as earlier, and the same goes for the Heavy Swing. After you Reflect both of those, Rangus will raise his mace high above his head, charge it up, and heat the top of the weapon, changing its color to a bright red glow. After a brief pause, he will slam it into the ground, causing an upheaval.
Whenever you see him begin moving his mace downward, wait a brief second and then guard just before it hits the ground to Reflect it and the upheaval. If you're close enough, you can get two to three hits in!
Rangkus: Charged Stomp

Following that is his Charged Stomp attack, his first non-combo action. This attack has Rangkus raise his left leg high in the air, gathering energy around himself before forcefully slamming it into the ground, causing another upheaval that travels in a straight line in front of him.
Since he hangs his foot in the air for a while, this attack can be rather challenging to Reflect, but you must be patient and guard the moment you see him begin to perform the stomp. If timed correctly, you will get Reflection and will get to land several hits of your own afterward!
Rangkus: Grappling Hook Slam

From here, Rangkus will likely perform his Grappling Hook Slam, having him pull out a Grapple Hook and hook the ceiling above you, flinging himself high into the air before performing a devastating slam that will deal tremendous amounts of damage on contact so you must Reflect it.
After he flings himself into the air, he jumps off the Grappling Hook and holds his mace behind his head as he makes his descent. You must be patient here and need to time your guard just before he hits the ground, which can be tricky to land. Essentially, watch his arms, and the moment you see them begin moving forward, wait a brief moment and then guard to get the Reflect.
Getting the Reflect here will allow you to hit him several times as he recovers for a decent chunk of damage, which is crucial in this stage of the fight!
Rangkus - Second Phase: Flamethrower

Rinse and repeat the steps above until Rangkus whips out his Flamethrower, signifying that you're now in the second phase of this boss encounter. Things are only just heating up, so buckle in, as it's about to get really annoying!
Rangkus - Second Phase: Flamethrower Twirl

With his Flamethrower finally out, he can do a handful of attacks, but the most common is his Flamethrower Twirl, having him spin frantically around the arena while unleashing streams of fire in every direction, an attack that is extremely annoying to avoid and will deal substantial damage if you get caught by it.
To avoid this move, sprint at Rangkus and get behind him, circling with him as he violently twirls around. You do not want to be in front of him or too far away, as the streams of fire will catch you. Try hugging him and staying behind him to get out of the area of effect.
Once he is done spinning around, you will have a brief opportunity to attack him, allowing you to get three to four hits before having to go back on the defensive!
Rangkus - Second Phase: Stamina Juice

Occasionally, Rangkus will run away from you before stopping, pulling out a vial of sorts, and chugging it, replenishing his Stamina Gauge and seemingly making it regenerate a bit faster. Brace yourself; things are about to get really tricky from here on out!
Rangkus - Second Phase: Flamethrower Grappling Hook Slam

A tremendously devastating attack of Rangkus' is his Flamethrower Grappling Hook Slam attack, which has him spray a burst of flames at you before using his Grapple Hook to fling himself in the air. Once he's airborne, he will unleash another stream of fire at you before dismounting the Grappling Hook and slamming into the ground with tremendous force.
Guarding the initial burst of fire is fine, allowing you to readjust when he flings himself into the air. Once he's here, guard through the stream of flames, then prepare to Reflect the slam. As soon as he dismounts, wait briefly and guard right before he slams into the ground for the Reflection.
After this, turn and run far away from him, as the ground will bubble up and explode. Getting caught in this explosion will deal substantial damage that can be hard to recover from!
Rangkus - Second Phase: Fire Canon Grab

Perhaps THE most annoying attack of Rangkus' is his Fire Canon Grab, which can seem nearly impossible to avoid. This attack will have him pull out a Fire Canon before launching a barrage of Fireballs at you while sprinting toward you. Then, when he's close enough, he will stop firing and will go into a dead sprint, grabbing you when he's up close and personal.
For the first part of this attack, run toward him diagonally and to his lefthand side in a counterclockwise motion, having him miss every shot. Then, as he switches to try and grab you, remain close to him and stay stuck to his side. The moment he attempts to grab you, evade behind him to avoid the grab barely.
The timing is very tight and the hitbox of his grab is ridiculous, so he may very well still grab you. If you try running away from him or evading to the left or right, he will seemingly magnetize to you and still get you, and this is the only way we were consistently able to evade the grab. Good luck!
Rangkus - Second Phase: Fire Canon Shotgun Blasts

Speaking of annoying attacks, Rangkus' Fire Canon Shotgun Blast is also not fun to deal with, as getting hit by even one of these will likely insta-kill you. He will fire a wave of fireballs at you three times in a row, forcing you to evade them to stay alive.
To do this, we recommend walking to the right and then evading to the left for the first wave. Next, begin walking to the left, then evade to the right for the second. Then, as you likely assumed, begin walking back to the right for the final wave and evade to the left to avoid it, allowing you to stay alive and finish the fight!
Rangkus - Second Phase: Fire Blaster Shots

Time to dodge more projectiles. Joy. The Fire Blaster Shots is another annoying attack of Rangkus' and can be very challenging to evade. He will continuously do this action until you get close enough to him or he runs out of Stamina, which is good for you once you know how it works.
Since you want to deplete his Stamina, you must consistently dodge these Blaster Shots while moving closer and closer to him. If he has a lot of Stamina left, you can do this very gradually, as you must let him drain his Stamina to capitalize on this move fully.
When he barely has much Stamina left, you should be very close to him, allowing you to time an evade through the Fireballs, placing you directly in front of him. Once you're here, a solid hit or two should exhaust him, allowing you to unleash a barrage of attacks!
Rangkus - Second Phase: Flamethrower Overhead Slam Combo

Finally, his last attack will be his Flamethrower Overhead Slam Combo, which isn't too bad to deal with. He will perform two Overhead Slams back-to-back, followed by a Heavy Swing. You know how to deal with these by now. However, after this, he pulls his Flamethrower out and ignites it.
From here, he will perform two more Overhead Slams, except now they're with his Flamethrower, which can cause tremendous damage. Just before the first Overhead Slam hits, guard to Reflect it, then do the same for the other one but run in the opposite direction immediately afterward to avoid the ground exploding.
Now it's a matter of surviving long enough and repeating everything above until you best Rangkus. This can be a very challenging encounter, so don't feel too bad if it takes a bit of time to get down!

The above is the detailed content of The First Berserker: Khazan - Boss Guide. For more information, please follow other related articles on the PHP Chinese website!
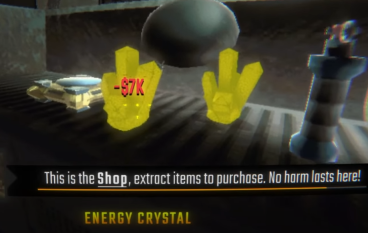 R.E.P.O. Energy Crystals Explained and What They Do (Yellow Crystal)Mar 18, 2025 am 12:07 AM
I bought expensive weapons or drones in R.E.P.O. but found that the energy was exhausted and became useless? Don't worry, you don't have to spend $50,000 on replacements, just charge your gear! That strange machine at the back of your truck is not a decoration. Here are how to get energy crystals and use them to keep your gear running continuously to avoid bankruptcy. More Reads: All R.E.P.O. Items How to get energy crystal You can buy energy crystals from the service store between levels. They usually cost between $7,000 and $9,000 — while expensive, they are far cheaper than repurchasing gear. In the first few levels, no purchase is required. You don't need them for the time being, so
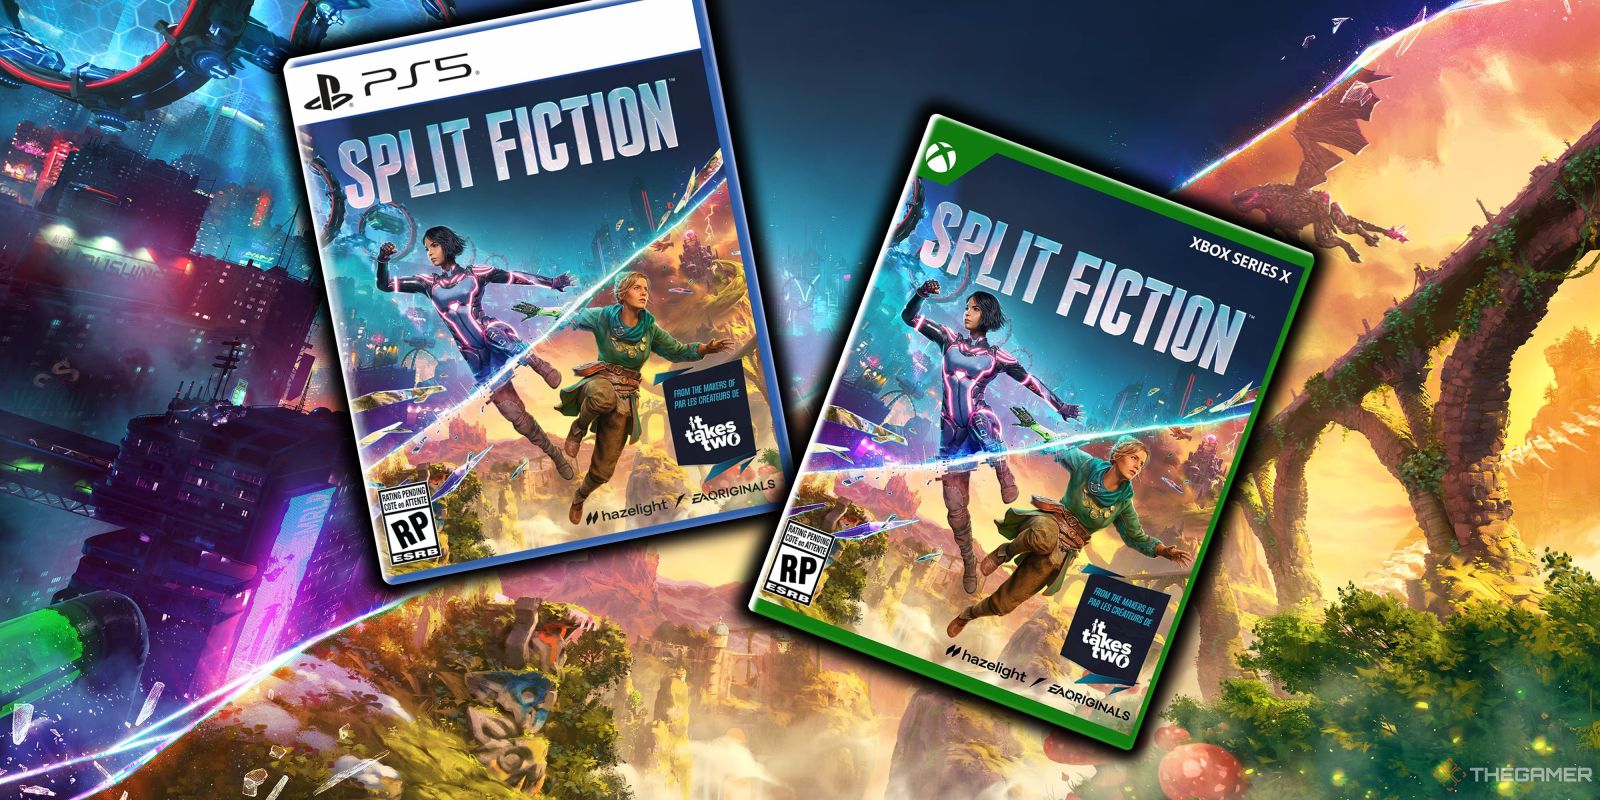 How Long Does It Take To Beat Split Fiction?Mar 07, 2025 am 04:16 AM
Detailed explanation of the game duration of "Split Fiction": main line, branch line and 100% completion Like Hazelight Studio's previous works, Split Fiction is a relatively linear game, but it also contains some extra interesting content. There are some side stories, optional dialogues and easter eggs in the game, but there are not many elements to collect. Although the level is long and includes multiple mechanisms and boss battles, it still takes a considerable time to complete "Split Fiction", especially to achieve 100% completion. The following is a detailed analysis of the game duration: The main plot duration In the case of two-player game (the player level is comparable), it takes about 12 hours to pass the main plot. But this game is more suitable
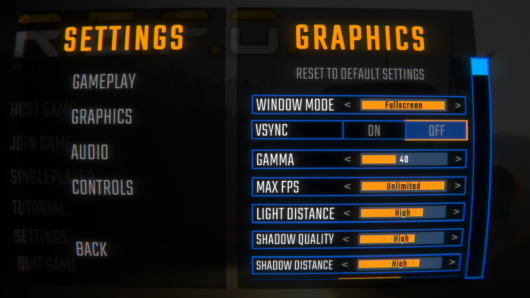 R.E.P.O. Best Graphic SettingsMar 18, 2025 am 01:33 AM
R.E.P.O. Game Screen Setting Guide: How to improve frame rate while ensuring picture quality? This article will guide you to optimize game settings and find the best balance point. Step 1: Full Screen Mode and Frame Rate Adjustment Before adjusting other settings, make sure the game is running in the best mode: Display Mode: Full Screen - Always use Full Screen Mode for optimal performance. Window mode will reduce the frame rate. Vertical Sync (V-Sync): Off - Unless a screen tear occurs, turn off vertical synchronization for a smoother gaming experience. Maximum FPS: Unlimited - If your computer is configured strongly, you can set it to Unlimited. Otherwise, it is recommended to limit it to 60 frames or match your monitor refresh rate. second
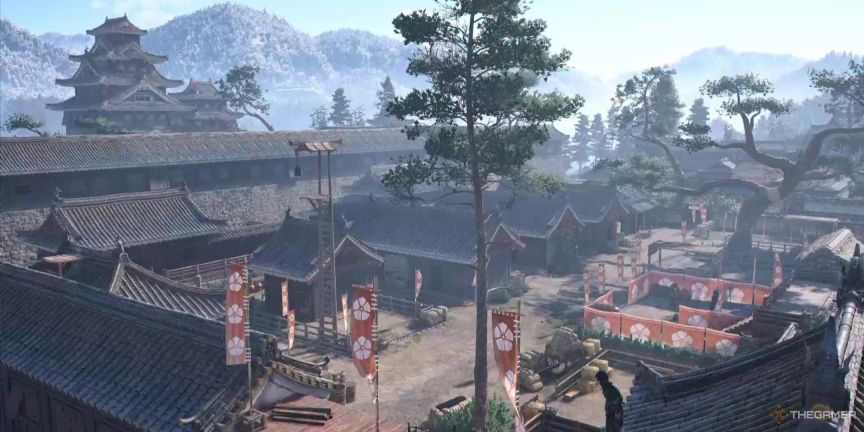 Assassin's Creed Shadows: Seashell Riddle SolutionMar 28, 2025 am 01:58 AM
Assassin's Creed: Shadows boasts a vast world brimming with activities beyond the main storyline. Side missions and various encounters significantly enrich the immersive experience of in-game Japan. One particularly memorable encounter is the Seashe
 R.E.P.O. How to Fix Audio if You Can't Hear AnyoneMar 17, 2025 pm 06:10 PM
Can't hear other players' voices in the R.E.P.O. game? Even if your microphone is working properly, it can be a problem caused by audio settings or device conflicts. Here are some effective solutions to help you restore your voice chat functionality. 1. Check the output device Open the audio settings of R.E.P.O. and check the output device settings. If set to "Default", manually select your headset or speaker. Restart the game and test voice chat again. 2. Adjust Windows sound settings If R.E.P.O. does not output the sound to the correct device, check the Windows Sound Settings: Right-click the speaker icon in the taskbar and select Sound Settings. Under "Output",
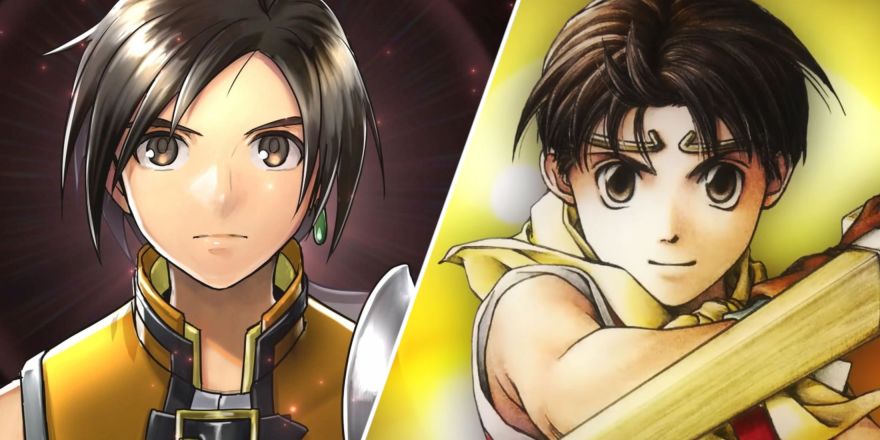 Suikoden 1 HD Remaster: How To Win The Duel With General TeoMar 06, 2025 pm 06:03 PM
In "Awakening 1&2 HD Remake", some seemingly invincible boss battles can actually be won, and the duel between General Theo and Paine is the best example. In difficult and difficult terms, this battle is very tricky, and you might think that Paine will definitely die. But that's not the case. This guide will explain in detail the key duel: the timing of the duel, the best equipment of Paine, the conditions to be met before the battle, and General Theo's action prediction to help you defeat him. Paine recommended levels and equipment First, go to the Emperor Garden to sharpen Paine's claws to level 12 (the highest level in this stage of the game). Then, equip ninja suits, headdresses and two bodyguard rings (available at Antai’s Armory). Finally, Paine's level should be higher than level 30, at least level 30, the closer it is to 35
 WWE 2K25: How To Unlock Everything In MyRiseMar 15, 2025 pm 12:03 PM
WWE 2K25's MyRise mode is one of the best career modes in WWE games in recent years, telling an exciting story: a group of disgruntled NXT superstars take over WWE. However, enjoying the plot is not the only reason to play this mode. By playing MyRise, you can also unlock many content such as new superstars, new arenas, extra costumes, special weapons, and more. However, you can't get everything in a round of games, so you may want to prioritize certain items. Before you do this, you need to know what unlockable content is and how to get them. All this information is included here. Unlocked content through plot promotion By advancing the main plot and completing the chapters, you can solve
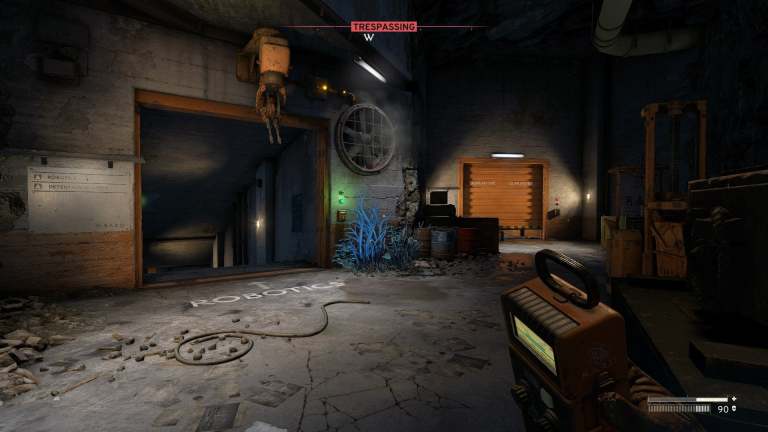 Where to find the Crane Control Keycard in AtomfallMar 28, 2025 am 02:17 AM
In Atomfall, discover hidden keys and passages, including multiple ways to access key locations. This guide focuses on using the Crane Control Keycard for easy, unguarded Entry to Skethermoor Prison, bypassing the need to cooperate with Captain Sims


Hot AI Tools

Undresser.AI Undress
AI-powered app for creating realistic nude photos

AI Clothes Remover
Online AI tool for removing clothes from photos.

Undress AI Tool
Undress images for free

Clothoff.io
AI clothes remover

AI Hentai Generator
Generate AI Hentai for free.

Hot Article

Hot Tools

MinGW - Minimalist GNU for Windows
This project is in the process of being migrated to osdn.net/projects/mingw, you can continue to follow us there. MinGW: A native Windows port of the GNU Compiler Collection (GCC), freely distributable import libraries and header files for building native Windows applications; includes extensions to the MSVC runtime to support C99 functionality. All MinGW software can run on 64-bit Windows platforms.

mPDF
mPDF is a PHP library that can generate PDF files from UTF-8 encoded HTML. The original author, Ian Back, wrote mPDF to output PDF files "on the fly" from his website and handle different languages. It is slower than original scripts like HTML2FPDF and produces larger files when using Unicode fonts, but supports CSS styles etc. and has a lot of enhancements. Supports almost all languages, including RTL (Arabic and Hebrew) and CJK (Chinese, Japanese and Korean). Supports nested block-level elements (such as P, DIV),

WebStorm Mac version
Useful JavaScript development tools

Atom editor mac version download
The most popular open source editor

ZendStudio 13.5.1 Mac
Powerful PHP integrated development environment


