

 System TutorialWindows SeriesA Professional Guide to Installing Windows 11: Tips and Best Practices for a Clean Install
A Professional Guide to Installing Windows 11: Tips and Best Practices for a Clean Install

A Professional Guide to Installing Windows 11: Tips and Best Practices for a Clean Install
This guide provides a comprehensive walkthrough for a clean installation of Windows 11, minimizing potential problems and maximizing performance. A clean install, unlike an upgrade, completely wipes your hard drive, removing all existing files and applications before installing a fresh copy of the operating system. This is beneficial for resolving persistent issues, improving performance, and creating a more stable system. However, it requires careful preparation and execution. We'll cover the essential steps, optimization techniques, and data backup strategies to ensure a smooth and successful installation.
Essential Steps for a Clean Windows 11 Installation to Avoid Common Pitfalls
Before embarking on a clean install, meticulous preparation is crucial. Here's a step-by-step guide to avoid common pitfalls:
- Back up your data: This is paramount. A clean install erases everything on your target drive. Back up all important files, documents, photos, and videos to an external hard drive, cloud storage (like OneDrive, Google Drive, or Dropbox), or a USB drive. Ensure you have a reliable backup method and test the restoration process before proceeding.
- Gather your Windows 11 installation media: You'll need a bootable USB drive or DVD containing the Windows 11 installation files. Microsoft provides a Media Creation Tool to easily create this. Download the tool from the official Microsoft website and follow the instructions. Choose the correct edition (Home or Pro) and language.
- Check your system requirements: Ensure your hardware meets the minimum requirements for Windows 11. This includes processor, RAM, storage space, and TPM (Trusted Platform Module) 2.0. You can find the official requirements on Microsoft's website.
- Boot from the installation media: Restart your computer and enter the BIOS/UEFI settings (usually by pressing Delete, F2, F10, or F12 during startup – the key varies depending on your motherboard). Configure the boot order to prioritize your USB drive or DVD. Save the changes and exit.
- Choose your language and region: Follow the on-screen instructions to select your language and region.
- Accept the license terms: Carefully read and accept the Windows 11 license terms.
- Choose "Custom: Install Windows only (advanced)": This option allows for a clean installation, wiping the selected drive. Warning: This action is irreversible, so double-check you've backed up your data.
- Select the drive to install Windows: Choose the drive where you want to install Windows 11. Make absolutely sure you select the correct drive. Deleting the wrong drive will result in permanent data loss.
- Wait for the installation to complete: The installation process will take some time. Your computer will restart several times.
- Personalize your Windows 11 installation: After the installation is complete, you'll be prompted to create a user account, connect to the internet, and personalize your settings.
Optimizing System Performance After a Clean Windows 11 Installation
A clean install provides a great foundation for optimal performance, but further optimization is recommended:
- Install essential drivers: Update your drivers for your graphics card, network adapter, and other hardware components. These can usually be downloaded from the manufacturer's website.
- Install necessary software: Install only the applications you need. Avoid unnecessary bloatware.
- Disable startup programs: Many applications automatically start when Windows boots, slowing down the process. Use the Task Manager (Ctrl Shift Esc) to disable unnecessary startup programs.
- Defragment your hard drive (if using an HDD): If you're using a traditional hard disk drive (HDD), defragmenting can improve performance. SSDs don't require defragmentation.
- Run Disk Cleanup: This built-in Windows tool removes temporary files and other unnecessary data, freeing up disk space and improving performance.
- Update Windows: Ensure your Windows installation is up-to-date by installing the latest updates and security patches.
- Consider using an SSD: If you're still using a traditional HDD, upgrading to a Solid State Drive (SSD) will dramatically improve boot times and overall system responsiveness.
Best Practices for Backing Up Your Data Before and After a Clean Windows 11 Install
Data backup is critical before and after a clean installation. Here's a robust strategy:
Before the Clean Install:
- Full System Image Backup: Create a complete image backup of your entire system drive using built-in Windows tools (like File History or third-party software like Acronis True Image or Macrium Reflect). This allows for a complete system restoration in case of problems.
- File-Level Backup: Back up all your important files and folders to an external hard drive, cloud storage, or another location. This is crucial even if you create a system image backup, as it provides a separate copy of your personal data.
- Test Your Backup: After creating your backups, test the restoration process to ensure everything works correctly. This verifies your backup's integrity and allows you to troubleshoot any issues before you proceed with the clean install.
After the Clean Install:
- Verify System Functionality: After installing Windows 11, verify that all your hardware and software are working correctly.
- Restore Your Data: Restore your files and folders from your backup. If you created a system image backup, consider restoring it only if you encounter major problems. Restoring a system image will overwrite any changes you've made after the clean install.
- Update Your Backups: Once you've restored your data and verified everything is working correctly, update your backups to include the new clean installation and any new data you've added. This ensures you have the most current backup.
By following these guidelines, you can perform a clean installation of Windows 11 smoothly and efficiently, maximizing your system's performance and protecting your valuable data. Remember that thorough planning and preparation are key to a successful clean install.
The above is the detailed content of A Professional Guide to Installing Windows 11: Tips and Best Practices for a Clean Install. For more information, please follow other related articles on the PHP Chinese website!

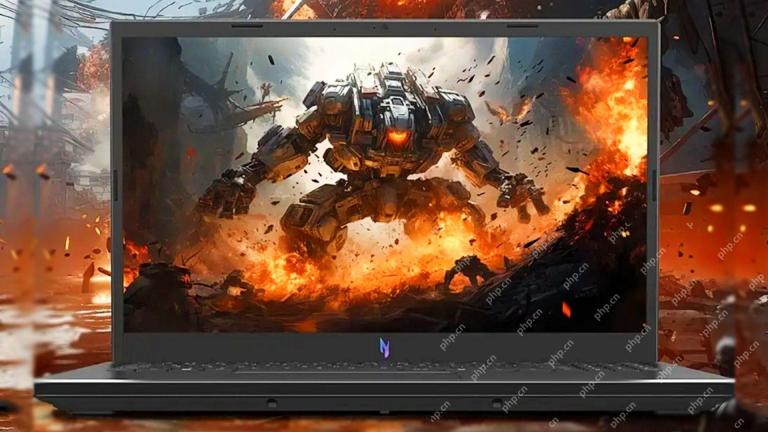 The Acer Nitro V Gaming Laptop Has Has a Huge DiscountMay 04, 2025 am 06:10 AM
##### Acer Nitro V 15 ANV15-51-51H9 Amazon is now selling Acer Nitro V e-sports gaming laptops, enjoying a great discount of 18%! This high-performance gaming laptop is originally priced at $849.99 and is currently only $699.99, so it is not to be missed! This gaming laptop is equipped with powerful hardware configuration, allowing both casual players and veteran gamers to get a smooth gaming experience. It is equipped with an Intel Core i7-13620H processor, ensuring smooth game operation and effortless multitasking. NVIDIA GeForce RTX 4050 Laptop GPU with 194 AI TOPS, supports advanced A
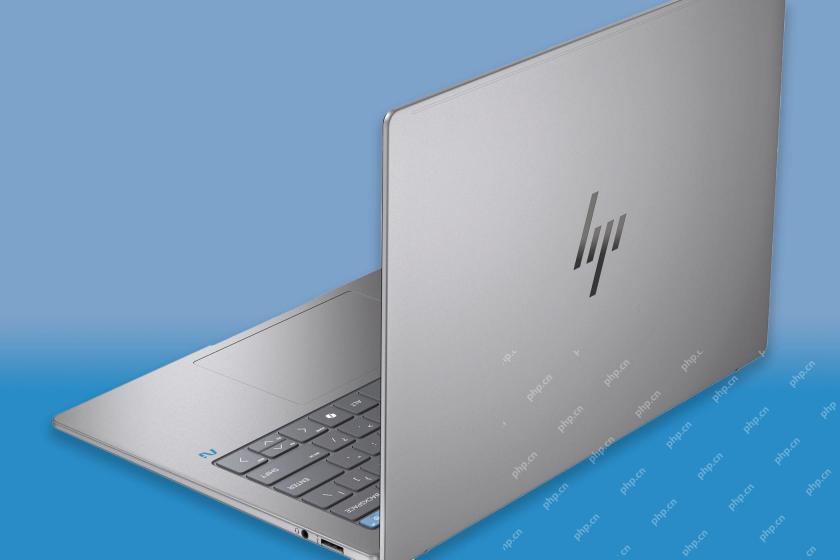
 Today Only: This 14-inch HP Laptop Is Just $170May 04, 2025 am 06:05 AM
Great value HP 14-inch laptop, currently only $169.99! This HP 14-inch laptop is originally priced at $219.99, and now Best Buy is priced at $169.99, saving $50! It is equipped with an Intel N150 processor, 4GB of memory and 128GB of UFS storage. Although the 1366x768 resolution screen is slightly outdated, it is enough to handle daily basic tasks. Preinstalled with Windows 11 Home Edition S mode and has up to 11 hours of battery life, which is a great value for money. This laptop is perfect for daily web browsing and office use. It uses Intel N150 processor, a quad-core processor with a maximum frequency of 3.6 GHz and has 6M
 More Price Hikes and Batteries on Fire: Weekly RoundupMay 04, 2025 am 06:03 AM
Tech News Roundup: Recalls, Price Changes, and Exciting New Releases This week's tech news is packed with updates, recalls, and new product launches. Let's dive into the highlights: Safety First: Recalls and Updates Baseus Power Bank Recall: Baseus
 iFixit Is Helping Make HP Laptops More RepairableMay 04, 2025 am 12:53 AM
Related ##### Samsung hinders mobile phone repair iFixit's partnership with Samsung broke down, and Samsung reportedly forced repair shops to share customer information. Article The blog post also mentioned: "A interesting feature worth watching is the new battery replacement tool, which [HP] calls it the Revivekit. There are two smaller boxes in the box - one with a new battery, and the other designed to safely store the old battery after replacement. The cardboard profile design allows it to cover the old battery and protect it from accidental poking when you do repairs. It also comes with some strategically placed adhesive pads to help securely hold it to the battery when you work - and it is designed to still stick to the battery when you lift it, which you can fold and store after that.
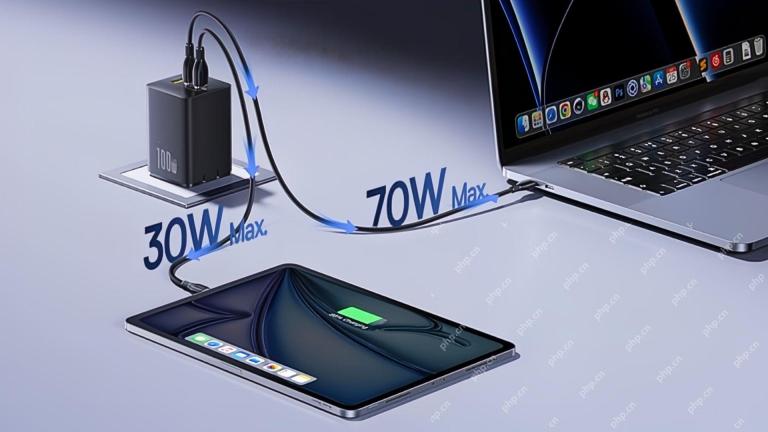 This 100W USB-C Baseus Charger Is 45% OffMay 04, 2025 am 12:52 AM
Baseus 100W Three-Port USB-C Charger: Great Value! The Baseus 100W three-port USB-C charger provides ultra-high speed charging for up to three devices at the same time. The two USB-C ports each provide 100W output, while one USB-A port adds more compatibility. Its compact and portable design and foldable plug are perfect for traveling. Advanced cooling system and intelligent power distribution technology ensure safe and efficient charging. Amazon Baseus flagship store is currently in a big promotion. If you purchase Baseus 100W three-port USB-C charger, you will get two 45W USB-C chargers and charging cables. The total price is only
 How to Transfer Windows to Another DriveMay 02, 2025 pm 02:01 PM
Perhaps your old hard drive is starting to slow down and fail, or maybe you’re looking to migrate your files to a disk with much more space. There are plenty of reasons to migrate Windows from one drive to another, and just as many
 How to Add a User Interface to Windows' Winget UtilityMay 02, 2025 am 06:04 AM
Does Windows lack a convenient package manager? UniGetUI is here to help you! The package manager for Linux systems is very convenient, but Windows systems lack similar tools. However, with a free open source project UniGetUI and Windows built-in command line tool winget, you can get the same functionality on Windows. The best feature for Windows missing: a convenient package manager Package Manager allows you to add and remove programs, system libraries, and drivers. You can search for programs almost instantly, retrieve information about them, and adjust settings. In other words, they are features that Microsoft stores dream of. Every Linux distribution has one
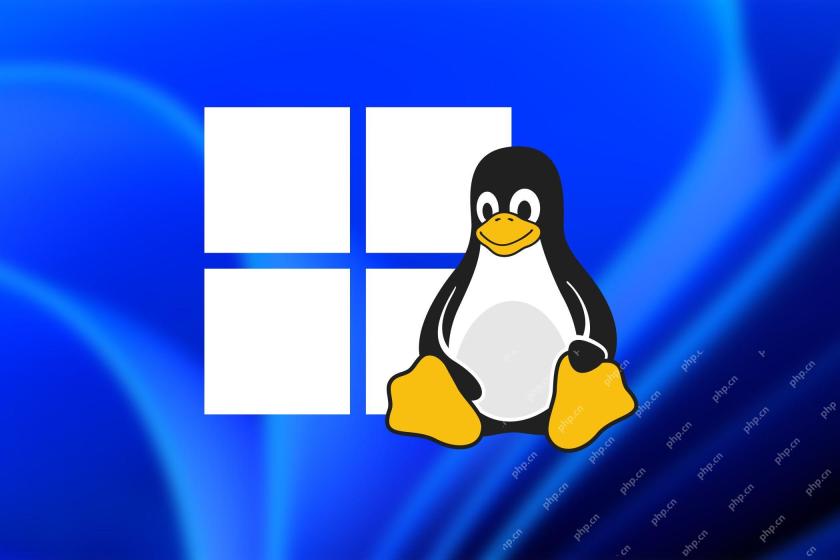 Arch Linux Is Now in the Windows Subsystem for LinuxMay 02, 2025 am 06:02 AM
Arch Linux officially joins the Windows Subsystem for Linux (WSL) family! No external downloads are needed; installation is a breeze using PowerShell: wsl --install archlinux First-time WSL users will need to run this command first, followed by a sy


Hot AI Tools

Undresser.AI Undress
AI-powered app for creating realistic nude photos

AI Clothes Remover
Online AI tool for removing clothes from photos.

Undress AI Tool
Undress images for free

Clothoff.io
AI clothes remover

Video Face Swap
Swap faces in any video effortlessly with our completely free AI face swap tool!

Hot Article
Hot Tools

EditPlus Chinese cracked version
Small size, syntax highlighting, does not support code prompt function

Dreamweaver CS6
Visual web development tools

SublimeText3 Chinese version
Chinese version, very easy to use

Notepad++7.3.1
Easy-to-use and free code editor

SublimeText3 Mac version
God-level code editing software (SublimeText3)

